Using VDMX as a Step Sequencer and LFO for Euroracks

One of the most fun aspect of using Eurorack setups is the ability to quickly reroute control data and sound between different modules. Conversely one of the most limiting parts of using Eurorack setups is the ability to quickly swap out different modules from your rack to get different kinds of control data and sound coming and going from your system. In this tutorial we will look at how the Step Sequencer and LFO plugins in VDMX can be used alongside Eurorack setups to provide a versatile approach to generating CV values.

As Eurorack modules are also often a significant investment of money, it can also sometimes be useful to use software tools like VDMX to simulate their abilities to determine if they are a good fit for your needs before purchasing.

Overivew

This tutorial is broken into three main parts:

  1. Setting up our Eurorack to convert MIDI to CV.

  2. Setting up VDMX to send MIDI to the Eurorack.

  3. Configuring step sequencer and LFOs in VDMX to control parameters on our Eurorack.


Setting Up A Eurorack To Receive MIDI to CV

Univer Iter MIDI to CV and Tiptop Audio Buchla 258t Eurorack modules.

For this initial demonstration of doing MIDI to CV we are using the Noise Engineering Univer Inter along with a Buchla & Tiptop Audio 258t Dual Oscillator module to generate tones.

The Univer Iter has 8 CV out ports along with a USB port which can be directly connected to a computer for receiving incoming MIDI. Within applications like AudioMIDI Setup and VDMX it appears as a standard MIDI output device option. It also can be configured to use a custom MIDI mapping as needed and can be daisy chained with a second module for another 8x outputs.

A variety of different modules are available for taking MIDI data in one form or another and converting it to CV. As always with Eurorack setups it is prudent to spend some time looking at all of the module options and picking the best for your specific needs.


Setting Up VDMX To Send MIDI Output

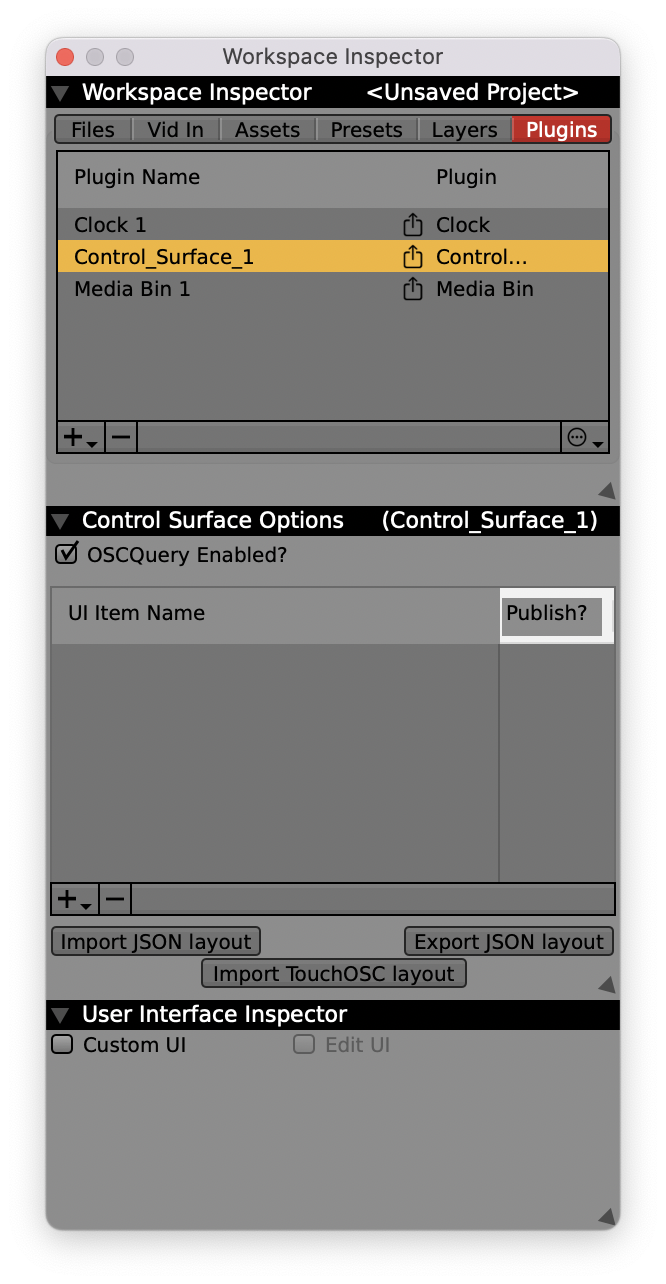
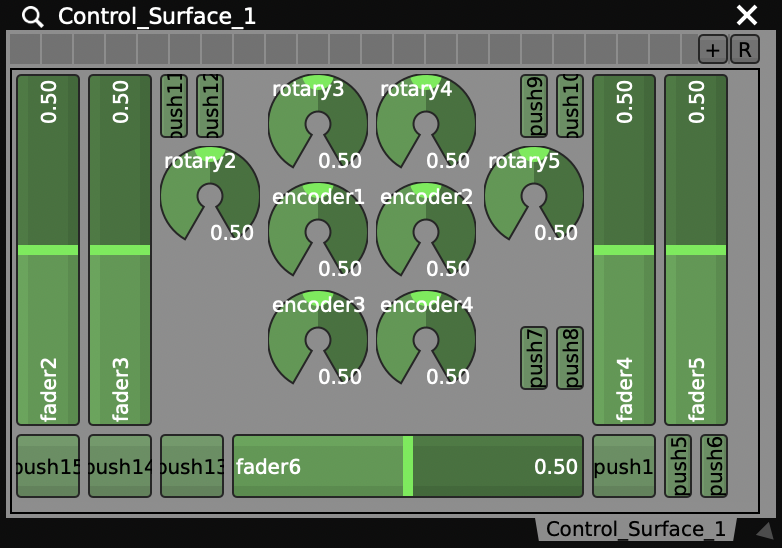
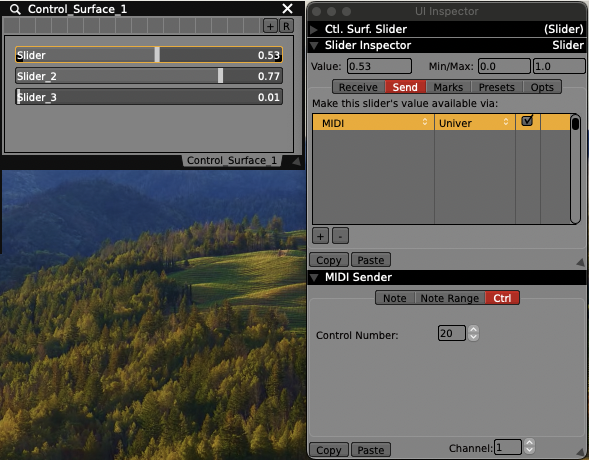
Most user interface controls in VDMX such as sliders and buttons can be configured to directly send their current value as MIDI output using the “Send” tab of the “UI Inspector” window. When configuring VDMX to drive external devices such as a Eurorack it is often useful to add a “Control Surface” plugin with customized set of UI elements that represent each of our individual CV outputs.

Steps:

  1. Use the “Plugins” tab of the “Workspace Inspector” to add a “Control Surface“ plugin to the project.

  2. Use the sub-inspector to add one or more UI elements (sliders, buttons, pop-up menus, etc). to the control surface interface.

  3. Click on each UI element in the Control Surface main window to inspect it. Use the “Send“ tab of the “UI Inspector” to configure the MIDI mapping and output device.


Configuring Step Sequencer and LFOs in VDMX To Control Eurorack Parameters

Now that our Eurorack is receiving MIDI from VDMX and converting it to CV we can begin to set up our Step Sequencer and LFO plugins to drive individual parameters of our synthesizer.

A VDMX setup with a two track step sequencer, an LFO, a clock plugin, and a control surface configured to send MIDI output.

Steps:

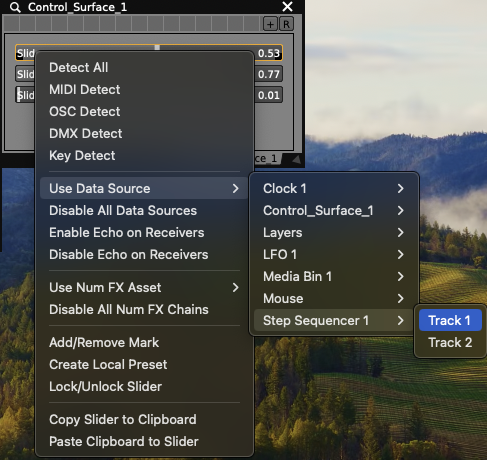
Right-click on sliders and buttons to assign data sources.

  1. Use the “Plugins” tab of the “Workspace Inspector” to add a “Step Sequencer“ plugin and an “LFO” plugin to the project.

  2. Use the sub-inspector to customize Step Sequencer / LFO configurations as needed.

  3. Right click on output UI elements in the Control Surface or use the UI Inspector to route generated control data to our MIDI outputs.

  4. Patch the MIDI module CV output to synthesizer input parameters.

  5. Use the “Clock” plugin to adjust the overall BPM.

Once we’ve created our parameter routings on the Eurorack we can also optionally further customize our Control Surface with appropriate labels and display ranges, or continue to leave them as generic 0-1 values that are commonly re-patched on the fly.

Mastering Projector Rigging: Elevate Your Visual Installations with Pro Techniques

So, you've got a projector? Now, let's take your visual installations to the next level! While there's no shortage of inexpensive projector mounts online, some fall short for custom setups and quick turnarounds. Enter GRIP hardware – a tried-and-true solution from the film world that's been revolutionized with 3D printing.

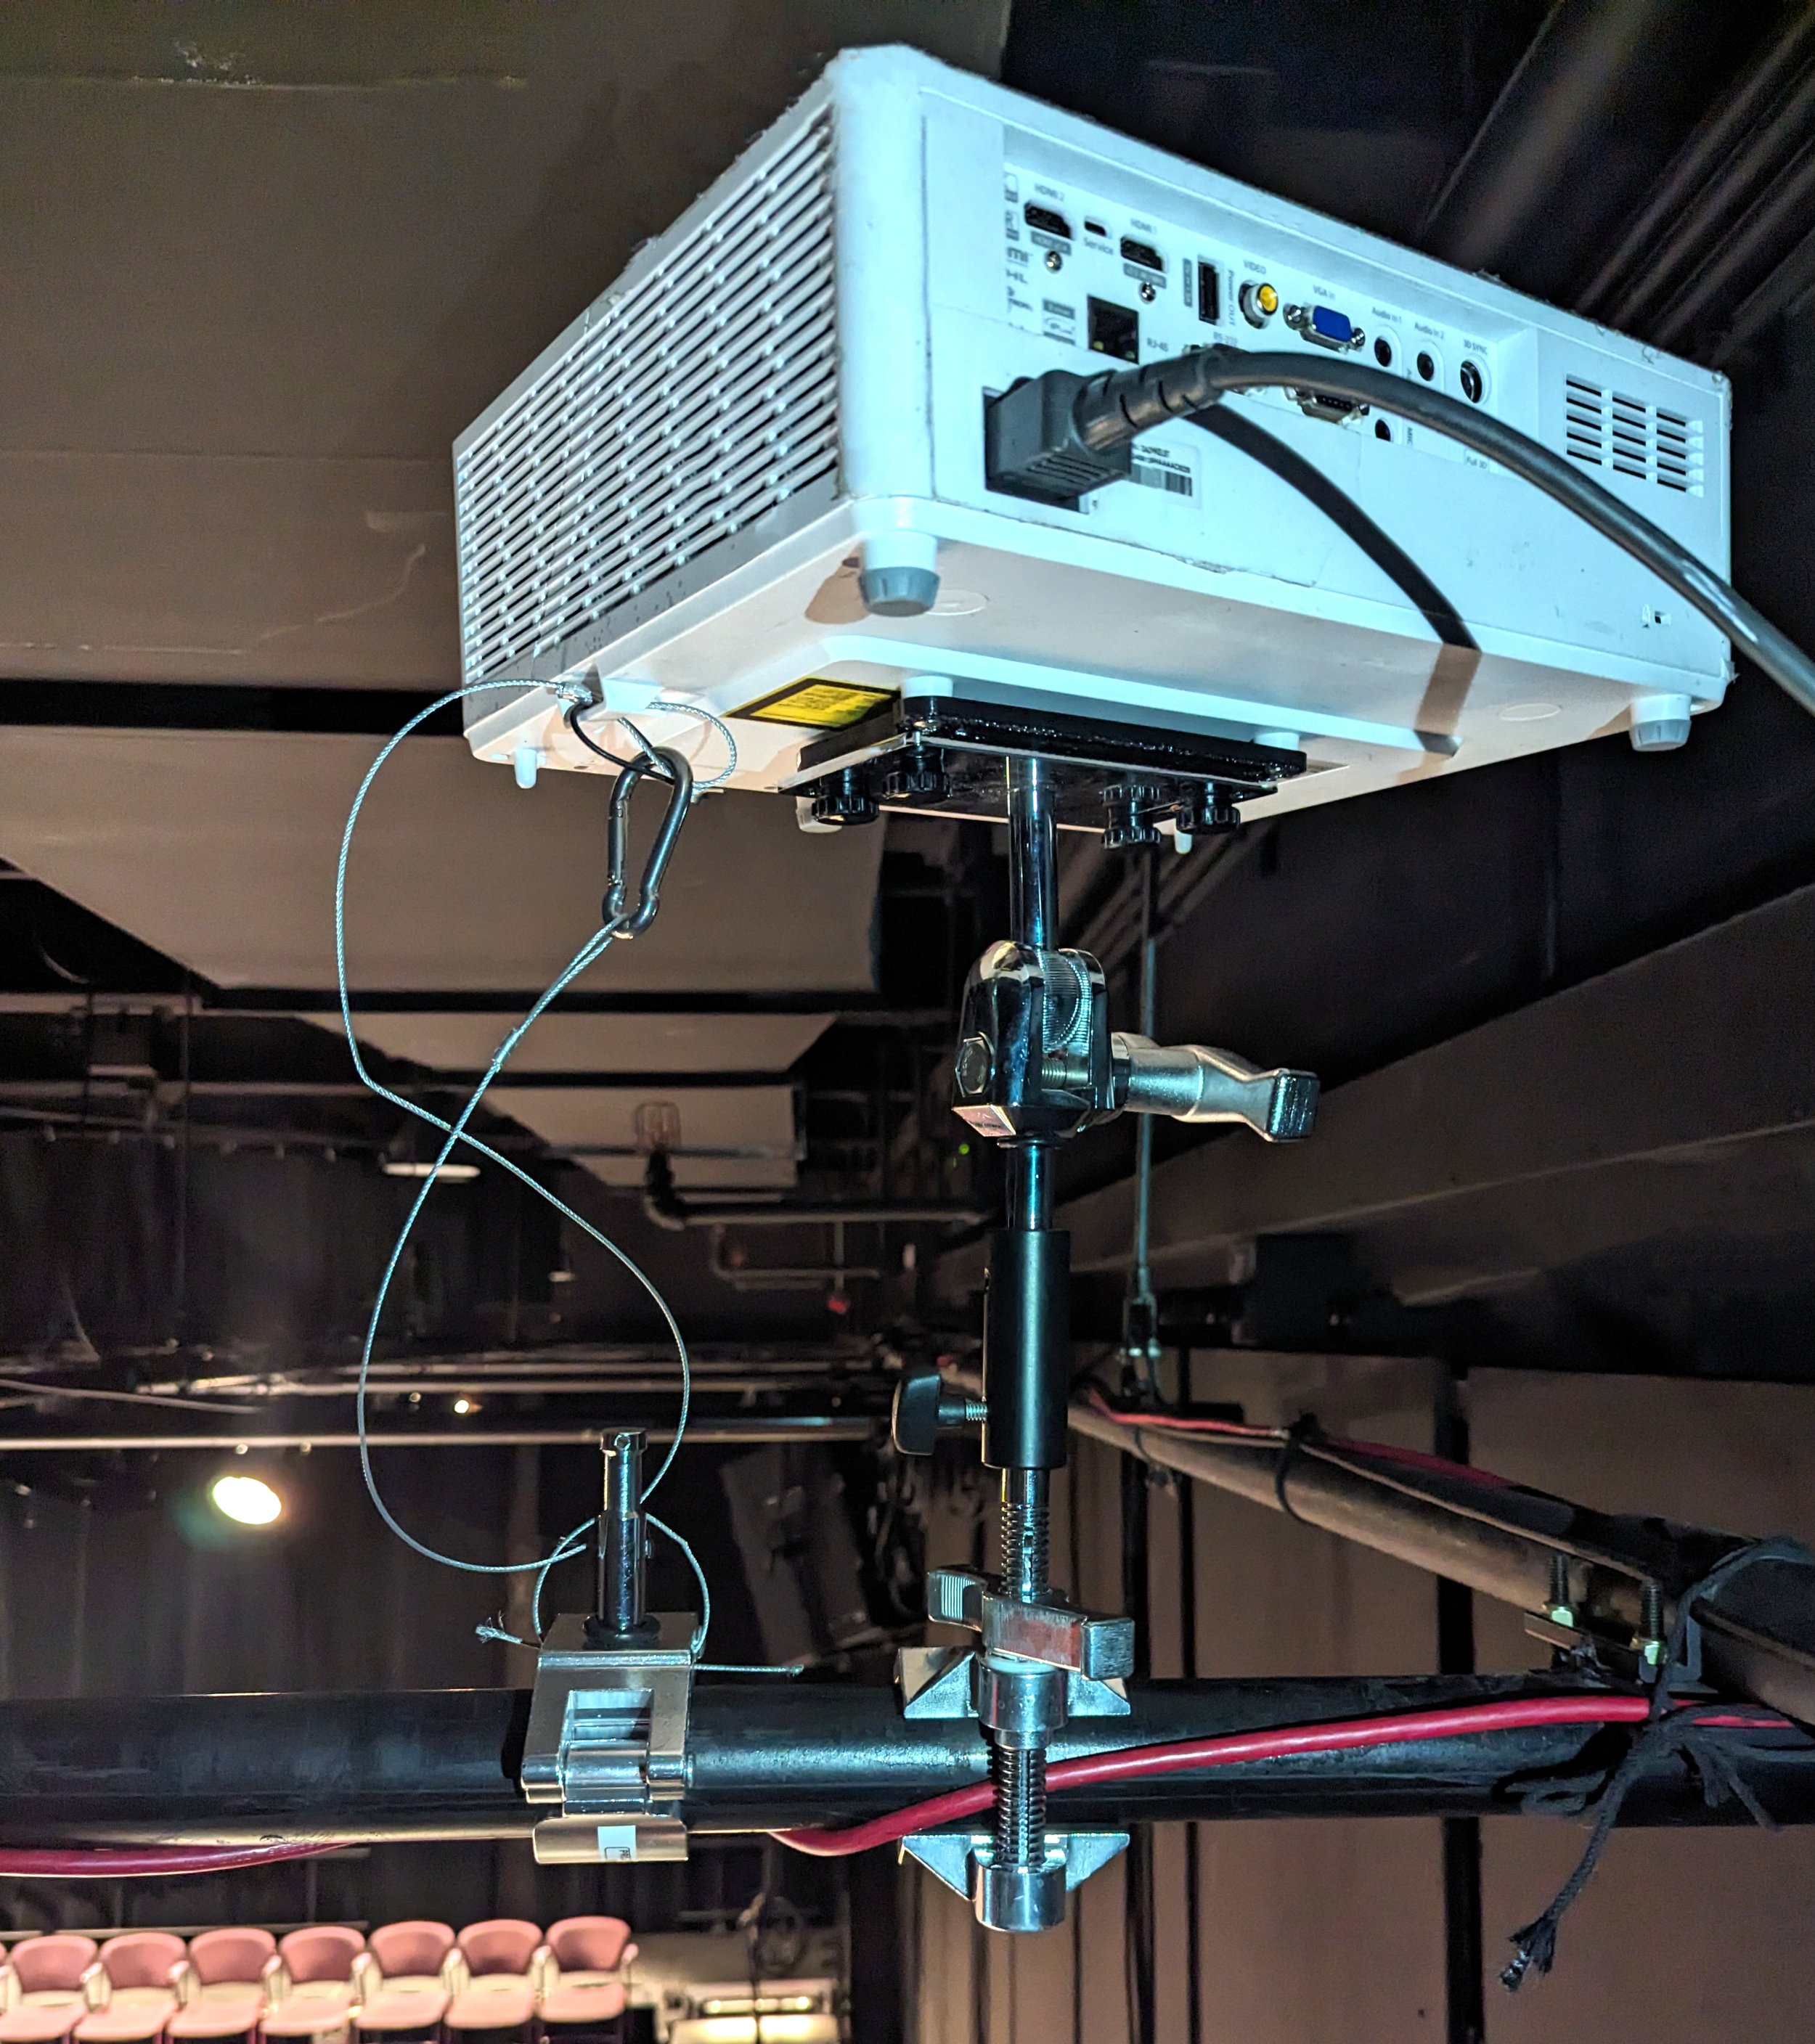
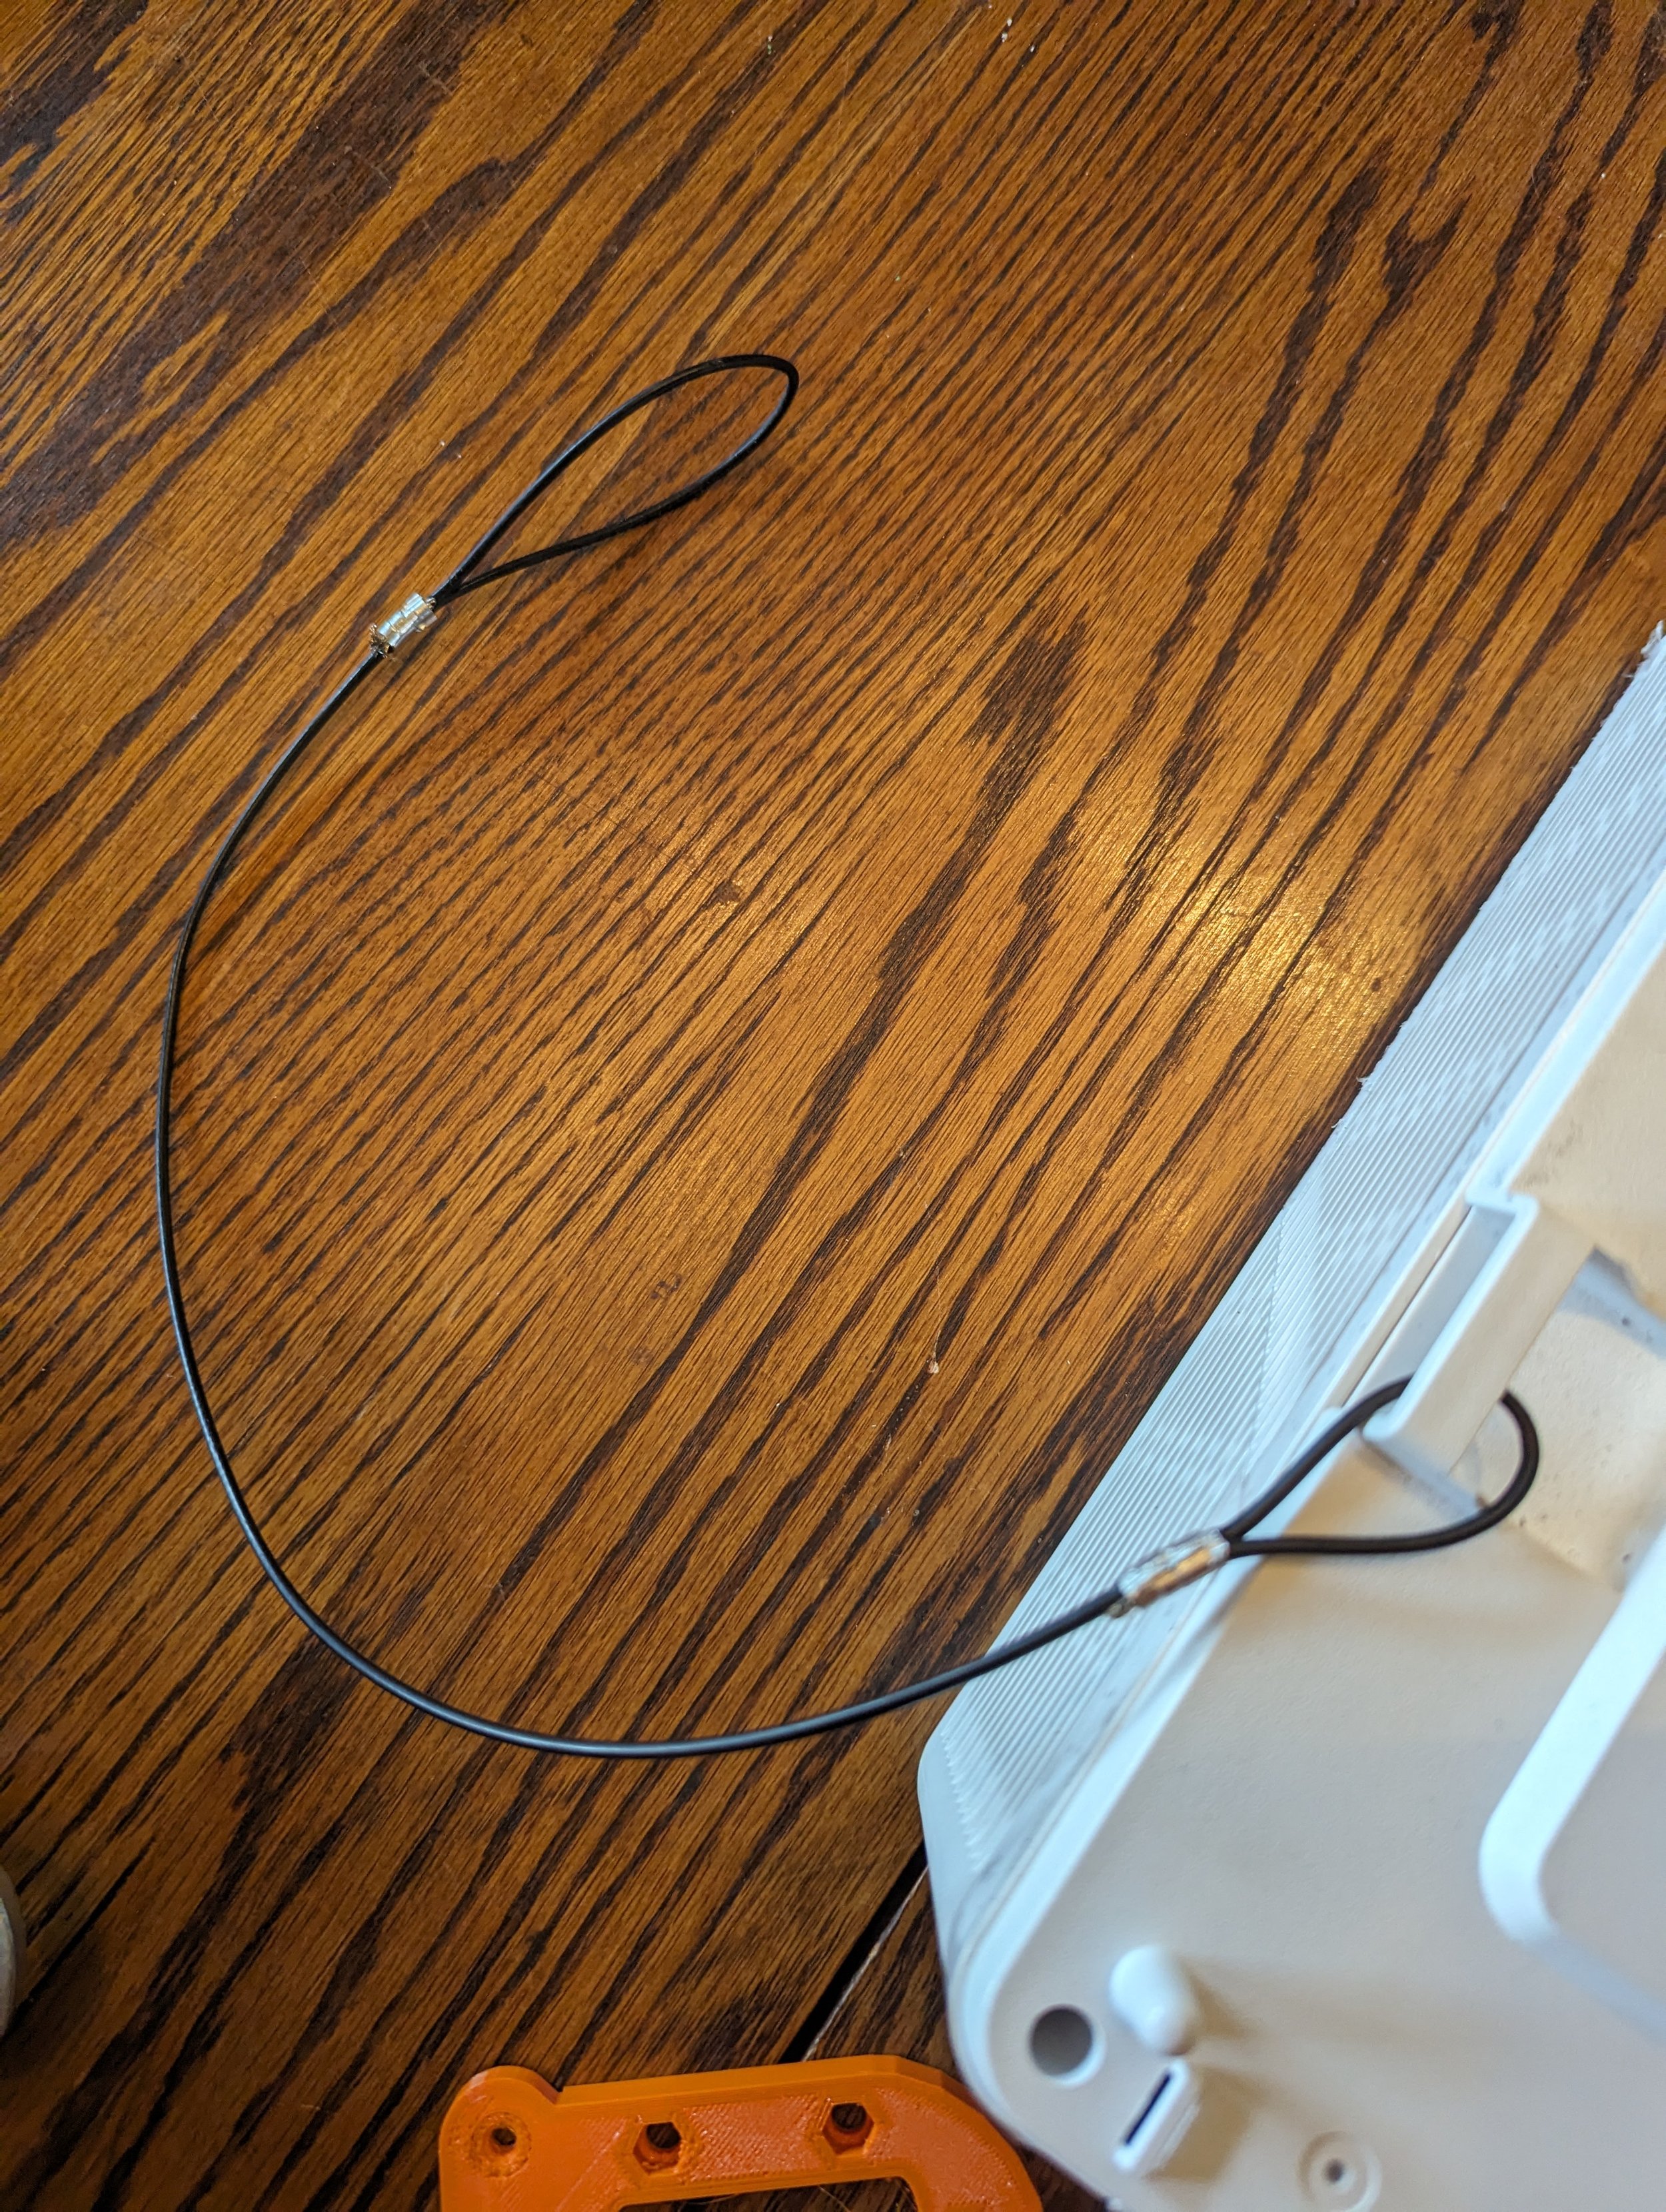
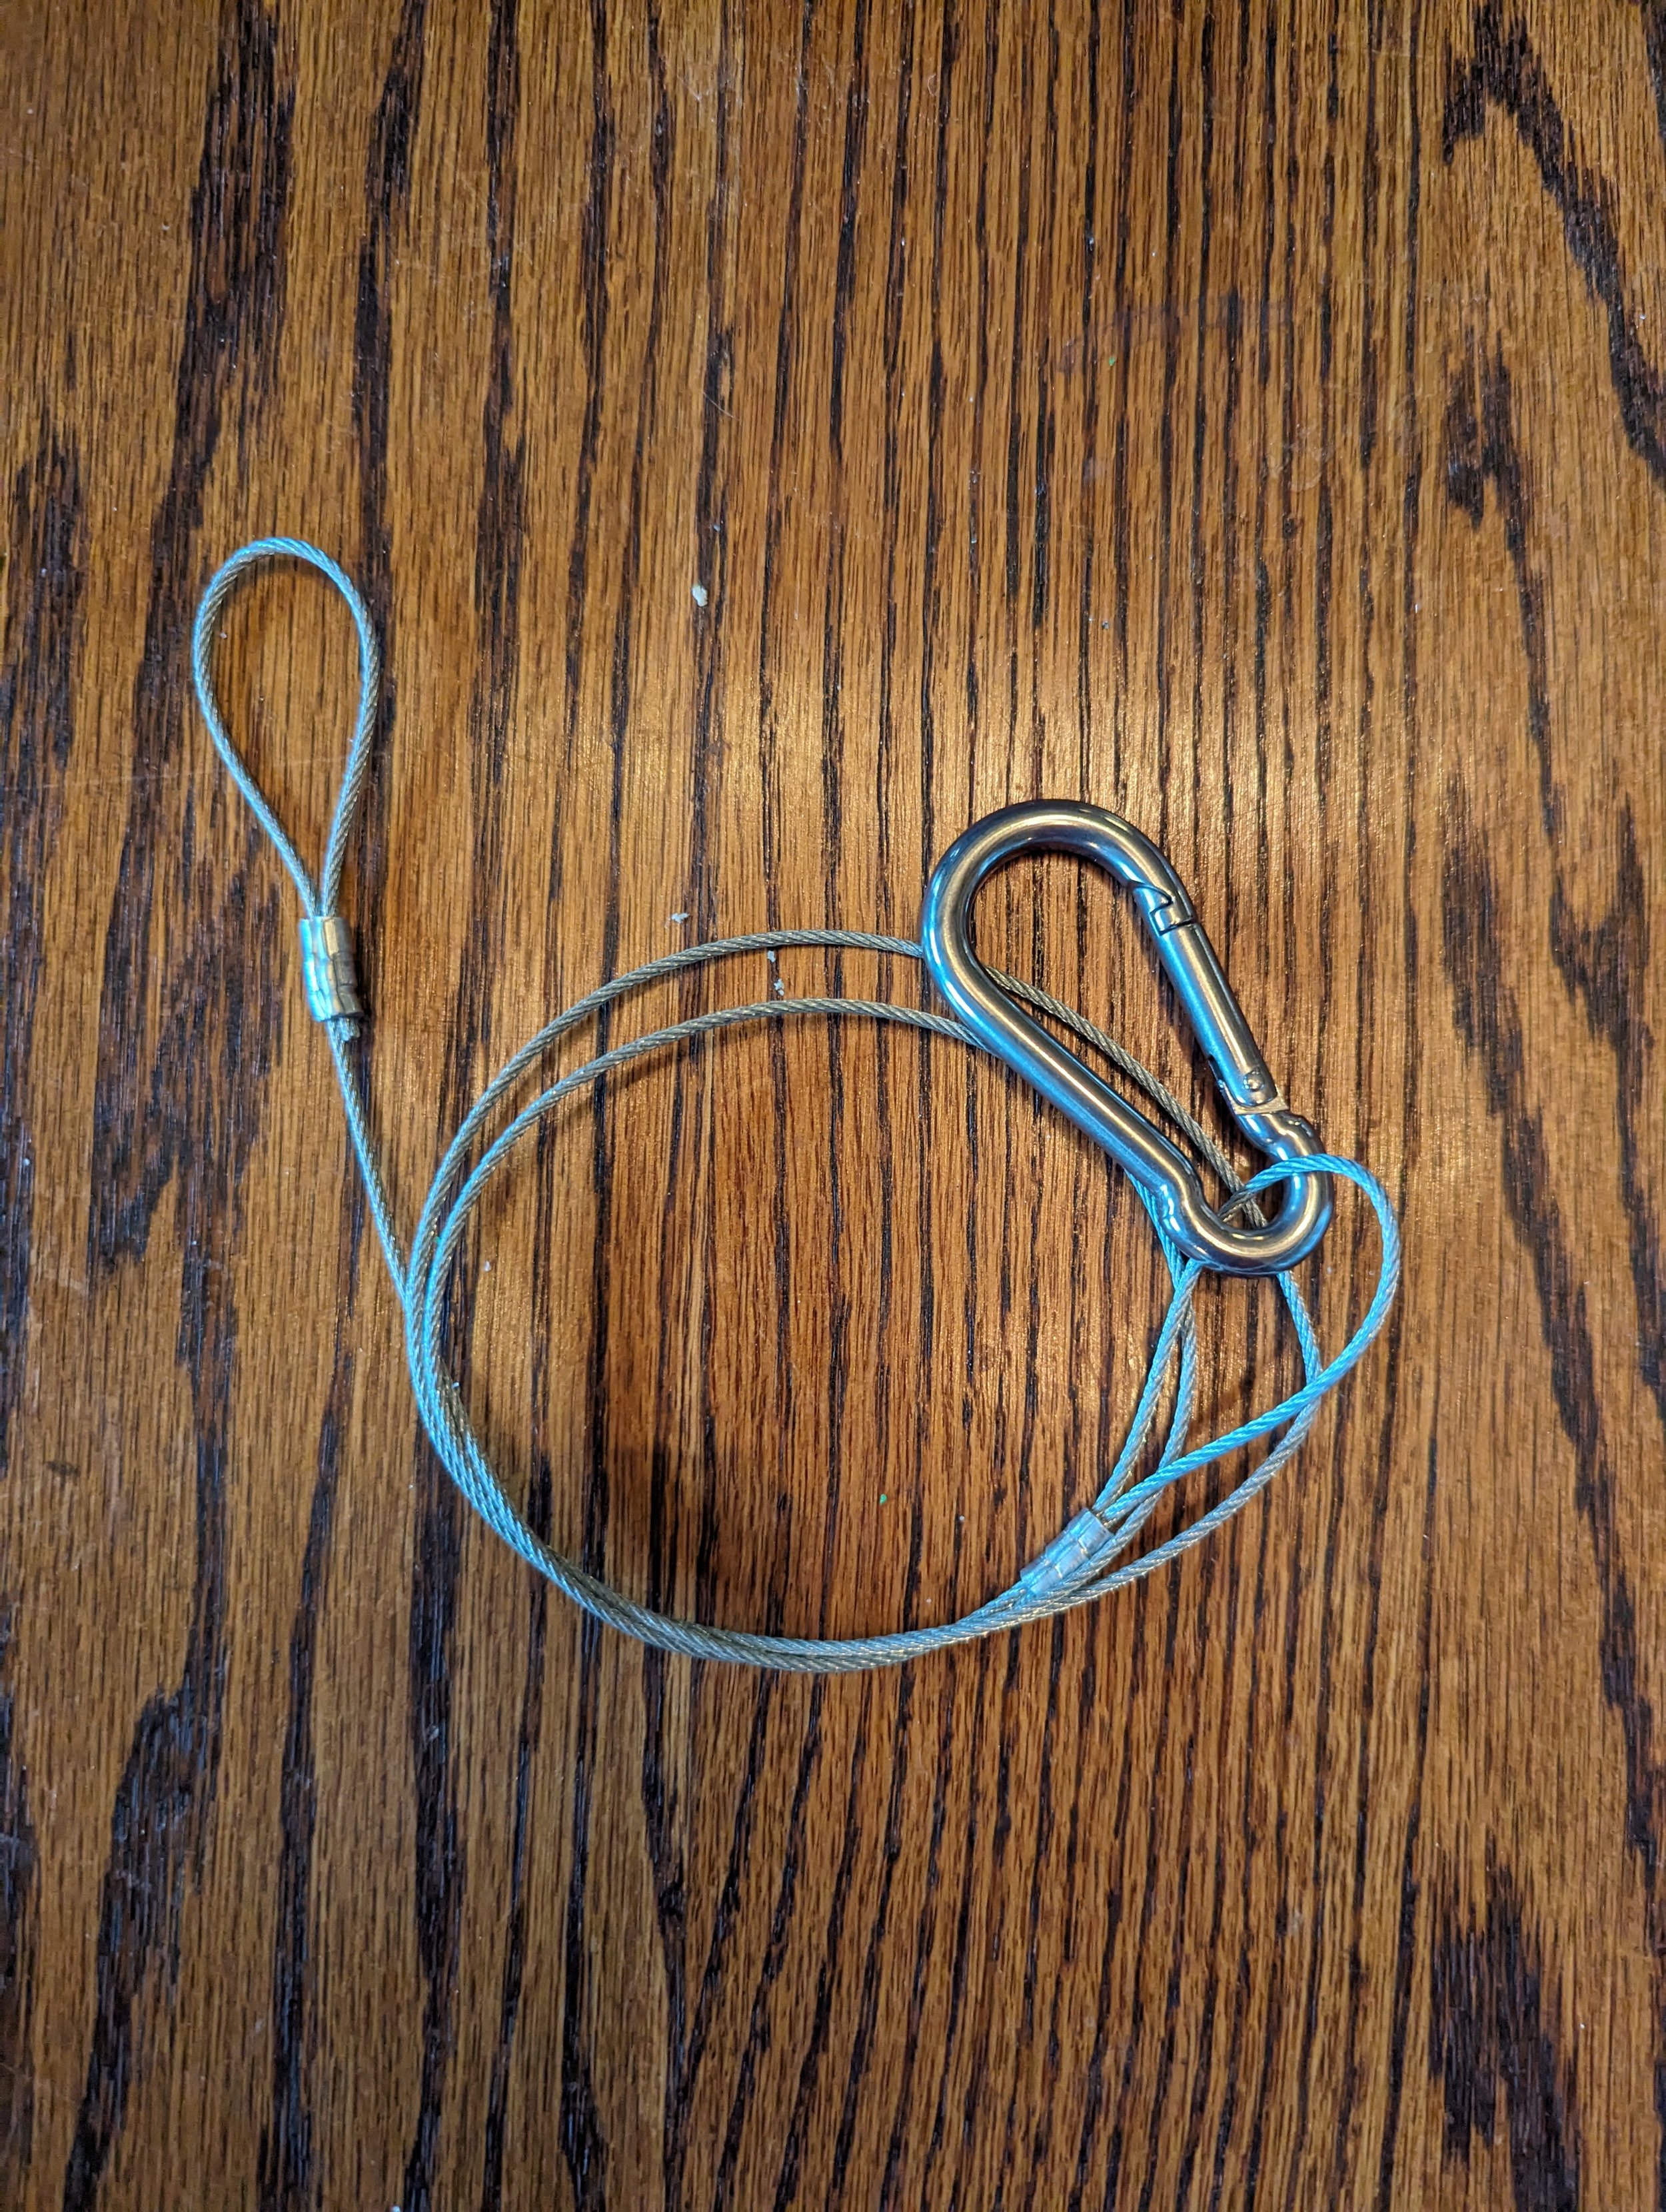
Mount Anywhere! Don’t forget the safety cable!

Image from ‘supercell by slowdanger’ taken at the Flea theather in New York City. January 2024.

In the film/video realm, GRIP hardware is the unsung hero of lighting and rigging, trusted on film sets, TV shows, and in theaters. This gear, designed to support hefty lighting rigs for extended periods, can be the perfect match for your projector mounting needs.

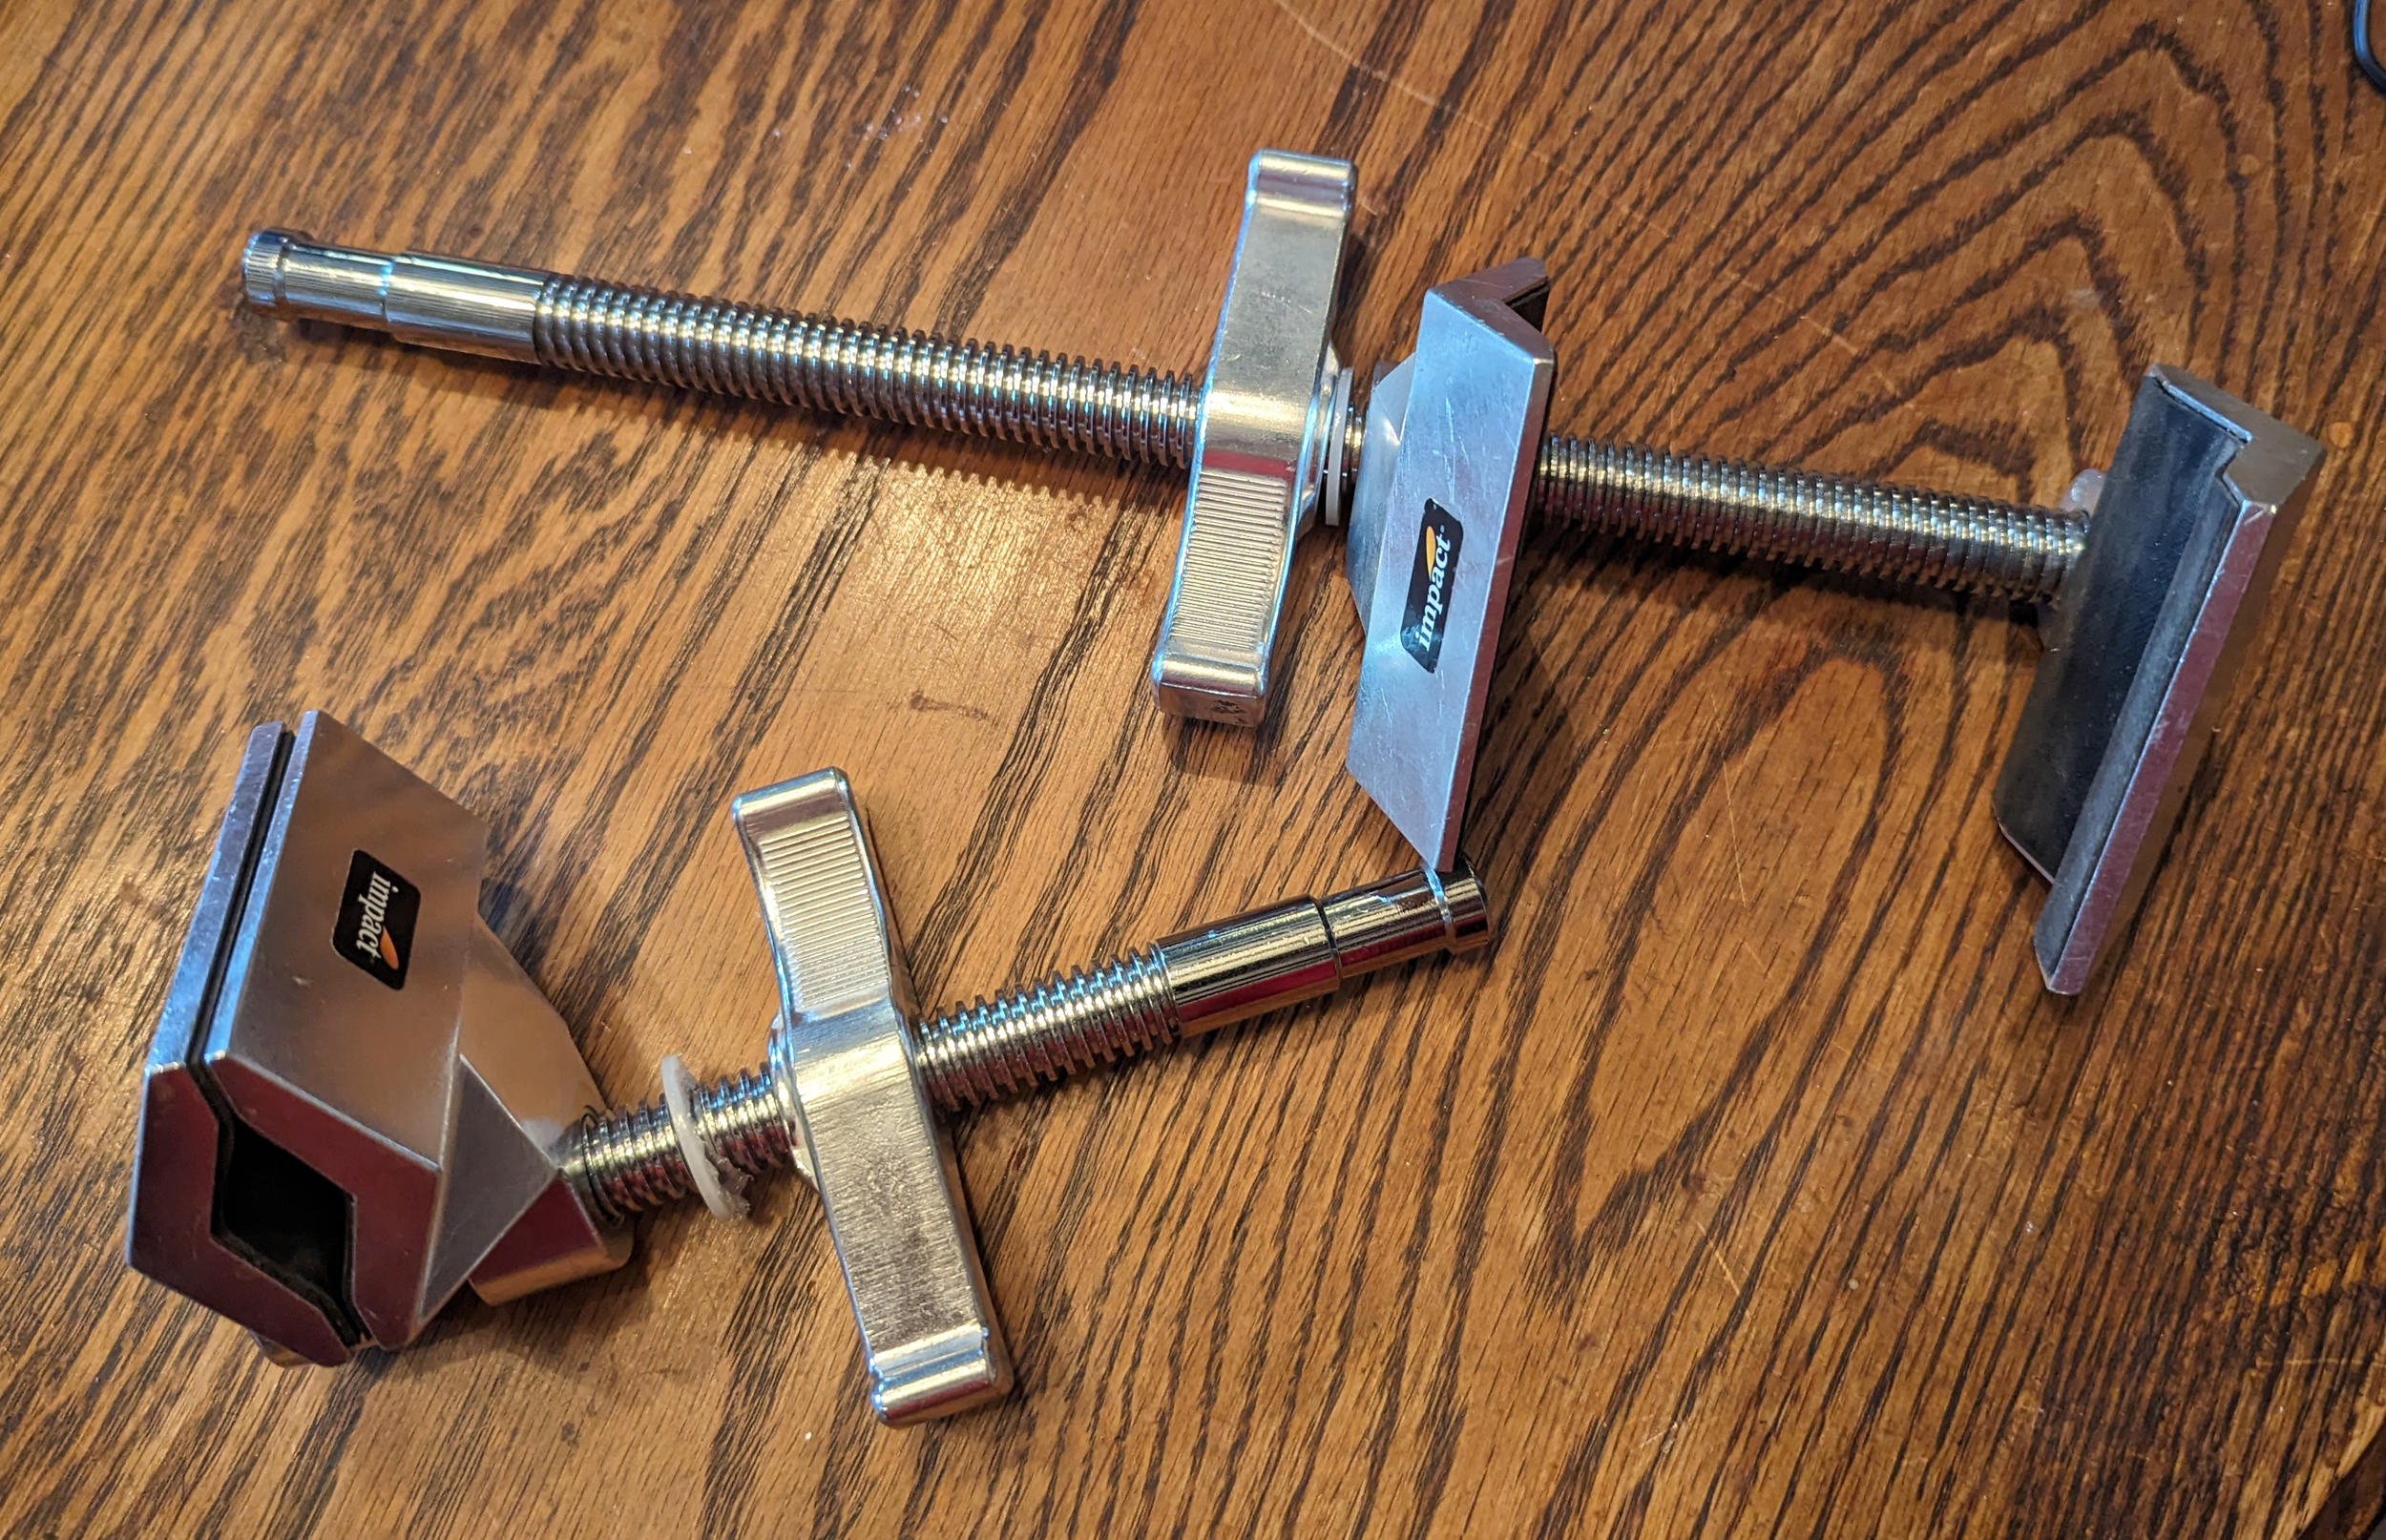
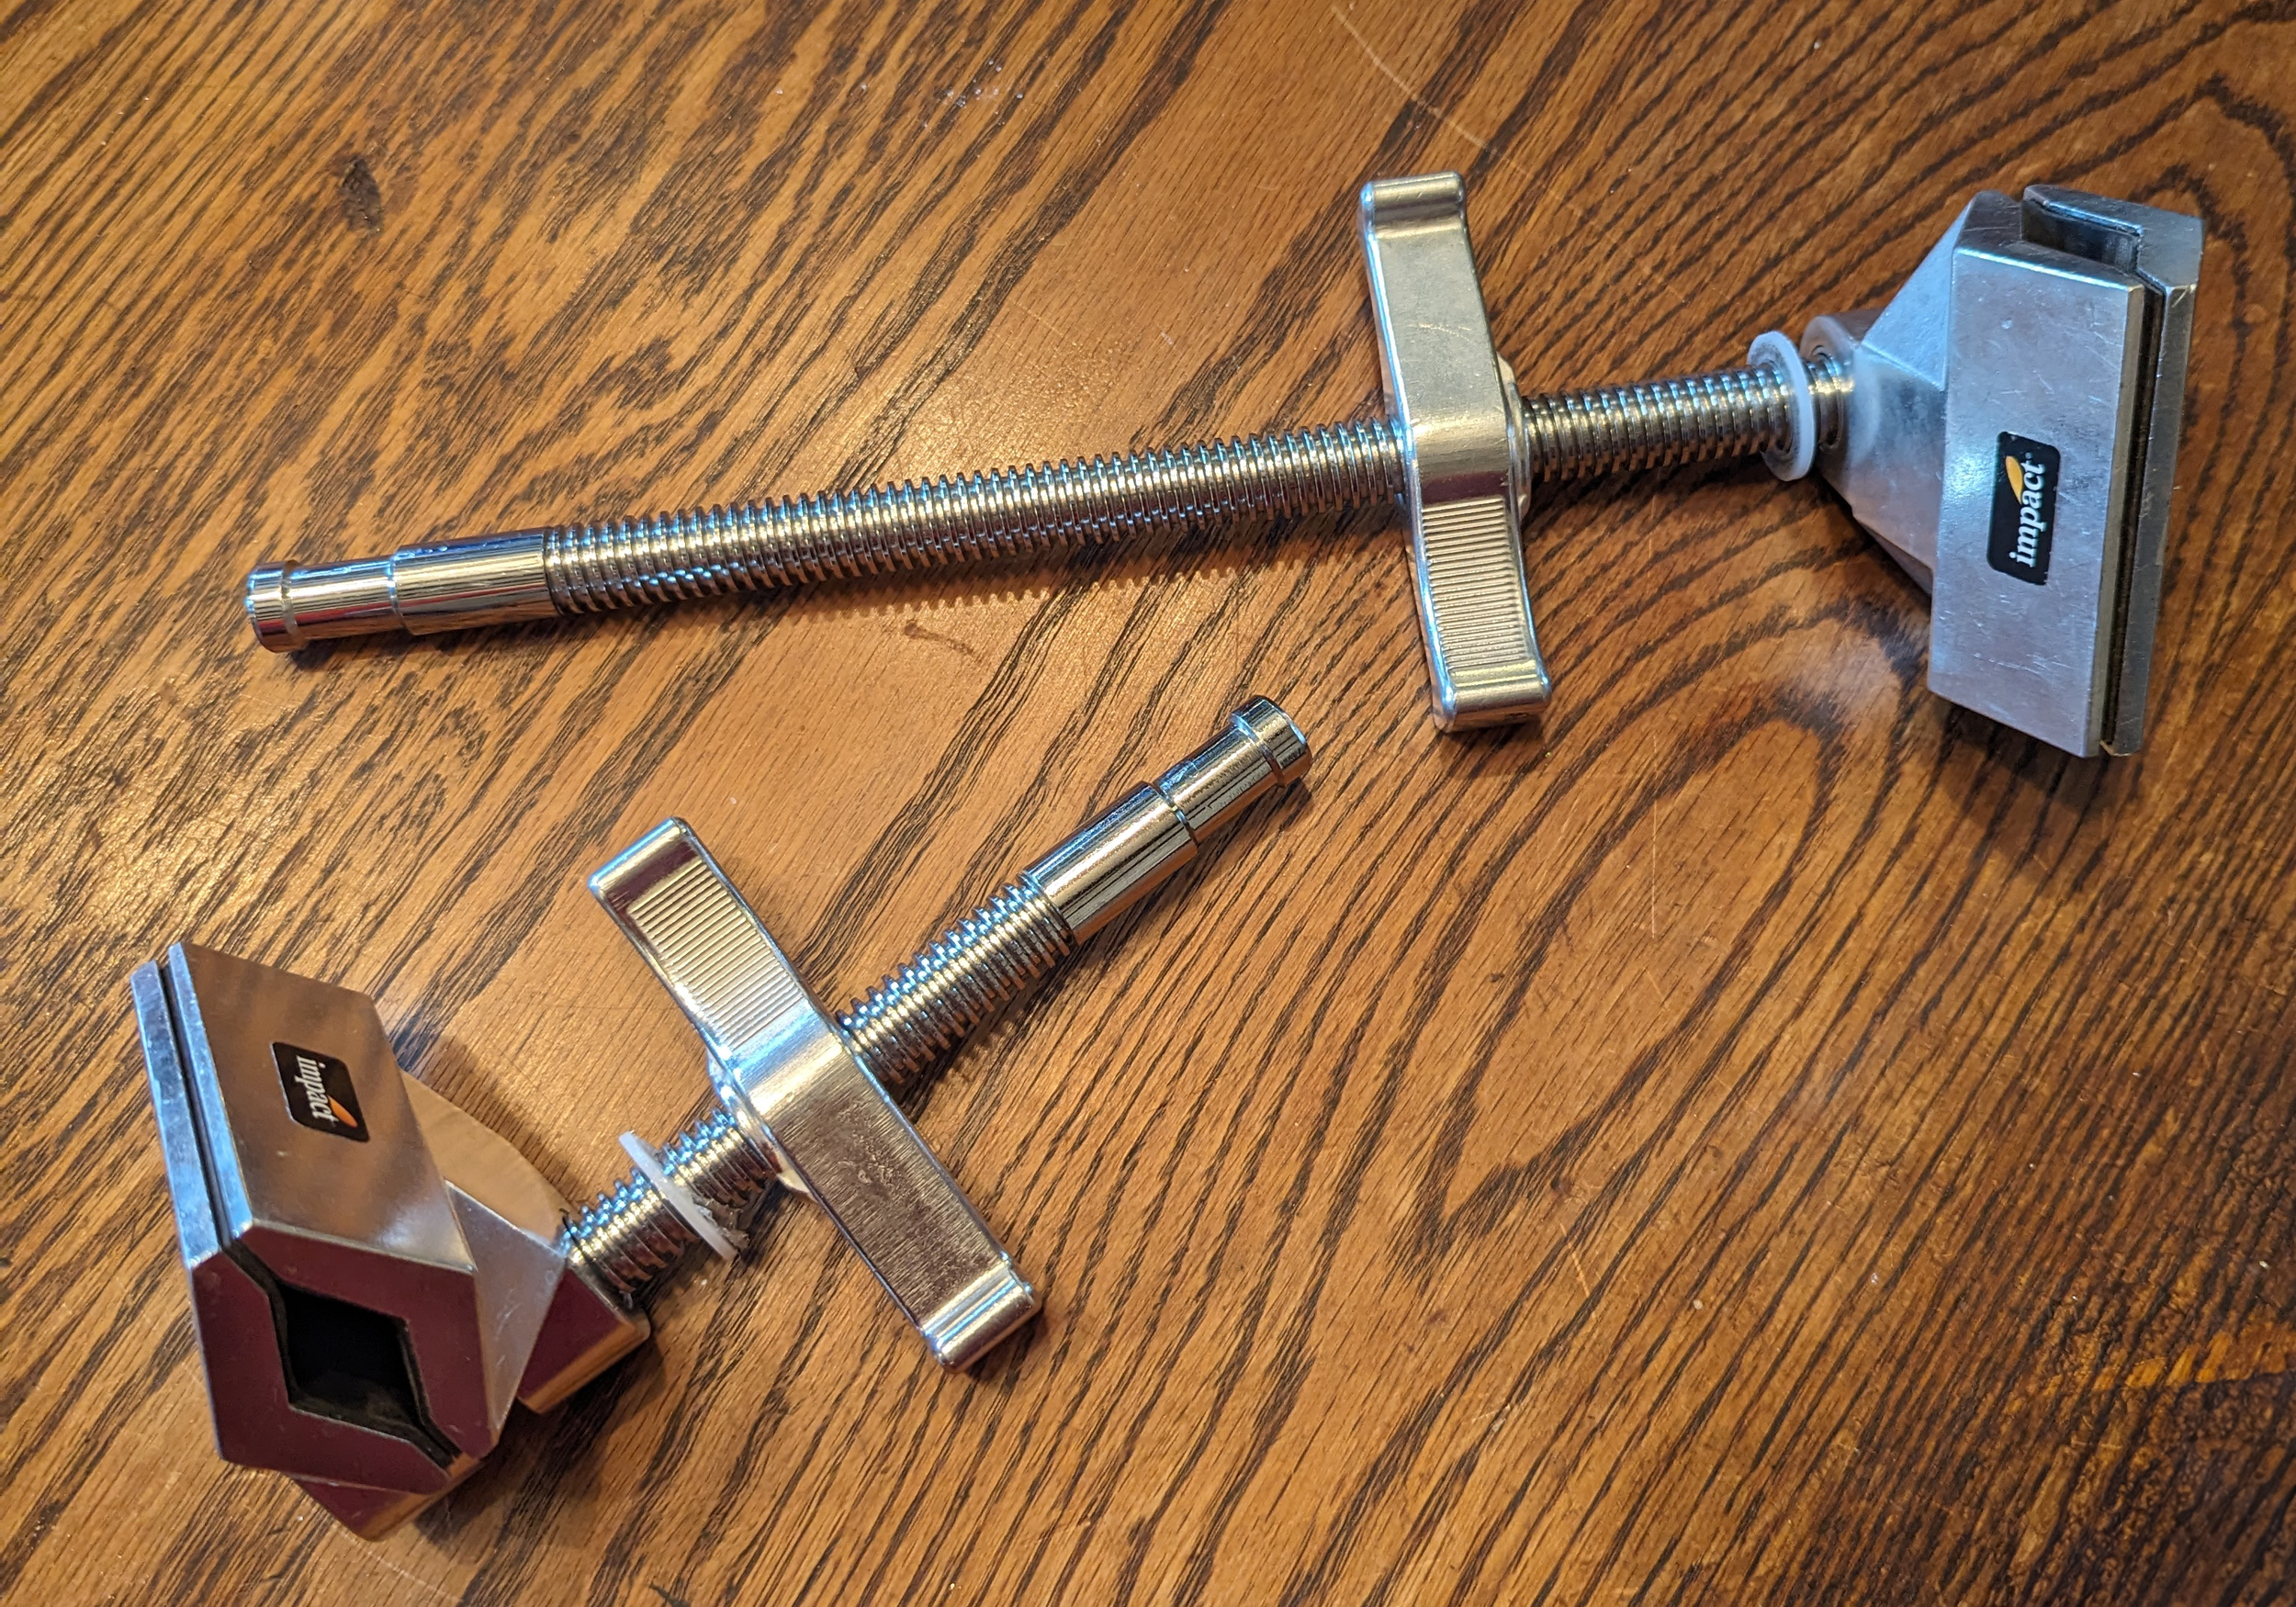
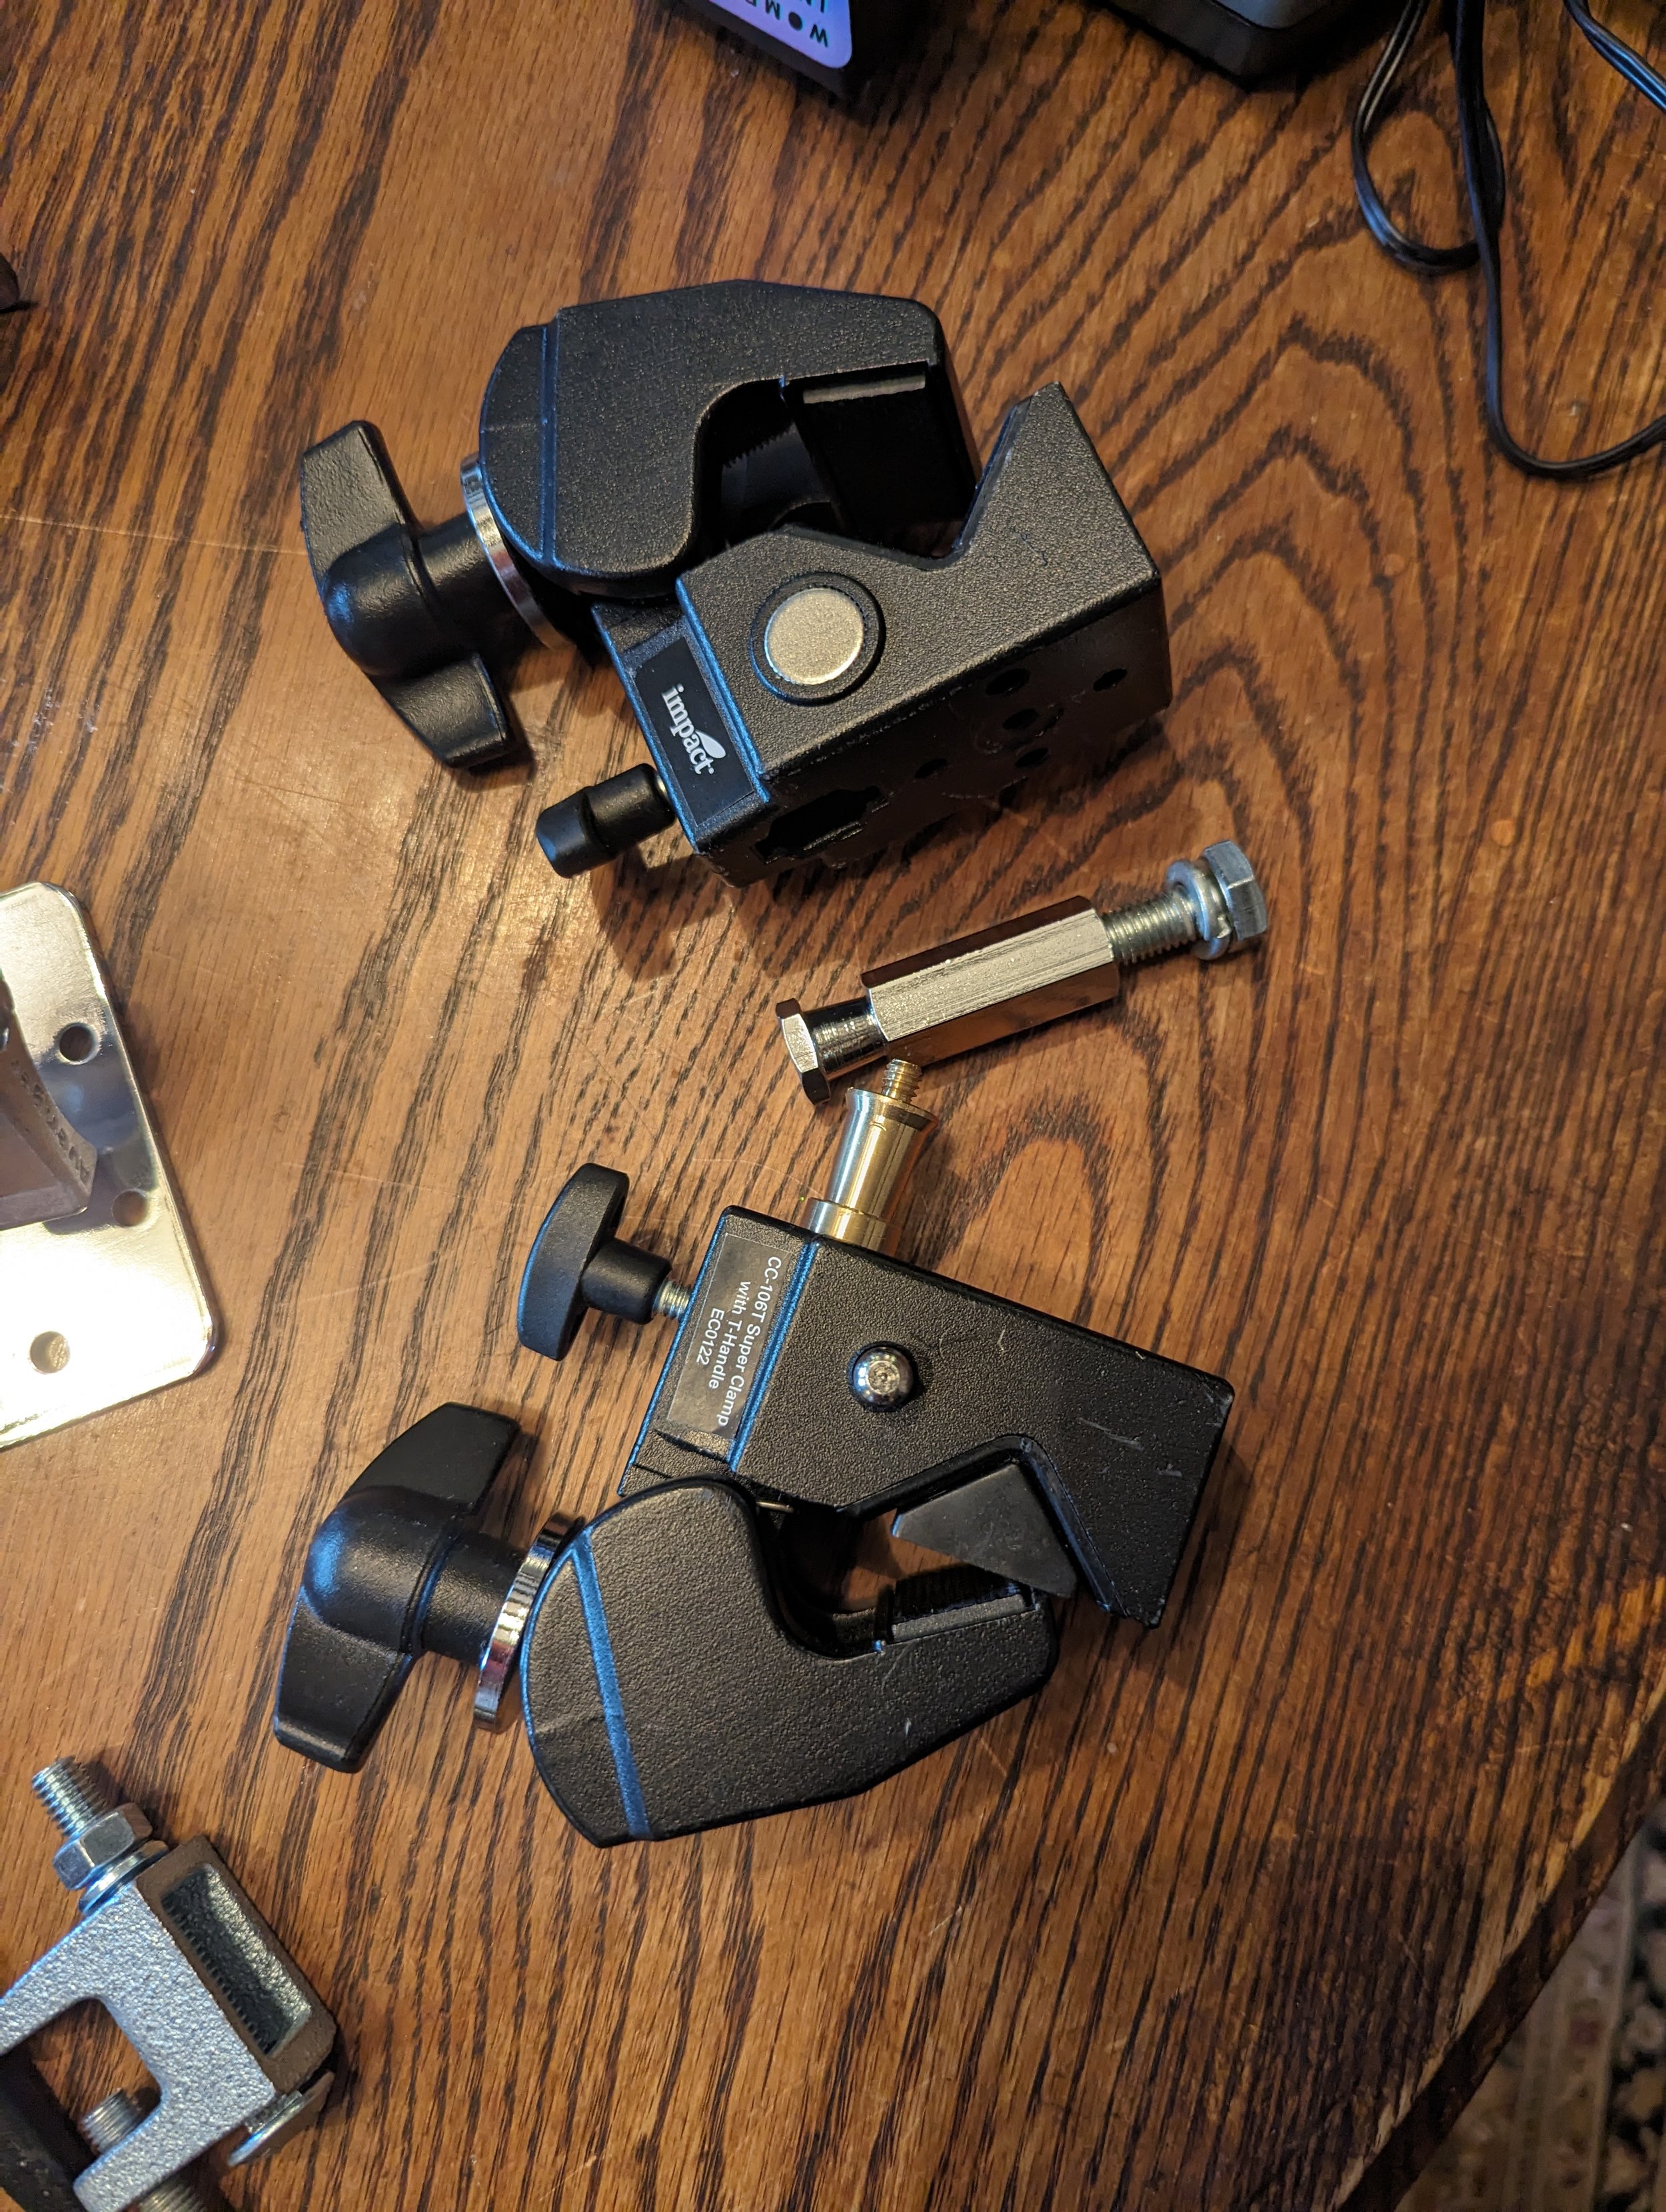
Lots of metal bits for any type of installation. It only gets strange when explaining to TSA!

Adaptable and Accessible: The ⅝" Baby Pin Connection

3” Baby Pin Wall plate attached with a custom made 3D printed mount for Optoma Projectors that works with Impact and Manfrotto plates.

At the core of this hardware is the ⅝" Baby Pin connector – a versatile link that works wonders for small to medium-sized projectors. If you're dealing with a large event projector, chances are it comes with its own secure cage or mounting structure for a safer installation.

The black coupler is a “Double Female Adapter” made by Kupo. The rest is a mix of Manfrotto Avenger and Impact GRIP hardware.

This type of connection opens the door to hundreds, if not thousands, of mounting possibilities. Trusted manufacturers include Impact Lighting (budget-friendly), Manfrotto Avenger Series, Matthews Lighting, and Kupo Lighting.

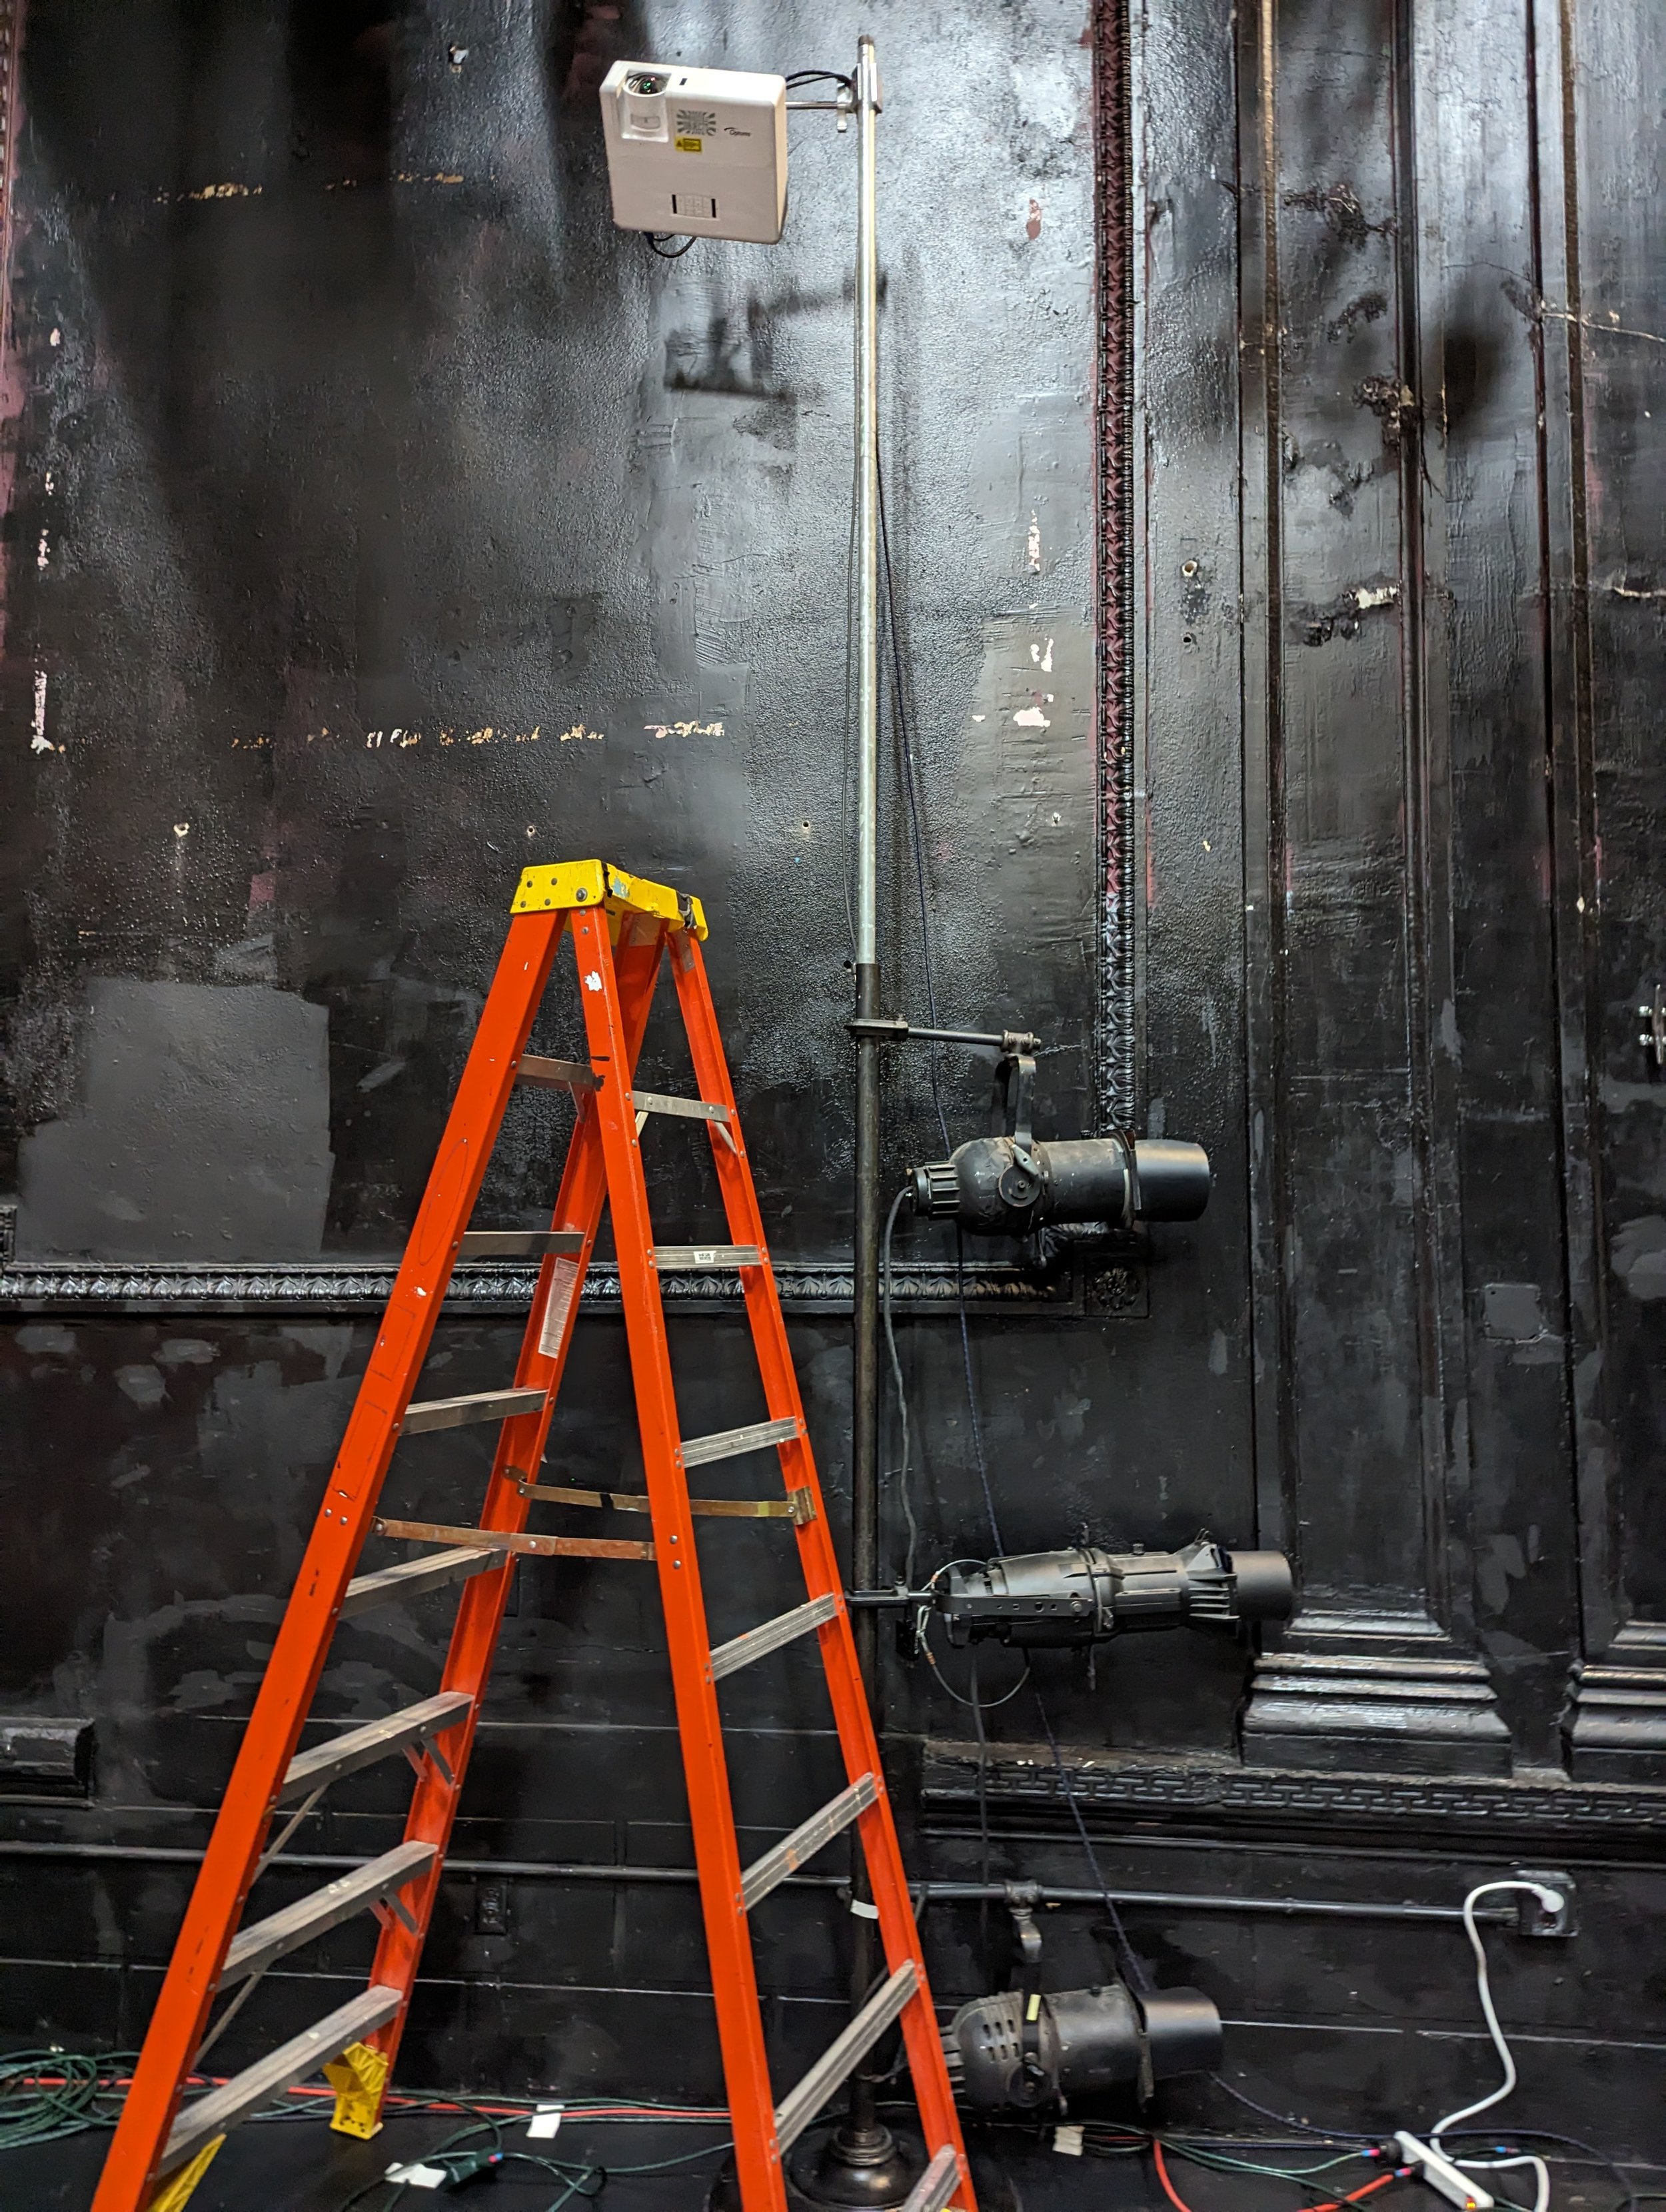
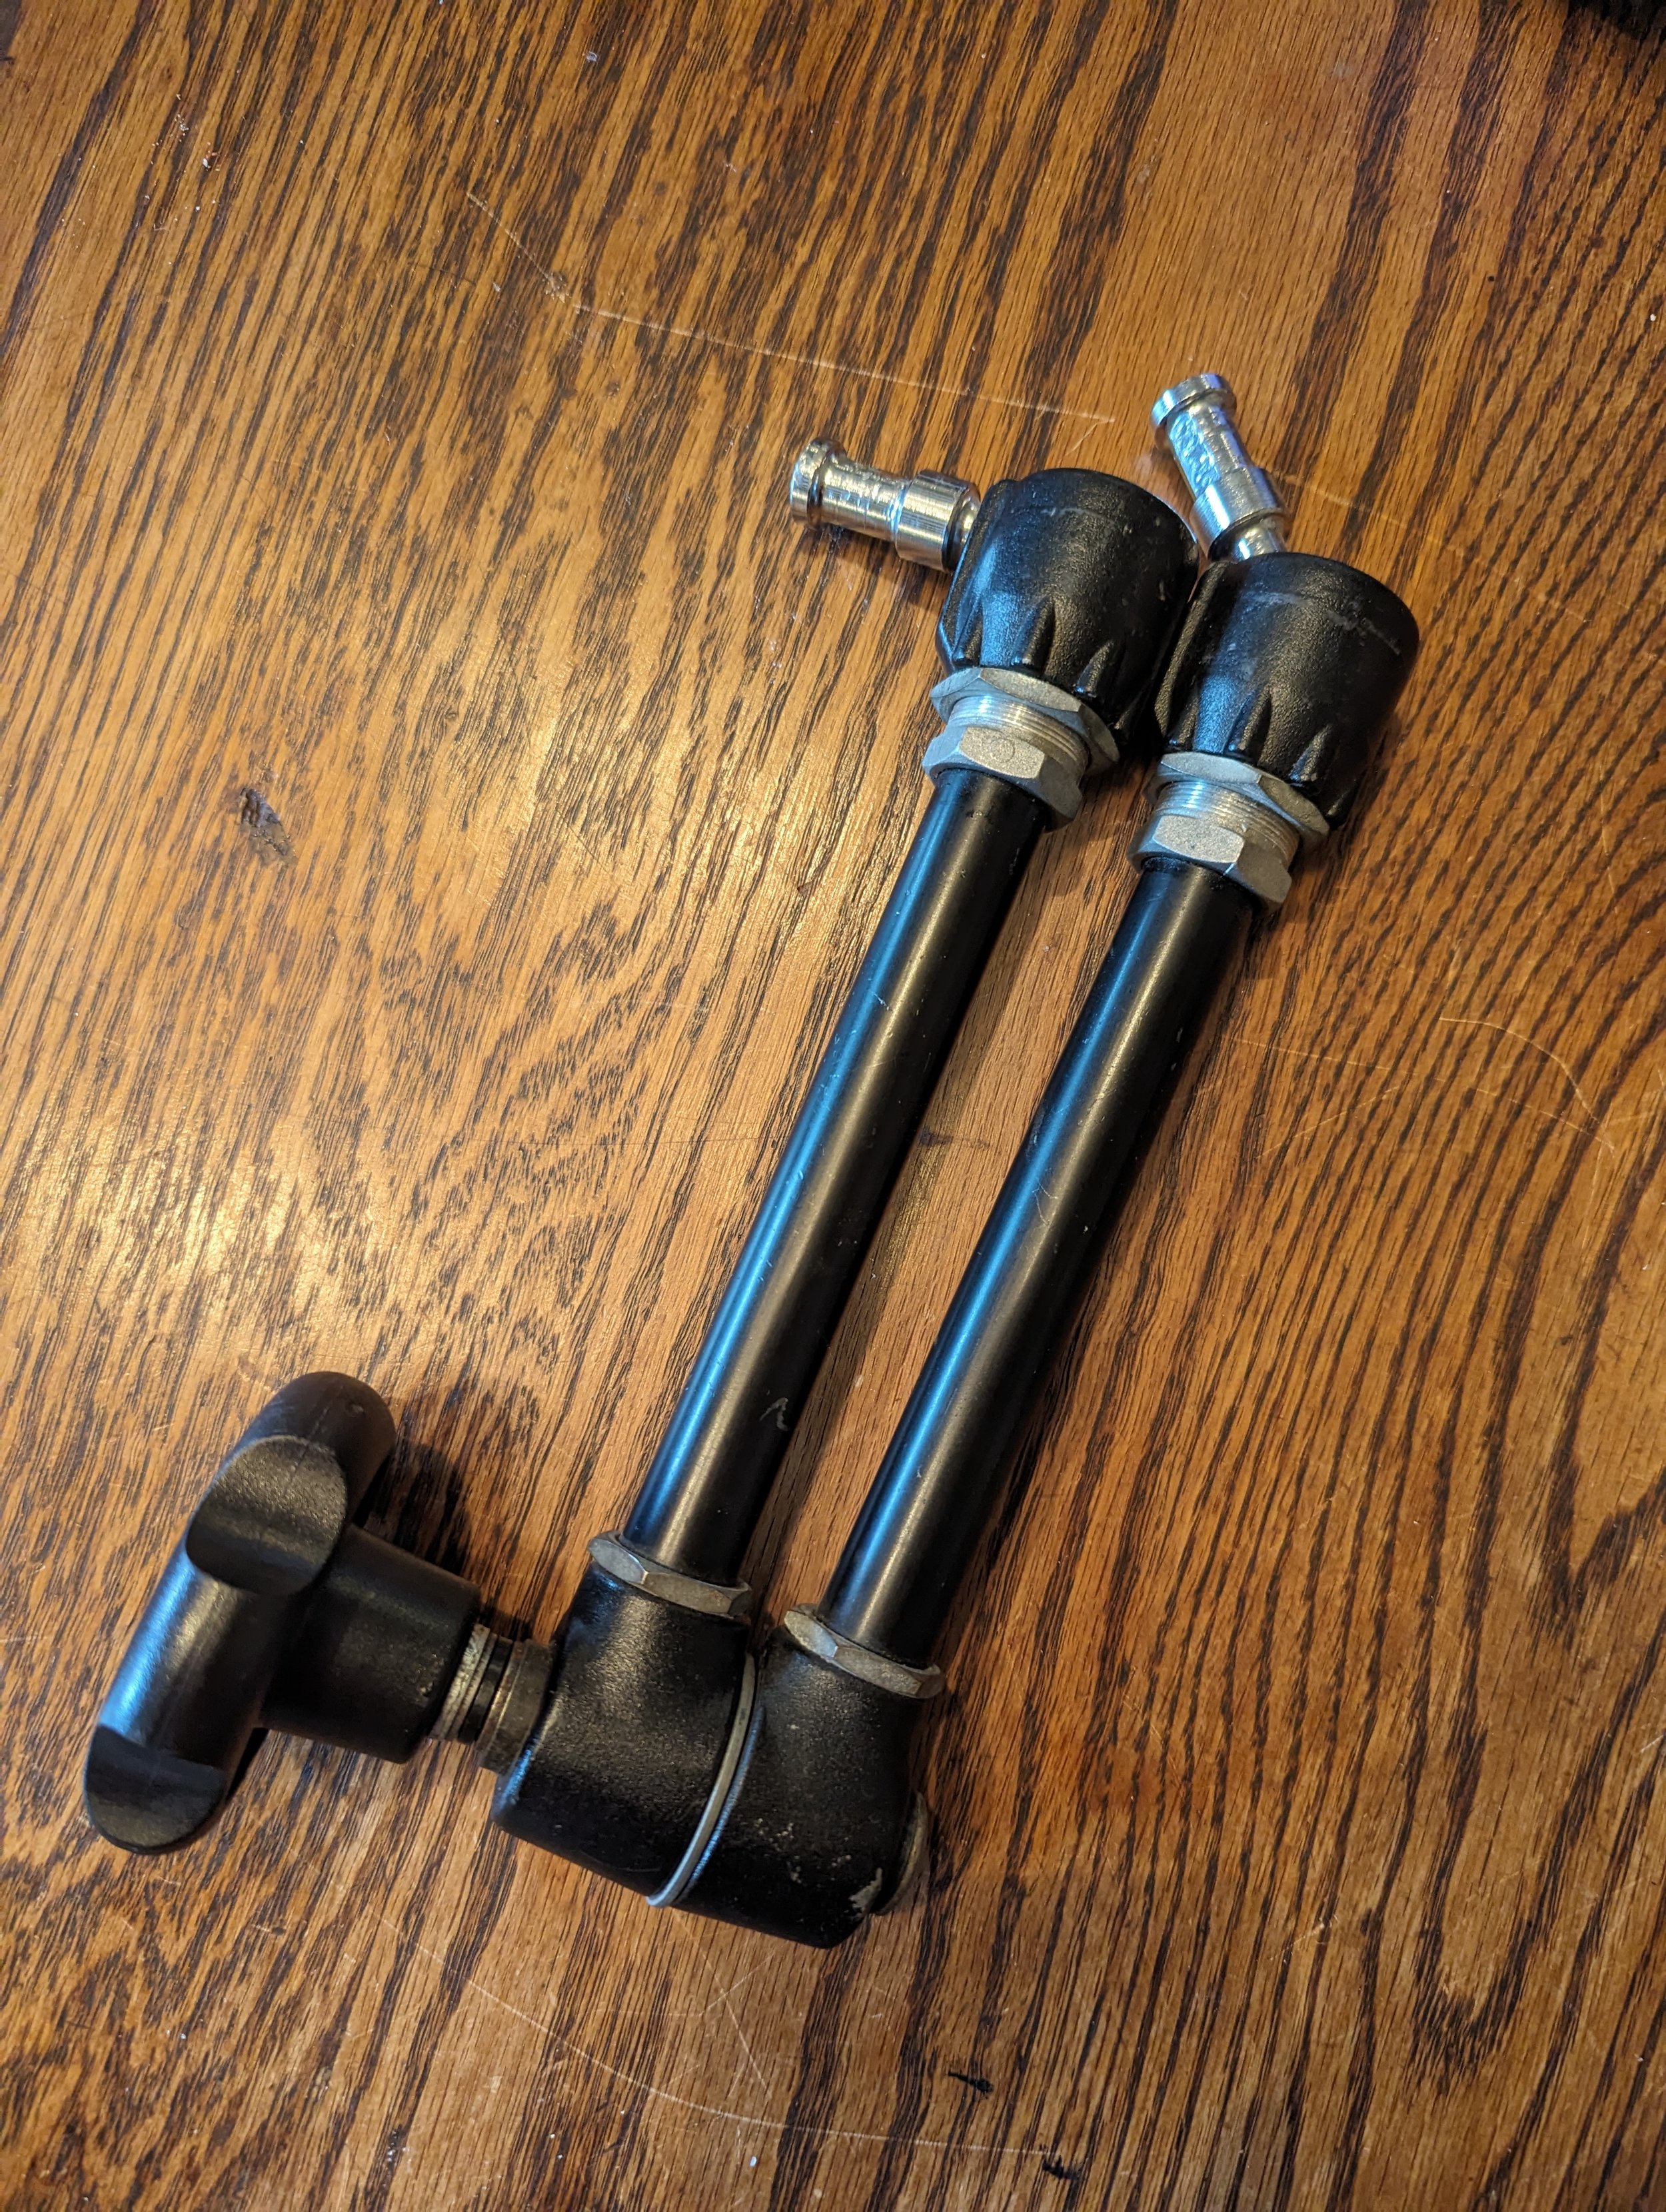
Left: Projector + wood mount with super clamp on a swivel head. Right: Projector with magic arm + wood mount and receiver plate.

The Rigging Essentials: Cardellini Clamps, Jaw Vice Clamps, and More

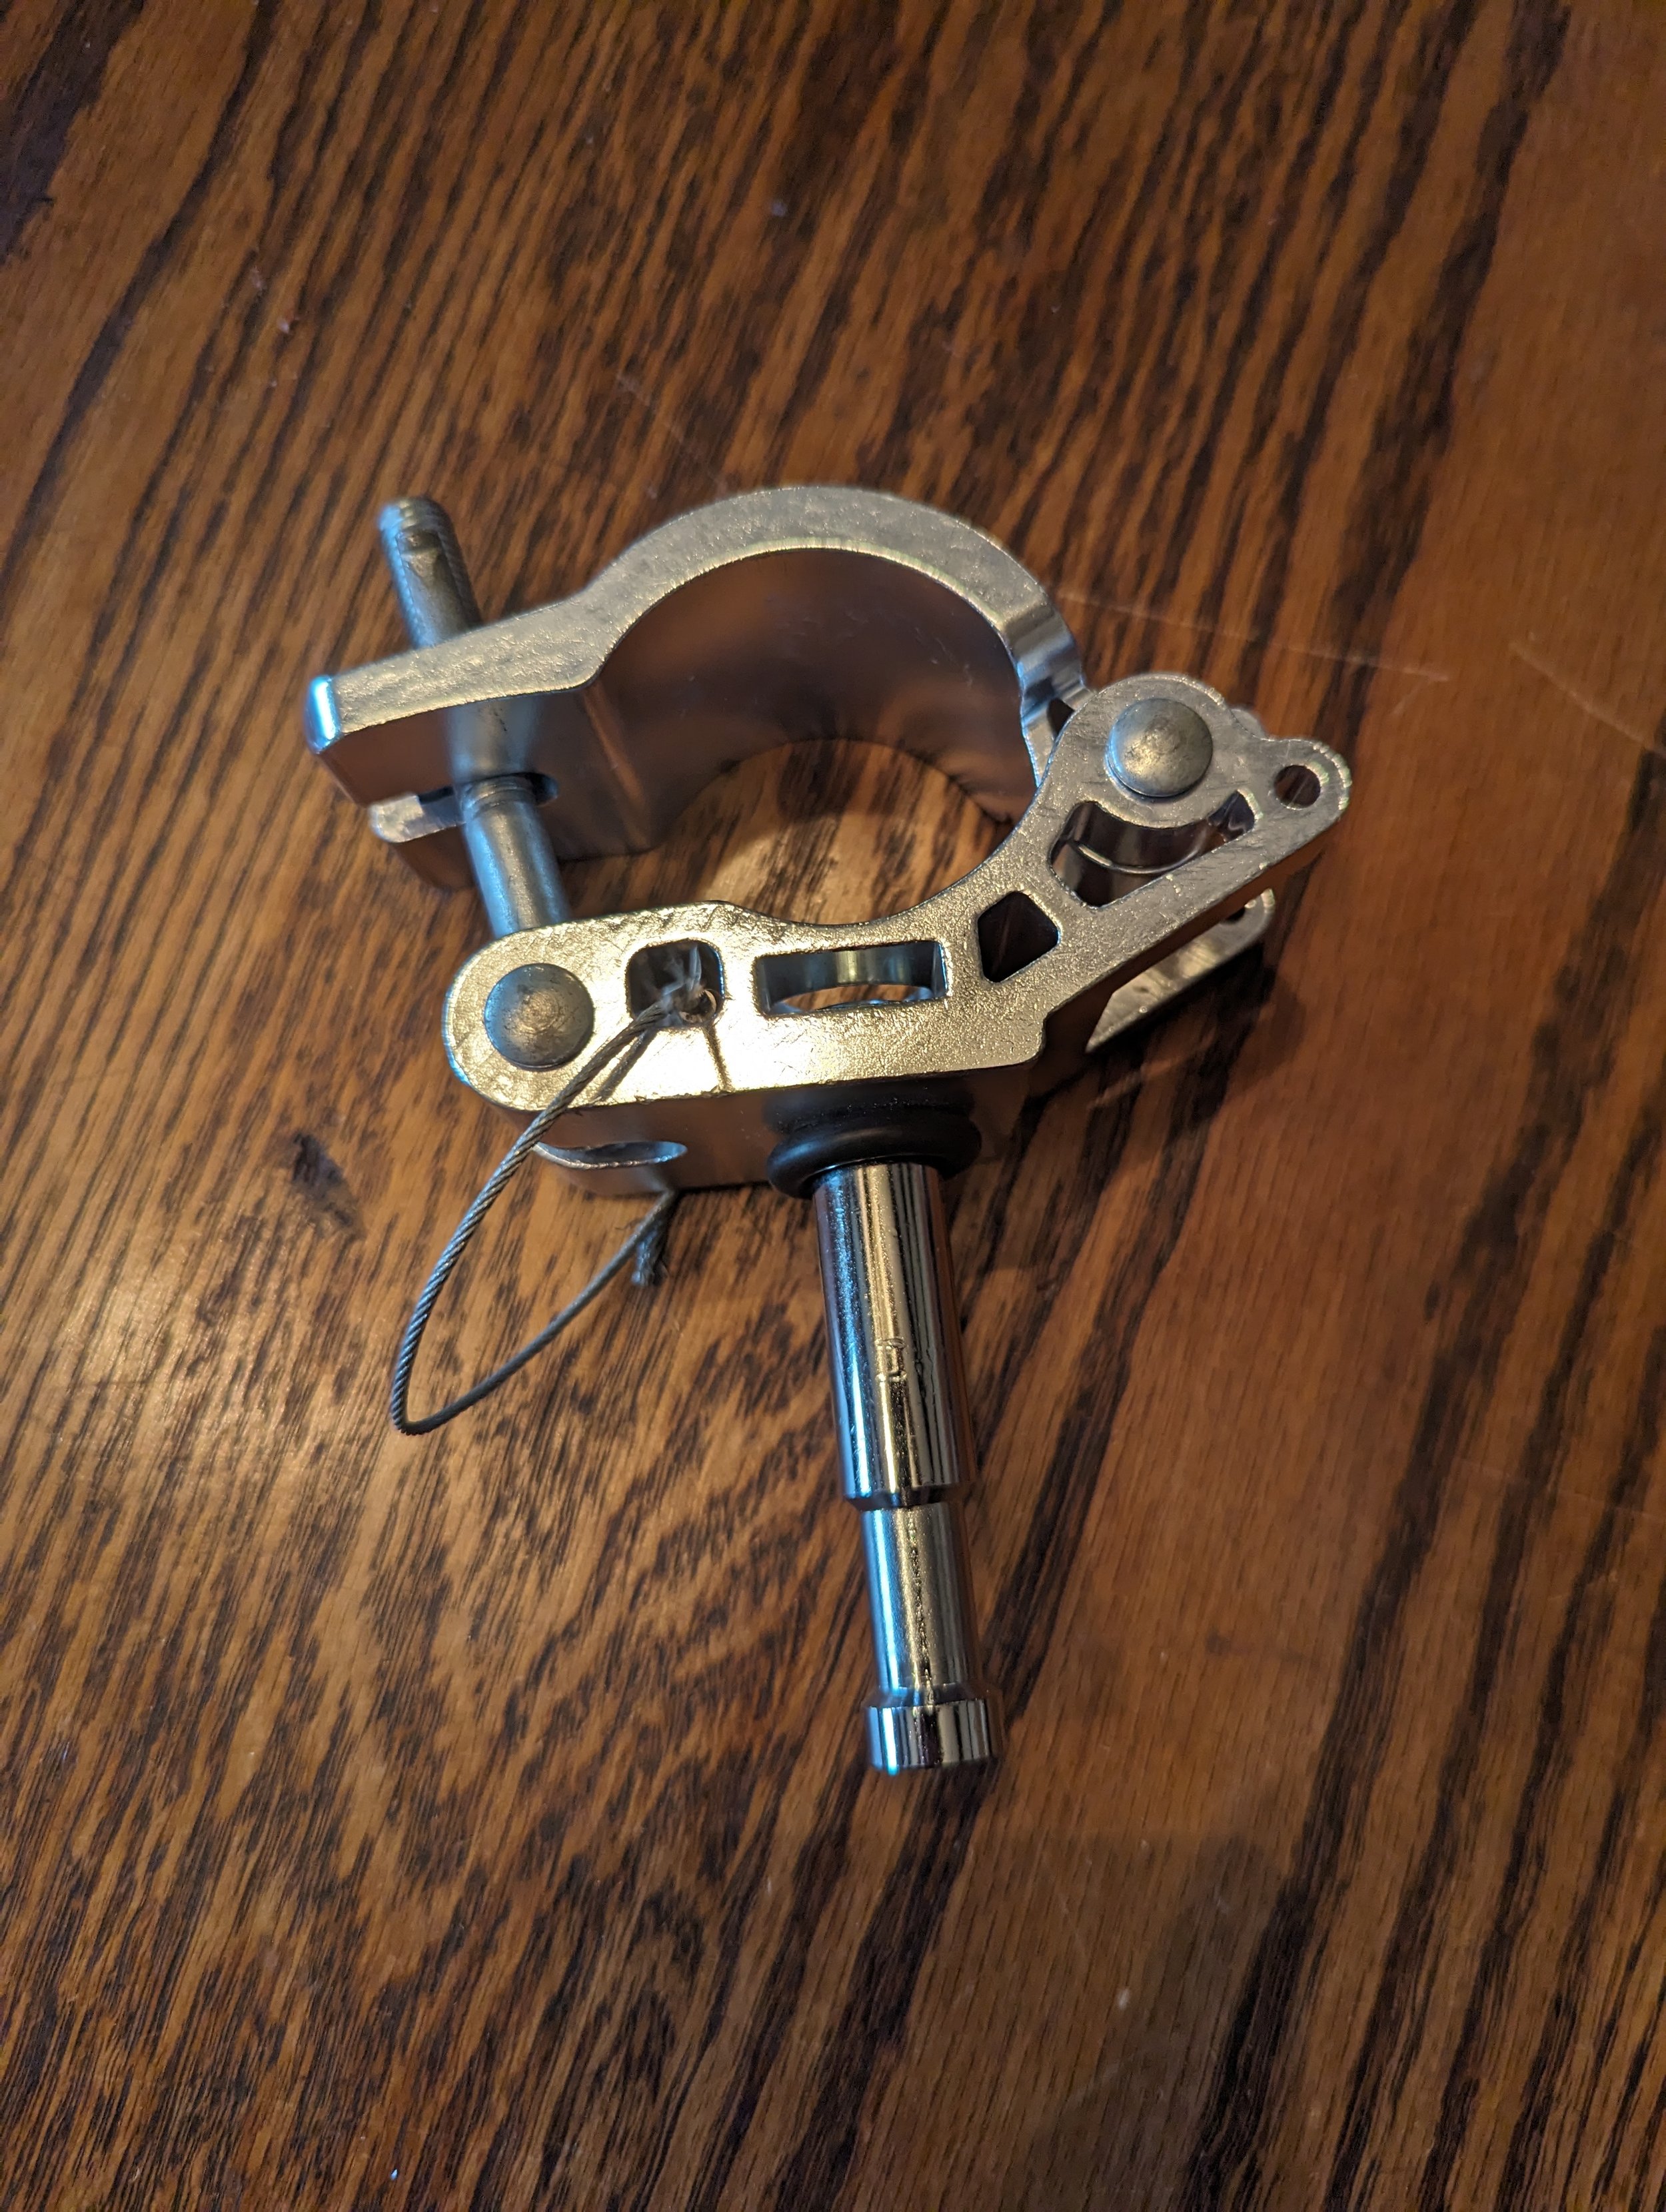
The Cardellini Clamp, affectionately known as a Mathelini in theatrical circles (or alternatively as a Jaw Vice Clamp online), offers an impressive 6"+ range, making it an indispensable tool for securing projectors in diverse scenarios. When paired with an Impact Baby Pin Swivel Head Mount, complete with a sleek black Kupo connector, and anchored by a Manfrotto Avenger ⅝" baby pin receiver, this setup guarantees both stability and flexibility.

While different brands may come with varying price tags, their performance is generally comparable. However, it's worth noting that complications can arise when mixing brands, as they may have slightly different pin "lock" heights (the indentation at the top of the baby pin). Although it's possible to mix and match, optimal connectivity is often achieved when sticking to the same brand for all components in your hardware ensemble. (Link to 2” vice clamp)

This hardware is strong!

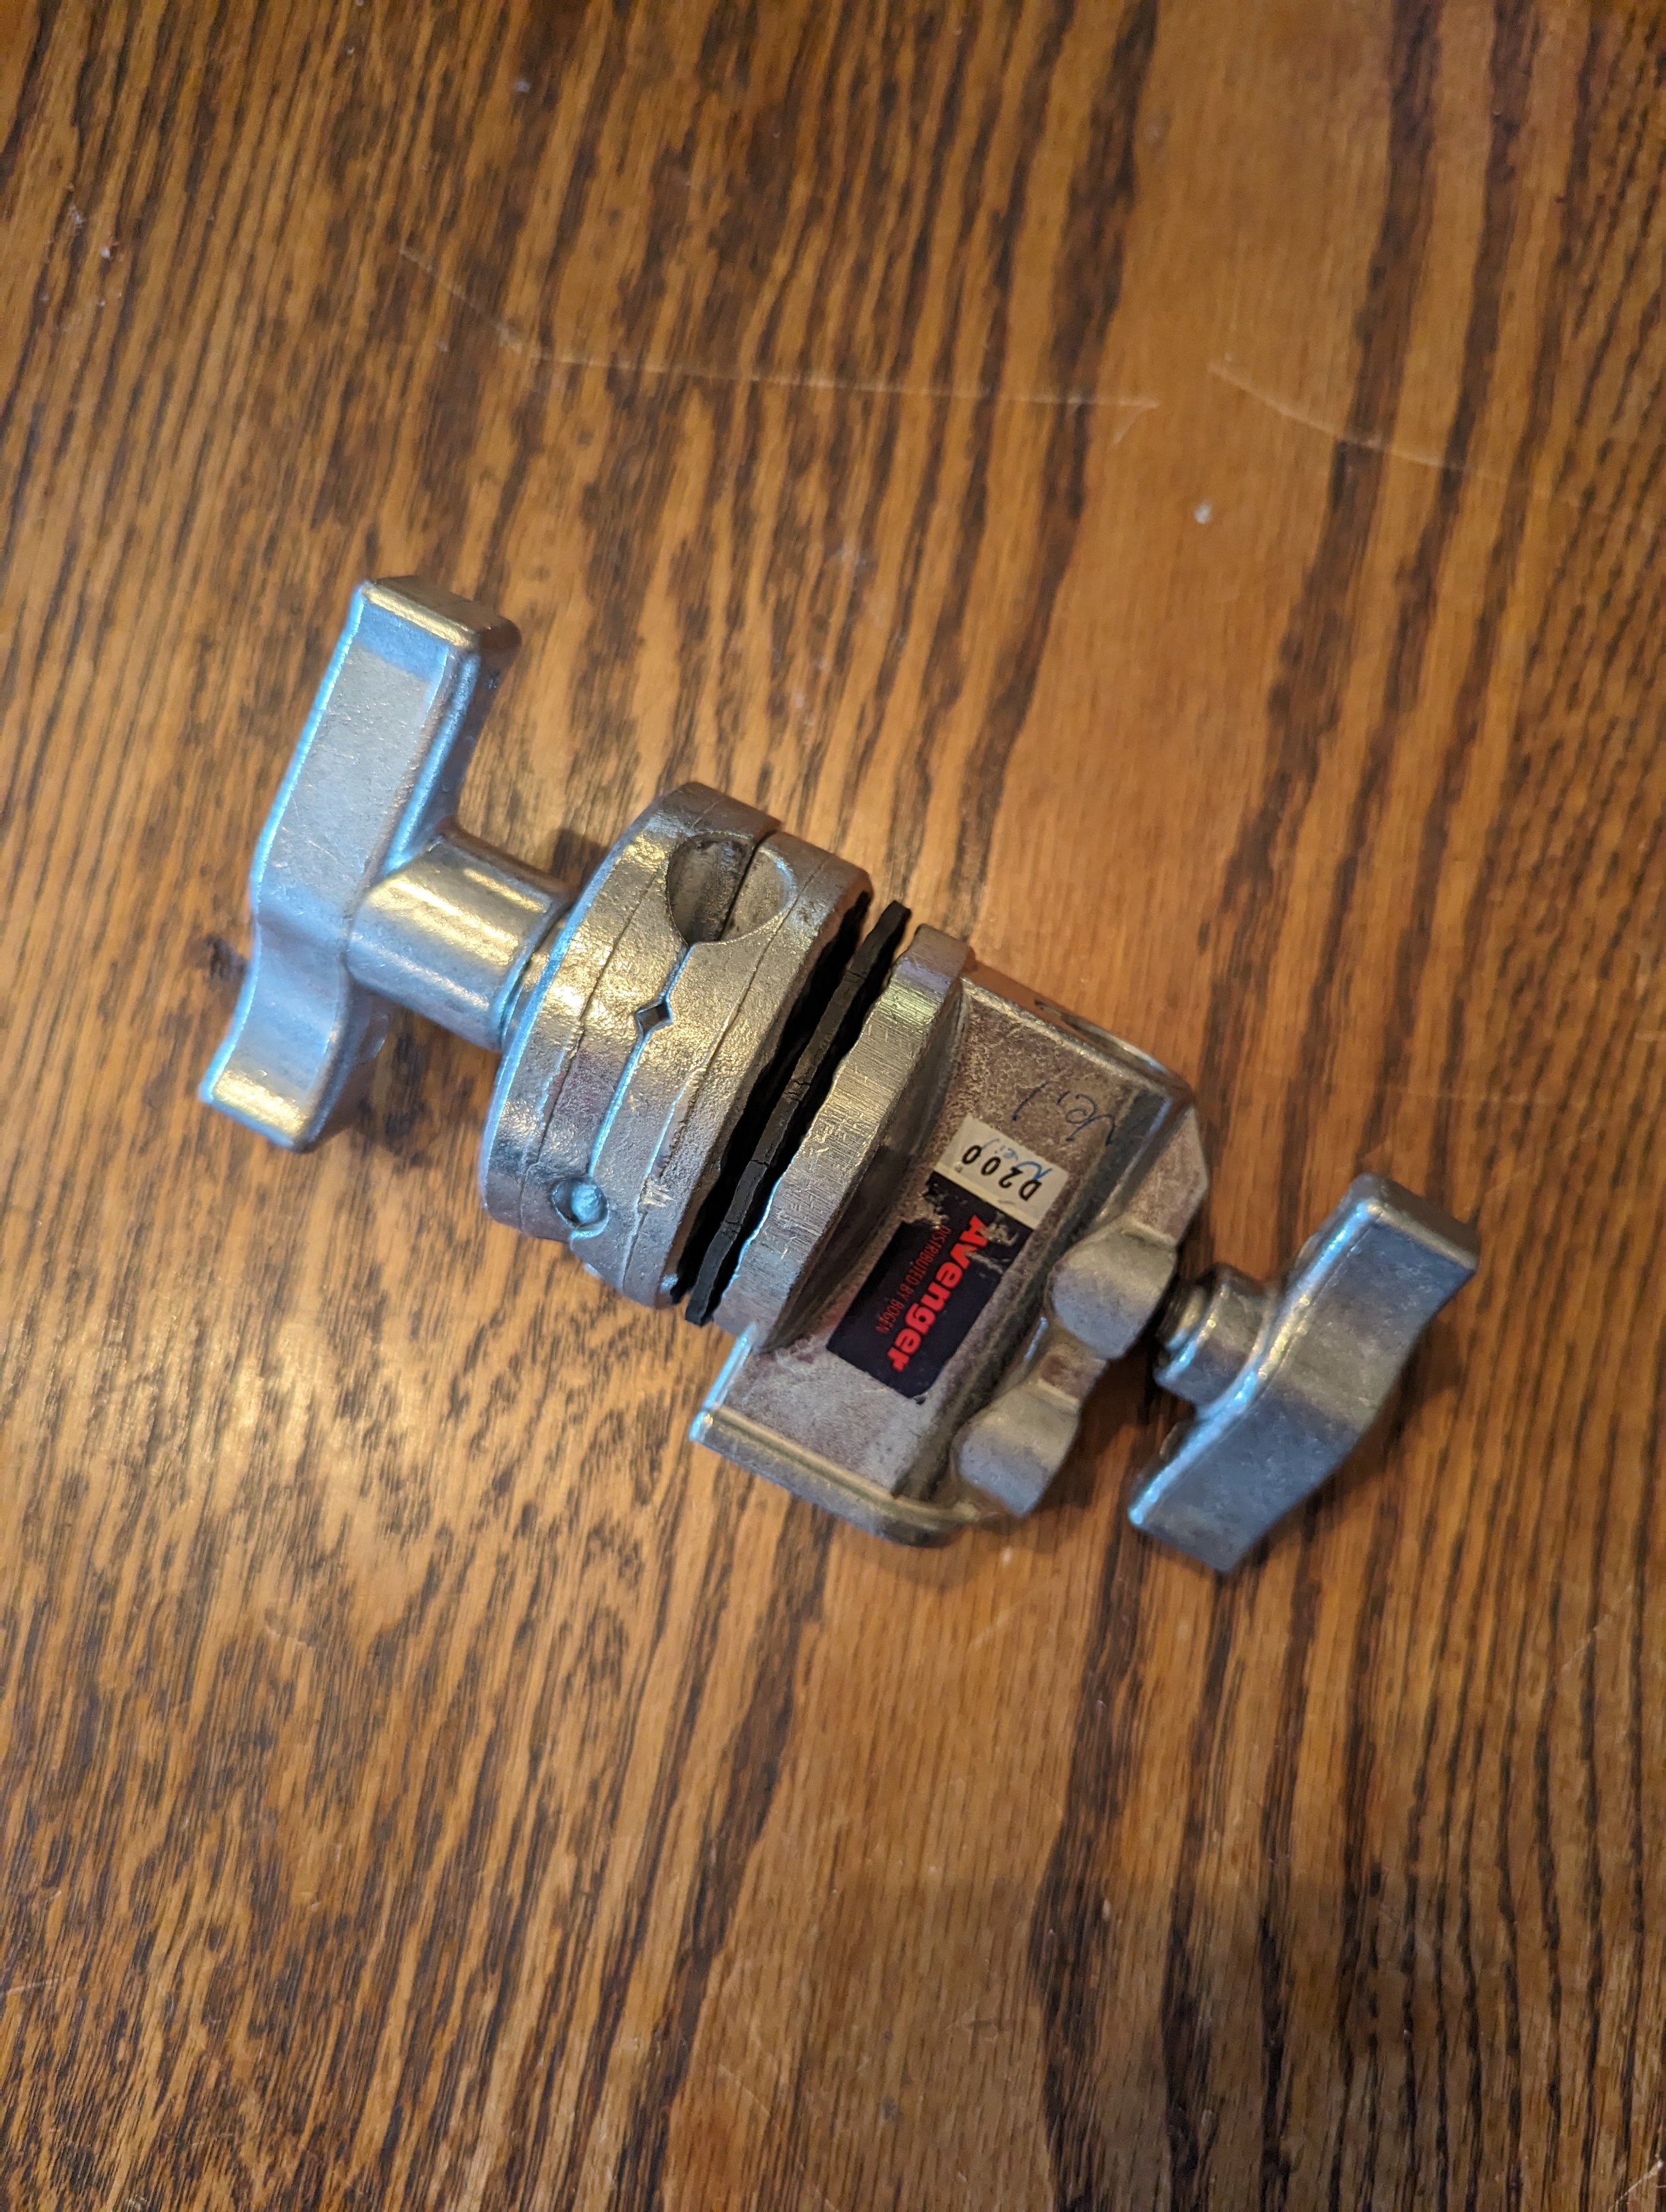
Seriously, this Manfrotto Super Clamp survived years outside and even made it through a hurricane! (video) (It was only holding a camera, but still).

Once tightened in place, these components stand firm, even under the weight of heavy projectors. However, for added security, never forget the importance of a safety cable – a 1/16" aircraft cable that ensures your setup stays put, and it is relatively inexpensive to make your own safety cables after purchasing steel cable cutters and a swaging tool.

Expanding Your Toolkit: Accessories for Seamless Installations

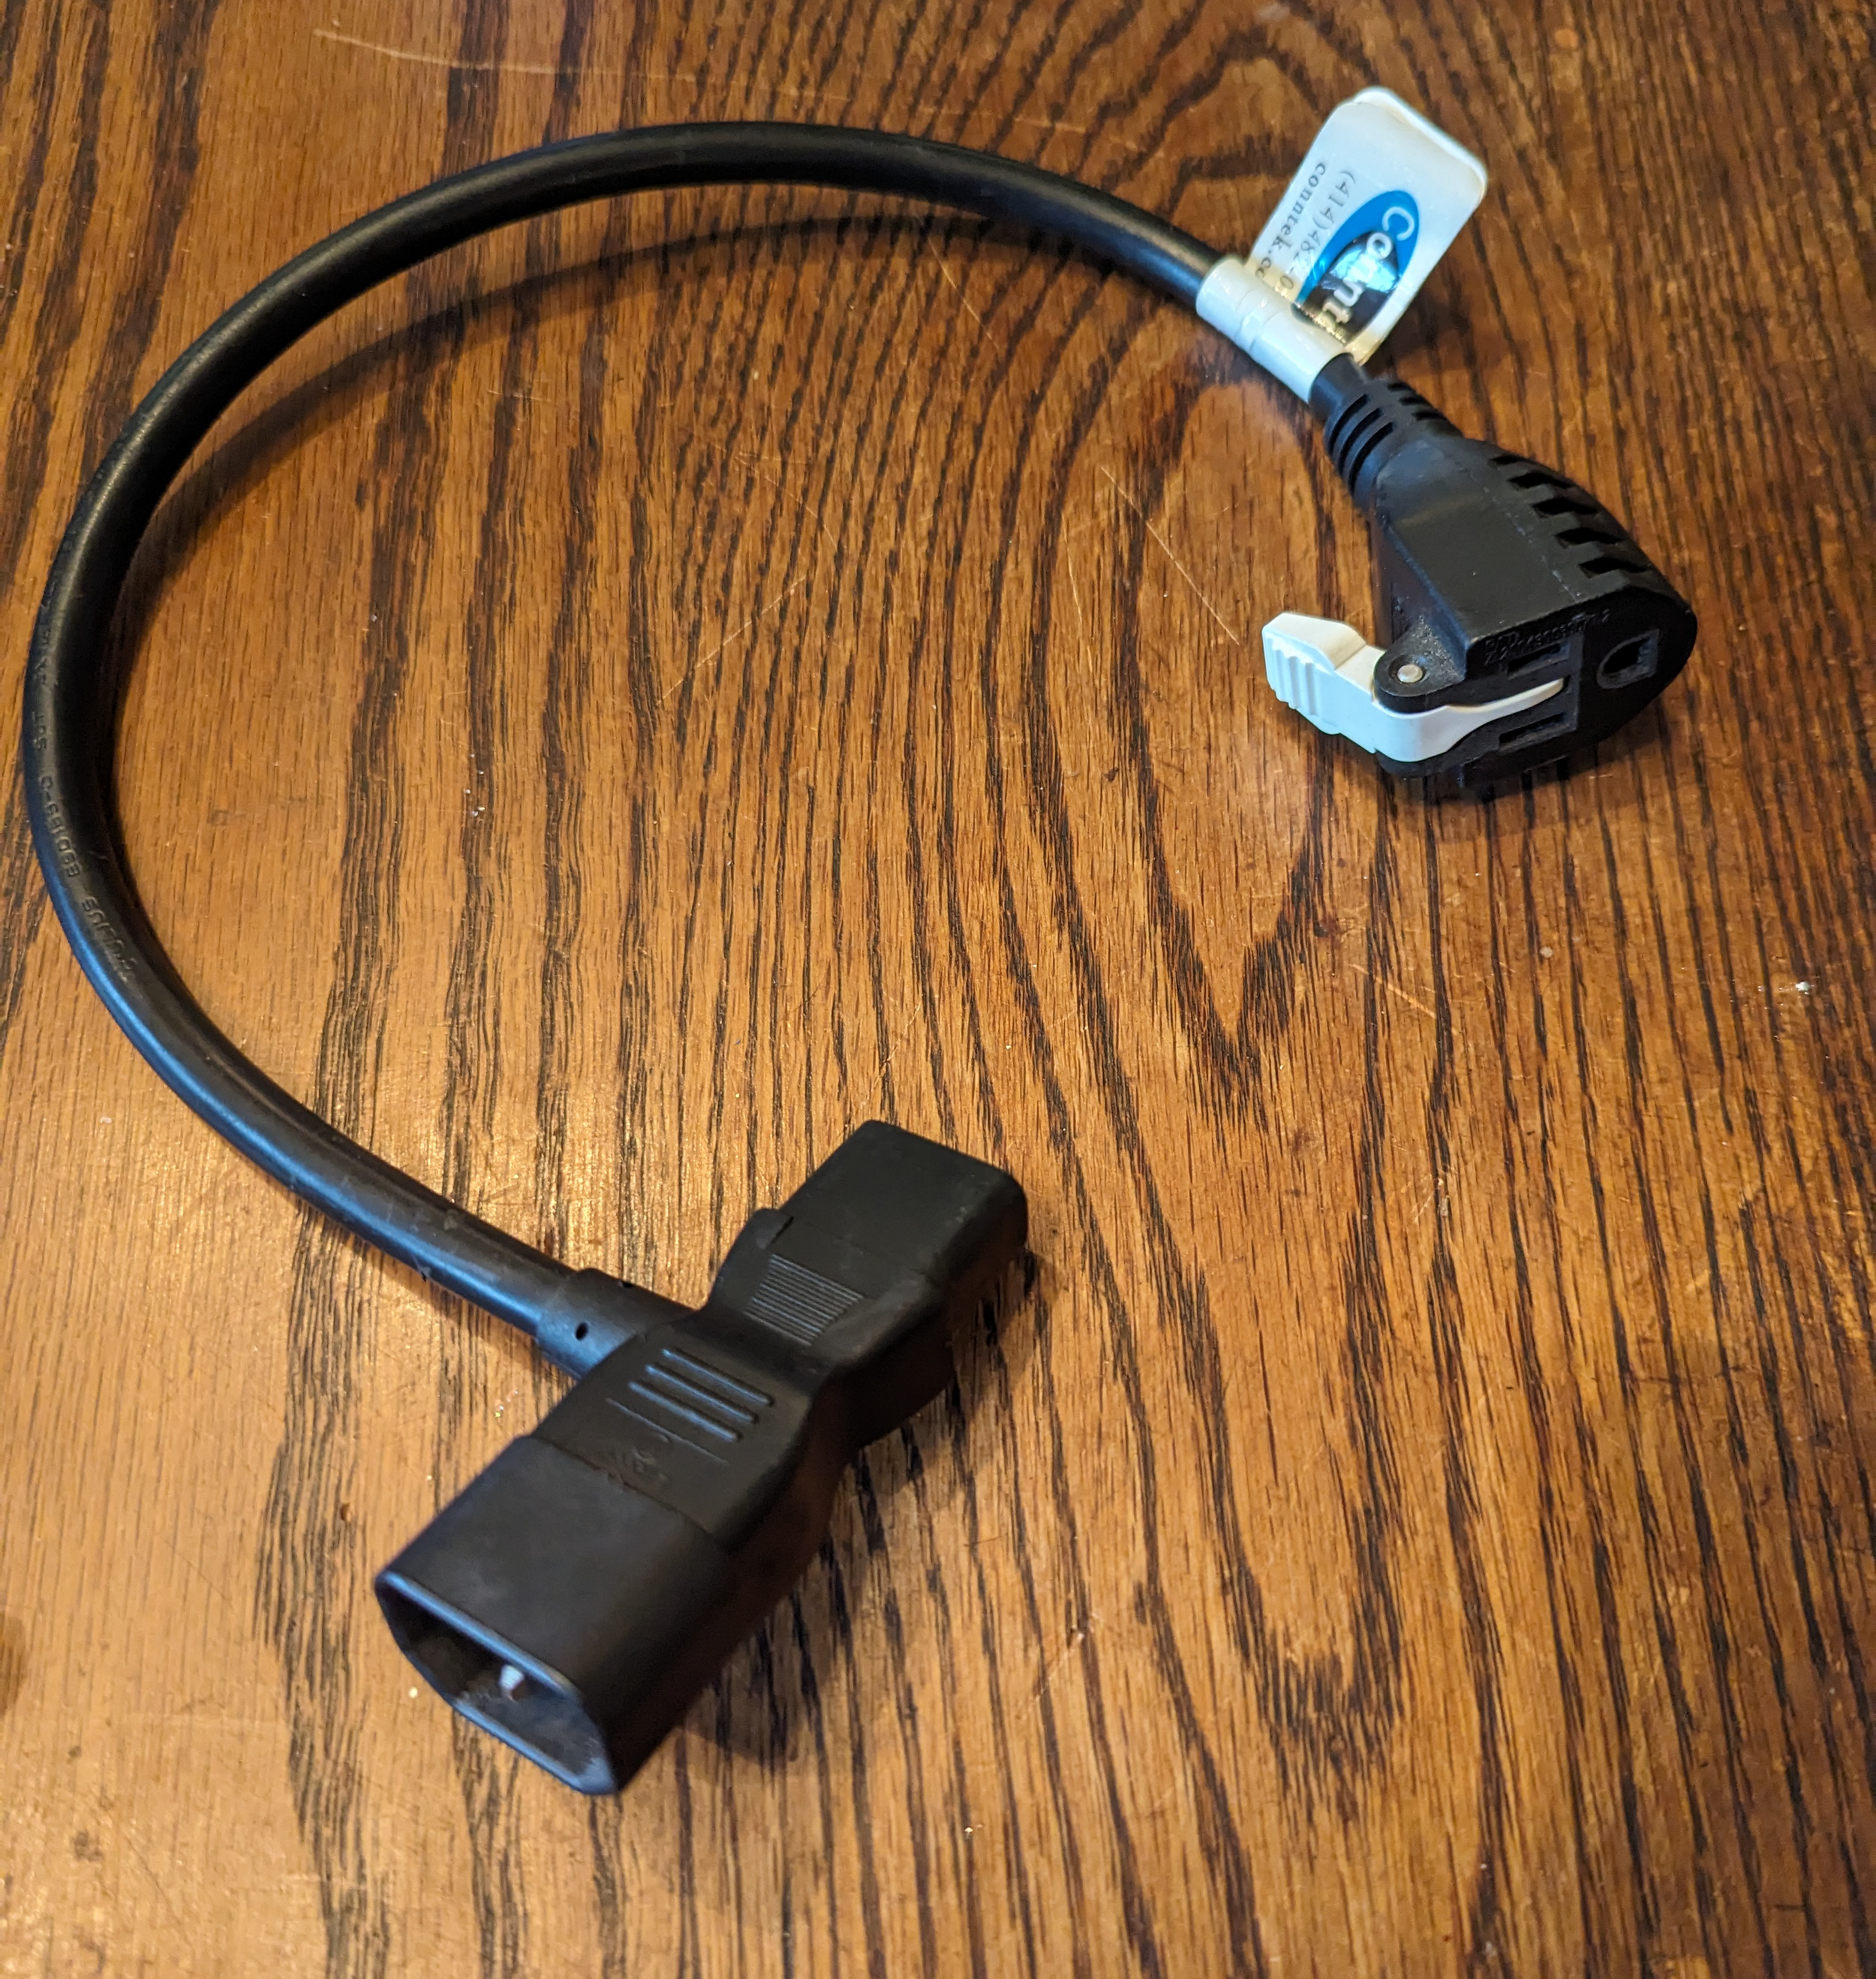
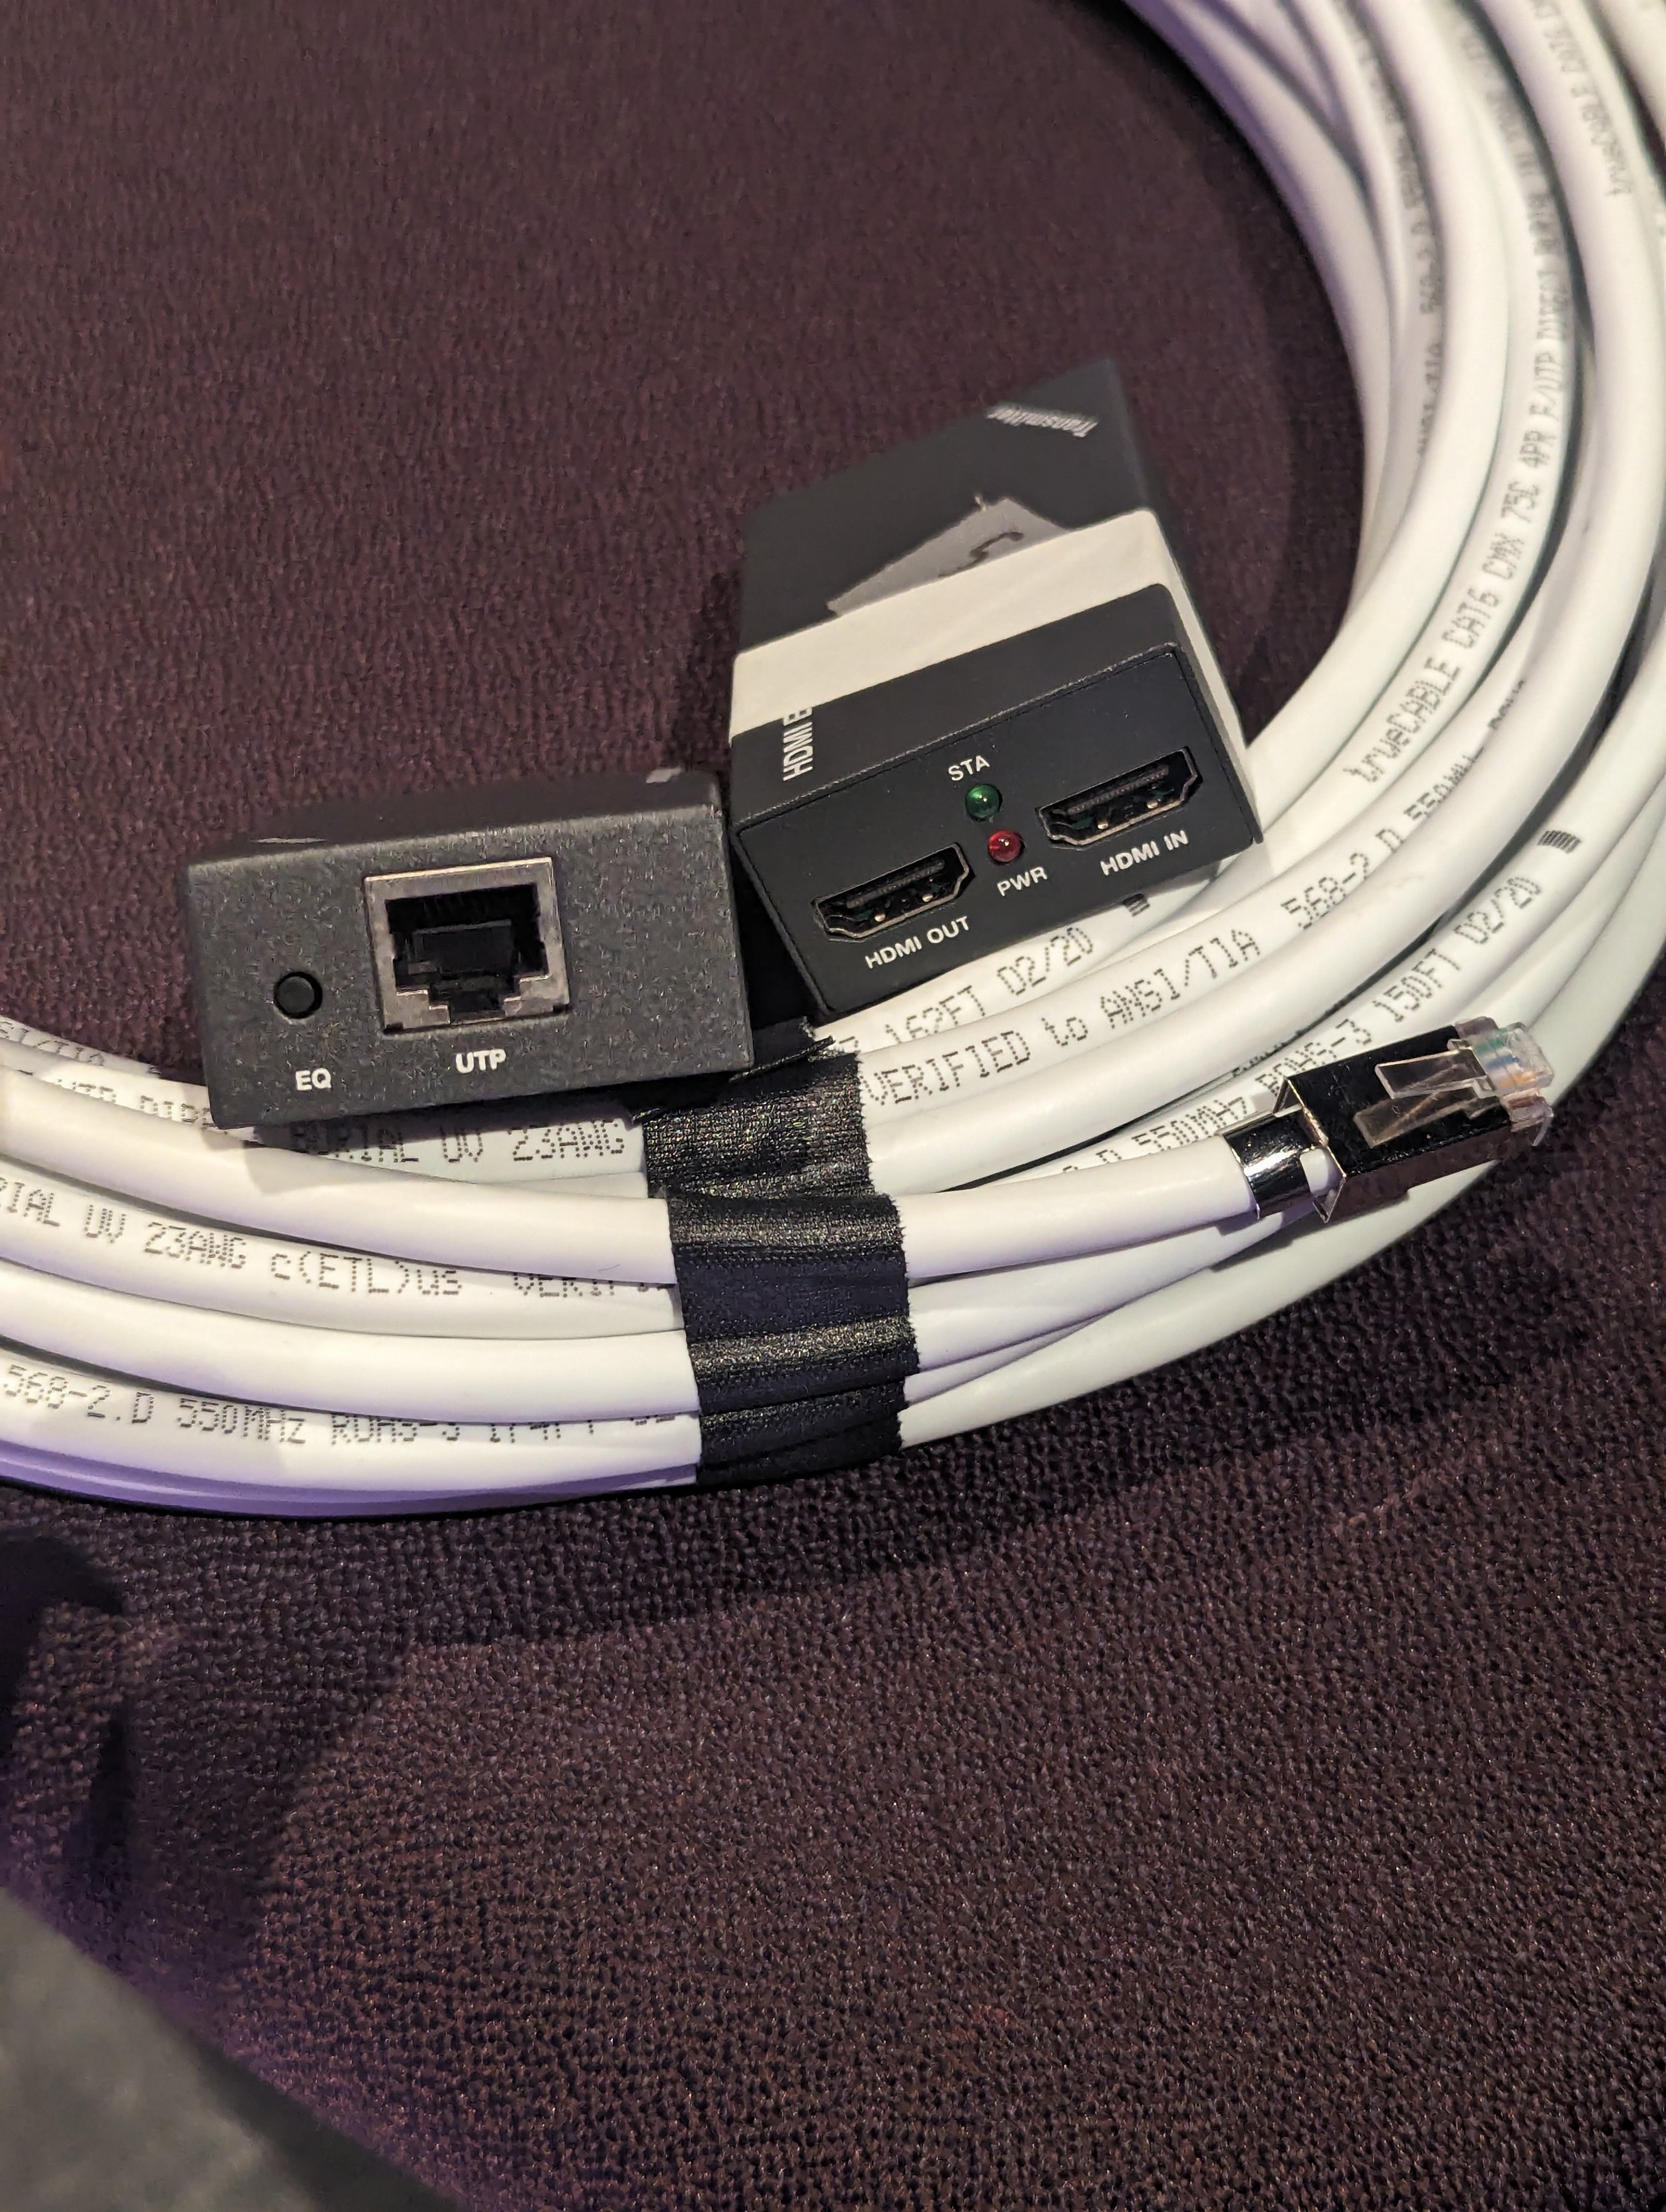
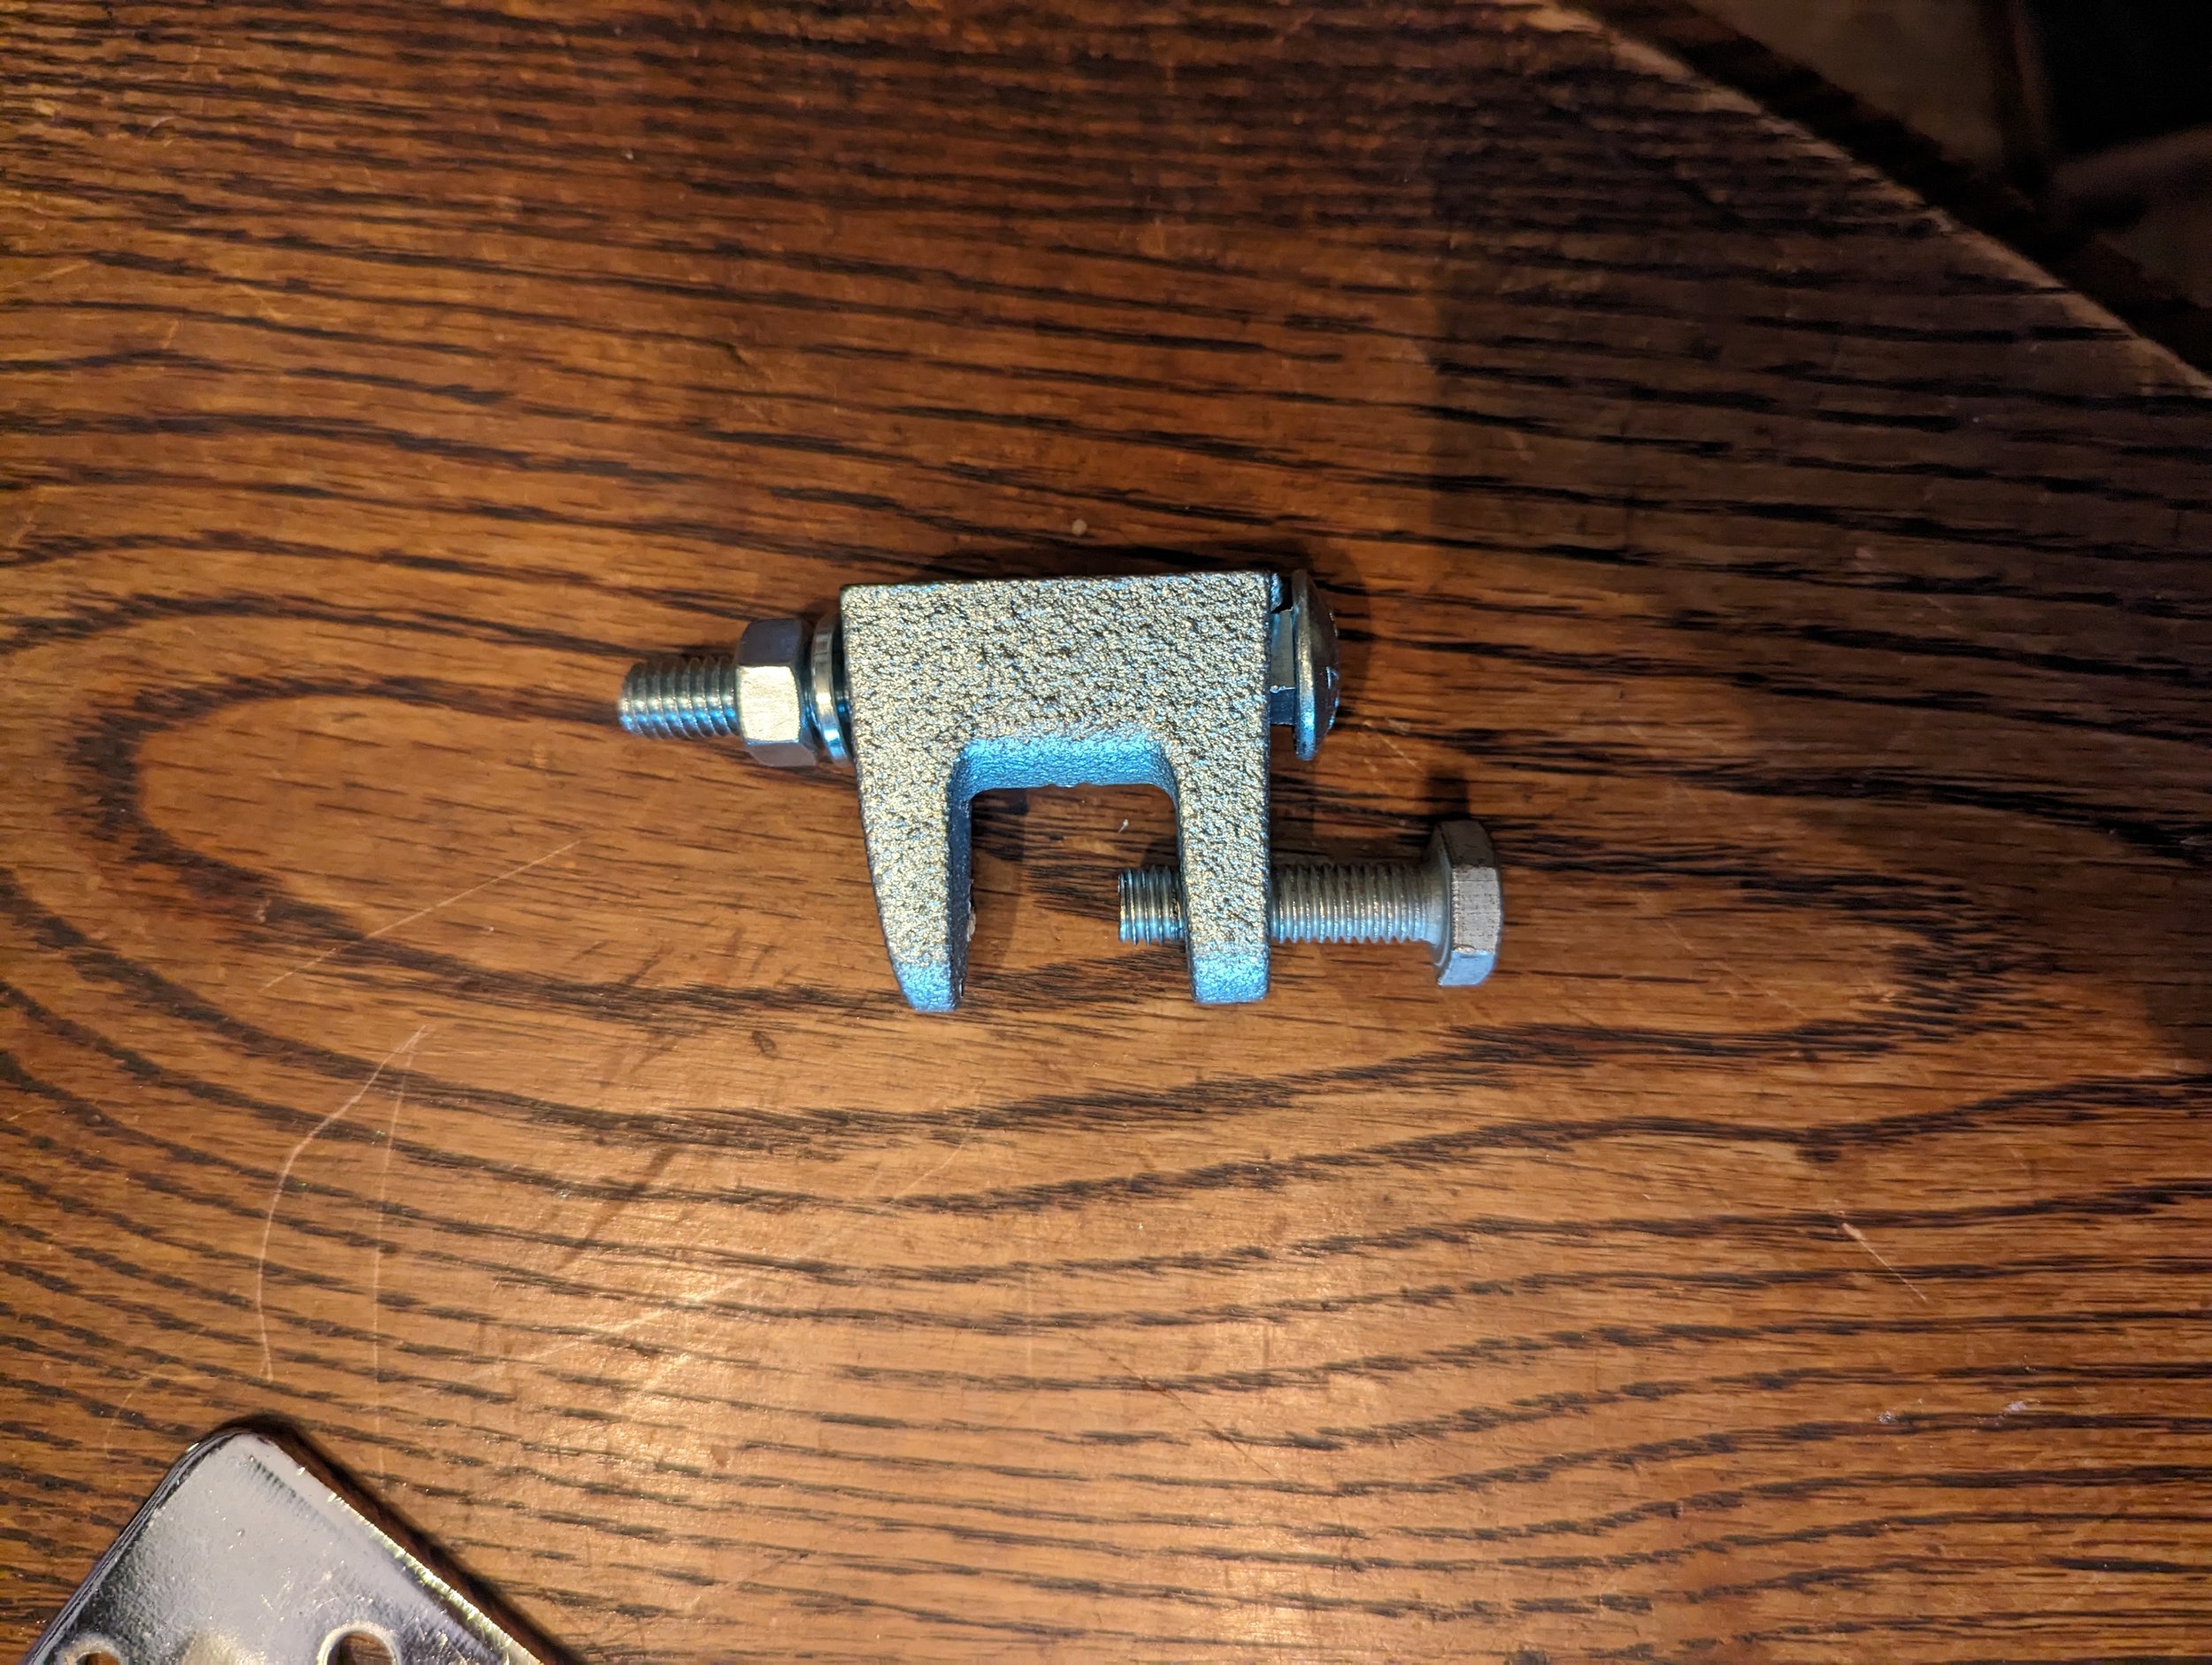
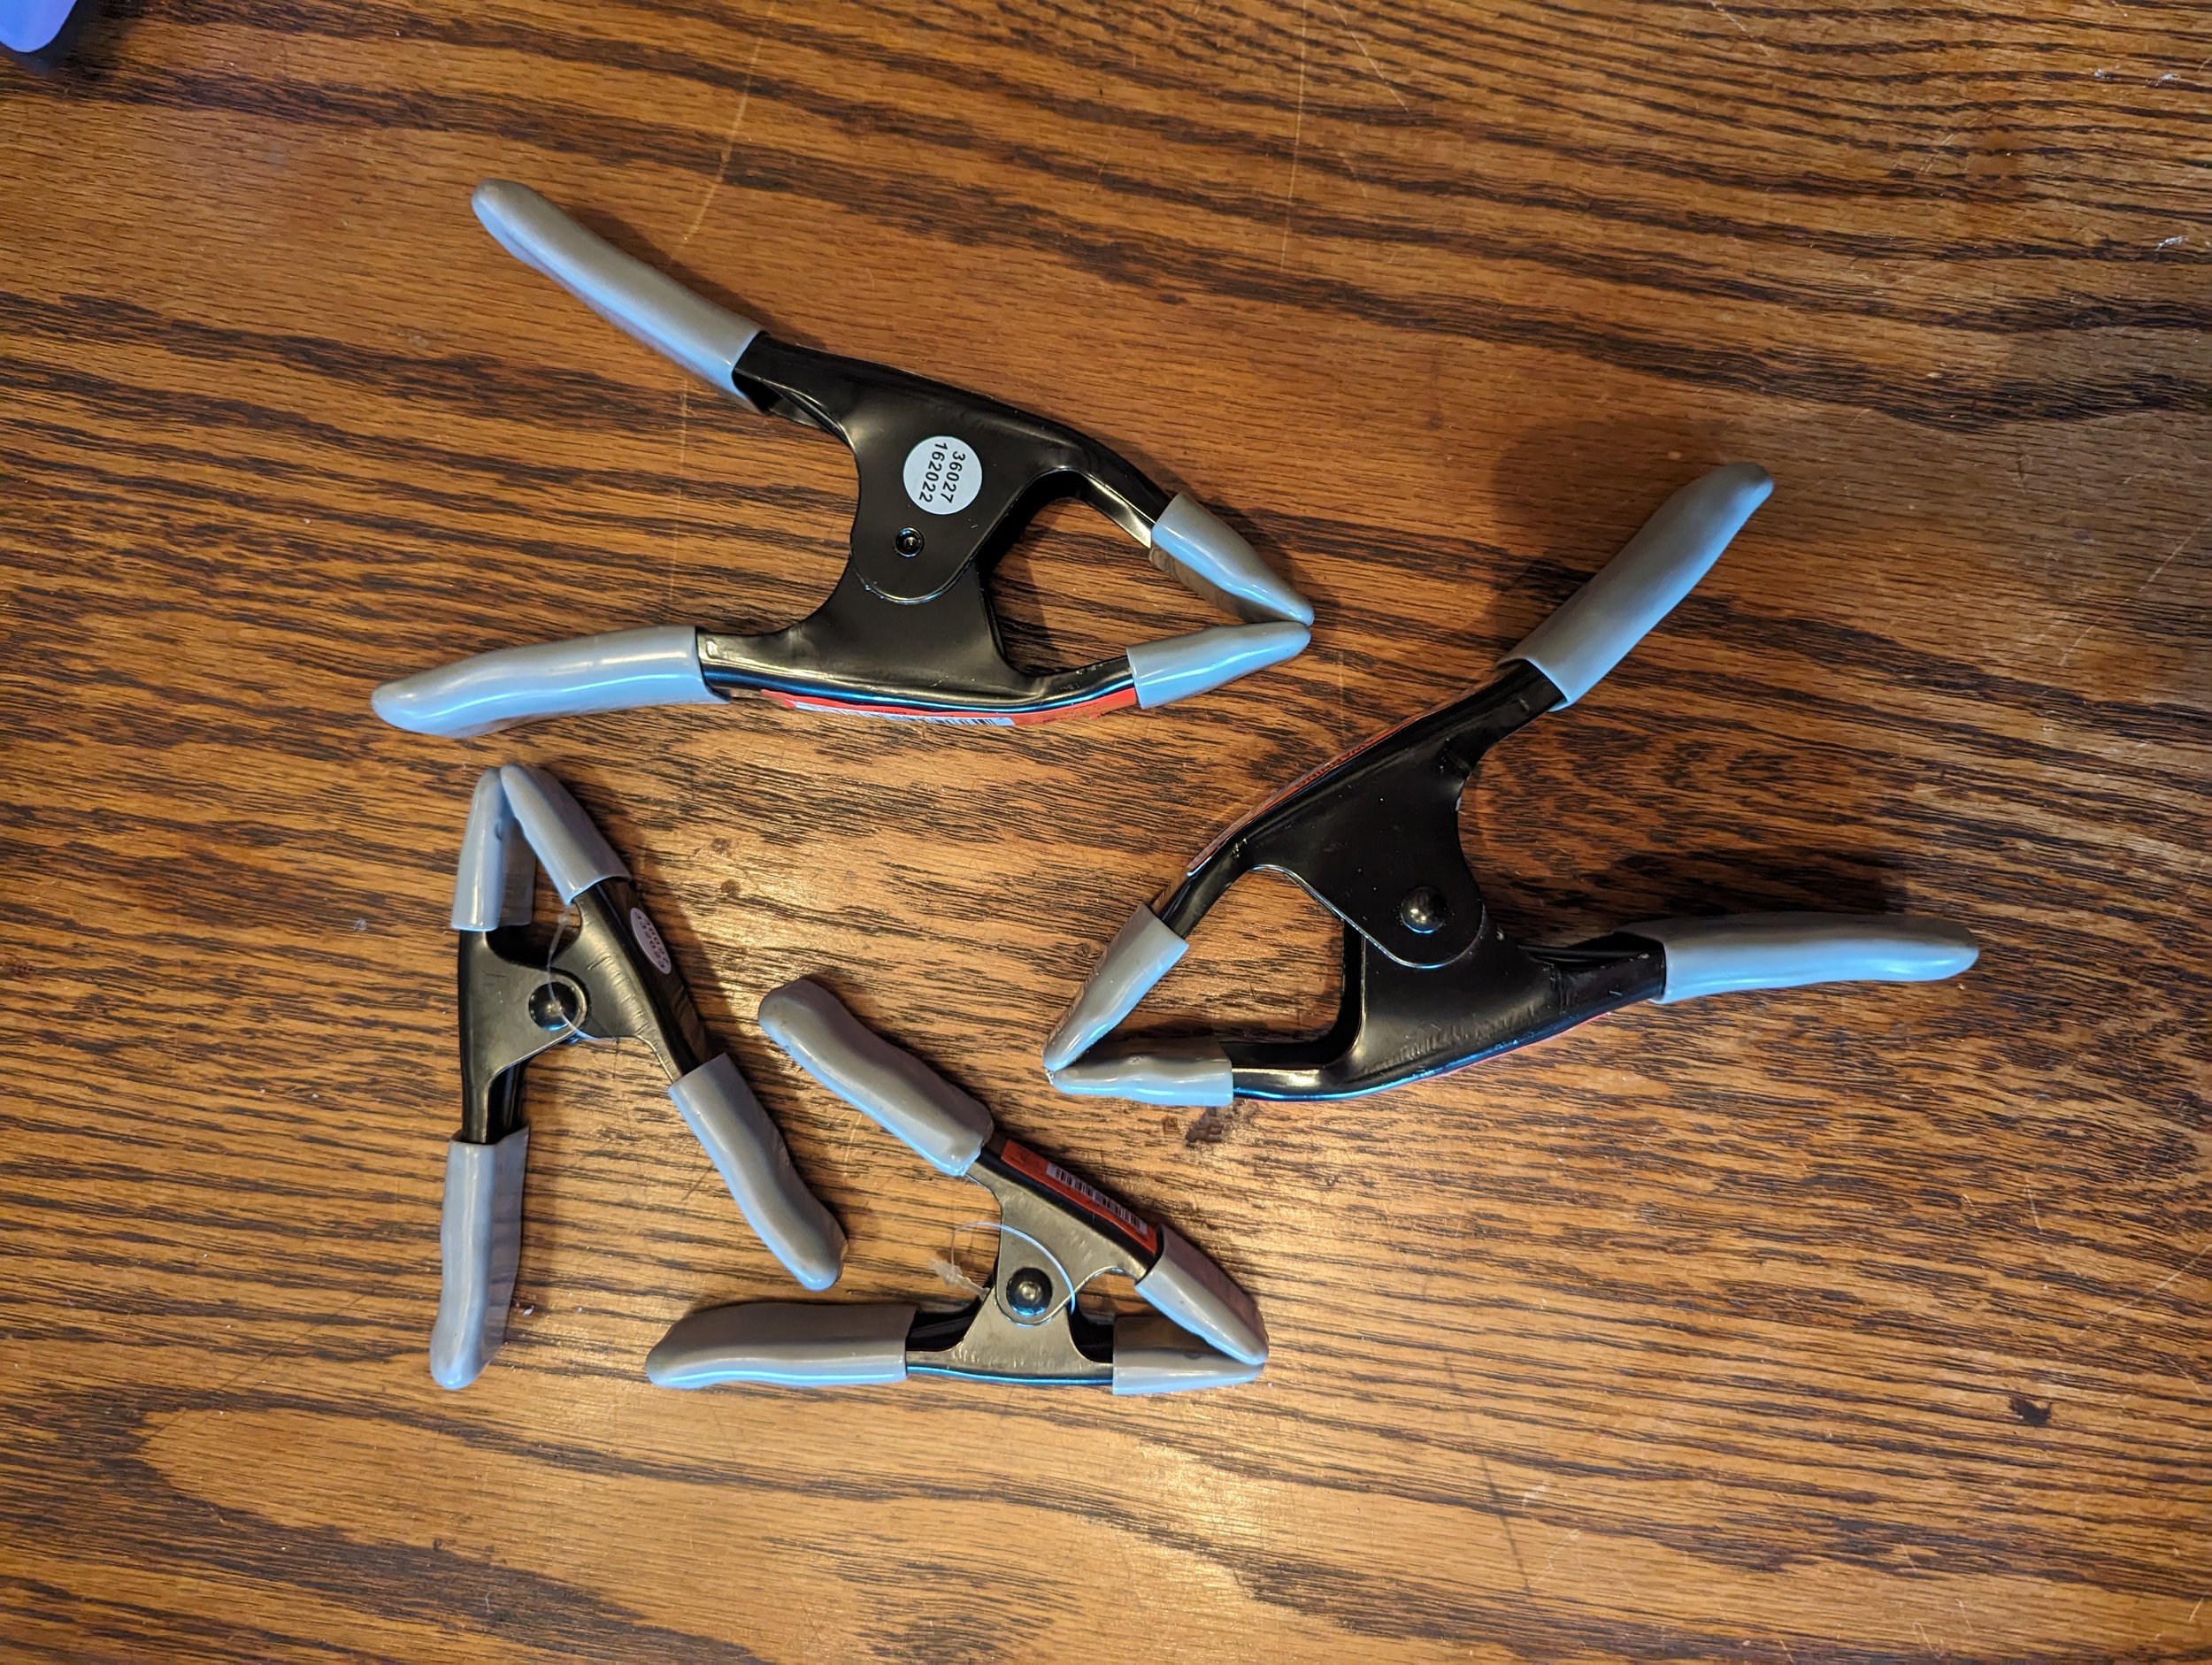
Beyond the essentials, assembling a well-rounded toolkit is paramount for a flawless installation. Consider expanding your arsenal with beam clamps, spring clamps, additional IEC cables, HDMI over Ethernet adapters, and HDMI cables under 50'. It's crucial to remain mindful of HDMI cable limitations – once you exceed 50 feet, exploring signal boosters or HDMI over Ethernet solutions becomes imperative.

Here's a pro-tip: I highly recommend using an IEC cable tap for added convenience. This allows you to power a media player ( this one offers seemless loop with .mkv files, must used a hidden file cleaner like BlueHarvest to remove hidden “.trash” files from USB drive or SD card before looping a folder of files). , Raspberry Pi, or HDMI over RJ45 adapter with a single cord, streamlining your setup.

Speaking of HDMI over RJ45 adapters (not HDMI over Ethernet!), I found mine for less than $20 USD, featuring both HDMI input and output on the transmitter (TX). While it seems they're currently sold out, there's no need to break the bank; spending $50 or more on this type of adapter is unnecessary. Instead, consider investing in a quality shielded CAT6 cable or making one yourself. A shielded cable helps minimize noise, making it especially beneficial for longer runs, particularly when running cables alongside power cables. This cost-effective approach ensures optimal performance without compromising your budget. (Note: HDMI over Ethernet means you could send the signal over a network, switch, router, etc. HDMI over RJ45 or HDMI over Cat5e requires a “homerun” cable that runs direct from the transmitter (TX) to receiver (RX). The protocol that is used by the manufacturers may be different then others, so you can’t mix and match these RX and TX receivers with different brands.)

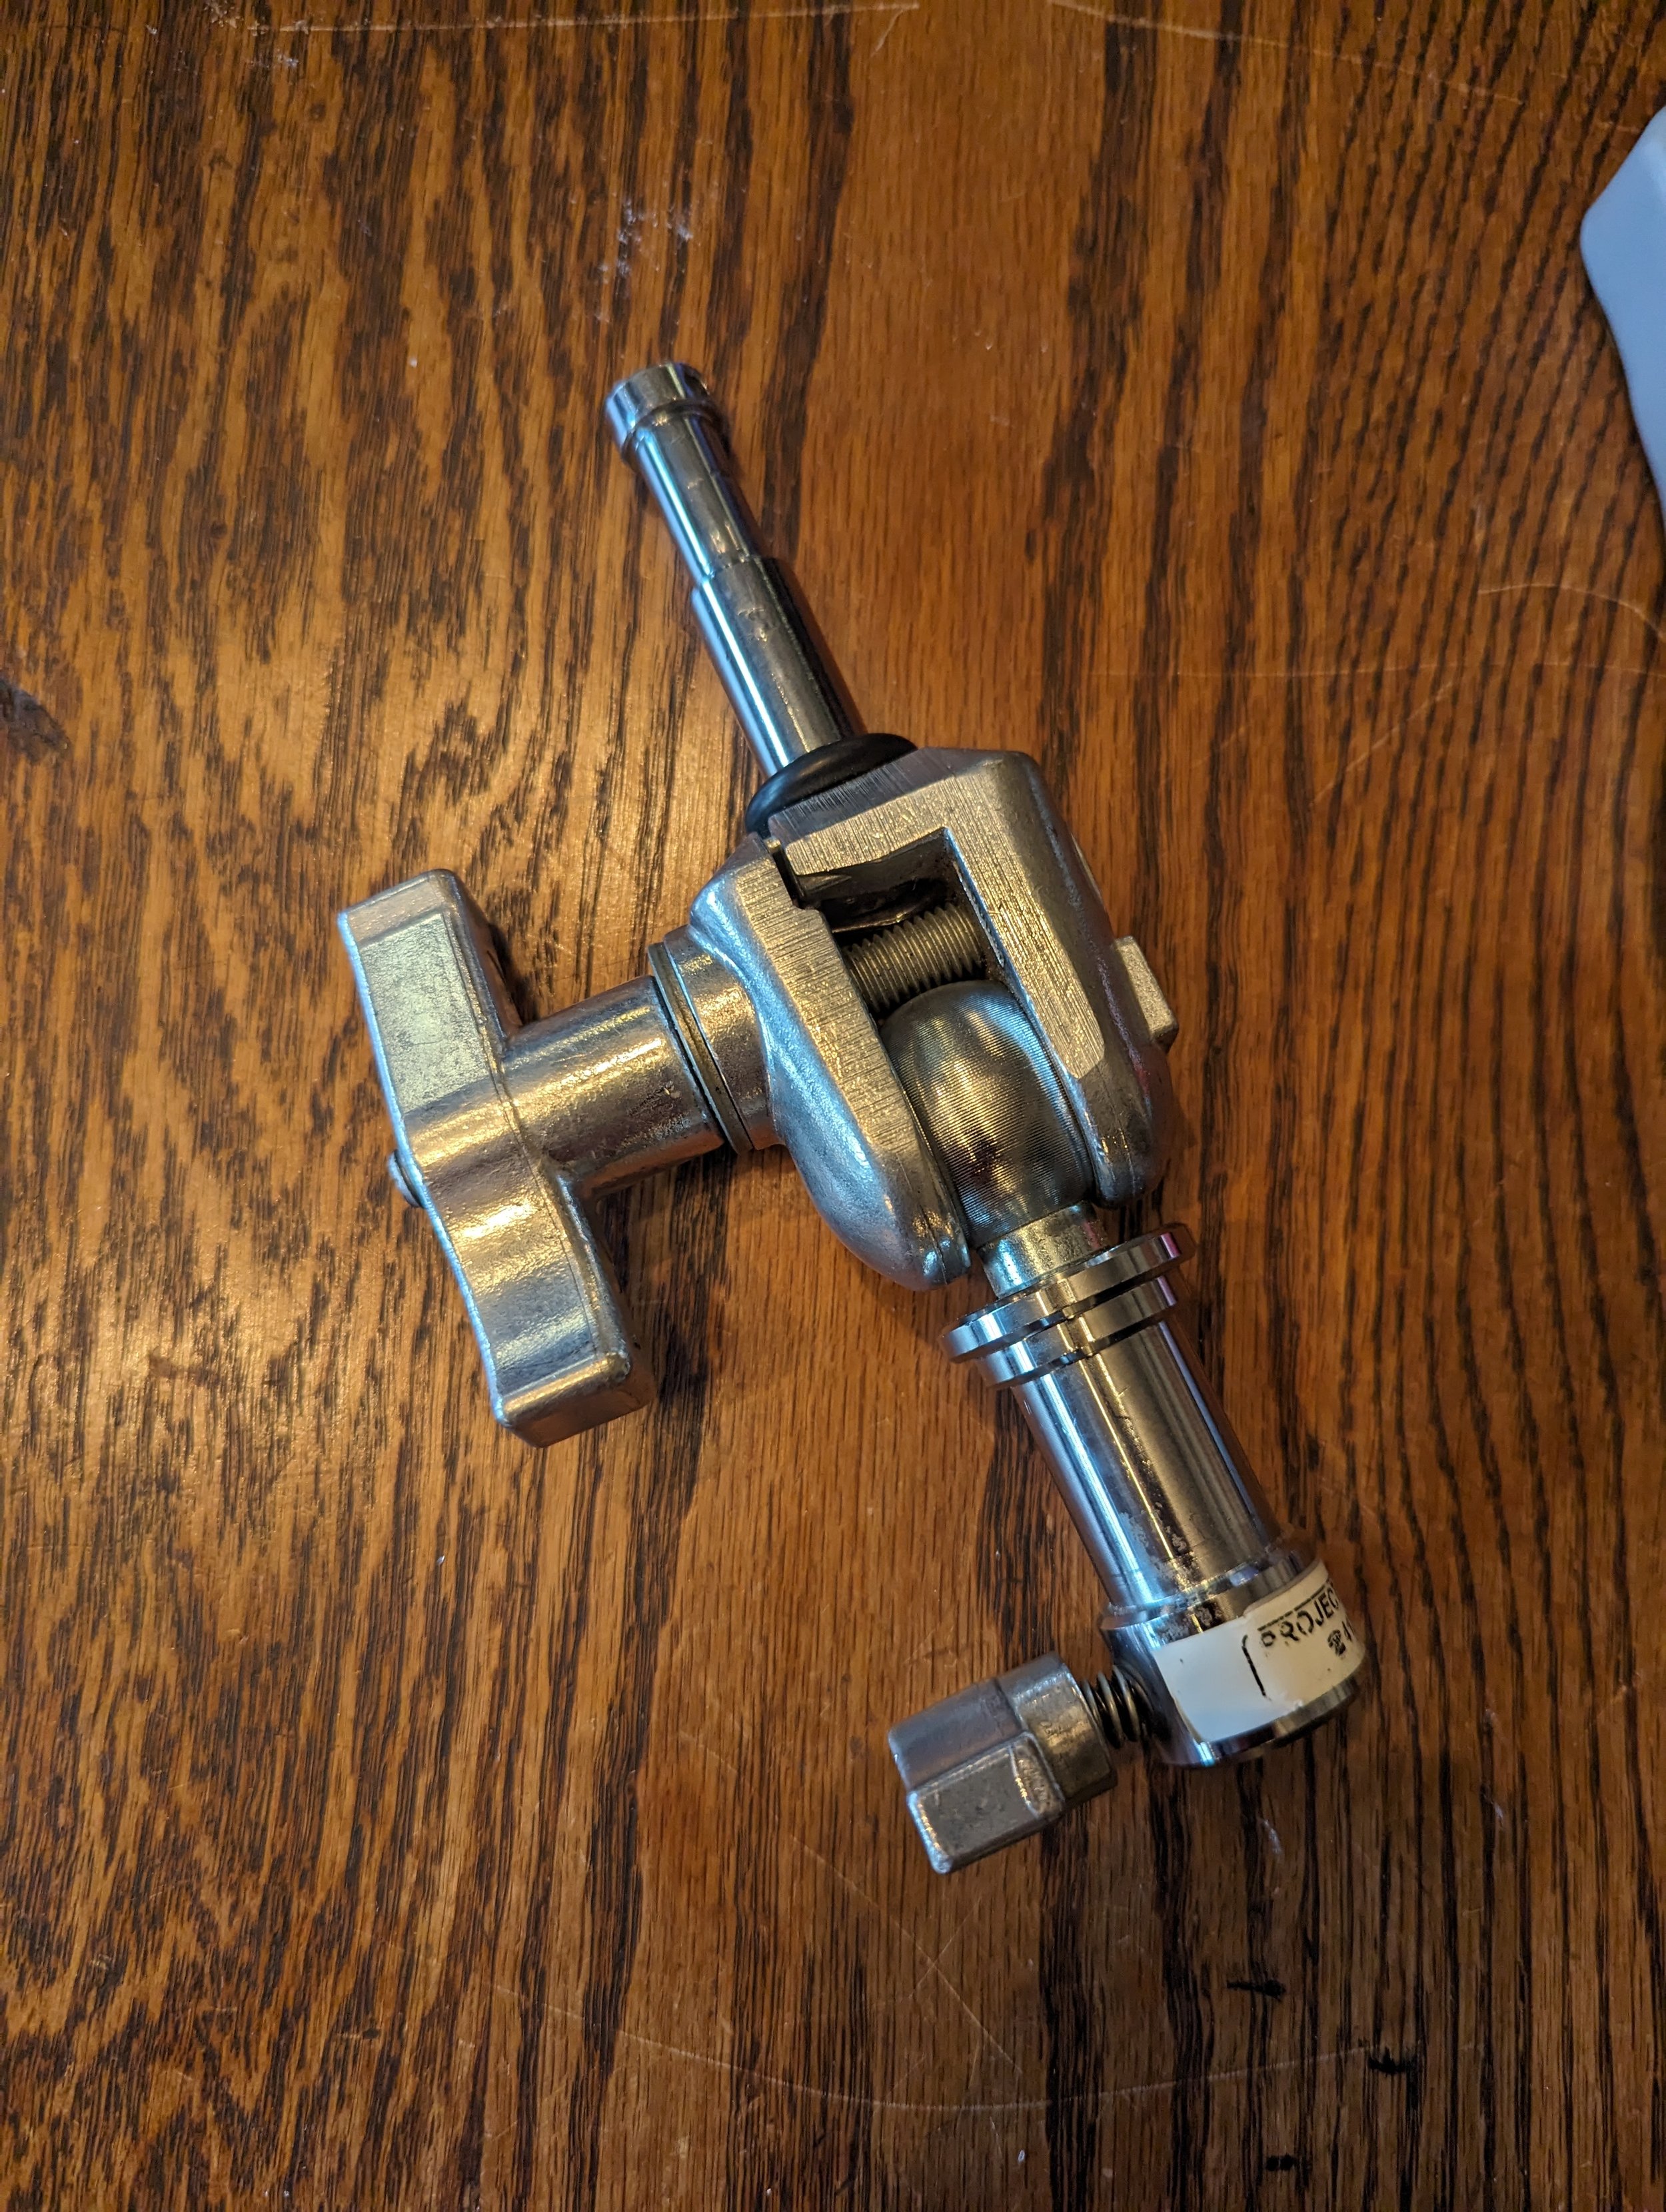
Beam Clamps, pipe clamp, super clamps, baby pin adapters, yoke mount, grip head, adjustable magic arms, and a swivel head mount baby pin plate enhance adaptability, offering creative solutions for various mounting scenarios.

Conclusion: Your Projector Rigging Journey

As you embark on your projector rigging journey, the right accessories make all the difference. This comprehensive guide ensures you're well-equipped for any installation, whether it's for escape rooms, VJing, projection mapping, or visual effects. Elevate your visual installations with the perfect blend of industry-proven hardware and cutting-edge solutions – because your projector deserves nothing less!

This article was written by ProjectileObjects.  You can learn more about them at http://projectileobjects.com/ or follow them on Instagram @ProjectileObjects 

Akai APC40 MK II 2-Channel VJ Mixer template for VDMX

Templates are a great way to get started with VDMX and with this template you can take an out of the box APC40 MKII and jump right in!

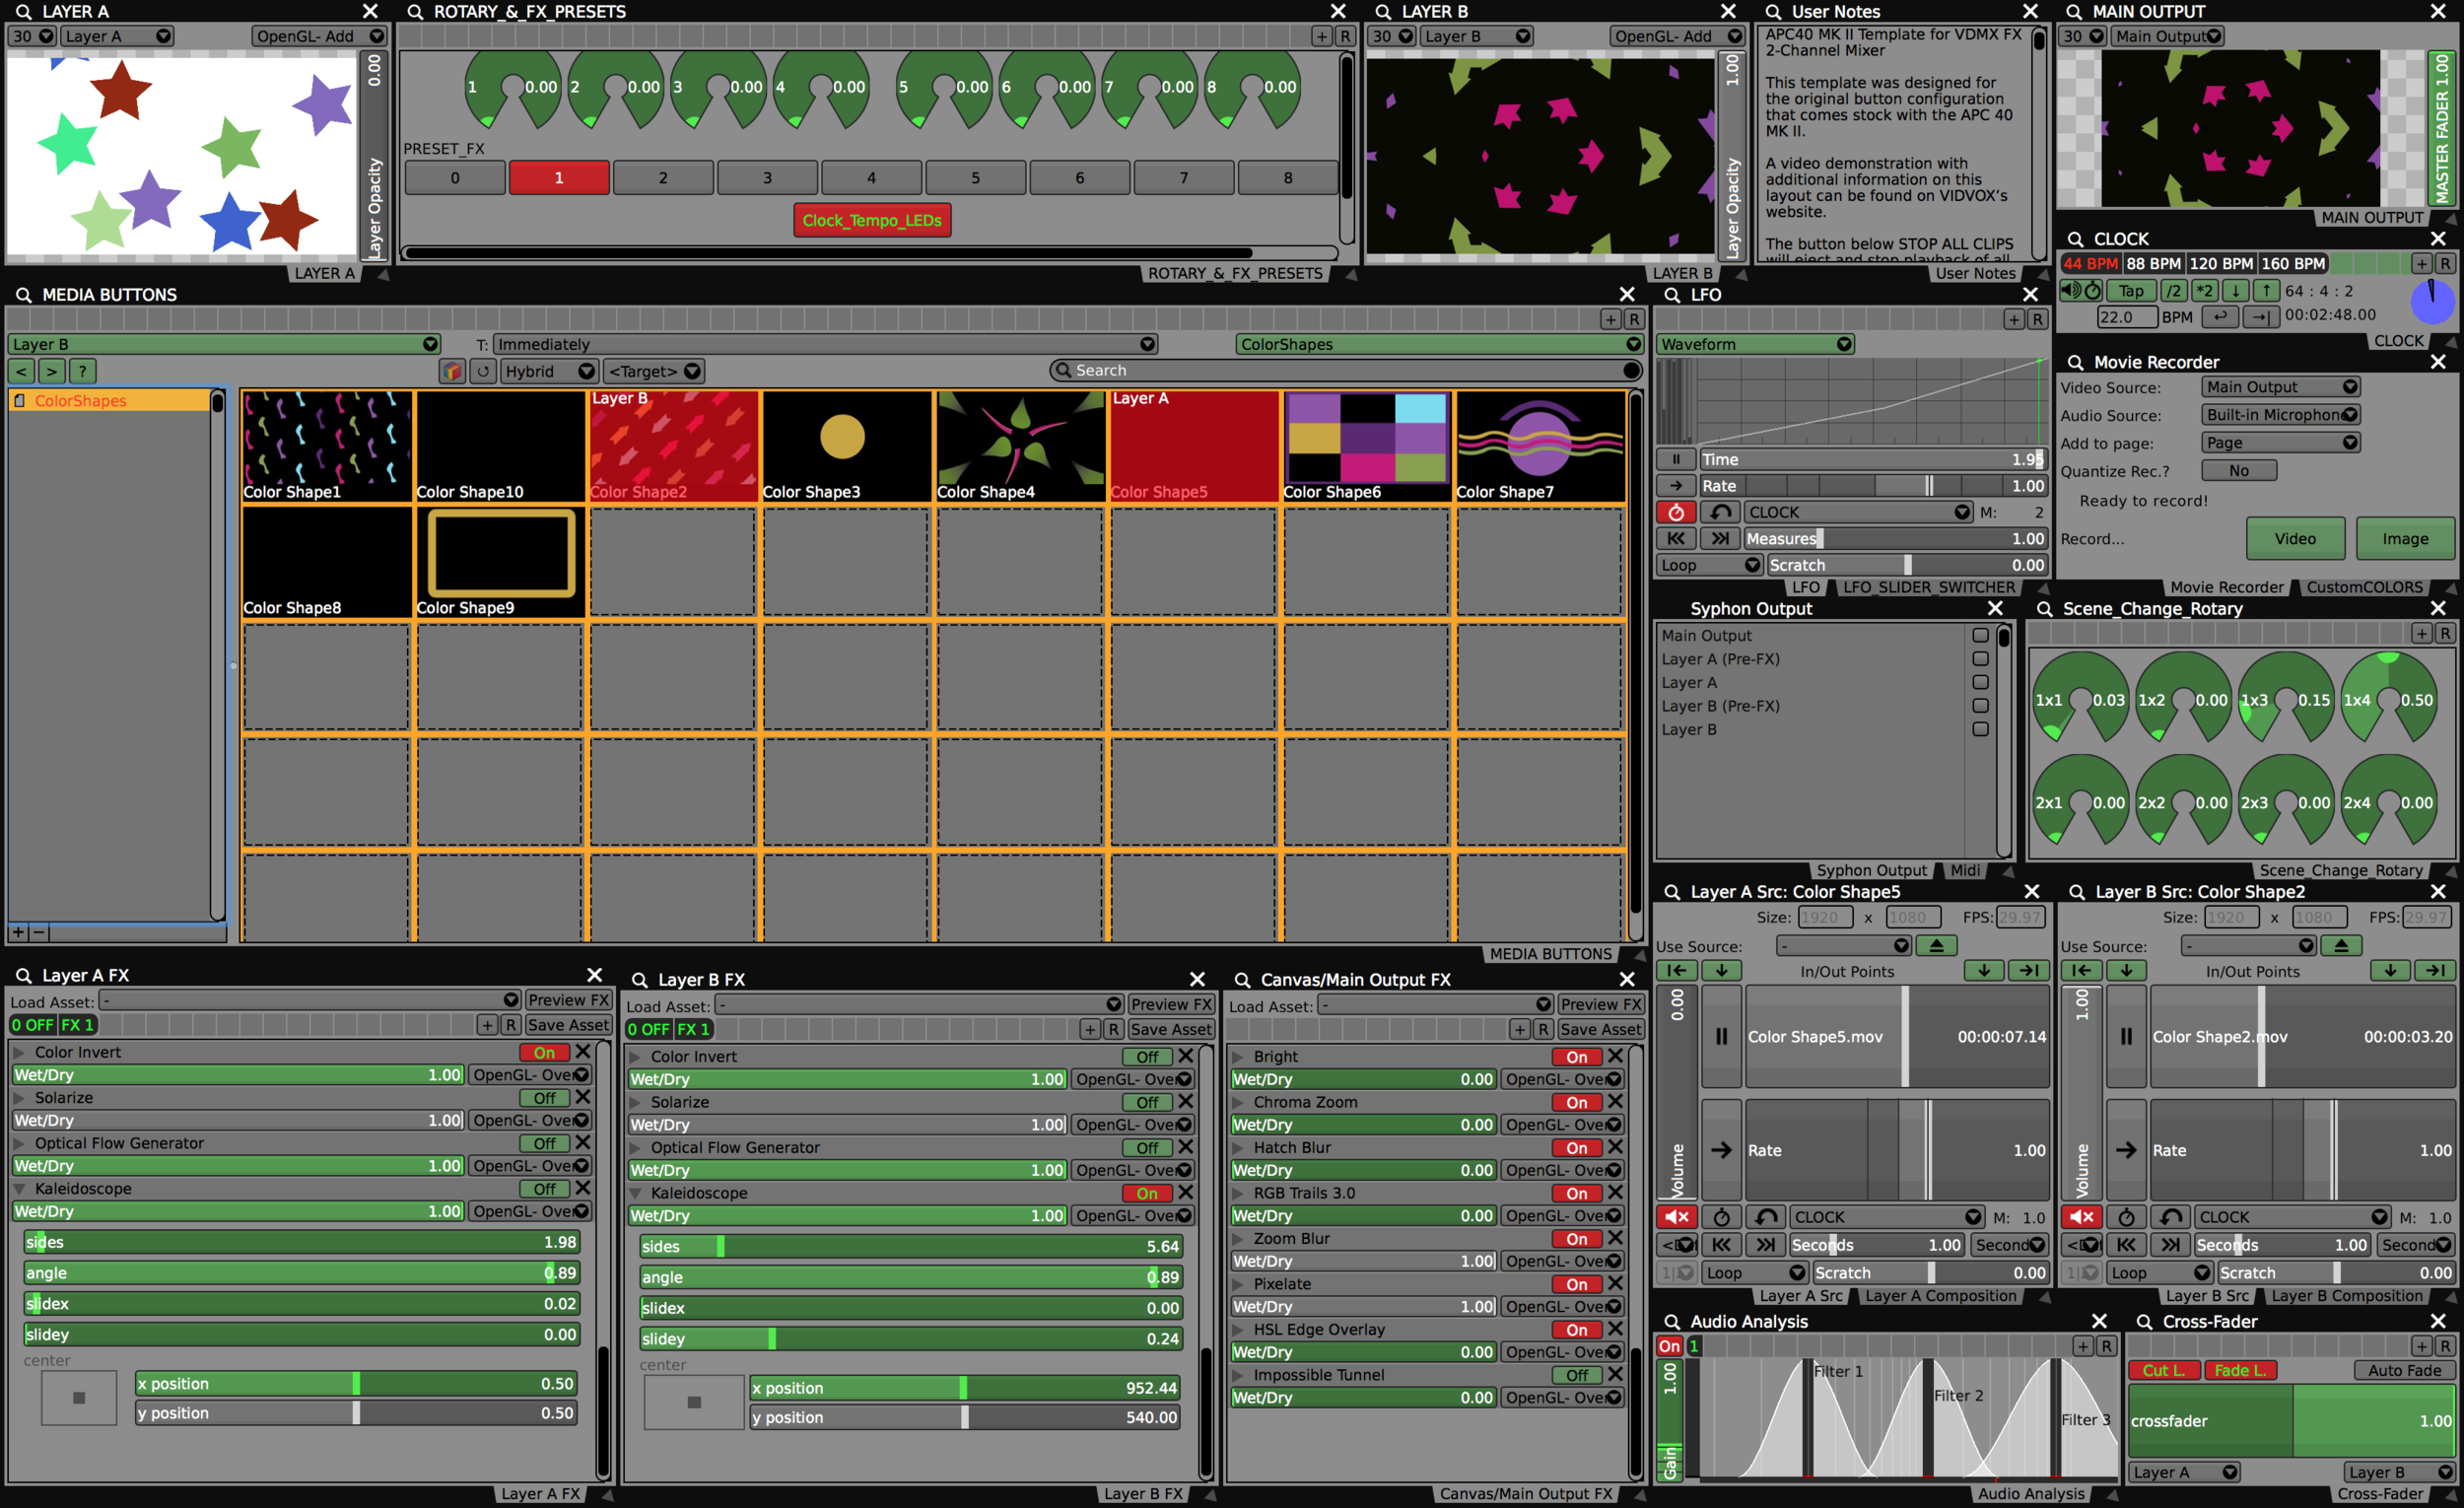
VDMX APC40 MK II Layout Template

A few things to note about the APC40 MK II before we get started.

The APC40 MK II has three internal MIDI mapping modes.

  • Generic Mode (Default)

  • Ableton Live Mode

  • Alternate Ableton Live Mode

To use this template correctly, you’ll need your APC40 MK II to be set to the default “stock” Generic Mode. More information about these modes can be found here (PDF) Bottom of Page 10.

APC40_MK_Neil_LayerChange.png

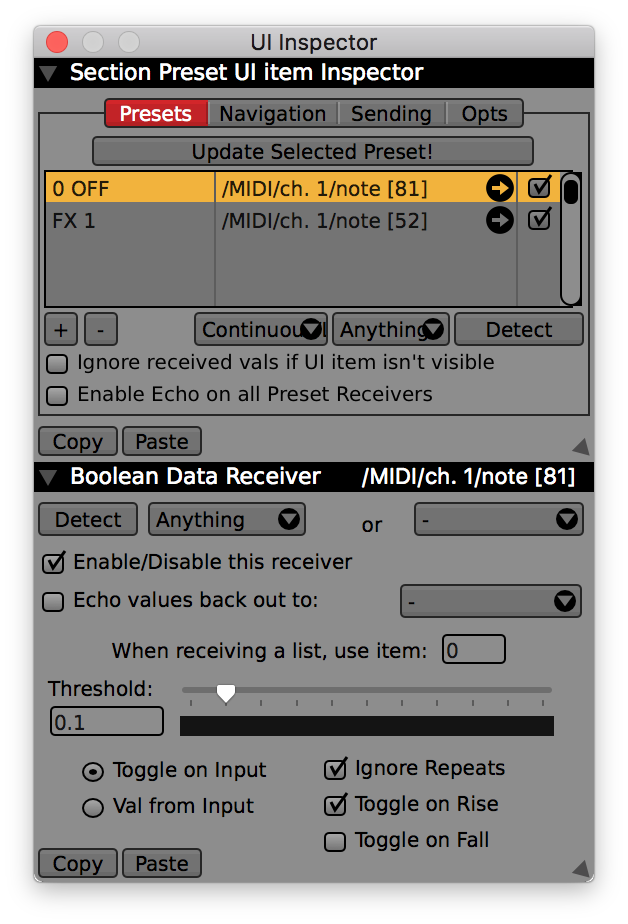
When you first turn on the controller, it will default to the correct button mapping. To reset the template to all defaults, it is recommended that you hit this button when you start the template to eject all clips and set everything to its default.

This button ejects all media, clears all the FX and syncs the LFO view to the LFO slider. (Warning: You’ll lose FX in Layer A and B if you don’t save them as a new FX chain).

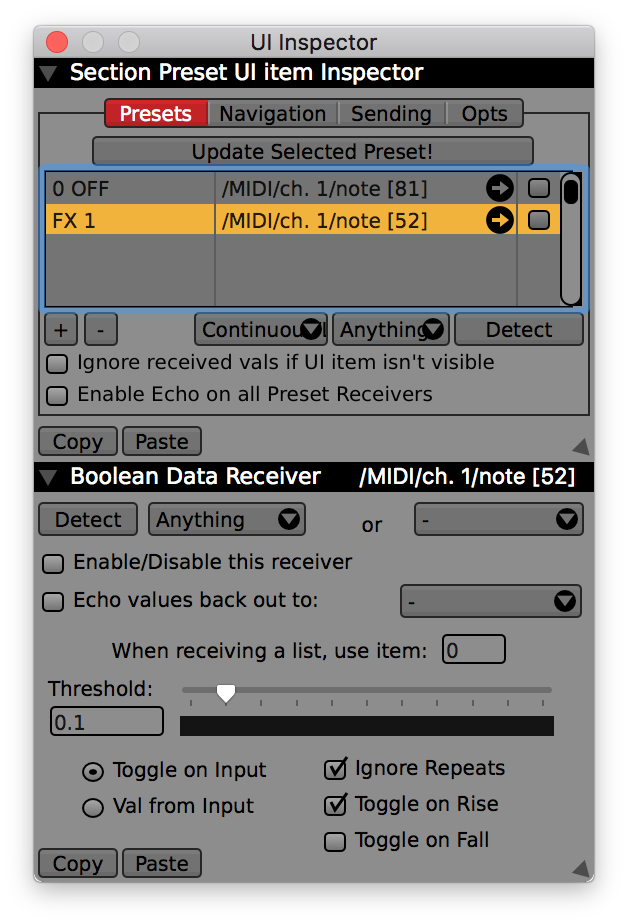
This button ejects all media, clears all the FX and syncs the LFO view to the LFO slider. (Warning: You’ll lose FX in Layer A and B if you don’t save them as a new FX chain).

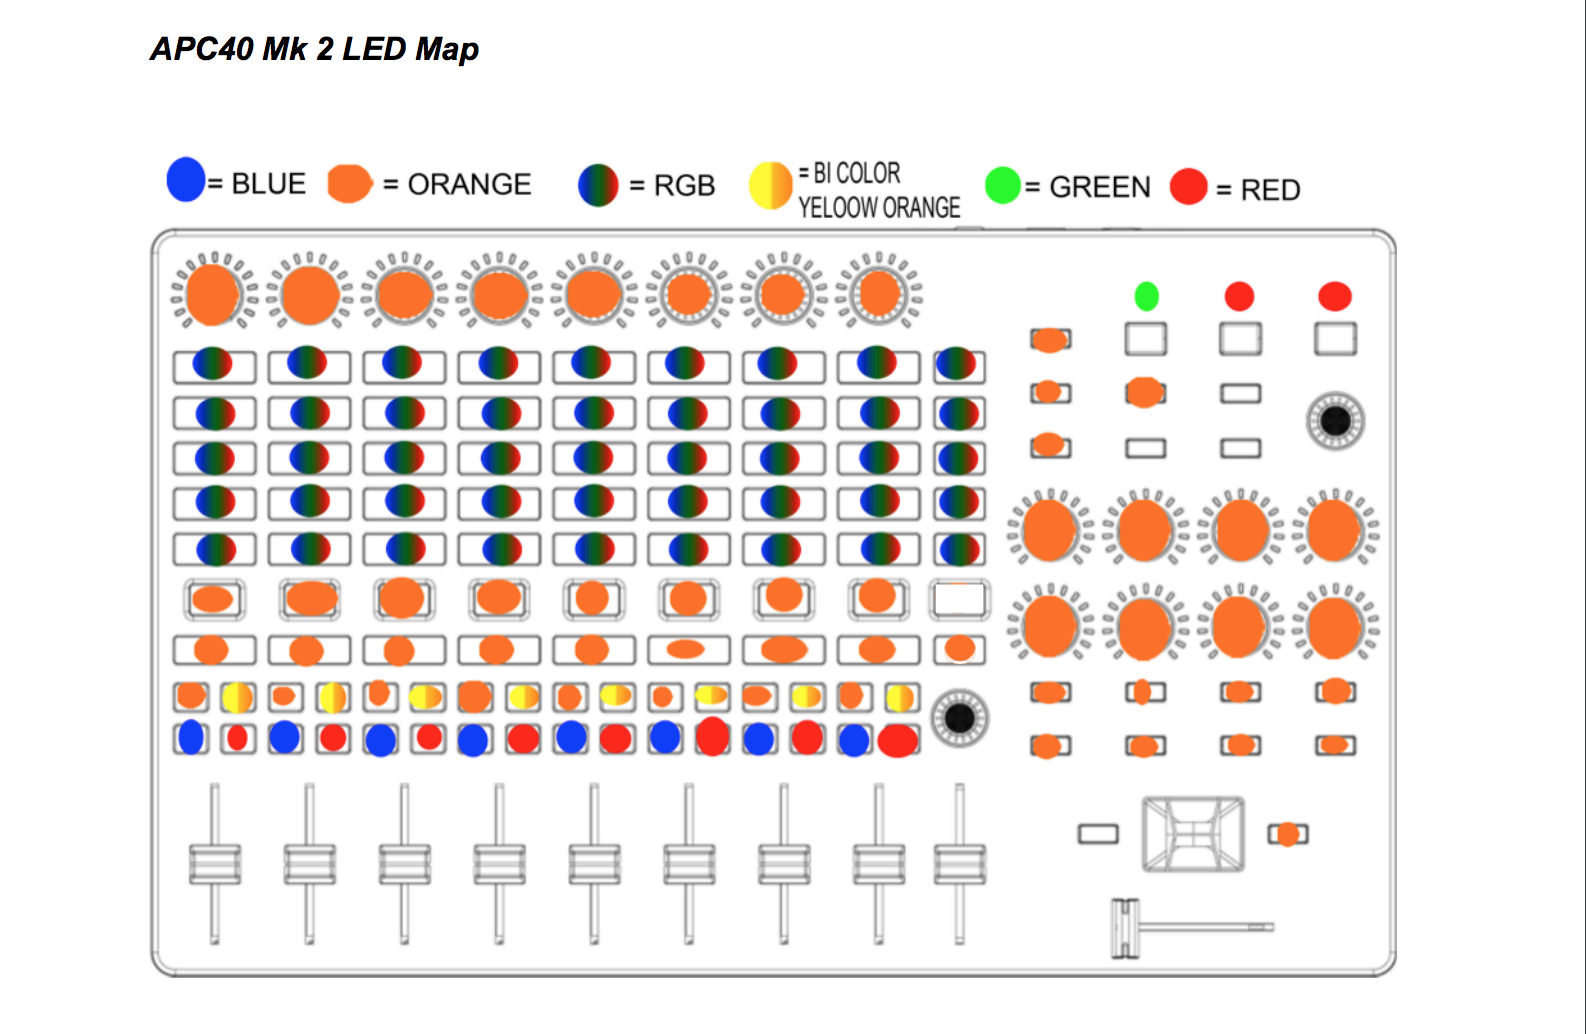
Not all buttons are RGB. When clips are ready to be triggered in your media bin, the 40 RGB button grid will light up blue, then yellow when the clip is selected. You can customize these colors yourself in the media bin options:

Screen Shot 2021-09-23 at 10.28.39 AM.png
Image found on page 10, Akai communication protocol manual.

Image found on page 10, Akai communication protocol manual.

There are two versions of this template. A blank version without FX and a starter version with one layer of FX presets.

Default setup.

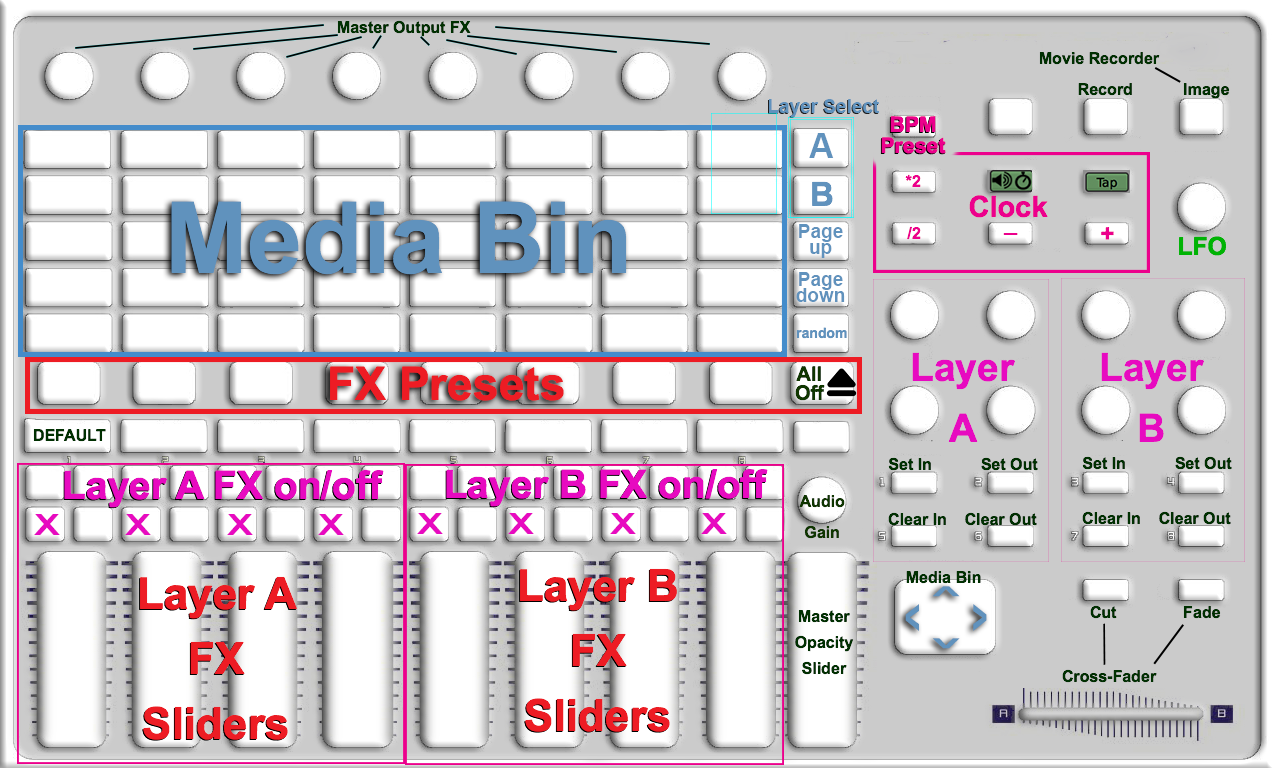
This template is structured to be a 2-channel video mixer. Both video layer A and B flow to a Master output (Projector, TV, etc.) The cross fader blends between both layers and each layer has its own FX chain presets.

The Master output FX are turned on and off by the top 8 rotary knobs. The first vertical slider on the right side of the controller labeled “MASTER” controls the master opacity. If it is all the way down, your screen output will be black. You can change this later to preference or disable it entirely.

Selecting clips for both layers A and B:

Both layers use the same 40 RGB button grid to trigger clips. To switch between Layer A and B, when selecting clips — use the first two buttons on the top right side of the grid under the label “SCENE LAUNCH” They will light up when they are selected. Top goes sets destination for Layer A, bottom for Layer B. The two buttons beneath that (Green) are page up / page down buttons for moving through your media bin. They are also linked to your Audio Analysis Filter 3 and will flicker based on your computers mic peaking. Beneath that (Yellow) is a random clip trigger.

To trigger to the next clip in the media or move up and down the media bin, redirect your eyes to the “BANK SELECT” 4 button arrow keys.

The rest of the buttons should be self explanatory based on the image above, or you can read through the “User Notes” built into the template which explains all of this and more.


Template Tip!

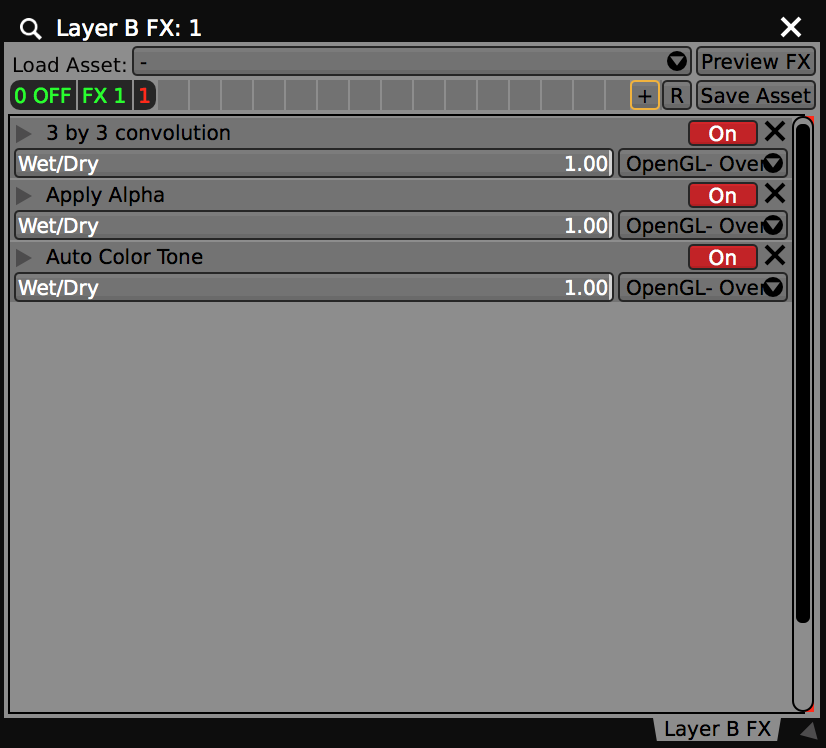
If you’re adding new FX to your A and B layer FX chains, make sure to save them as a preset by clicking the + in the top of the FX window. This will save your FX chain and you can assign it to a new FX preset button. You can always disable the FX layers MIDI triggers in your project until you build out the template more to your liking!


Here’s a brief overview video of this template:

Using the OSCQuery Helper tool with Processing

In our introduction tutorial for working with Processing and VDMX we examined how to manually configure sending OSC messages from VDMX interface items to control properties of a Processing sketch running in the background. For this follow up lesson we will look at how the OSCQuery Helper tool can be used to publish the OSC address space for a sketch so that they can be remotely accessed by other software like VDMX or the OSCQuery Browser tool.

Read More

Using the OSCQuery Helper and MIDI OSCQuery Helper tools with Max

One of the most powerful tools for working with MIDI and OSC control data is Max, which is widely known for its easy to use interface for “patching” and working with data streams. While Max does not yet support OSCQuery natively, it is a great example of how the free OSCQuery Helper and MIDI OSCQuery Helper tools can be used to publish OSC and MIDI parameters from Max patches so that they can be remotely accessed by other software like VDMX and the OSCQuery Browser.

In this set of tutorials we’ll look at the process for adding basic MIDI and OSC inputs in a simple Max patch and then creating a JSON file that describes the routings. Once those are prepared we can see how to access these parameters using other software in the OSCQuery ecosystem.

Read More

How to control an Ableton Live project from a web browser (and other software) in about a minute

The OSCQuery Protocol is a new specification that allows live performance tools to automatically communicate its parameters for rapid setup and improvisation between performers. Along with native support within VDMX here at VIDVOX we have developed several useful utilities that make it possible for people to take advantage of these new capabilities with software that support MIDI and OSC.

In this introduction tutorial we’ll be looking at how to use the free (and open source!) MIDI OSCQuery Helper utility to publish parameters from an Ableton Live project so that they can be accessed as browsable OSC parameters from other software such as VDMX. The MIDI OSCQuery Helper also includes its own built in Interactive Web Interface which can be loaded in web browsers on desktops, laptops, smart phones and tablets to remotely control any published controls.

Read More

Creating a 'Falling' audio level data-source using number FX chains in VDMX

Along with the basic controls of inverting values and applying basic math equations, number FX chains can used to adjust the values of data-sources before they are applied to sliders. In this example the 'Fall' FX will be applied to an audio analysis level to create a falling style before being applied to a VU meter generator.

Read More

Show Production: From Mood Boards to Technical Riders

Along with the technical tutorials on how to use VDMX and other software tools, one of the main focuses of this site are topics related to the field of performing live visuals. In this post we'll be looking at some of the techniques that are used to bring a show from an idea through to an actual production, covering the areas of:

Mood boarding: A primer, or “mood board,” is used to gather ideas for the overall style and palette for the visual design. This may include a collection of colors, graphics, textures, image references, screen grabs and sketches.

  1. Mood boarding: A primer, or “mood board,” is used to gather ideas for the overall style and palette for the visual design. This may include a collection of colors, graphics, textures, image references, screen grabs and sketches.

  2. Storyboarding: A storyboard takes the elements derived from the mood board and places them in time, typically matching up events such as style changes with important moments in other elements of the show production, such as the music or theater scene changes.

  3. Pre-production: During pre-production any prepared material, such as video files, still images, interactive generators, custom FX, that are needed for the show are created and arranged in the performance software for rehearsals.

  4. Technical riders: Technical rider documents are often created as a way to clearly describe the broad technical aspects of a show production, including details like equipment lists, wiring diagrams, stage layouts, venue requirements, and contact information for people involved.

Read More