Getting 4 independent 1080p HDMI streams from a single 4K output — without breaking the bank.
With the lack of eGPU support in the Apple ecosystem, Mac users are given a delicate task of balancing performance with ports when driving multiple displays. For a while, the original M-series Apple Silicon Macs even had a hard display limit. Despite being incredibly powerful and efficient — running hours on battery, handling complex real-time processing without breaking a sweat — if you were leveling up your game and outputting to multiple screens, this could be a bottleneck serious enough to have you considering switching platforms altogether.
And honestly, that's not an unreasonable thought. Most multi-output media servers run Windows or Linux precisely because you can stack multiple graphics cards into a single machine. That kind of raw expandability is hard to argue with. But those setups come with their own tradeoffs — cost, complexity, weight, noise, and the joy of maintaining a Windows machine on the road. Meanwhile, a Mac Studio sits quietly on your desk pushing out stunning visuals while barely warming up.
So the question becomes: with so few Thunderbolt and USB-C ports available, how do you get more outputs? You're looking at specialty dongles, docks, or expansion hubs — all of which add cost and, sometimes, instability. None of them feel like a great solution.
What if we told you there's a $120 device that takes a single 4K display output and splits it into four independent 1080p HDMI streams?
We heard about it from Pittsburgh artist and Carnegie Mellon professor Nica Ross on our VIDVOX Conversations podcast. They mentioned it almost in passing, the way the best gear tips always seem to arrive. We ordered one immediately.
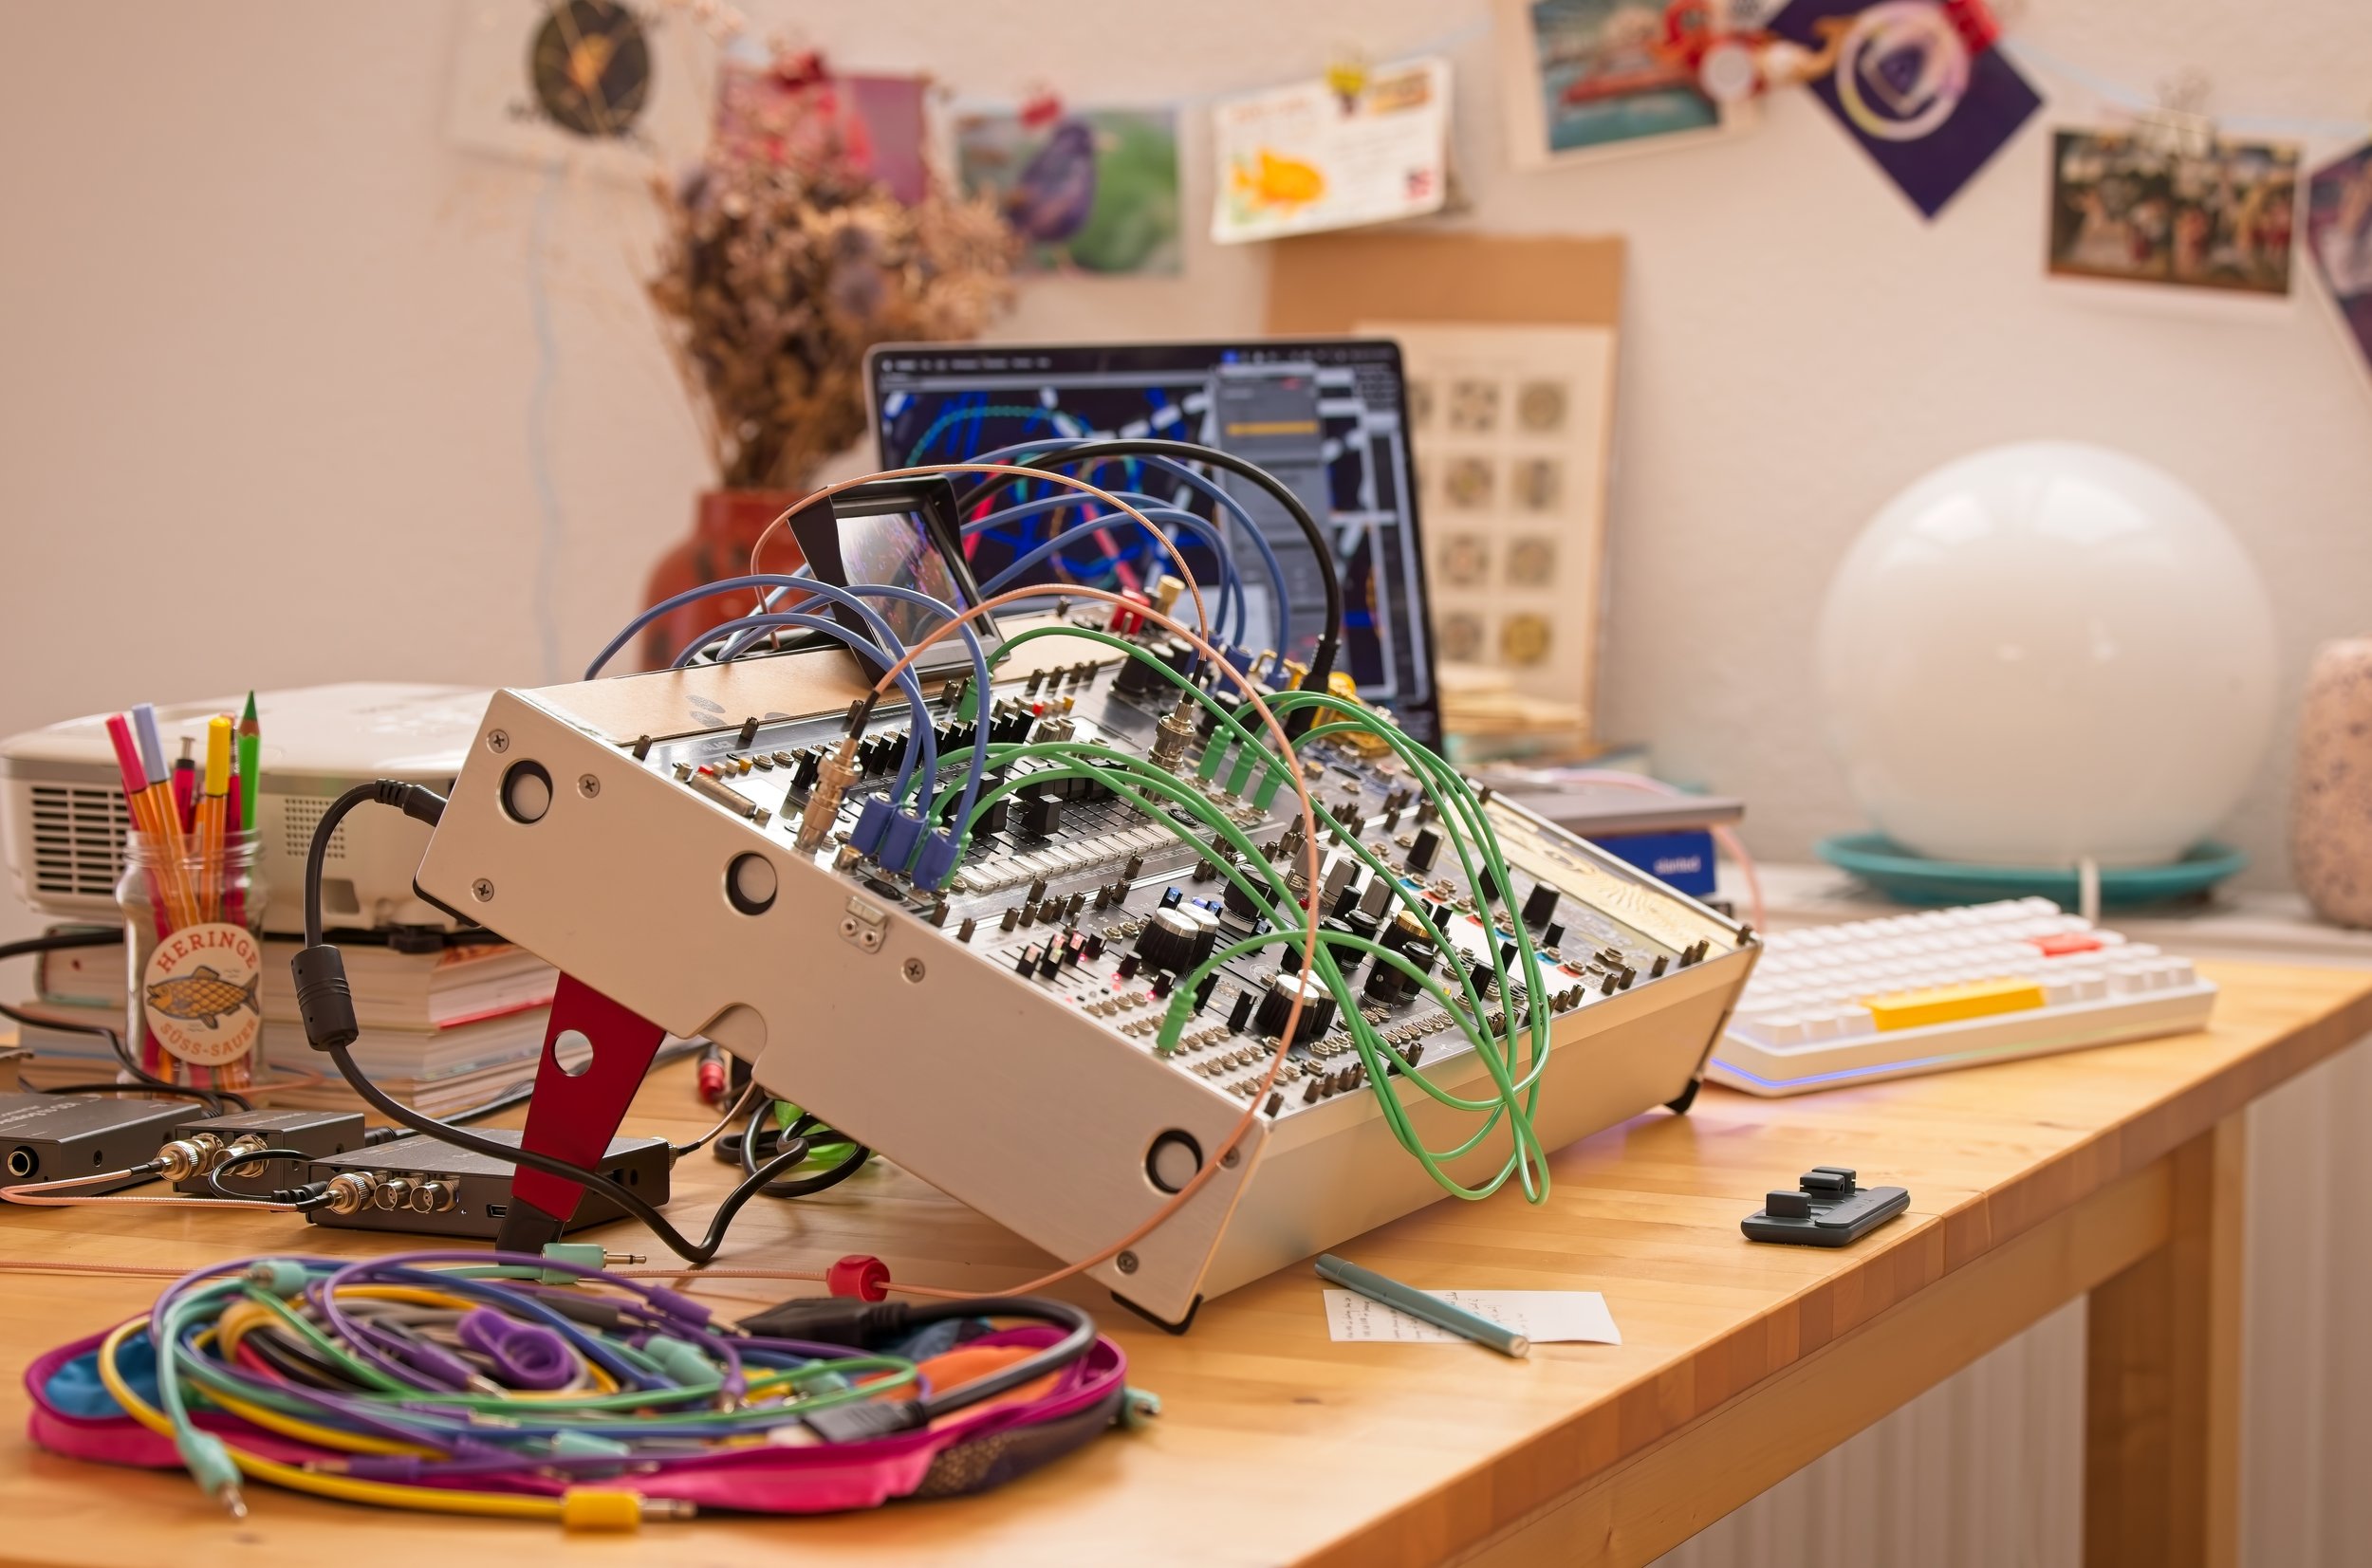
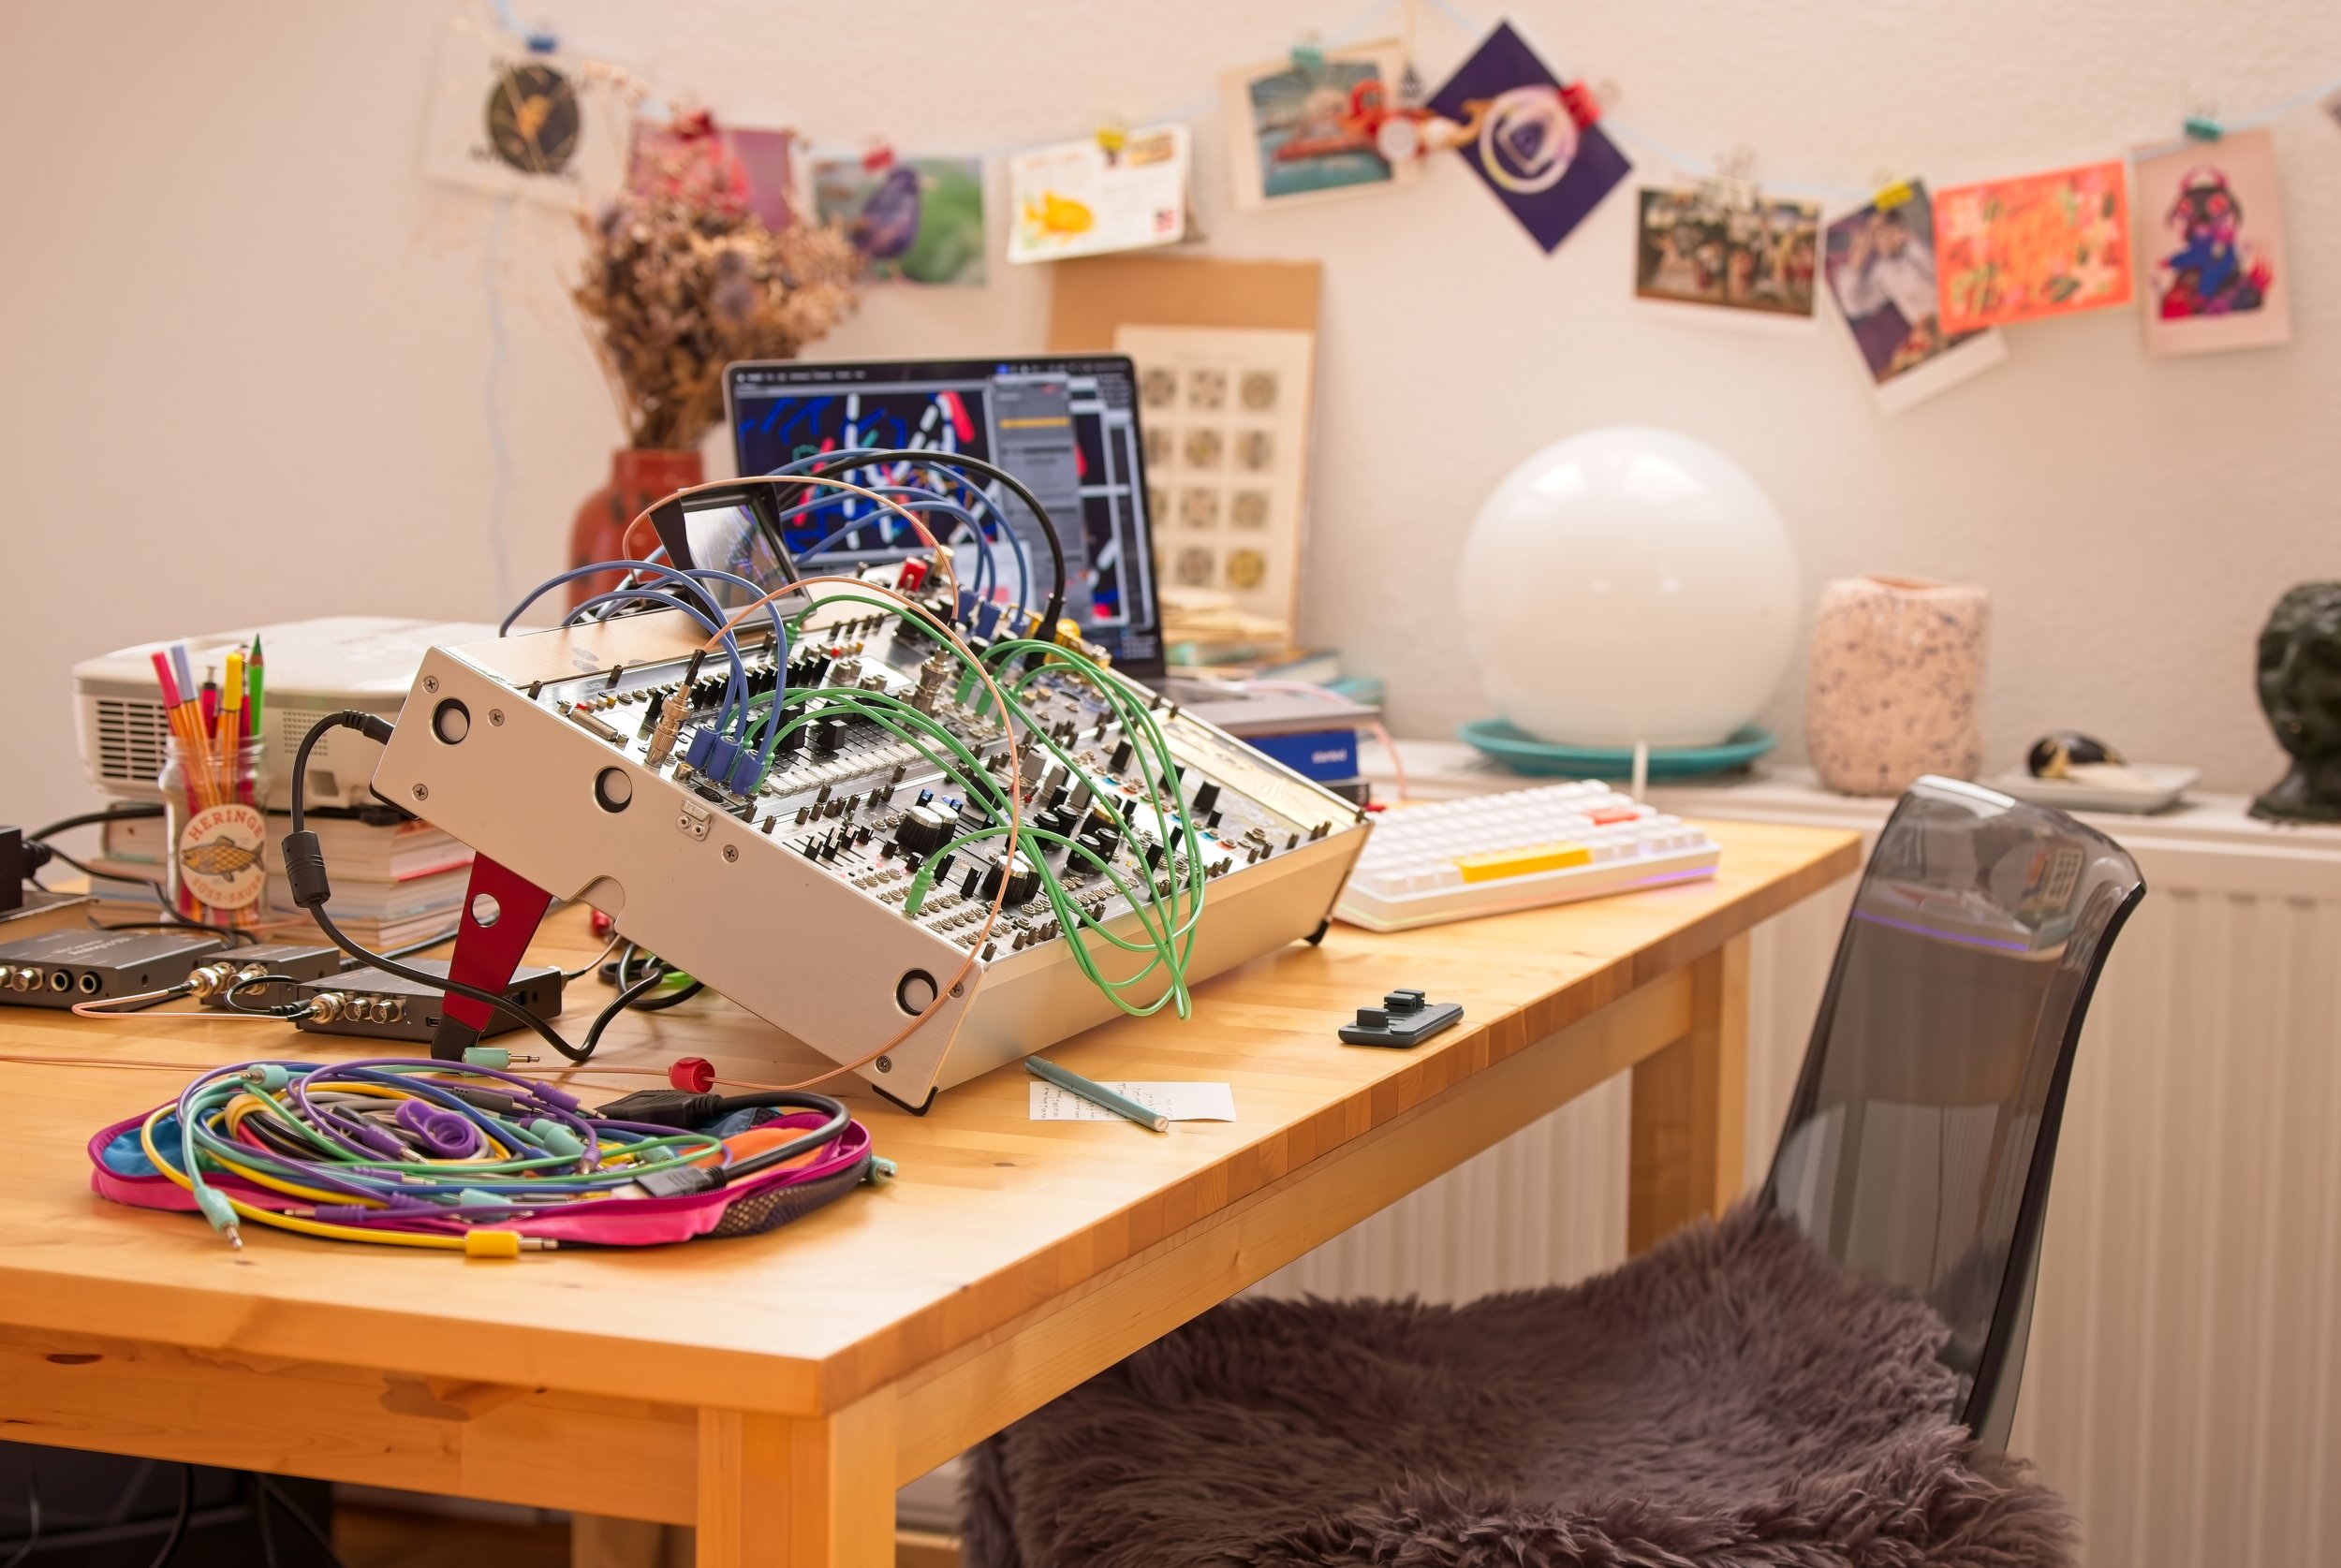
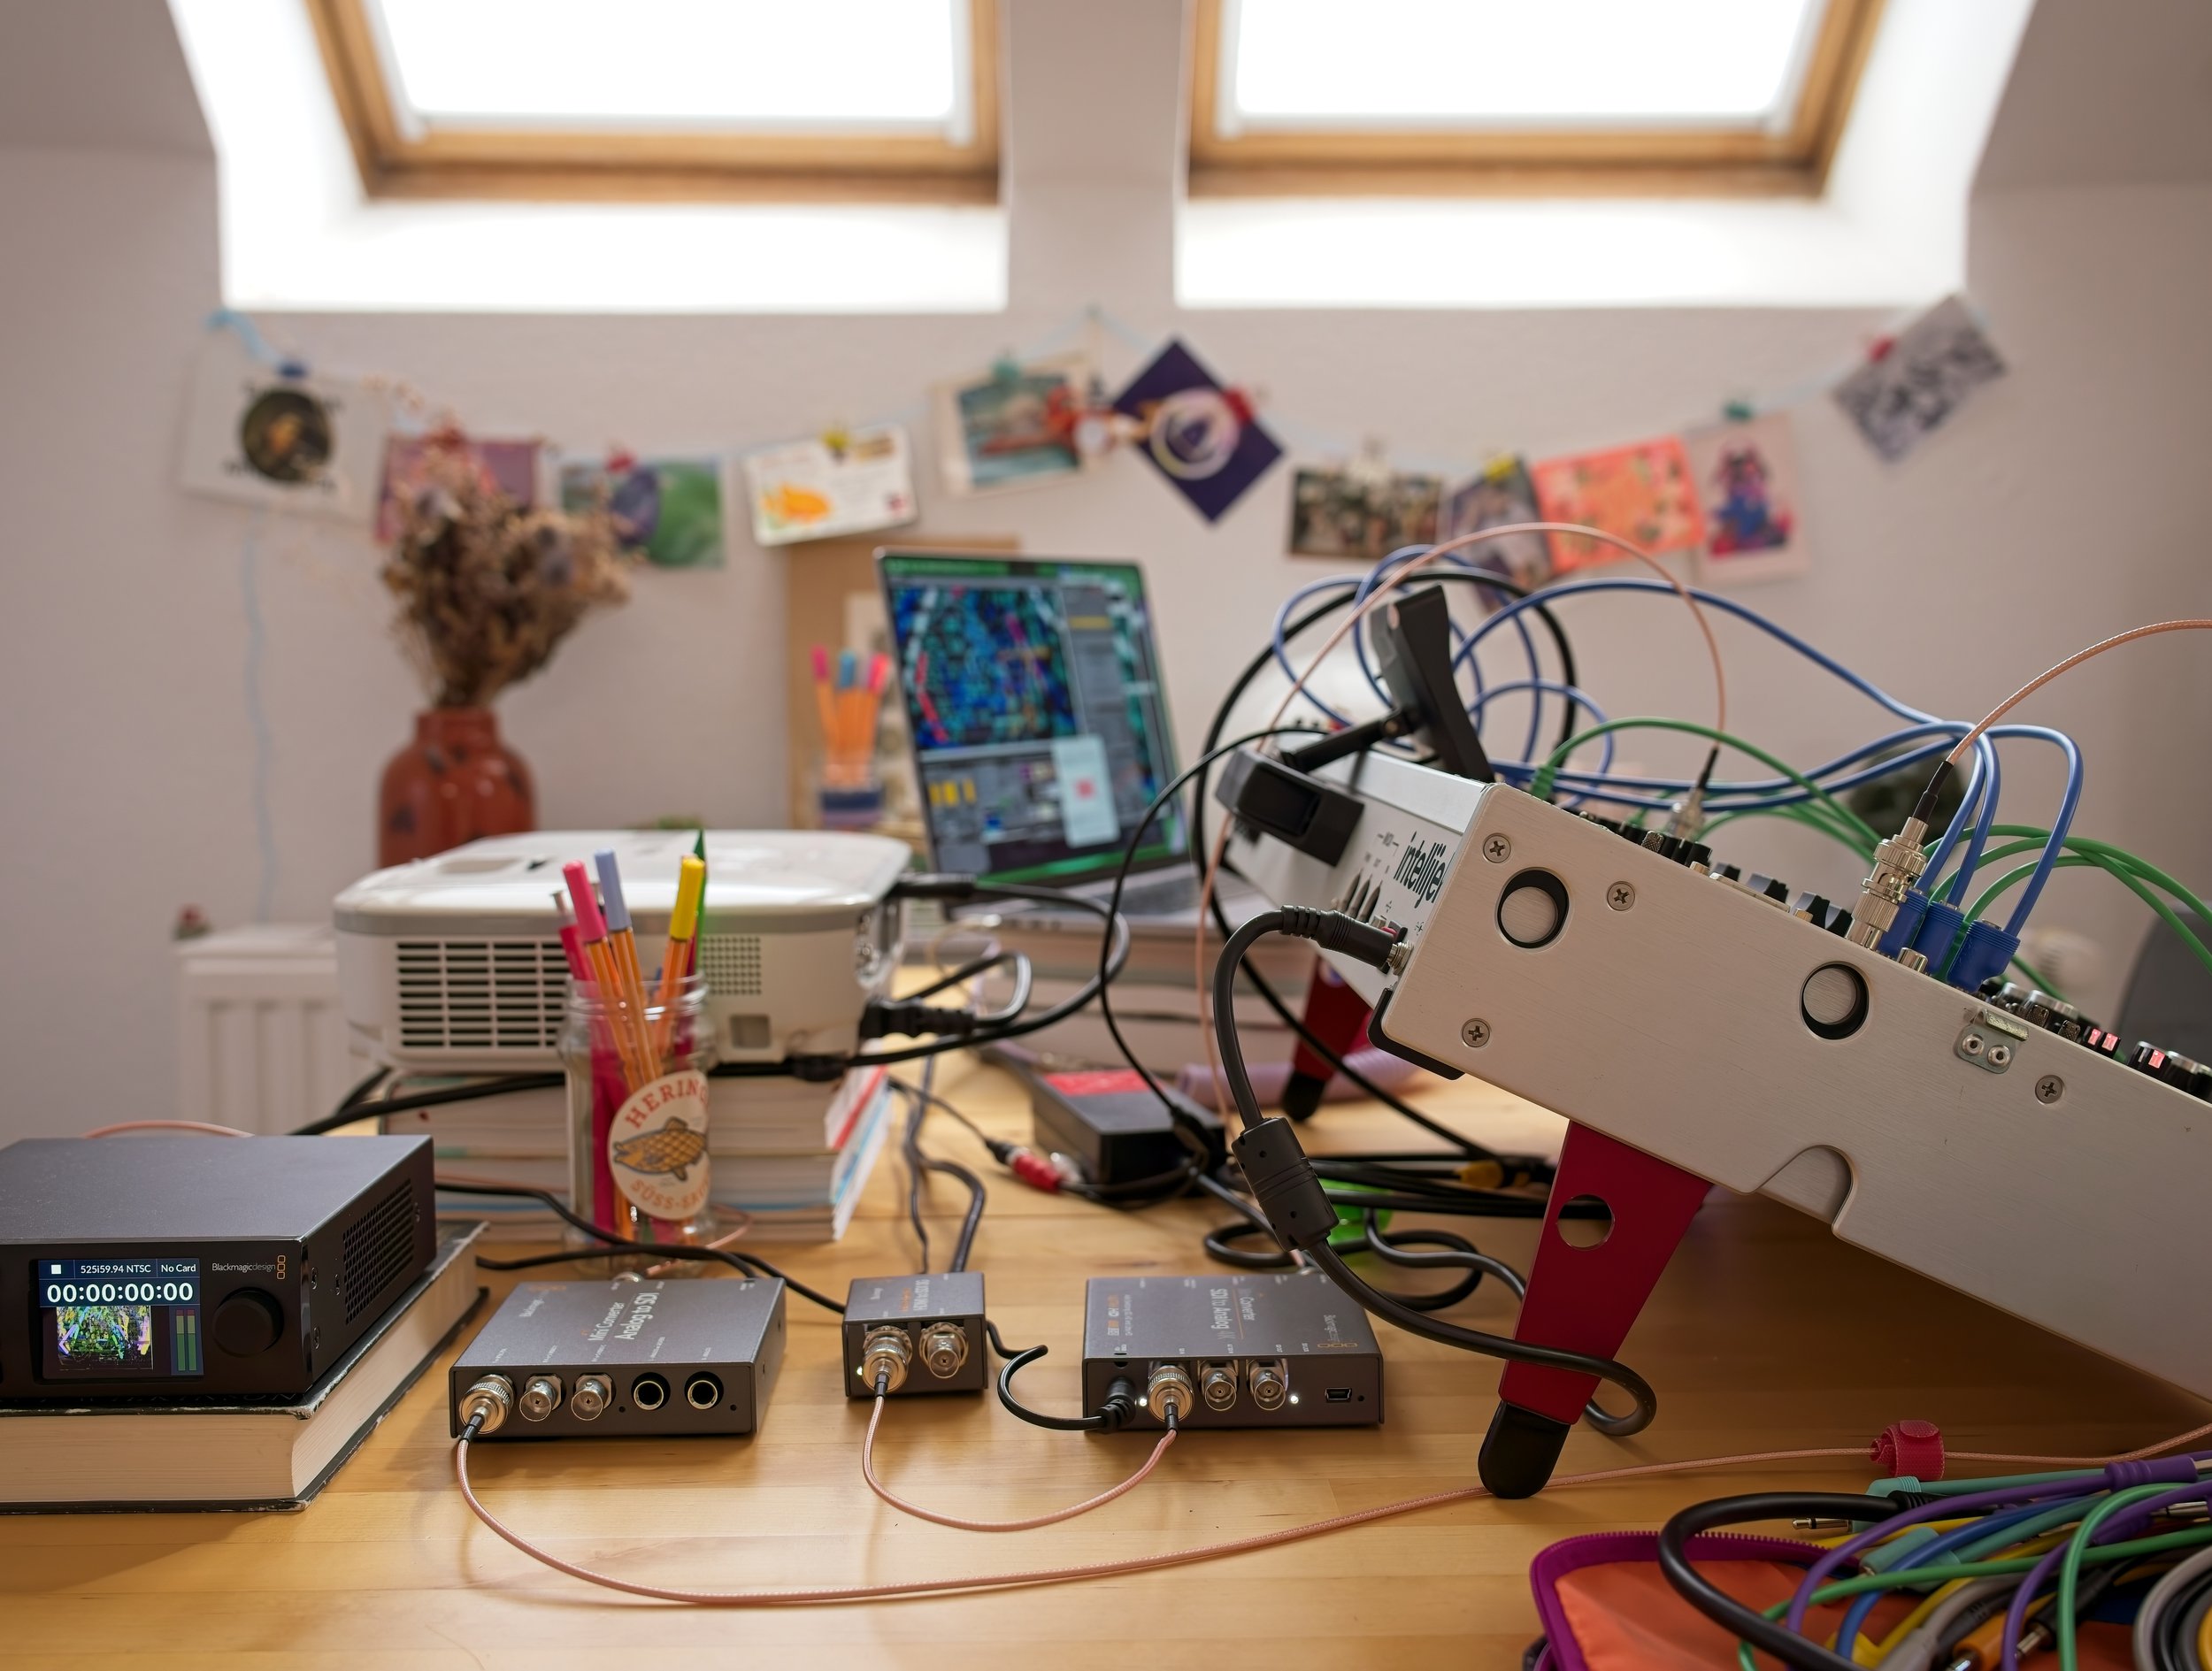
Enter the OREI UHD-14VW. It's not a perfect device, and it has its limitations — but for $120 it opens up some genuinely exciting possibilities for multi-screen users, without putting the burden of driving those additional displays on your computer.
What the OREI Does
Available on Amazon | OREI.com — ~$119–$200 USD
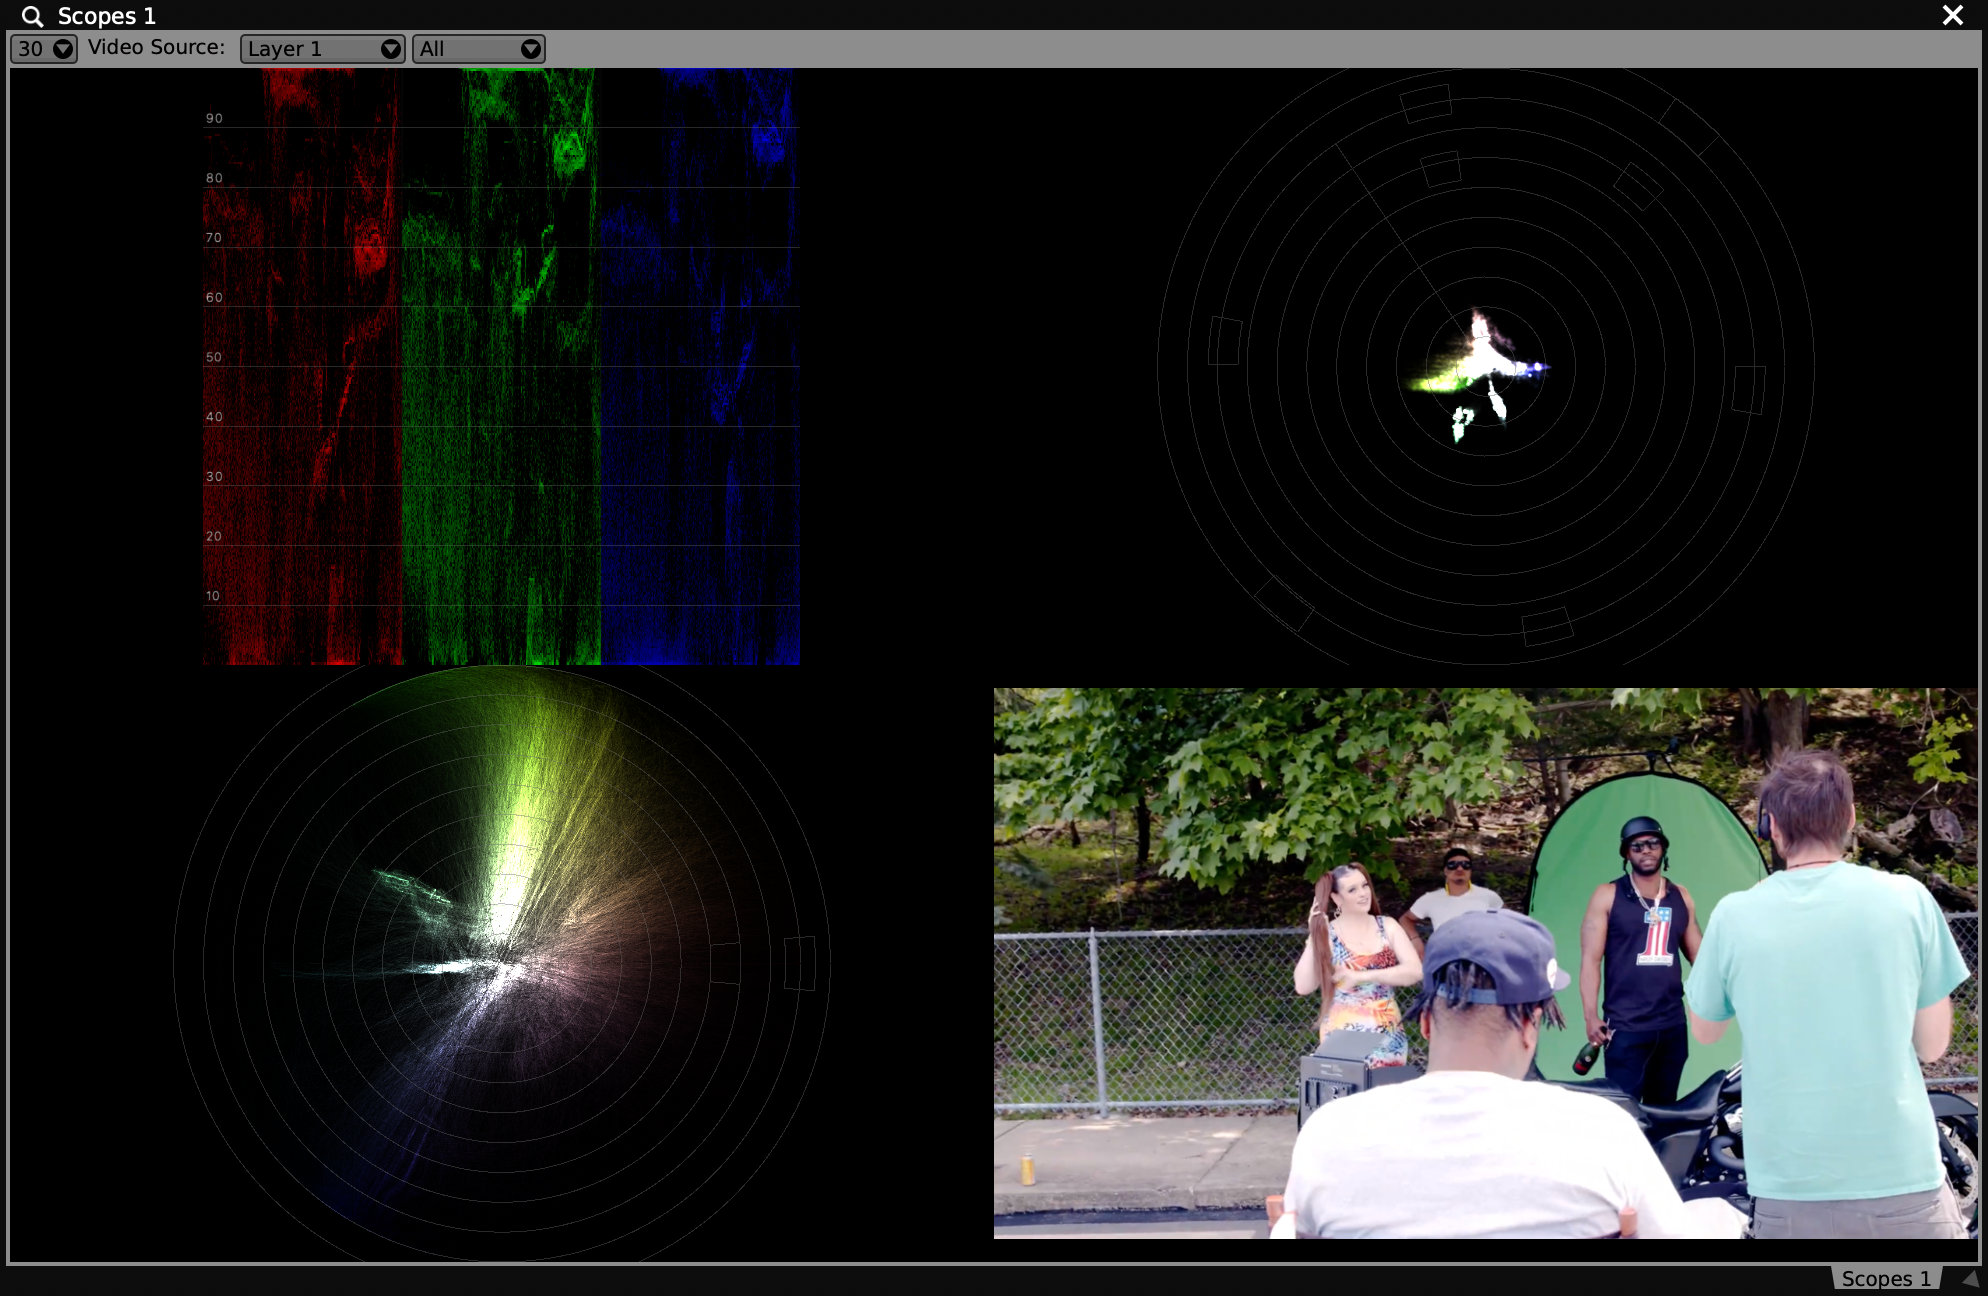
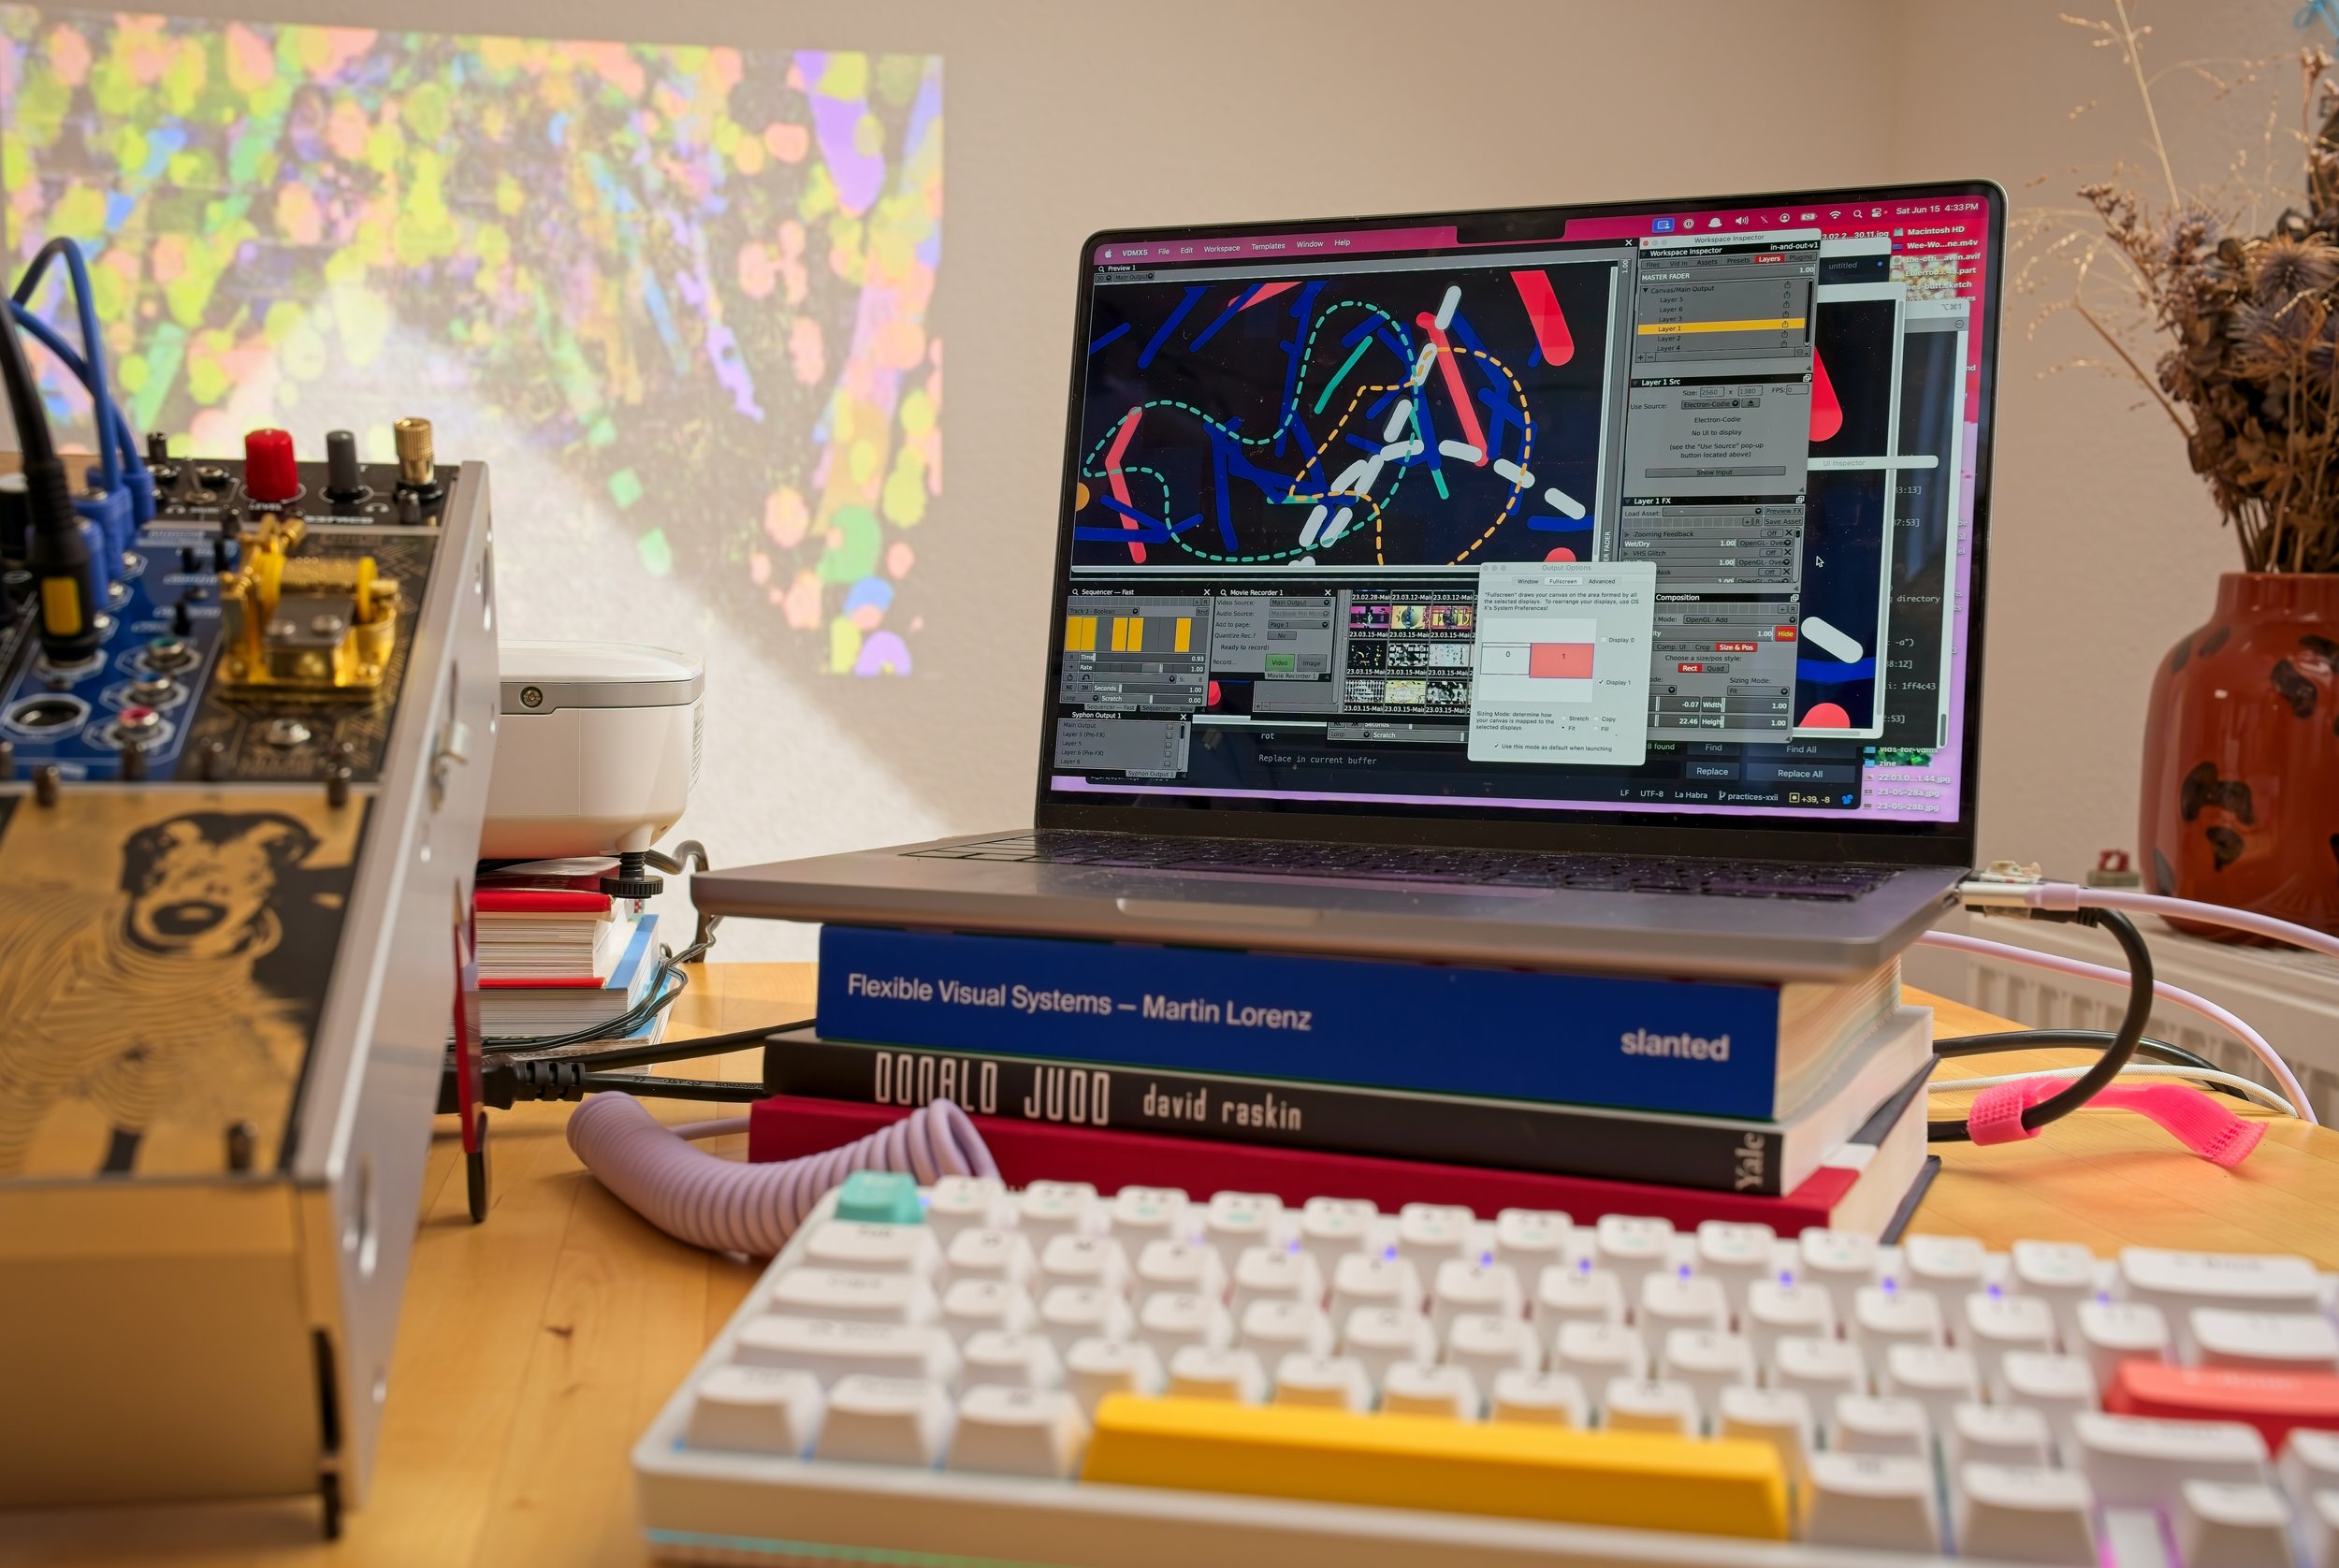
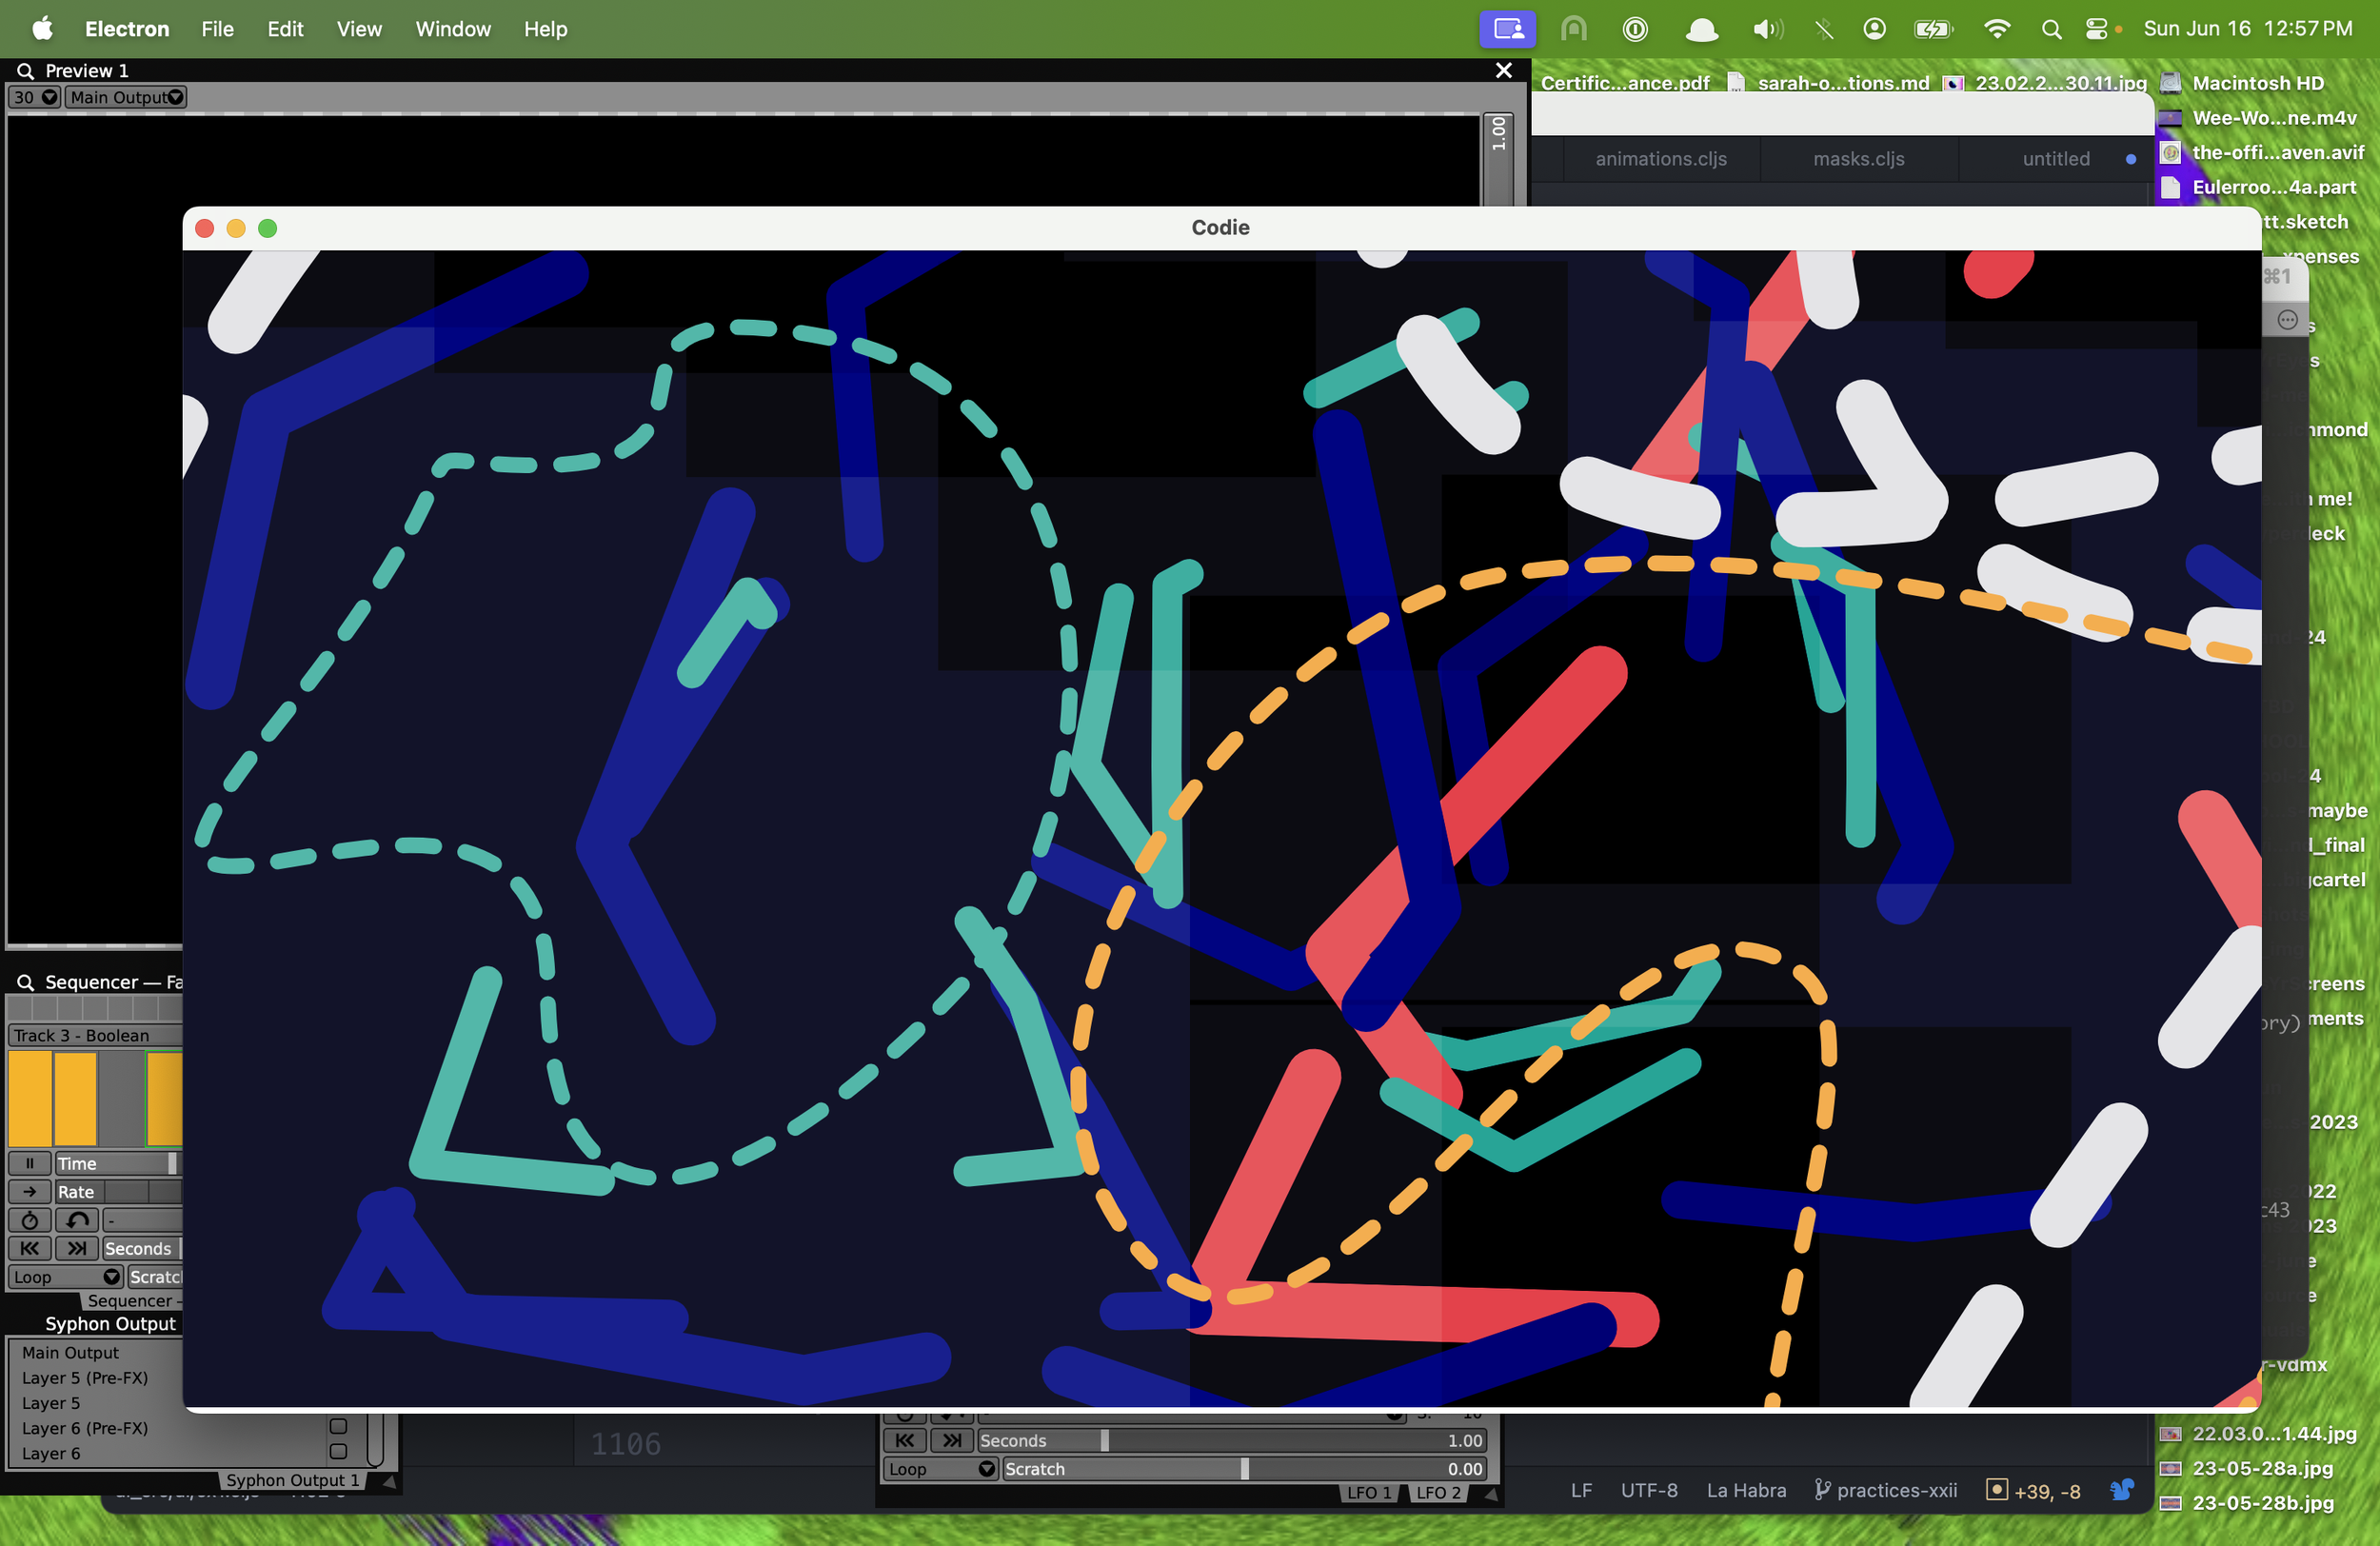
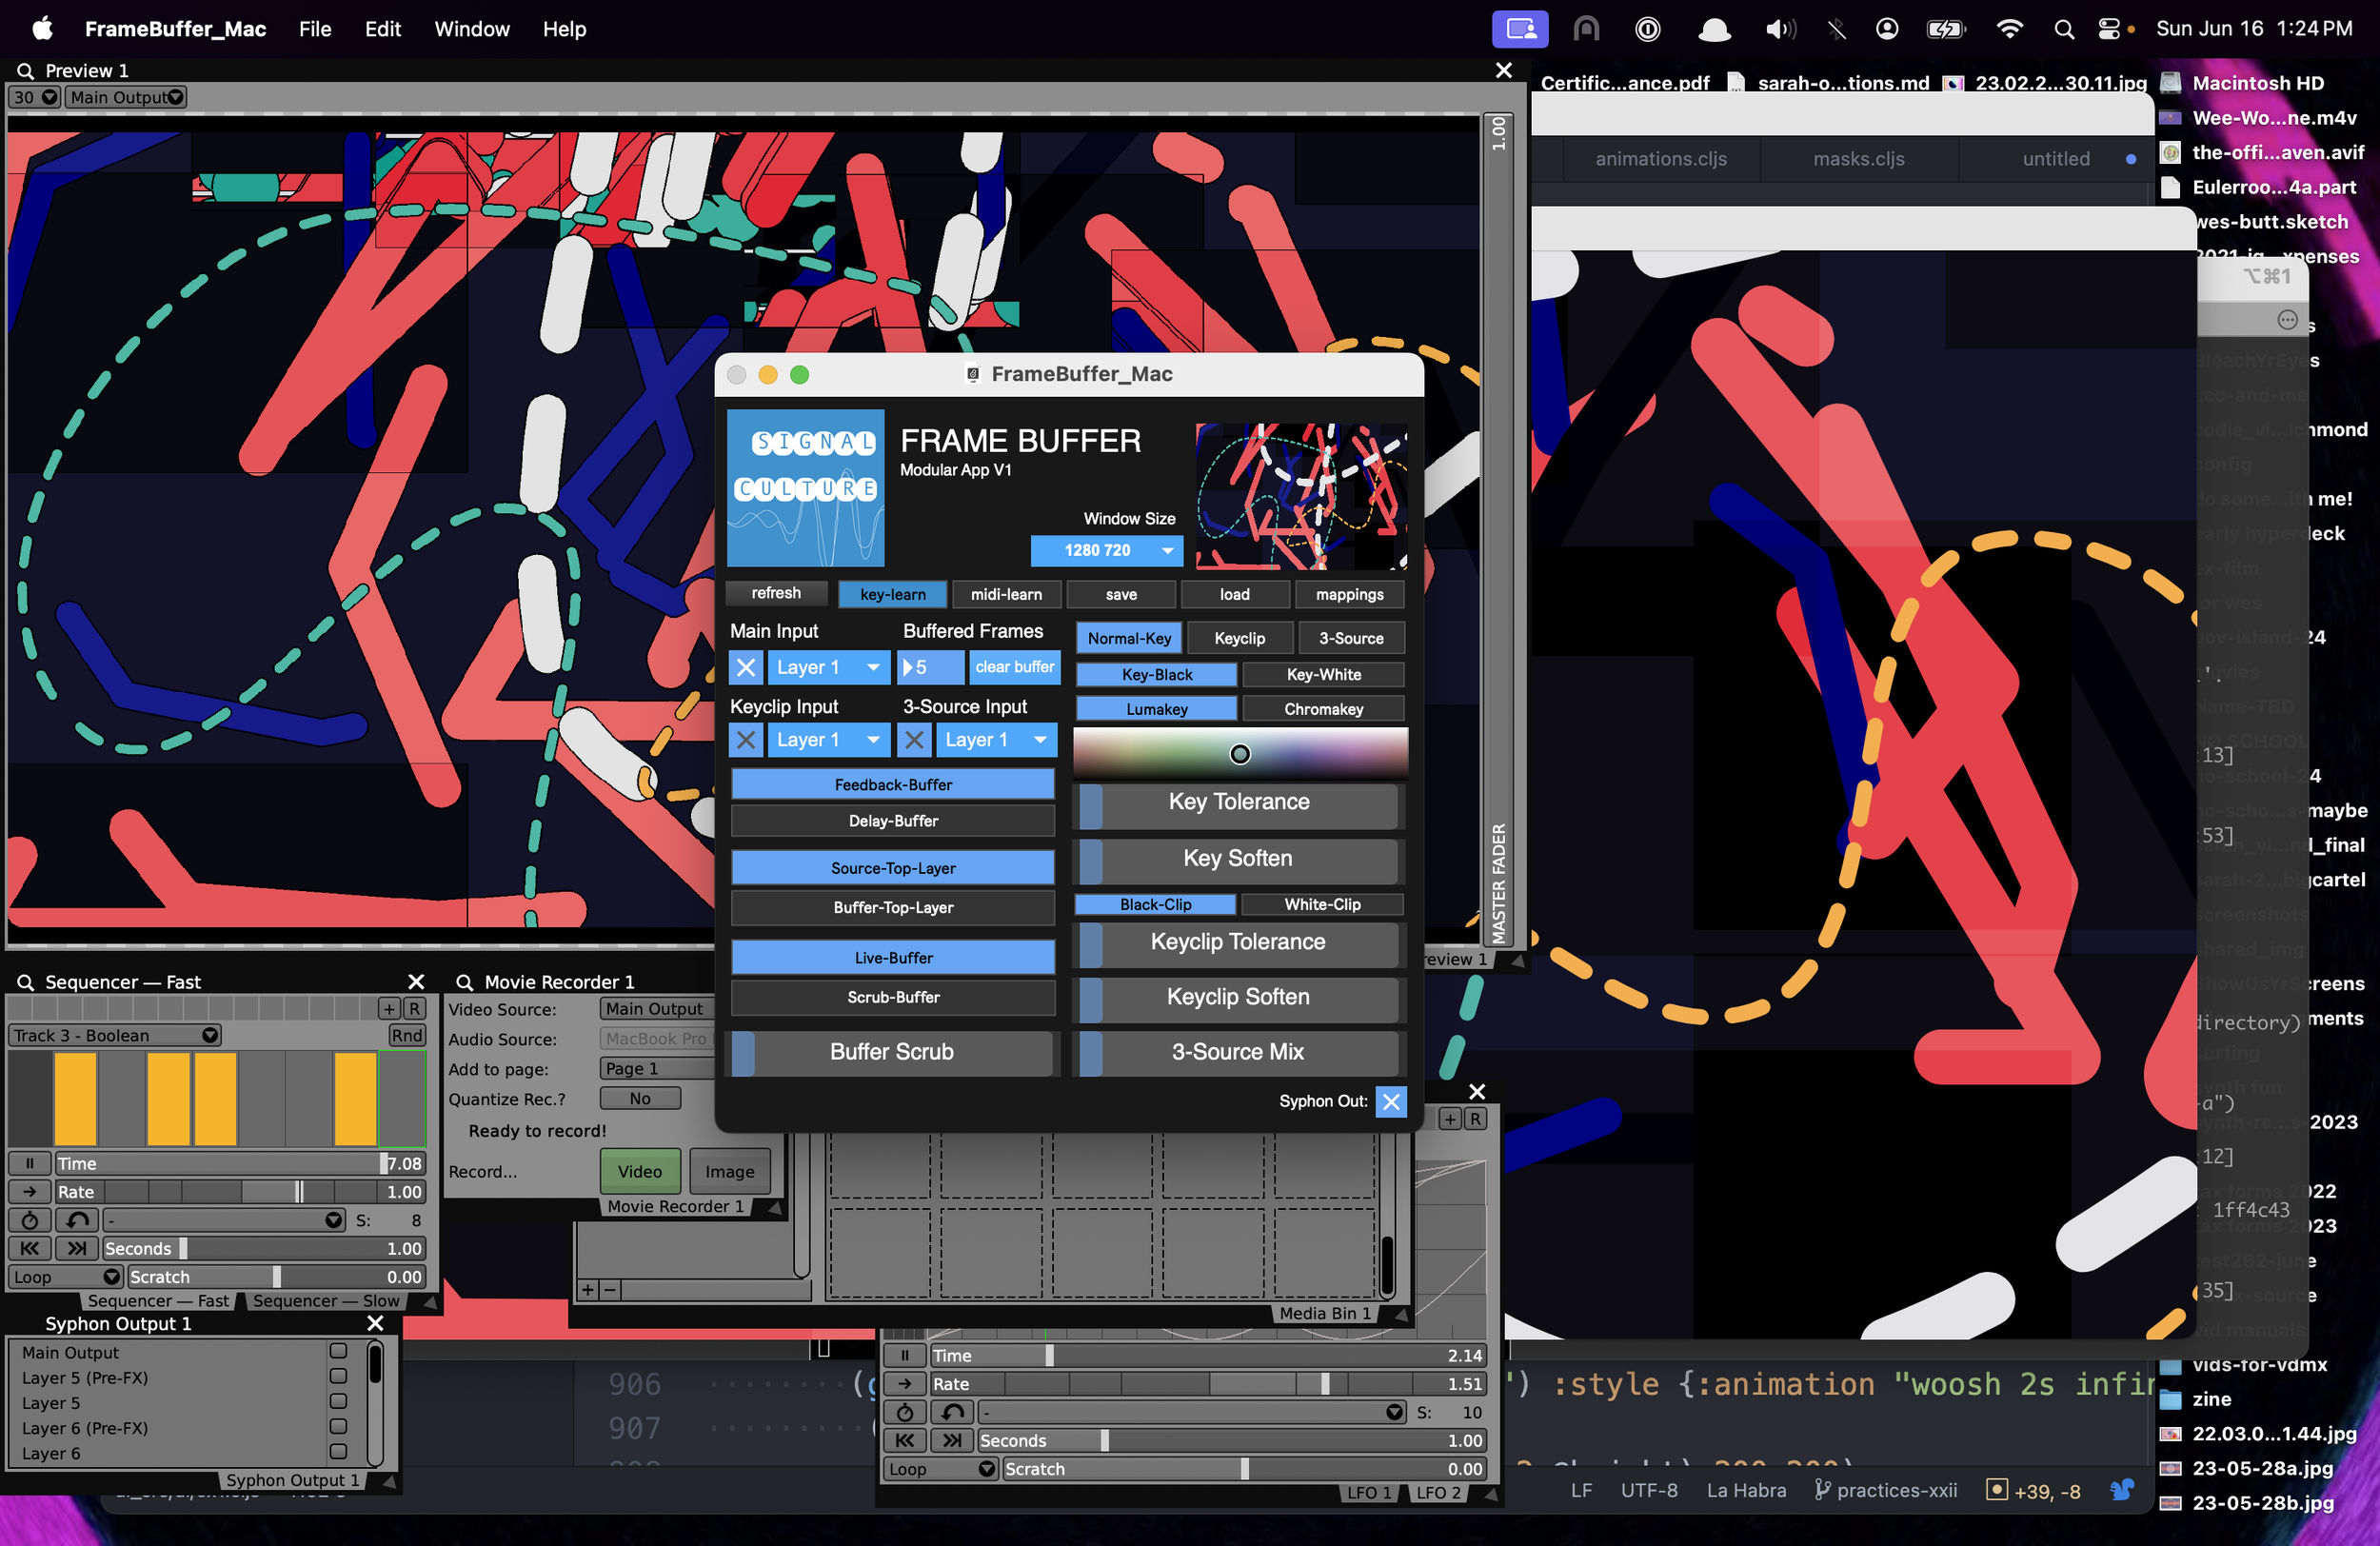
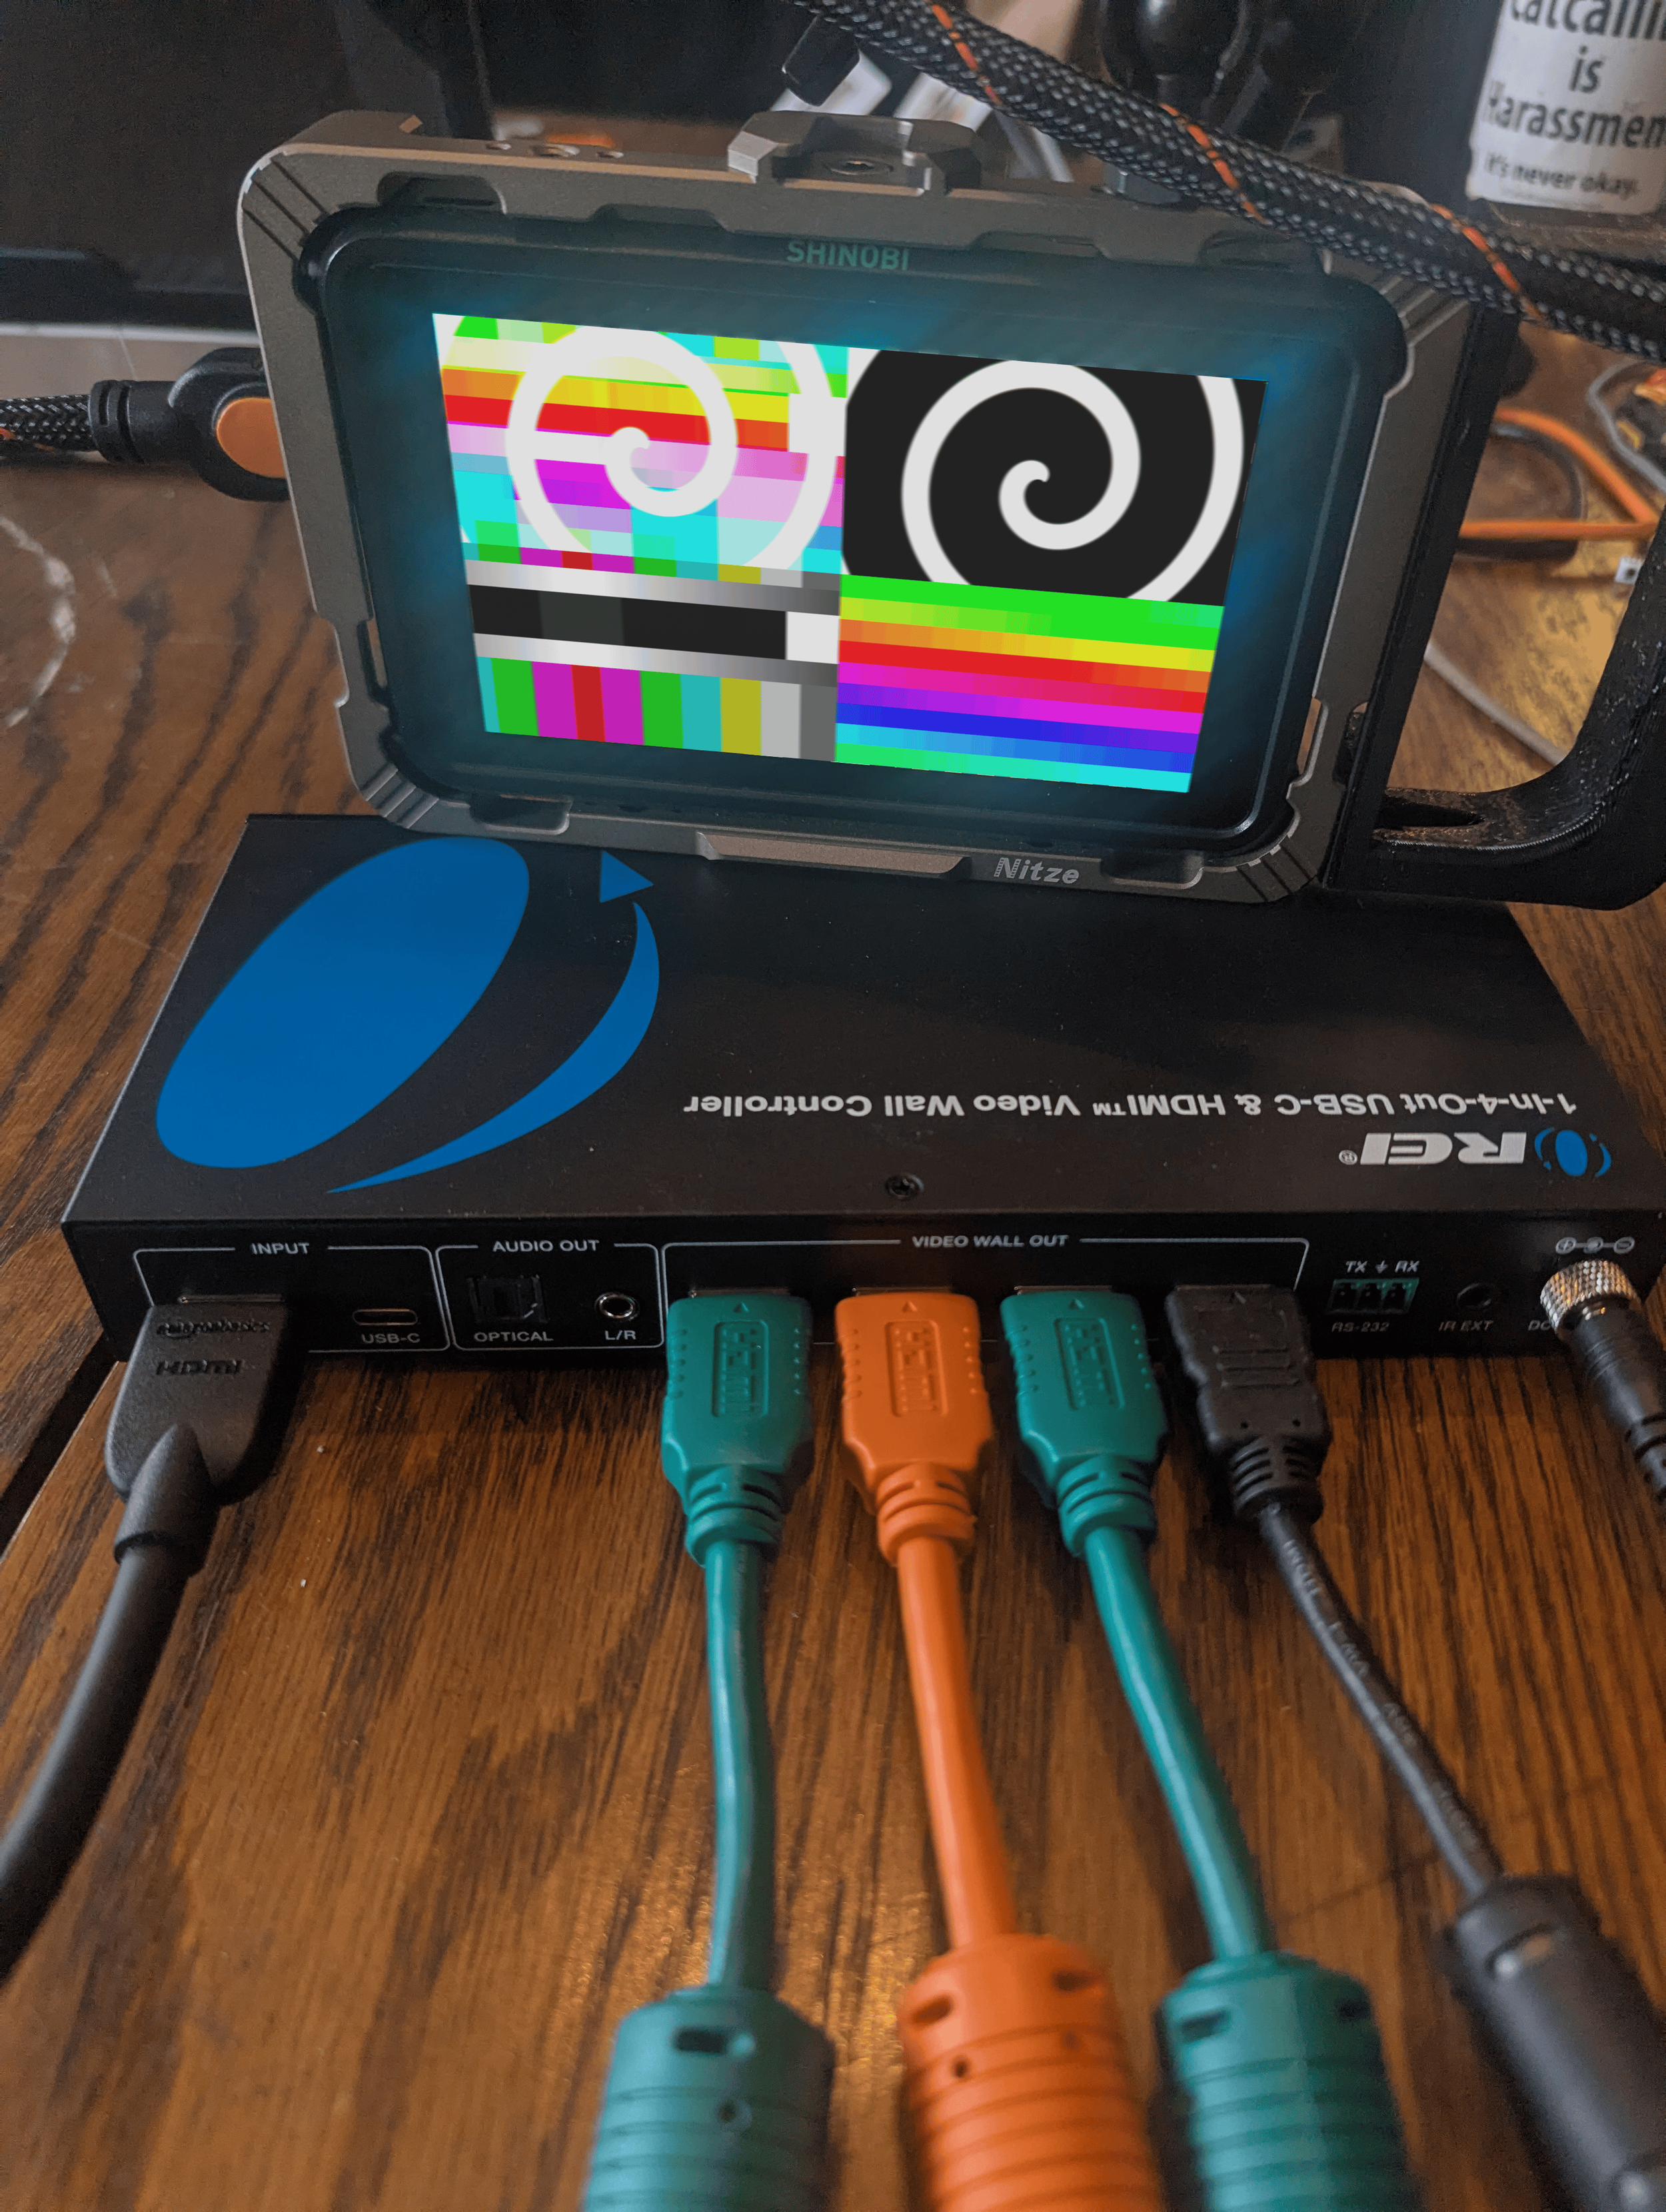
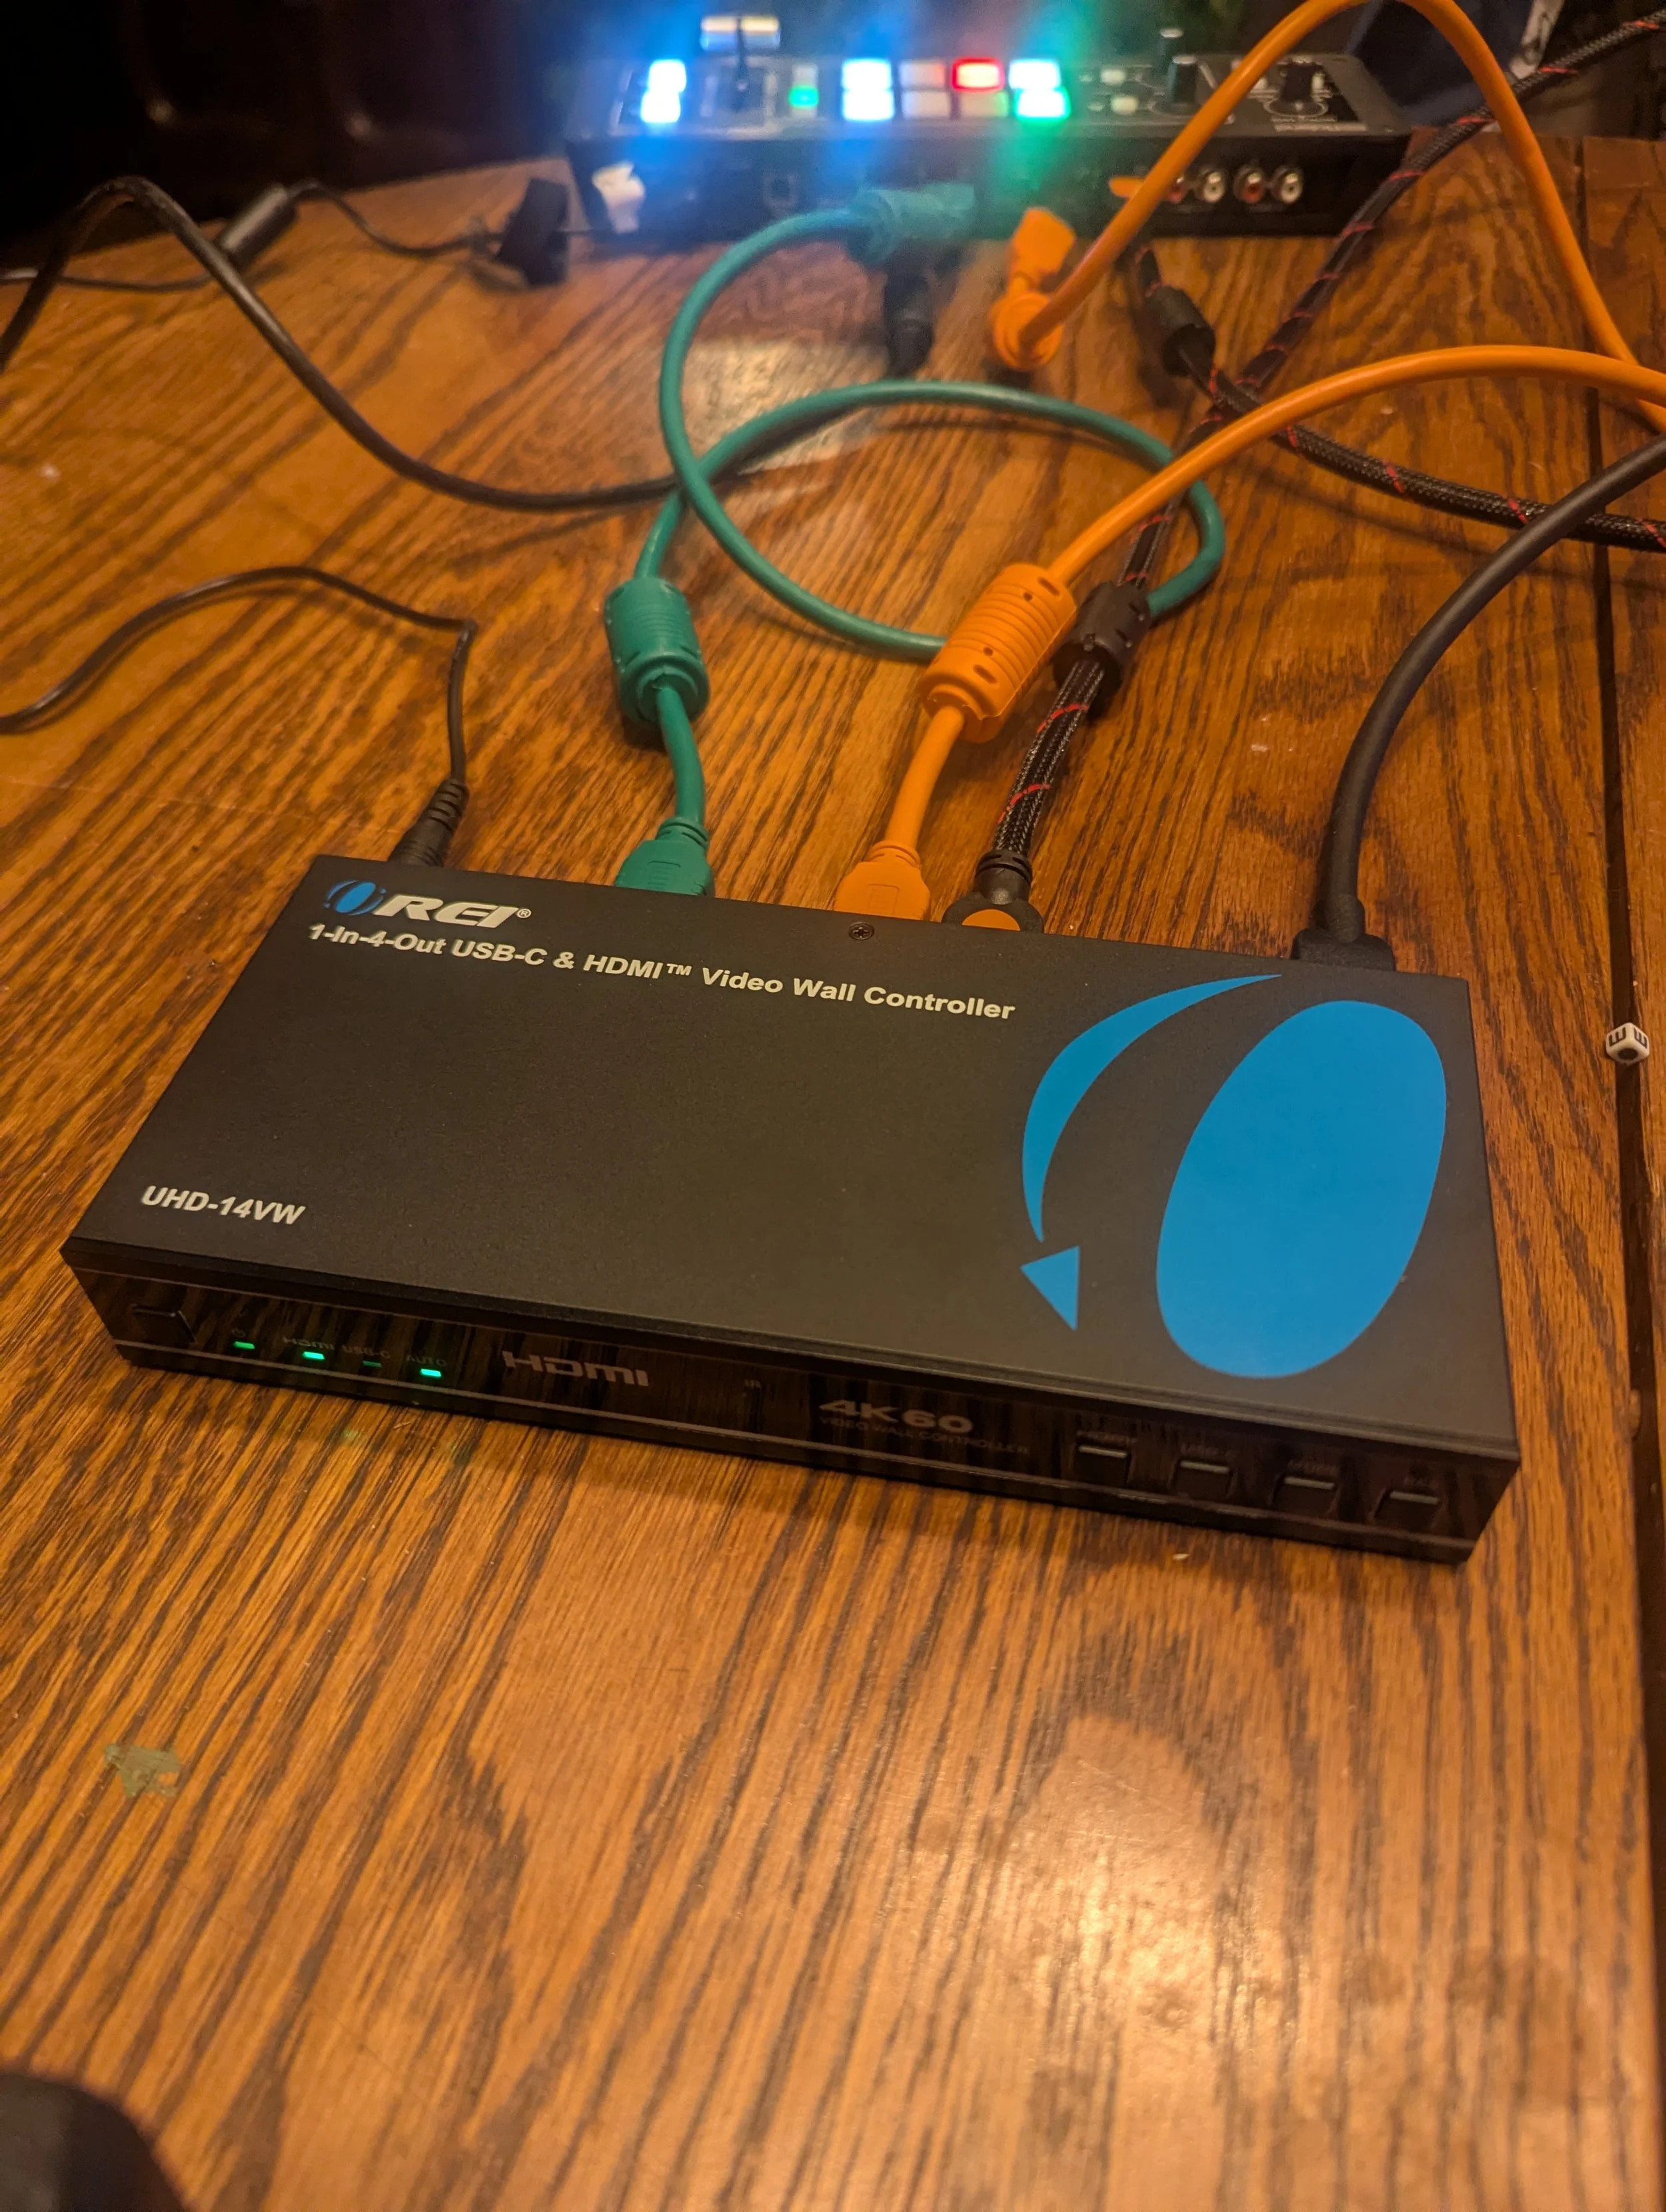
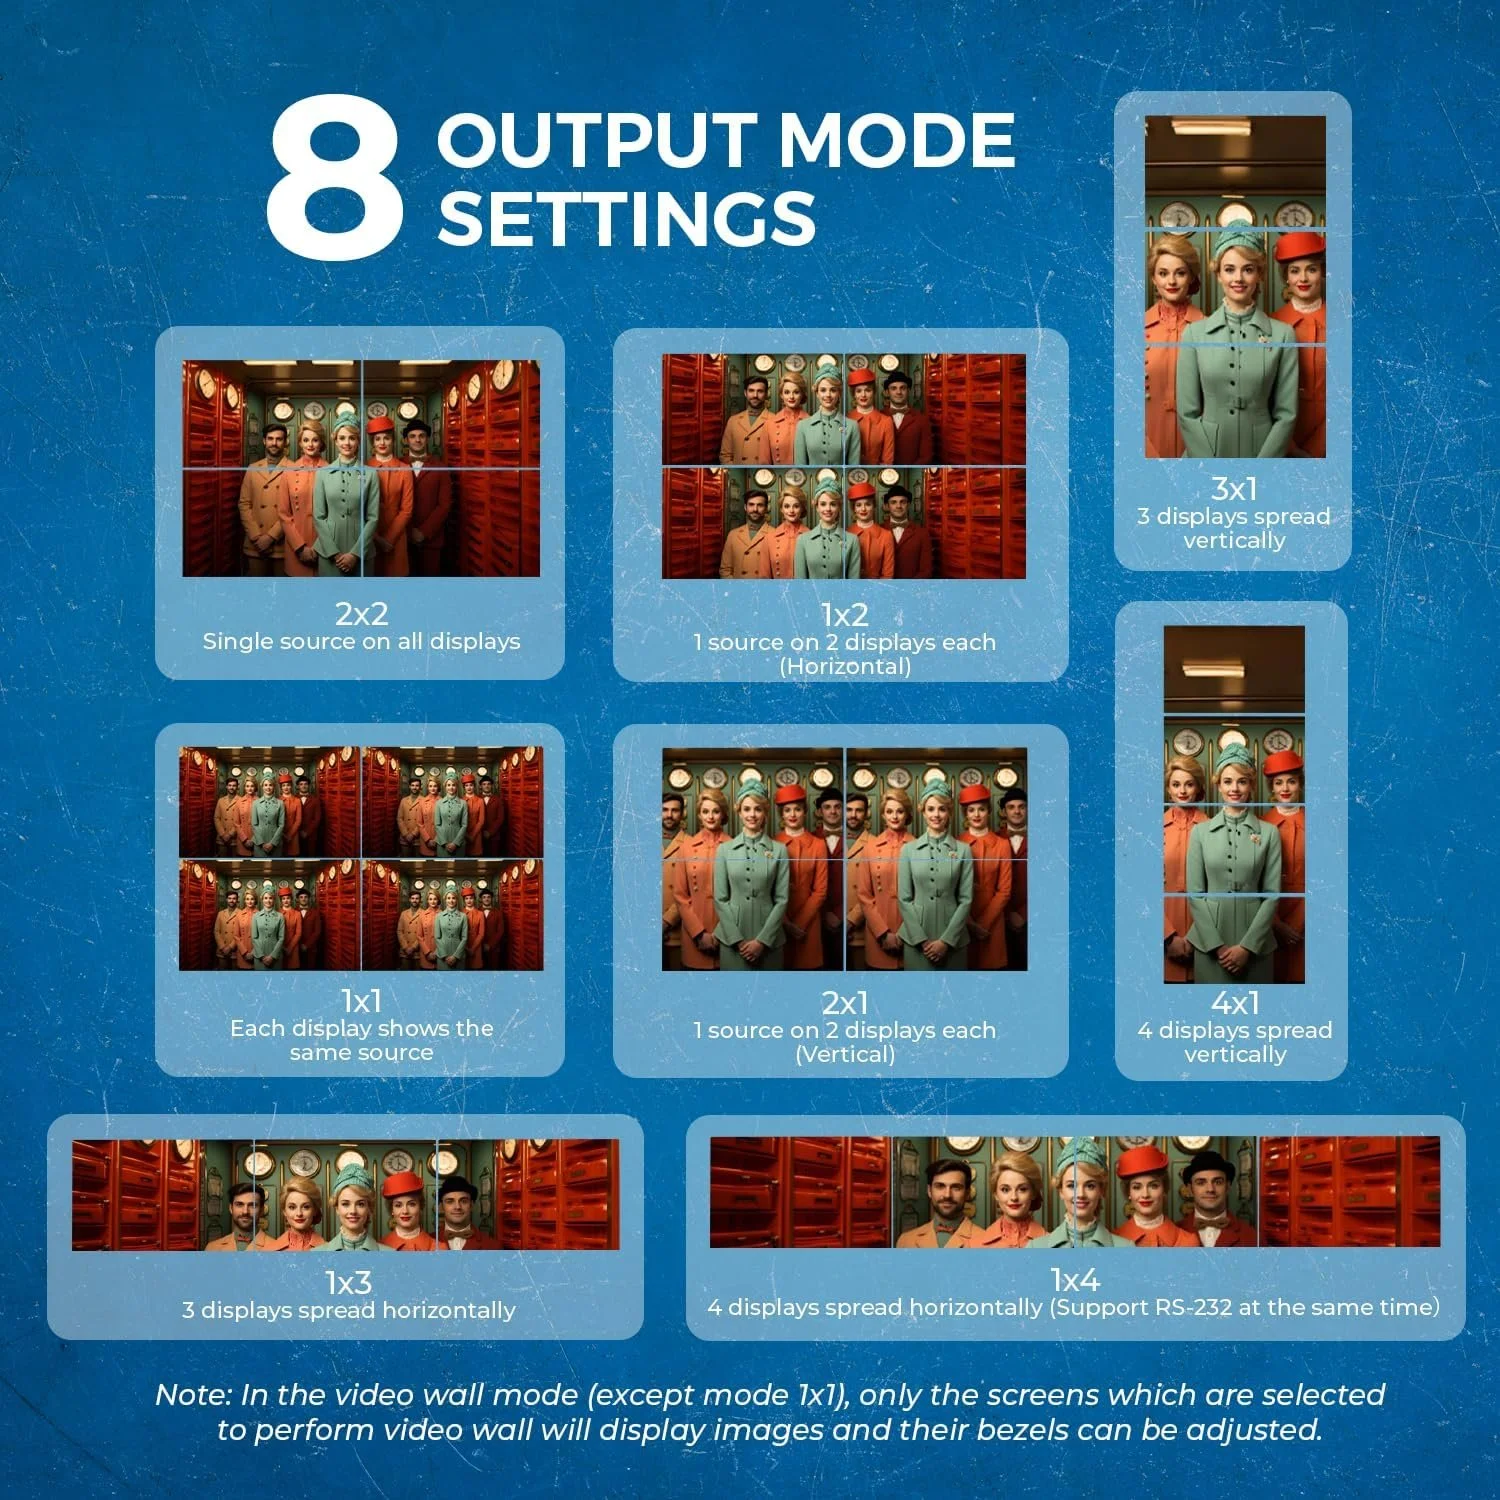
The OREI UHD-14VW is a 1-in, 4-out video wall processor. Your Mac sends it a single 4K HDMI signal, and it distributes that signal across four independent 1080p HDMI outputs. Each output shows a different portion of the 4K image, and you choose how those portions are arranged from eight layout modes — a 2x2 grid, a horizontal row, a vertical stack, and variations in between.
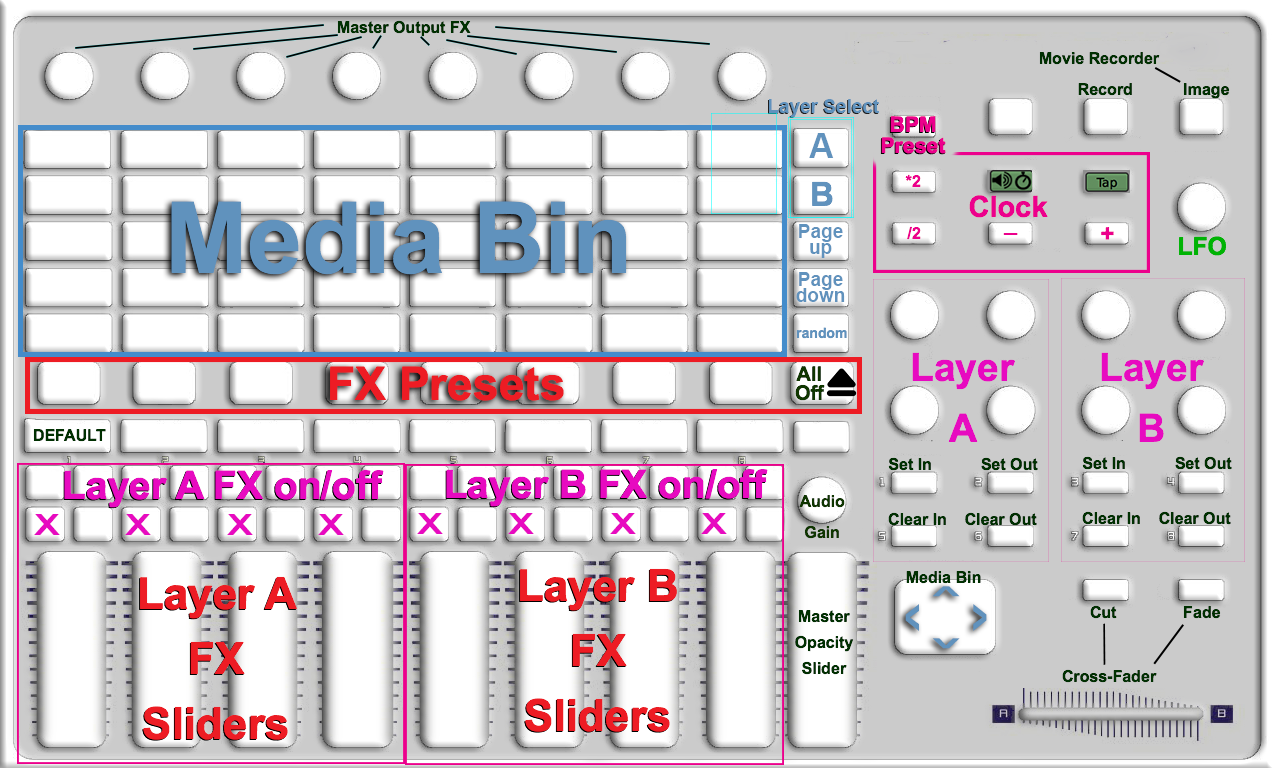
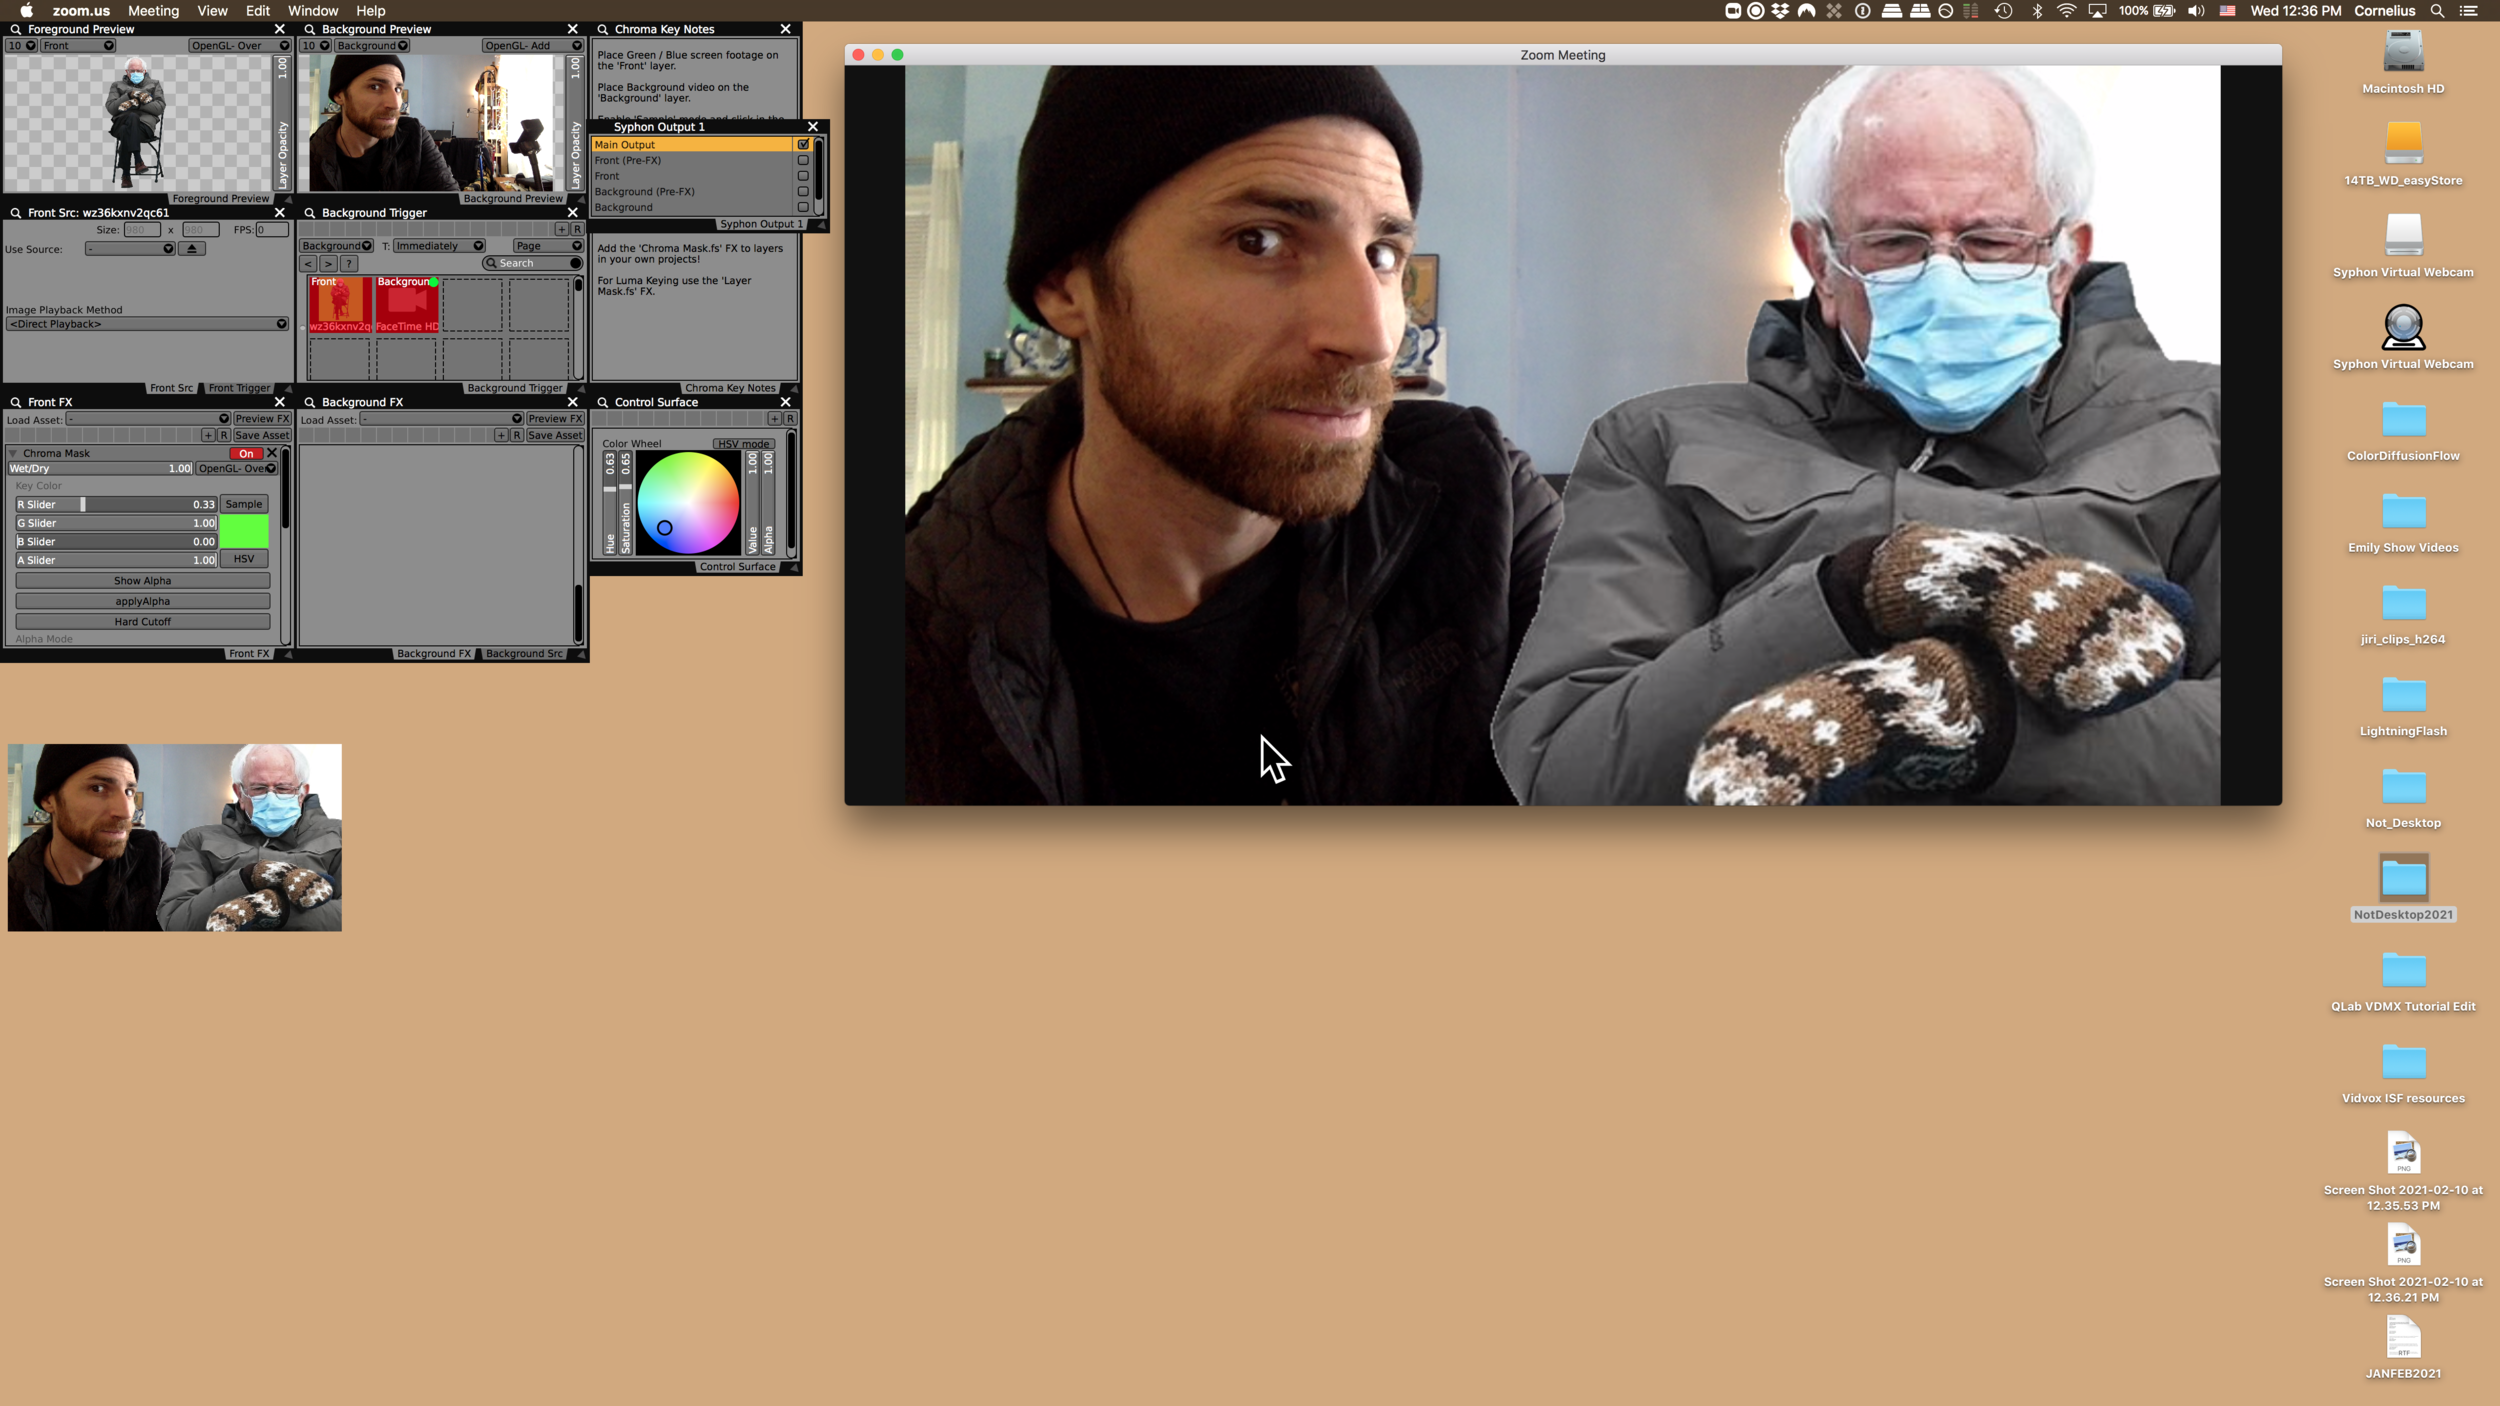
In VDMX, this pairs perfectly with the layer groups and Advanced Output system. Set your canvas to 4K (3840x2160), define four 1080p regions with independent content sources, and point the whole thing at the OREI. Your Mac sees one big display. Your audience sees four screens.
The device also handles audio extraction, RS-232 control, bezel compensation for physical video walls, and remembers its settings across power cycles. OREI makes a 4-in, 4-out matrix version too (the UHDS-404VW) if you need to route multiple sources — but for this workflow, the 1-in, 4-out UHD-14VW is your starting point.
One thing to know before you dive in: the OREI is designed as a true 1-to-4 device. Worth noting: this is a true 1-to-4 device — connecting fewer than four outputs causes different scaling behaviors.
You can follow the steps below to configure VDMX to work with any of the OREI output modes.
How Does It Compare to the Datapath FX4?
The Datapath FX4 costs over $2,000 and has long been the industry standard for multi-output work. The key difference is frame sync — the Datapath genlocks all four outputs in hardware, and multiple units can be synced across a network for larger installations. Running a strobe test on the OREI, there is a small but real offset between outputs. For most content you'll never notice, but for anything requiring frame-perfect timing, the Datapath is the right tool. The FX4-HDR variant also adds 10-bit HDR support, which the OREI doesn't have.
For a touring rig or permanent installation where sync is non-negotiable, the Datapath earns its price. For everything else, the OREI is hard to beat.
Setting It Up With VDMX
The core concept: VDMX treats the OREI as one large 4K display, and you use either layer groups or the Advanced Output tab to put different content in each quadrant of that canvas. We put together two video tutorials depending on how deep you want to go.
Part 1 covers the quickest way to get up and running using VDMX's layer groups and the Workspace Inspector. If you're new to this workflow, start here.
Simple Method
Advanced Output Video Tutorial
Part 2 goes further, walking through the Advanced Output tab in detail for more precise, custom control over your output regions — including how to use a Cam Link to preview all four outputs live on the same machine.