Spooky Halloween Projections with VDMX

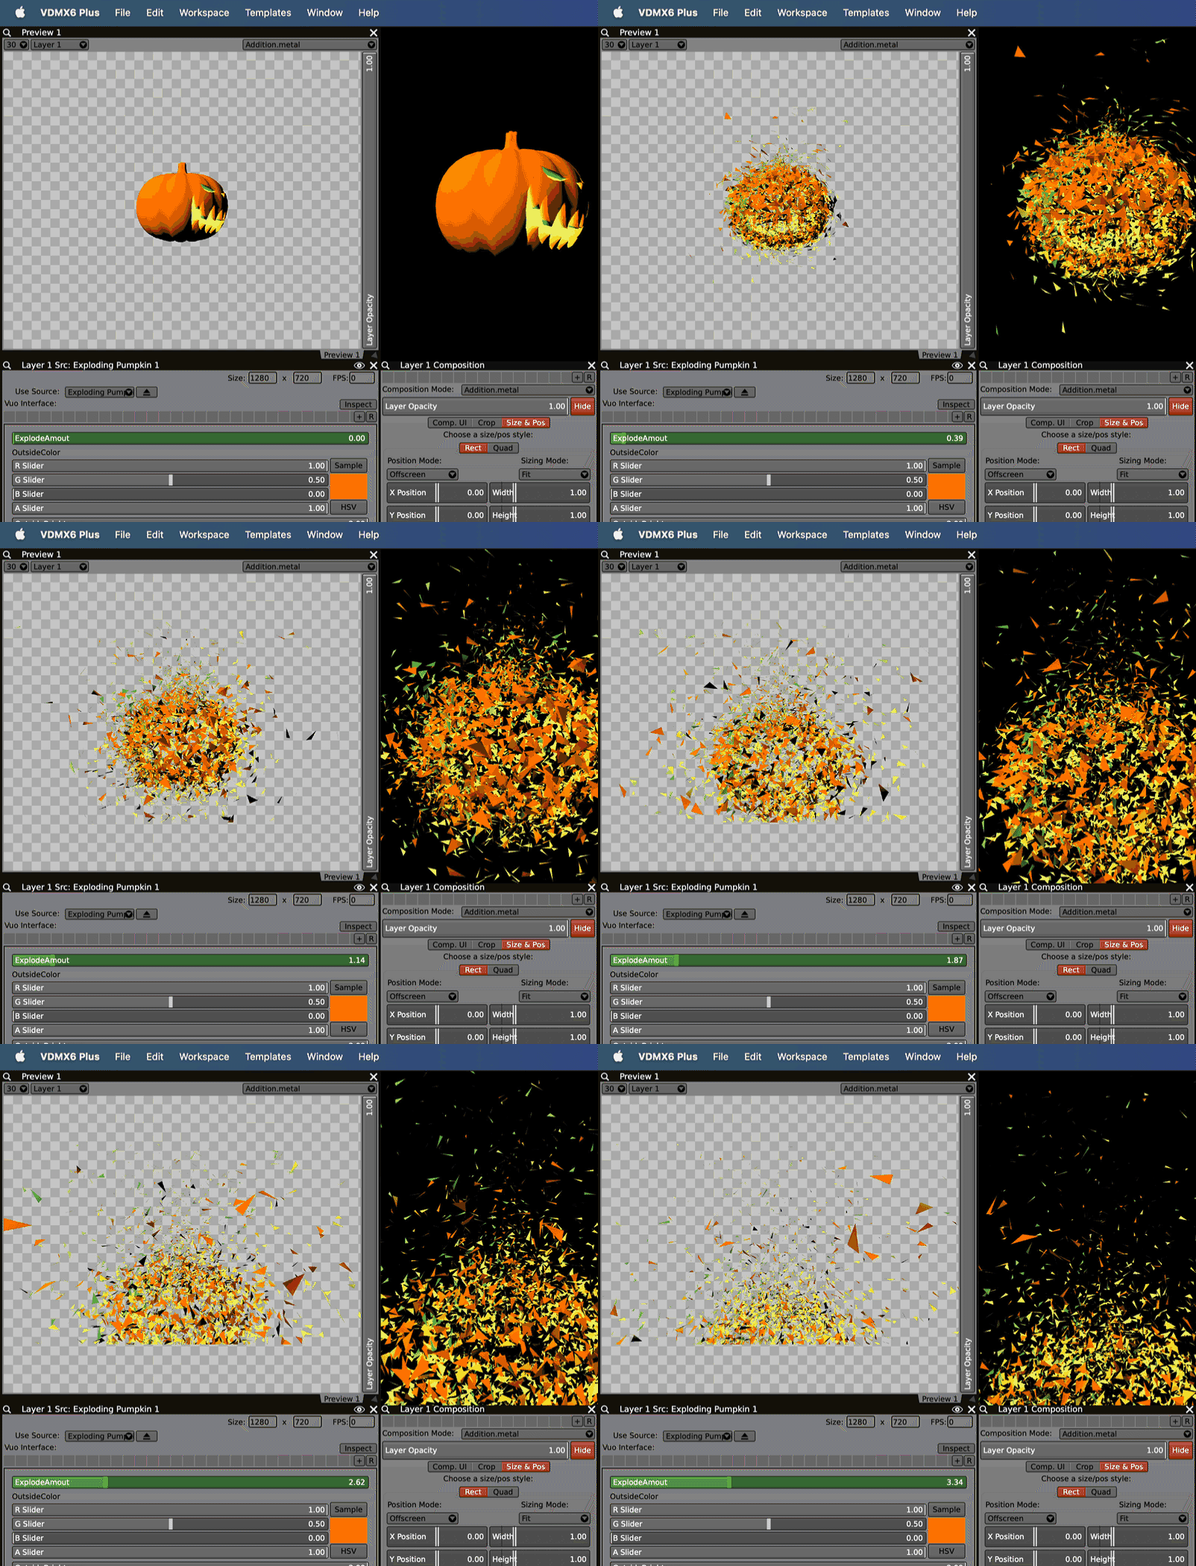
It's that time of year again! In this tutorial, we're going to build on the concepts from our guide on Extending VDMX6 Plus with Vuo to create some custom Halloween visuals. We'll be using Vuo to create 3D generative compositions that you can control and mix live in VDMX.

To get you started, this tutorial is accompanied by a new Halloween media pack, including 15 pre-rendered video clips (H.264, HAP, and HAP R formats) and the Vuo compositions used to create them. You'll be able to follow along, see how they're built, and use them as a starting point for your own spooky creations.

Download Links

Getting Started: Vuo and 3D Models

Vuo is an incredibly powerful node-based editor for creating interactive compositions. For this tutorial, we're focusing on one of its best features: the ability to easily load and manipulate 3D models. Our example compositions will load .obj or .fbx files of things like skulls, pumpkins, and ghosts.

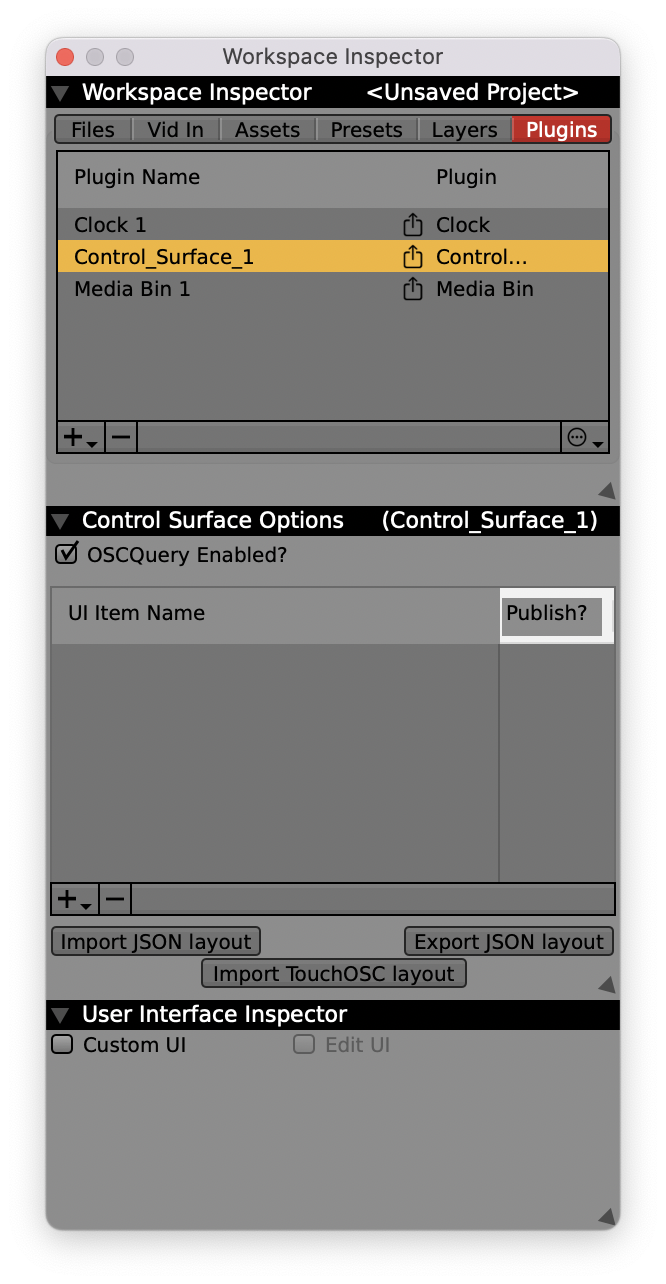
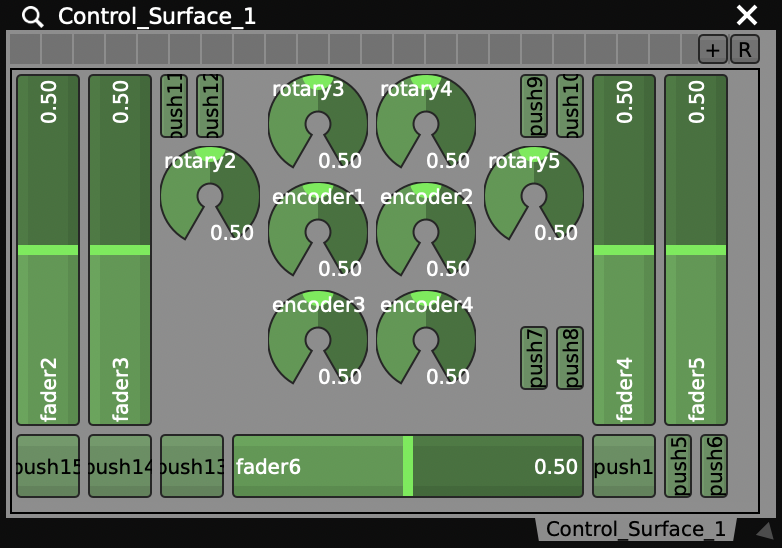
Inside Vuo, we use nodes like Fetch Scene to load a 3D model, Render Scene to Image to turn our 3D world into a 2D video stream, and a variety of 3D transform nodes to make them move, rotate, and pulse. The real magic happens when we "publish" a node's input ports. These published ports become parameters that VDMX can instantly see and control.

In our examples, we've published parameters for:

  • Rotation: Control the X, Y, or Z rotation of the model.

  • Pulse: A simple BPM-synced pulse to make the object throb menacingly.

  • Color: Change the tint or texture of the 3D model.

  • Model Select: (In some compositions) A menu to switch between different 3D models.

A huge advantage here is that you can use the free version of the Vuo editor to open our example compositions, swap in your own 3D object files, and customize them for your own use in VDMX. Please note that if you want to render your compositions to movie files from within Vuo (like we did for the clip packs), you will need the Pro version of Vuo.

Loading Vuo Compositions in VDMX

Just like in the original tutorial, there are two easy ways to get your Vuo compositions into VDMX.

  1. Drag and Drop: The simplest way is to find your saved .vuo composition file in Finder and drag it directly onto a media bin in your VDMX project. It will load just like a video clip or an ISF generator.

  2. Assets Folder: For a more permanent setup, you can install the compositions. In VDMX, go to the Help menu and select “Open Assets Folder in Finder.” Place your Vuo generators in the vdmxGenerators folder. After restarting VDMX, you'll find them in your "Sources" browser tab.

Once loaded, select the Vuo composition as your active source. You'll see all the parameters we published in Vuo appear as sliders and pop-up buttons in your layer's "Use Vuo Comp" panel. Now you can use LFOs, audio analysis, or MIDI controllers in VDMX to control your 3D scene in real-time!


Bonus Tutorial: Creating Ghostly Projections

A great-looking visual is only half the battle; presentation is key. One of the most effective Halloween projection techniques is creating a "Pepper's Ghost" effect using inexpensive screen material. This technique, used by creators like ProjectileObjects, can make your visuals appear to float in mid-air.

Here’s how to do it.

What You'll Need:

  • A Projector: Any projector will do, but brighter is better.

  • Screen Material: Inexpensive tulle (sometimes called "scrim" or "bridal mesh") from a fabric store. White or light grey works best for rear projection.

  • A Frame: You need to stretch the material tight. A great way to do this is with:

    • 1/2" or 3/4" EMT conduit (from a hardware store).

    • MakerPipe connectors to build a custom-sized frame.

    • Circo EZ Light Grip ABS Snap Clamps to stretch and secure the tulle to the frame.

The Technique (Rear Projection):

  1. Build Your Frame: Use the EMT conduit and MakerPipe connectors to build a rectangular frame that fits your window, doorway, or stage.

  2. Stretch the Tulle: Place the tulle over the frame and use the Snap Clamps to pull it tight and secure it. You want the material to be as taut and flat as possible, like a drum. Wrinkles will catch the light and ruin the illusion. (You can also use a Frost shower curtain as a rear projection screen or alternative for the tulle. This will provide a better quality image, but will not be transparent).

  3. Position the Projector: Place the projector behind the screen. The key here is projector placement. You must position the projector either low to the ground (aiming up) or high up (aiming down) at the screen.

  4. Avoid the "Hot Spot": If you place the projector directly behind the screen at eye level, viewers on the other side will see the bright projector lens. This ruins the effect and, more importantly, can point a very bright light directly into someone's eyes. By placing it at an extreme angle, the projector itself is hidden from the audience's view.

  5. Project Your Content: Aim your Vuo creations or the pre-rendered video pack at the tulle. The material is so fine that it will catch the light, making the image appear to float, while the audience can still see through the material, completing the ghostly illusion.

Snap clamps, MakerPipe, and EMT Conduit. Photo: ProjectileObjects

Notes on this Technique:

  • Front Projection: As ProjectileObjects notes, this also works with black tulle and front projection, but you will need a projector with a lot of lumens (brightness) to get a visible image, and colors may have difficulty displaying on the dark surface.

  • Safety: A major added benefit is that most tulle is IFR (Inherently Flame Retardant). This is crucial if you are setting up the projection near your house or if you are using it on a stage, where flame-retardant materials are required.

  • In Practice: ProjectileObjects has used this exact technique for ghostly projections on stage for Bent shows at the 9:30 Club in D.C. and with the group slowdanger for their performance of StoryBallet.

slowdanger x ProjectileObjects @ Texas A&M University, 2024

Scale it up (if you want!)

Resources & Inspiration

Looking for more content? Don't forget to check out our previous sample packs and the wider Halloween projection community.

Previous VIDVOX Sample Packs:

Community Creators: The Halloween projection community is vast. This classic Reddit post has a great list of creators. We've used content from HalloWindow in our examples, and you can also check out these other pioneers:

We can't wait to see what you create. Have a spooky and creative Halloween!

slowdanger x ProjectileObjects 2025
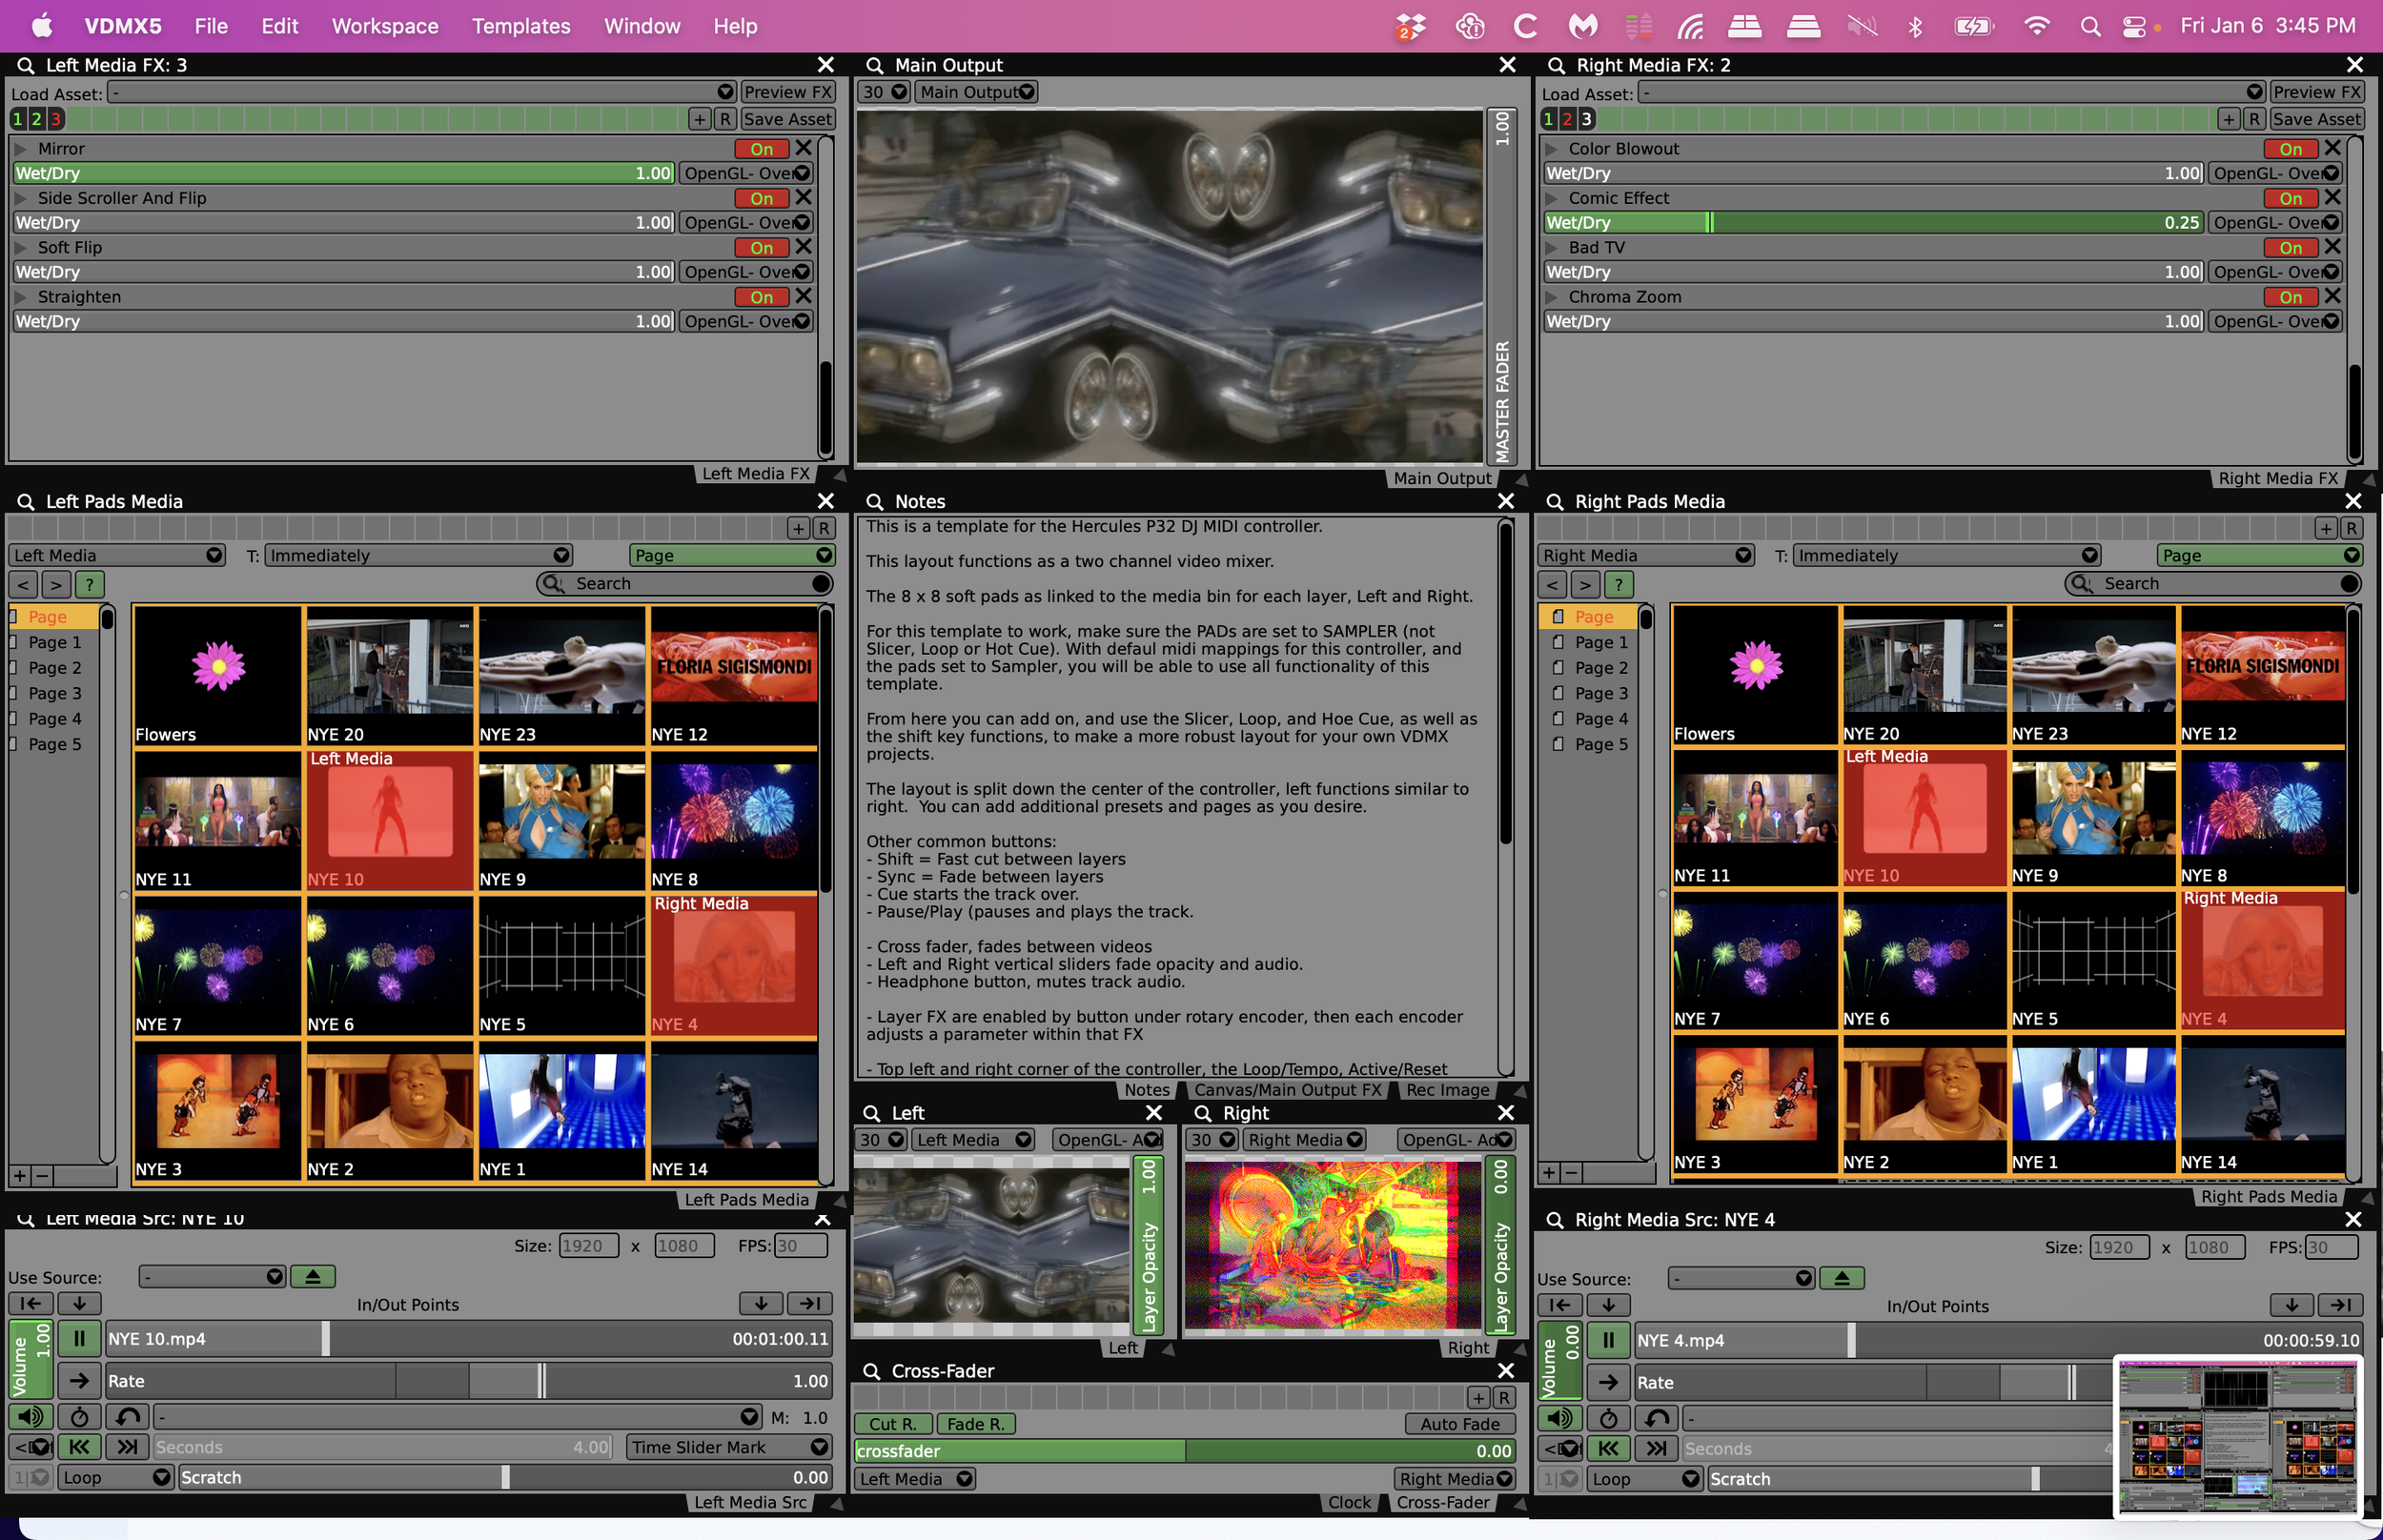
Hercules P32 DJ VDMX Template


To keep up with the times, we are releasing another VDMX template for the Hercules P32 DJ MIDI controller.

With it’s 32 pads, 19 knobs and three sliders, the P32 DJ is a jam packed MIDI controller for its size. A littler smaller than a 16” MacBook Pro, the P32 has soft pads with a higher quality feel than some entry level MIDI controllers.

For this template, the native 2 channel DJ style layout, is perfect for a VDMX 2-channel video mixer layout.

Additionally, the P32 DJ has a built in audio interface that supports stereo RCA out, and 1/4” TRS port for headphone monitoring, allowing you to DJ and VJ from the same device.

To install templates in VDMX go to: ‘Your Drive’ > Users > ‘username’ > Library > Application Support > VDMX > templates

Download here: Template File

We’ve included templates, project files, and reference images. You will need an active VDMX license to open the project files.

More about the template:

This is a template for the Hercules P32 DJ MIDI controller.

This layout functions as a two channel video mixer.

The 8 x 8 soft pads as linked to the media bin for each layer, Left and Right.

For this template to work, make sure the PADs are set to SAMPLER (not Slicer, Loop or Hot Cue). With defaul midi mappings for this controller, and the pads set to Sampler, you will be able to use all functionality of this template.

From here you can add on, and use the Slicer, Loop, and Hoe Cue, as well as the shift key functions, to make a more robust layout for your own VDMX projects.

The layout is split down the center of the controller, left functions similar to right.  You can add additional presets and pages as you desire.

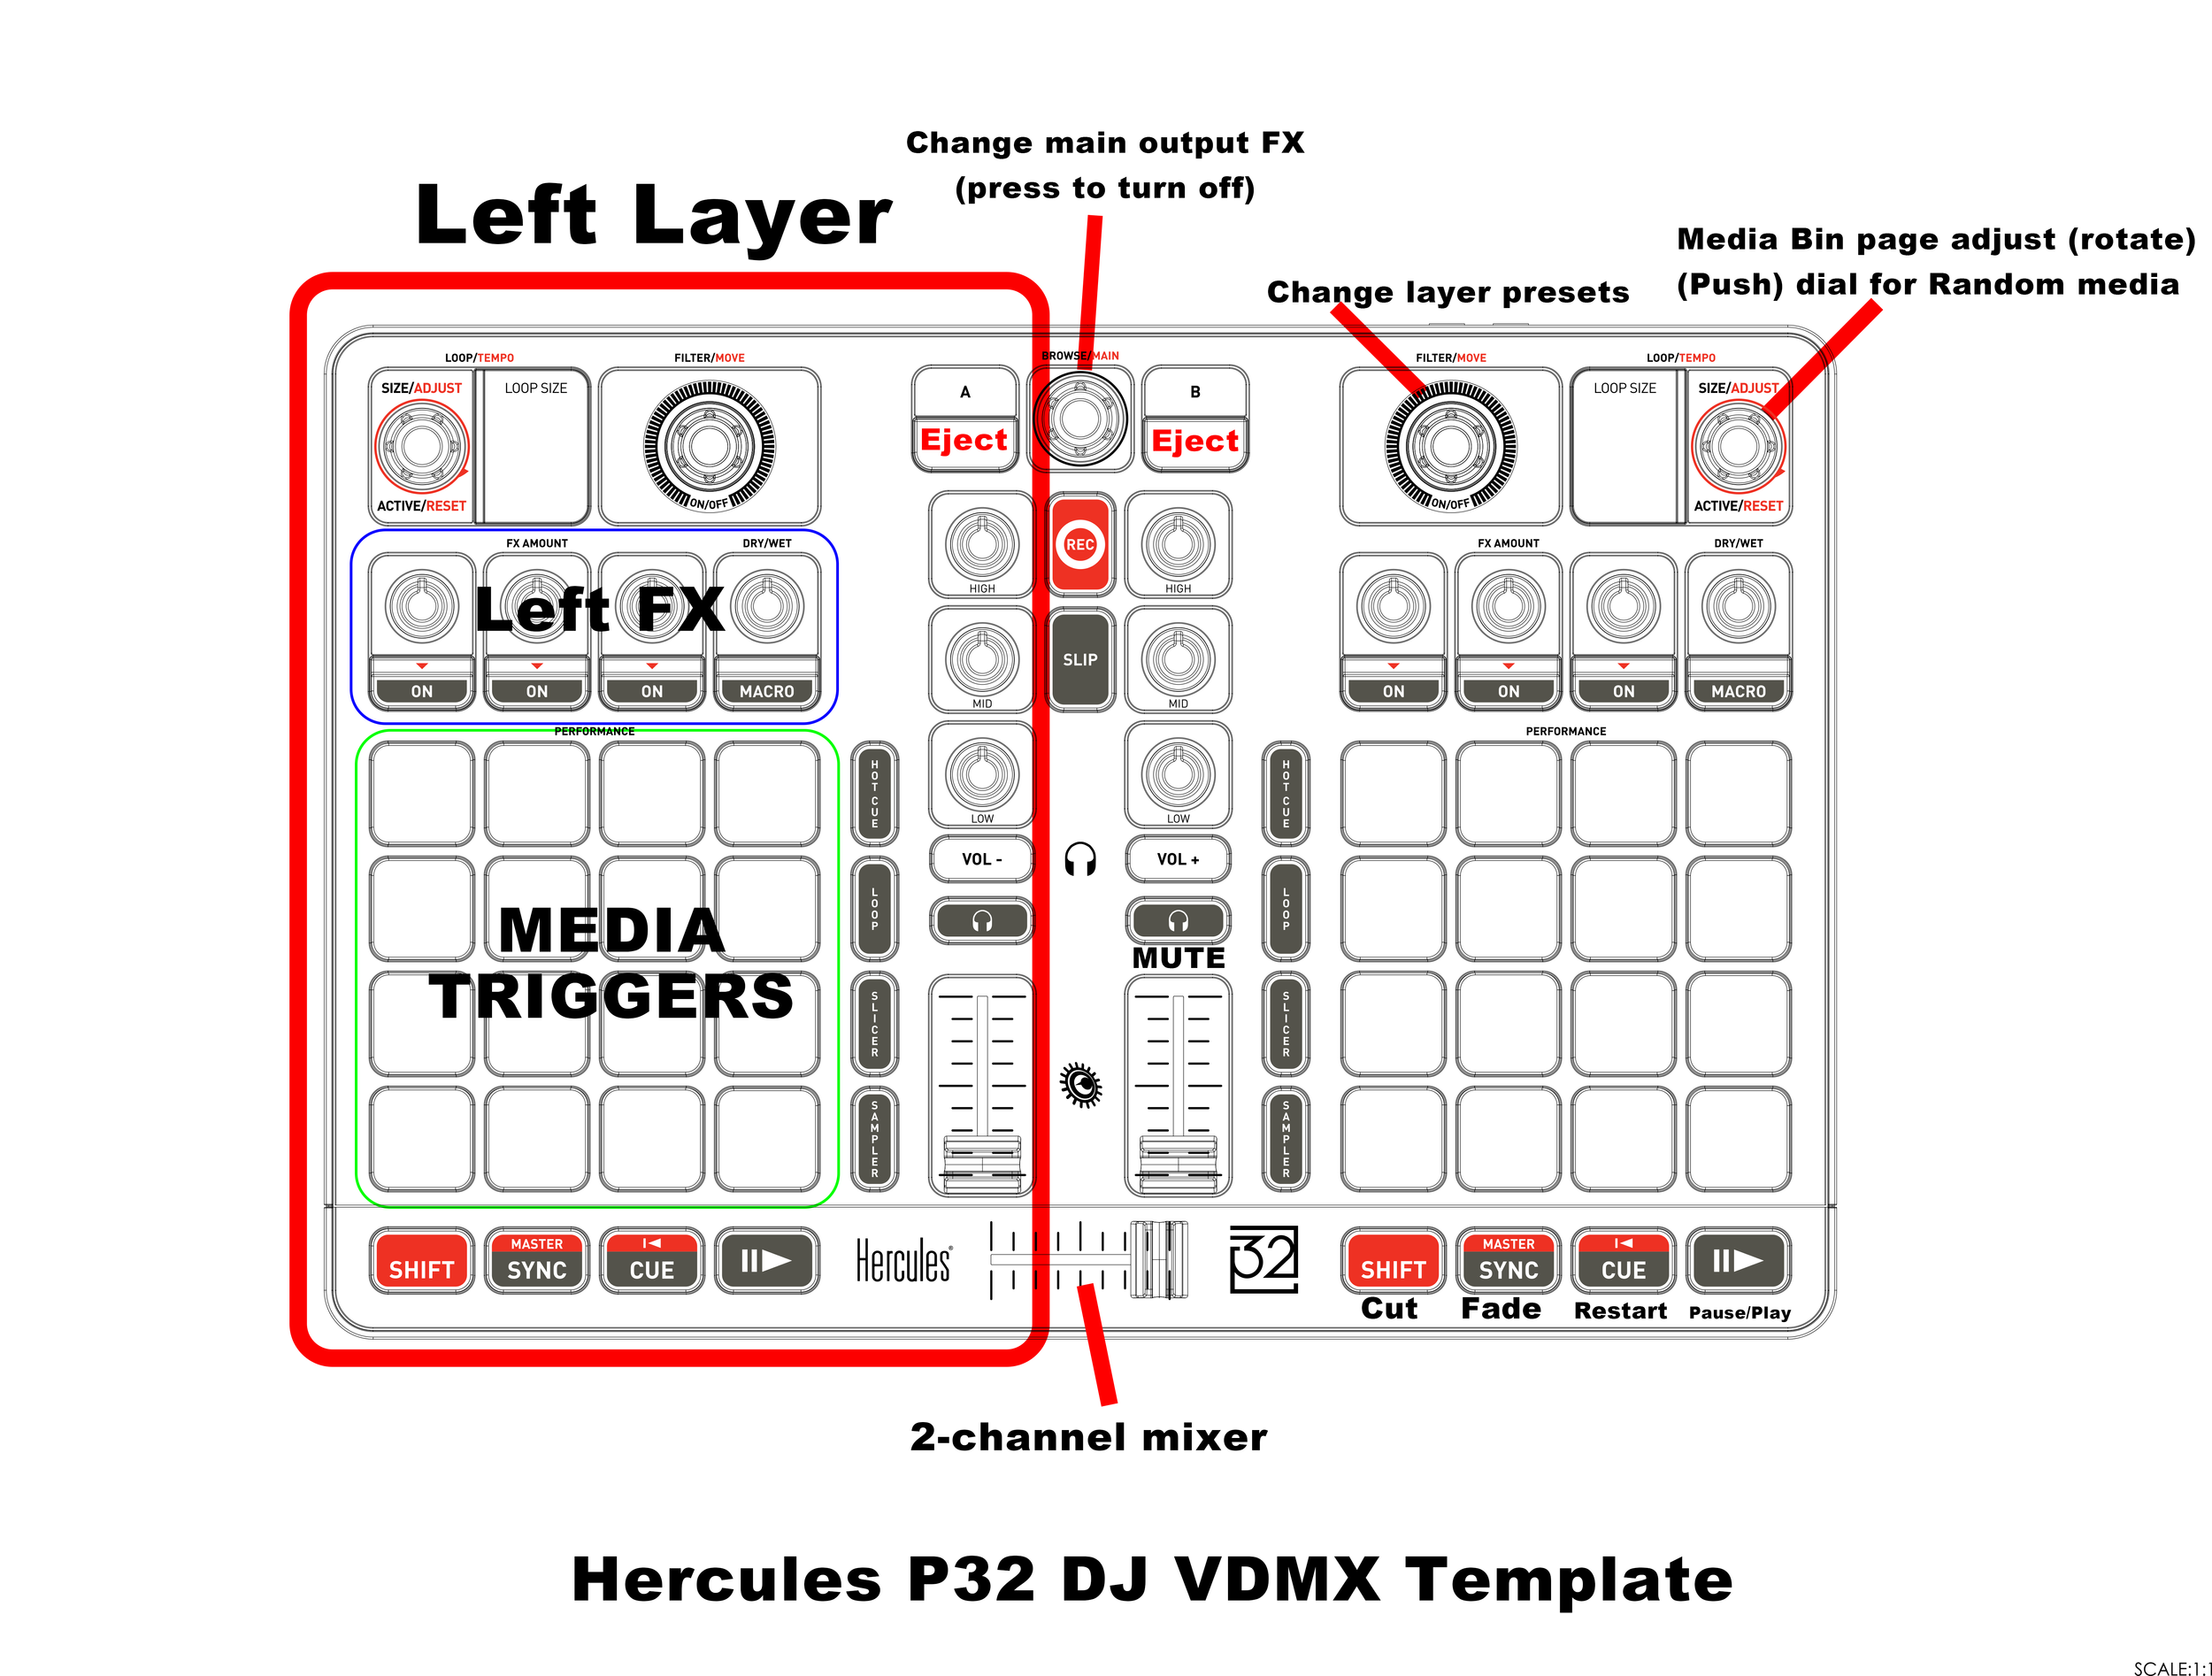
Other common buttons:

- Shift = Fast cut between layers

- Sync = Fade between layers

- Cue starts the track over.

- Pause/Play (pauses and plays the track.

- Cross fader, fades between videos

- Left and Right vertical sliders fade opacity and audio.

- Headphone button, mutes track audio.

- Layer FX are enabled by button under rotary encoder, then each encoder adjusts a parameter within that FX

- Top left and right corner of the controller, the Loop/Tempo, Active/Reset buttons scroll through the media bin pages.  Pressing down on this endless rotary encoder will trigger a random video from the media bin.

- To the left and right, the Filter/Move endless rotary encoder will scroll through FX presets for each layer. Be aware, that this will reset the FX each time you move to the next preset.  Pressing down on this knob will jump to an empty FX off preset.

- Record button starts recording a video of the master output.

- Slip button captures an image of the master output.

-Load A and B eject the media on each side.

- Browse/Main endless rotary encoder switches between main output FX presets.  Pressing down resets to an empty preset.

-High, Mid, Low rotary encoders are currently not mapped to any MIDI controls, but could be mapped to main output FX or an action of your choice.

Using LUT FX in VDMX

One of the common types of image filters that are found in the workflow for photo and video editing are LUTs, also know as "Look Up Table" based FX. LUT FX are used to change the color palette of an image to create a different stylized look or feel, or in some cases to mimic the look of different print film types.

In this video tutorial we'll be looking at how to use each of the three different ways to use LUT FX in VDMX and how to add your own ".cube" LUT files.

Read More

Using VDMX as a Syphon Mixer

One of the best things about being a VJ on the Mac these days is Syphon which makes it possible for all of the different tools that are available to work together in countless ways. Within VDMX it is possible to have as many Syphon inputs and outputs as your computer can handle, which allows for it to be used as a source, mixer, FX processor or final output for other software you may want to work with.

In this video tutorial we'll look at a simple use case for connecting several Syphon enabled applications to and from VDMX by creating a two channel mixer that fades between two Syphon sources and publishes back out for other applications to use.

Read More

4 Layer Korg nanoKONTROL2 template

One of the popular controllers used by VJs is the Korg nanoKONTROL, a versatile set of sliders, knobs and buttons that can be easily mapped to different setups. The goal of this more setup is to provide a good standard VJ rig for this controller that includes 4 layers with playback / mixing / color adjustment, clip / page switching along with a set of both manual and audio reactive FX that can be individually enabled.

Read More

How to make a customized Livid OhmRGB Slim template by eatyourwork

For today's guest post we're joined by eatyourwork who first introduced us to the possibilities of using OhmRGB Slim alongside of VDMX in a blog post a couple of years ago. Since then we've made a few basic templates for new video performers to get started with a simple VJ video mixer setup with the Ohm, but in this video tutorial Simas shows off the extent to which you can customize your layout and MIDI mapping when making your own video performance rig.

Read More

Making three templates for the Livid Base

When getting a new MIDI controller to use with VDMX, or other VJ / music making software, one of the most exciting aspects is finding out the best way to map the sliders and buttons to various controls that you want to use during performance, and along with that coming up with new ways that you can configure your software video generators and FX to get the most out of the layout of your instrument.

In this set of technique tutorials we'll be looking at three new example VDMX setups we've come up with for the Livid Base that take advantage of the controller in a few different ways including its multi-color LEDs and pressure sensitive pads.

Read More

How to build the Waveclock Demo template

In this tutorial we'll be looking a closer look at using automatic BPM detection for syncing up the timing of visual events with music by recreating the core parts of the Waveclock Demo template that is included with VDMX.

The approach we'll take is to create a virtual video instrument in the form of a Quartz Composer composition and animate its interface controls with Step Sequencer and LFO plugins. Presets for patterns in each plugin can then be saved and switched to match the energy level of the music while VJing during a live set. 

Read More

Automatic BPM Detection in VDMX using Waveclock

By enabling the “Waveclock” beat tracking feature in the VDMX Clock plugin, the music from a microphone or line input can be analyzed to automatically handle the adjustment of the BPM and measure position to ensure that the timing of changes in your video are perfectly in sync with the bands and DJs that you are working with. 

Read More

VJing with a WiiMote game controller in VDMX

While MIDI devices and OSC enabled applications tend to be most commonly used instruments by VJs when getting away from the computer during a live visual performance, another extremely powerful controller that can be paired with VDMX is the WiiMote game pad which can be connected to a Mac wirelessly over Bluetooth.

The basic configuration only takes a few moments to set up and then we can begin to put together a sample project that is designed to get the most out of the possibilities of the combining accelerometers with game style buttons for performing live visuals.

Read More

DJ Mixer EQ Style Masking FX for VDMX (with bonus X-Session Pro template)

In this technique tutorial we'll focus on two different ways the idea of a DJ style low, mid, high EQ control can be interpreted in the world of video as FX in VDMX as a means to mask out or adjust the gain level on separate discrete parts of a video stream for the purposes of blending video layers together.

The first example exchanges the low, mid and high levels for the individual RGB channels of the image for raising or lowering the intensity of each independently. The second qcFX uses a similar concept to a 3-band equalizer, breaking down the image into three different sections based on the luma (brightness) level of each pixel instead of its frequency ranges.

Read More

The Dual Mix 4 Layer Livid OhmRGB Slim Template

When compositing layers of video together in VDMX or another VJ application, one of the standard techniques for combining images is the use of “masking images” which black out parts of an image by setting its transparency (alpha channel) to less than 1.0, allowing it to in front of content behind it instead of simply blending the two together.

This template is a variation on the technique described in the four channel mixer example in which we have two groups of layers (left and right bus) set up making it possible to preview and transition between mixes on the fly. Here the idea is similar, but instead of two mixes that use separate sets of clips, in this template each bus shares the same set of four clips, each with different controls for layer opacity, FX and blend modes. For an added twist, the four source for this template is used as a mask overlay for each bus that can be used in a variety of ways to combine the two separate mixes together in the main output.

In this video tutorial we quickly go through the design of this template and how it can be used to mix two movie clips along with an audio reactive or LFO driven Quartz Composer composition as an overlay or mask.

Read More

Making a customized version of 'Grid Pro' in VDMX

Building on the previous template and tutorial on recreating the classic VIDVOX Grid using VDMX, ​in this video walkthrough we'll show how to turn the basic triggering and scrubbing app to it's big brother Grid Pro, which added a number of powerful features like transitions for fading between clips, image FX processing, audio analysis, a text generator layer and direct to disk movie recording.

Read More

The 8 Layer APC40 VJ Mixer Template for VDMX

​The Akai APC40 is one of the most known MIDI controllers designed to be used alongside Ableton Live for DJing and music production. It also happens to be a pretty good controller for working with video and in this tutorial we'll look at some tips for setting up an 8 layer setup with controls matched to the layout of the controller itself.

With this example template you can load in your own movie files and start mixing immediately, or further map the remaining knobs and buttons to your own selection of real-time video FX and other movie playback parameters.​

Read More