Download the completed project files for this tutorial.
Expanding on our previous look into using Processing along with VDMX, in this tutorial we will look at how to use Processing to post images received from VDMX to Twitter. This technique can be used at live events, as part of video installations, or to create simple bots.
Set Up The Twitter Account Access Tokens
Before we can post any data to a Twitter account, for security purposes we need to generate access tokens that are associated with it. Once we have finished this step we will have four special password token strings that we'll put into our Processing sketch that allow it to access the account. These are the “Consumer Key” “Consumer Secret” “Access Token” and “Access Token Secret” which are found by going to apps.twitter.com while logged into your user account.
If you are creating a new bot, before starting you'll want to create a new Twitter account to post with. Alternatively you can post using your own personal user account.
1. Create a new Twitter account if needed.
2. Go to apps.twitter.com and click "Create New App"
3. Click "Manage keys and access tokens"

4. Look for these four strings (they will be different for you)
Set Up The Processing Sketch
Fill in the OAuth Consumer Keys and Access Tokens
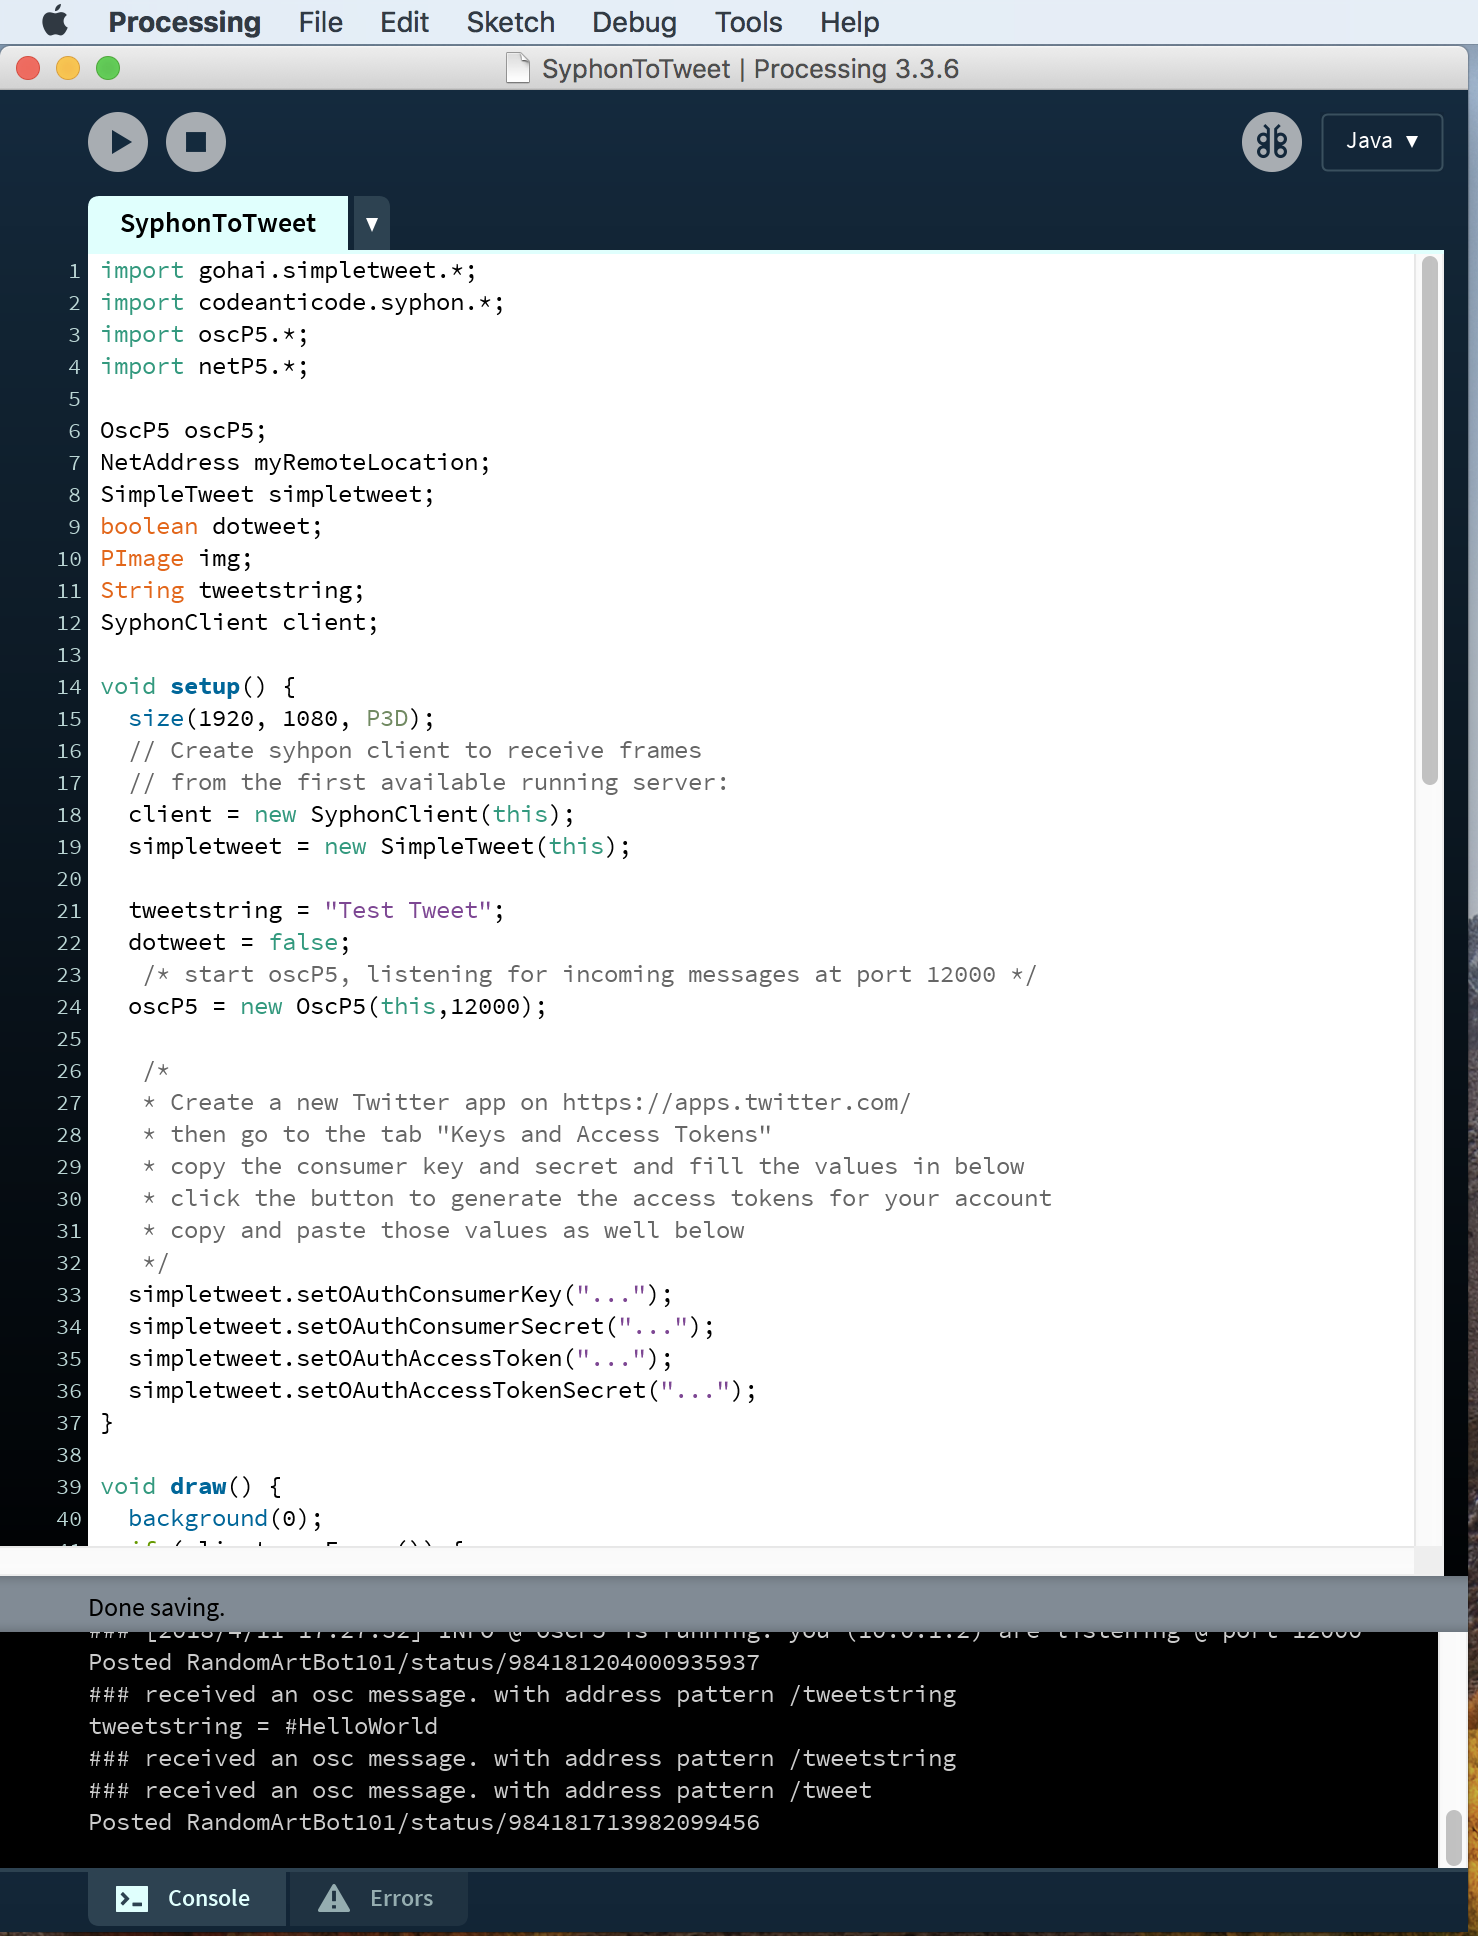
Begin by downloading the example Sketch for this tutorial and installing the needed 3rd party Library files for Processing. In this particular case you'll want to import Syphon, oscP5, and Simple Tweet using the Library manager.
Open the Sketch and in the Setup() function look for the area where the access tokens for your account can be entered, replacing the ... text with your own strings – be sure to keep the quote marks around your token strings.
After you've placed your account tokens into the provided places in the code, this sketch can be run exactly as is without any additional modifications. You may also want to adjust the rendering dimensions to match the output of your VDMX canvas, set it to receive a particular Syphon feed instead of the first one available, adjust the OSC listening port (defaults to 12000), or change the default message that is posted along with images.
With this sketch you can make posts to Twitter in one of two ways:
Click on the output window.
Send an OSC message to the address "/tweet": If this is a float, a value of 1.0 results in a tweet with the last used text. If this is a string, a tweet is made using this string as the message text.
Additionally you can send strings to "/tweetstring" to set the text for the next tweet without immediately tweeting.
Once the Processing Sketch is ready to receive Syphon and OSC, you can use VDMX, or any other Syphon output enabled application, to post images to Twitter. At this point, if desired you can simply use the VDMX project file that is provided as a starting point, or you can follow along with the final section below to learn more about how this was put together.
Though not needed for this lesson, you can also refer to the How To Connect VDMX and Processing with Syphon and OSC tutorial to learn more about how this Sketch was created.
Set Up The VDMX Project
Within VDMX we can start by loading in a video generator that will create test card images that get published. Next add a Syphon Output plugin and select which layer you which to publish from the list.
Next we'll configure the OSC sending. If you haven't already set up VDMX to send OSC to Processing, open the Preferences and go to the OSC section under Output Ports and add a new row, setting the IP address to "127.0.0.1" and the port to 12000. To create an interface in VDMX add a Control Surface plugin that contains a button and a text field control. Use the UI inspector to set the button send to Processing over OSC using the address path "/tweet" and for the text field using the address path "/tweetstring".
Once this is ready, we can run the Processing Sketch and test it by writing some words in the text field and then clicking the button – this should result in the posting of an image and your text to Twitter. If this fails, you can look in the console for Processing to see if there are any errors.
To automate the process of posting, an LFO plugin can be used as a timer to bang the button from the control surface at regular intervals. For once an hour, the LFO can be set to loop after 3600 seconds.