So, you've got a projector? Now, let's take your visual installations to the next level! While there's no shortage of inexpensive projector mounts online, some fall short for custom setups and quick turnarounds. Enter GRIP hardware – a tried-and-true solution from the film world that's been revolutionized with 3D printing.
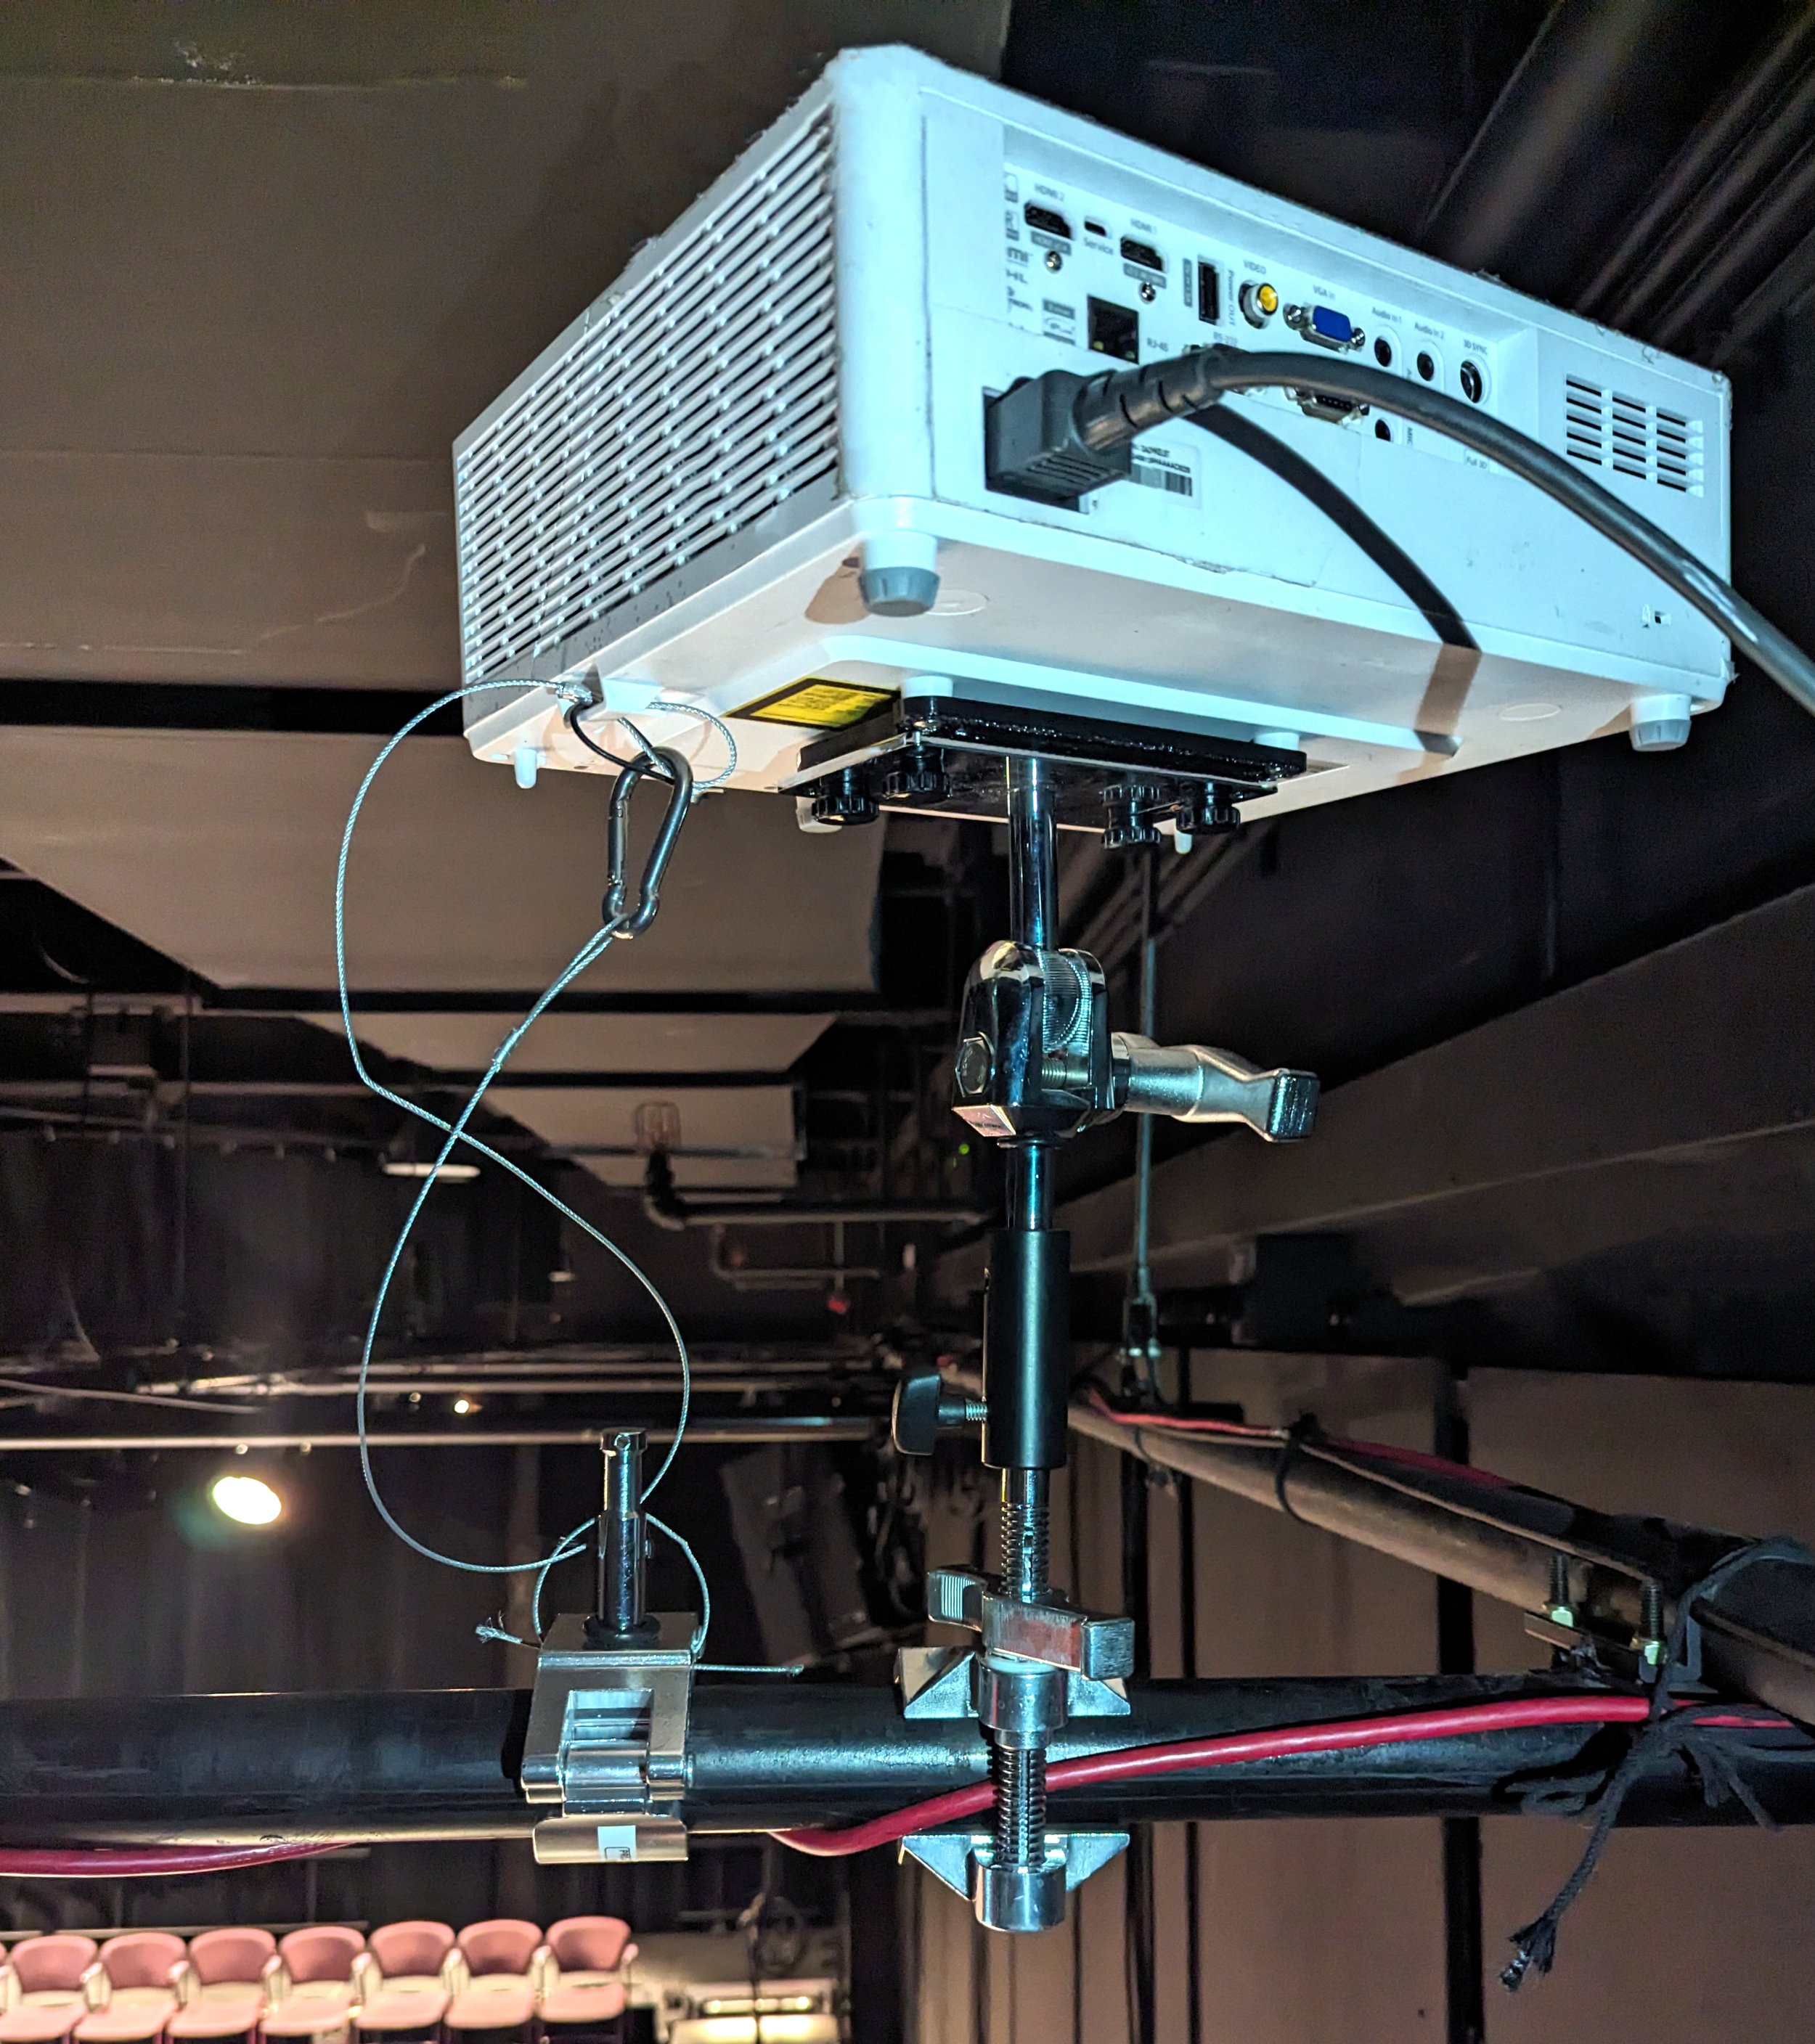
Mount Anywhere! Don’t forget the safety cable!

Image from ‘supercell by slowdanger’ taken at the Flea theather in New York City. January 2024.

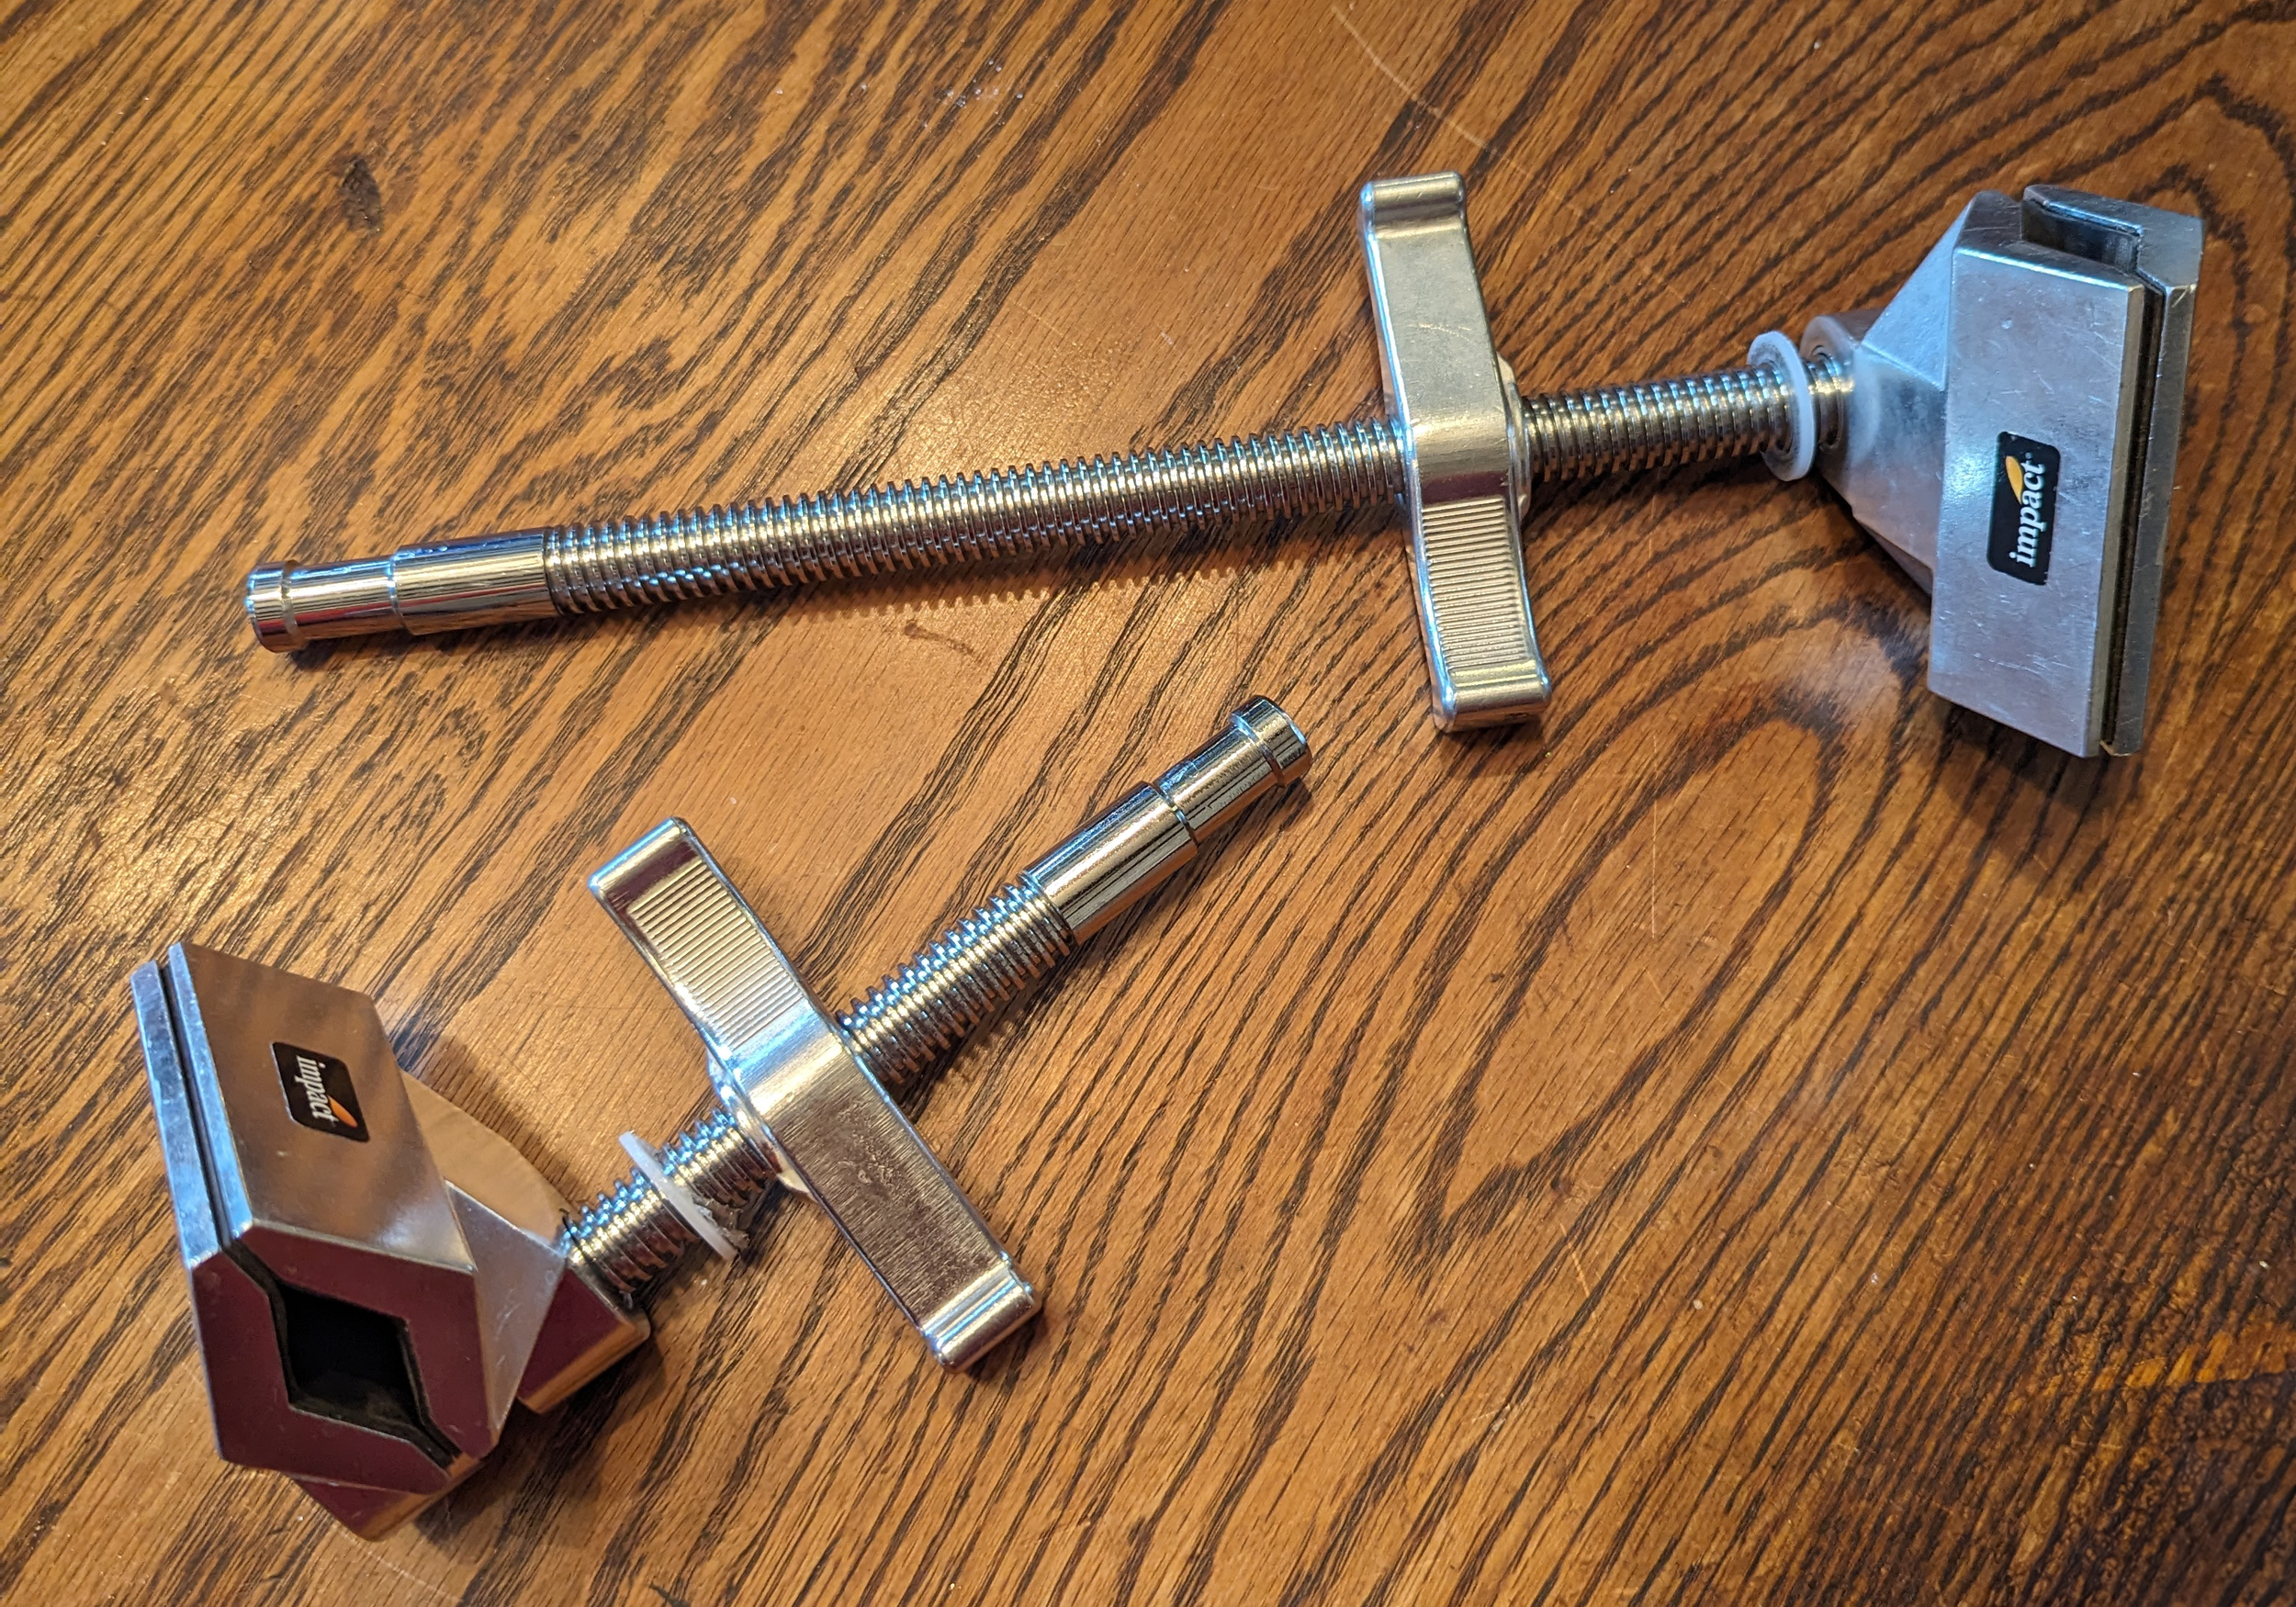
Lots of options!
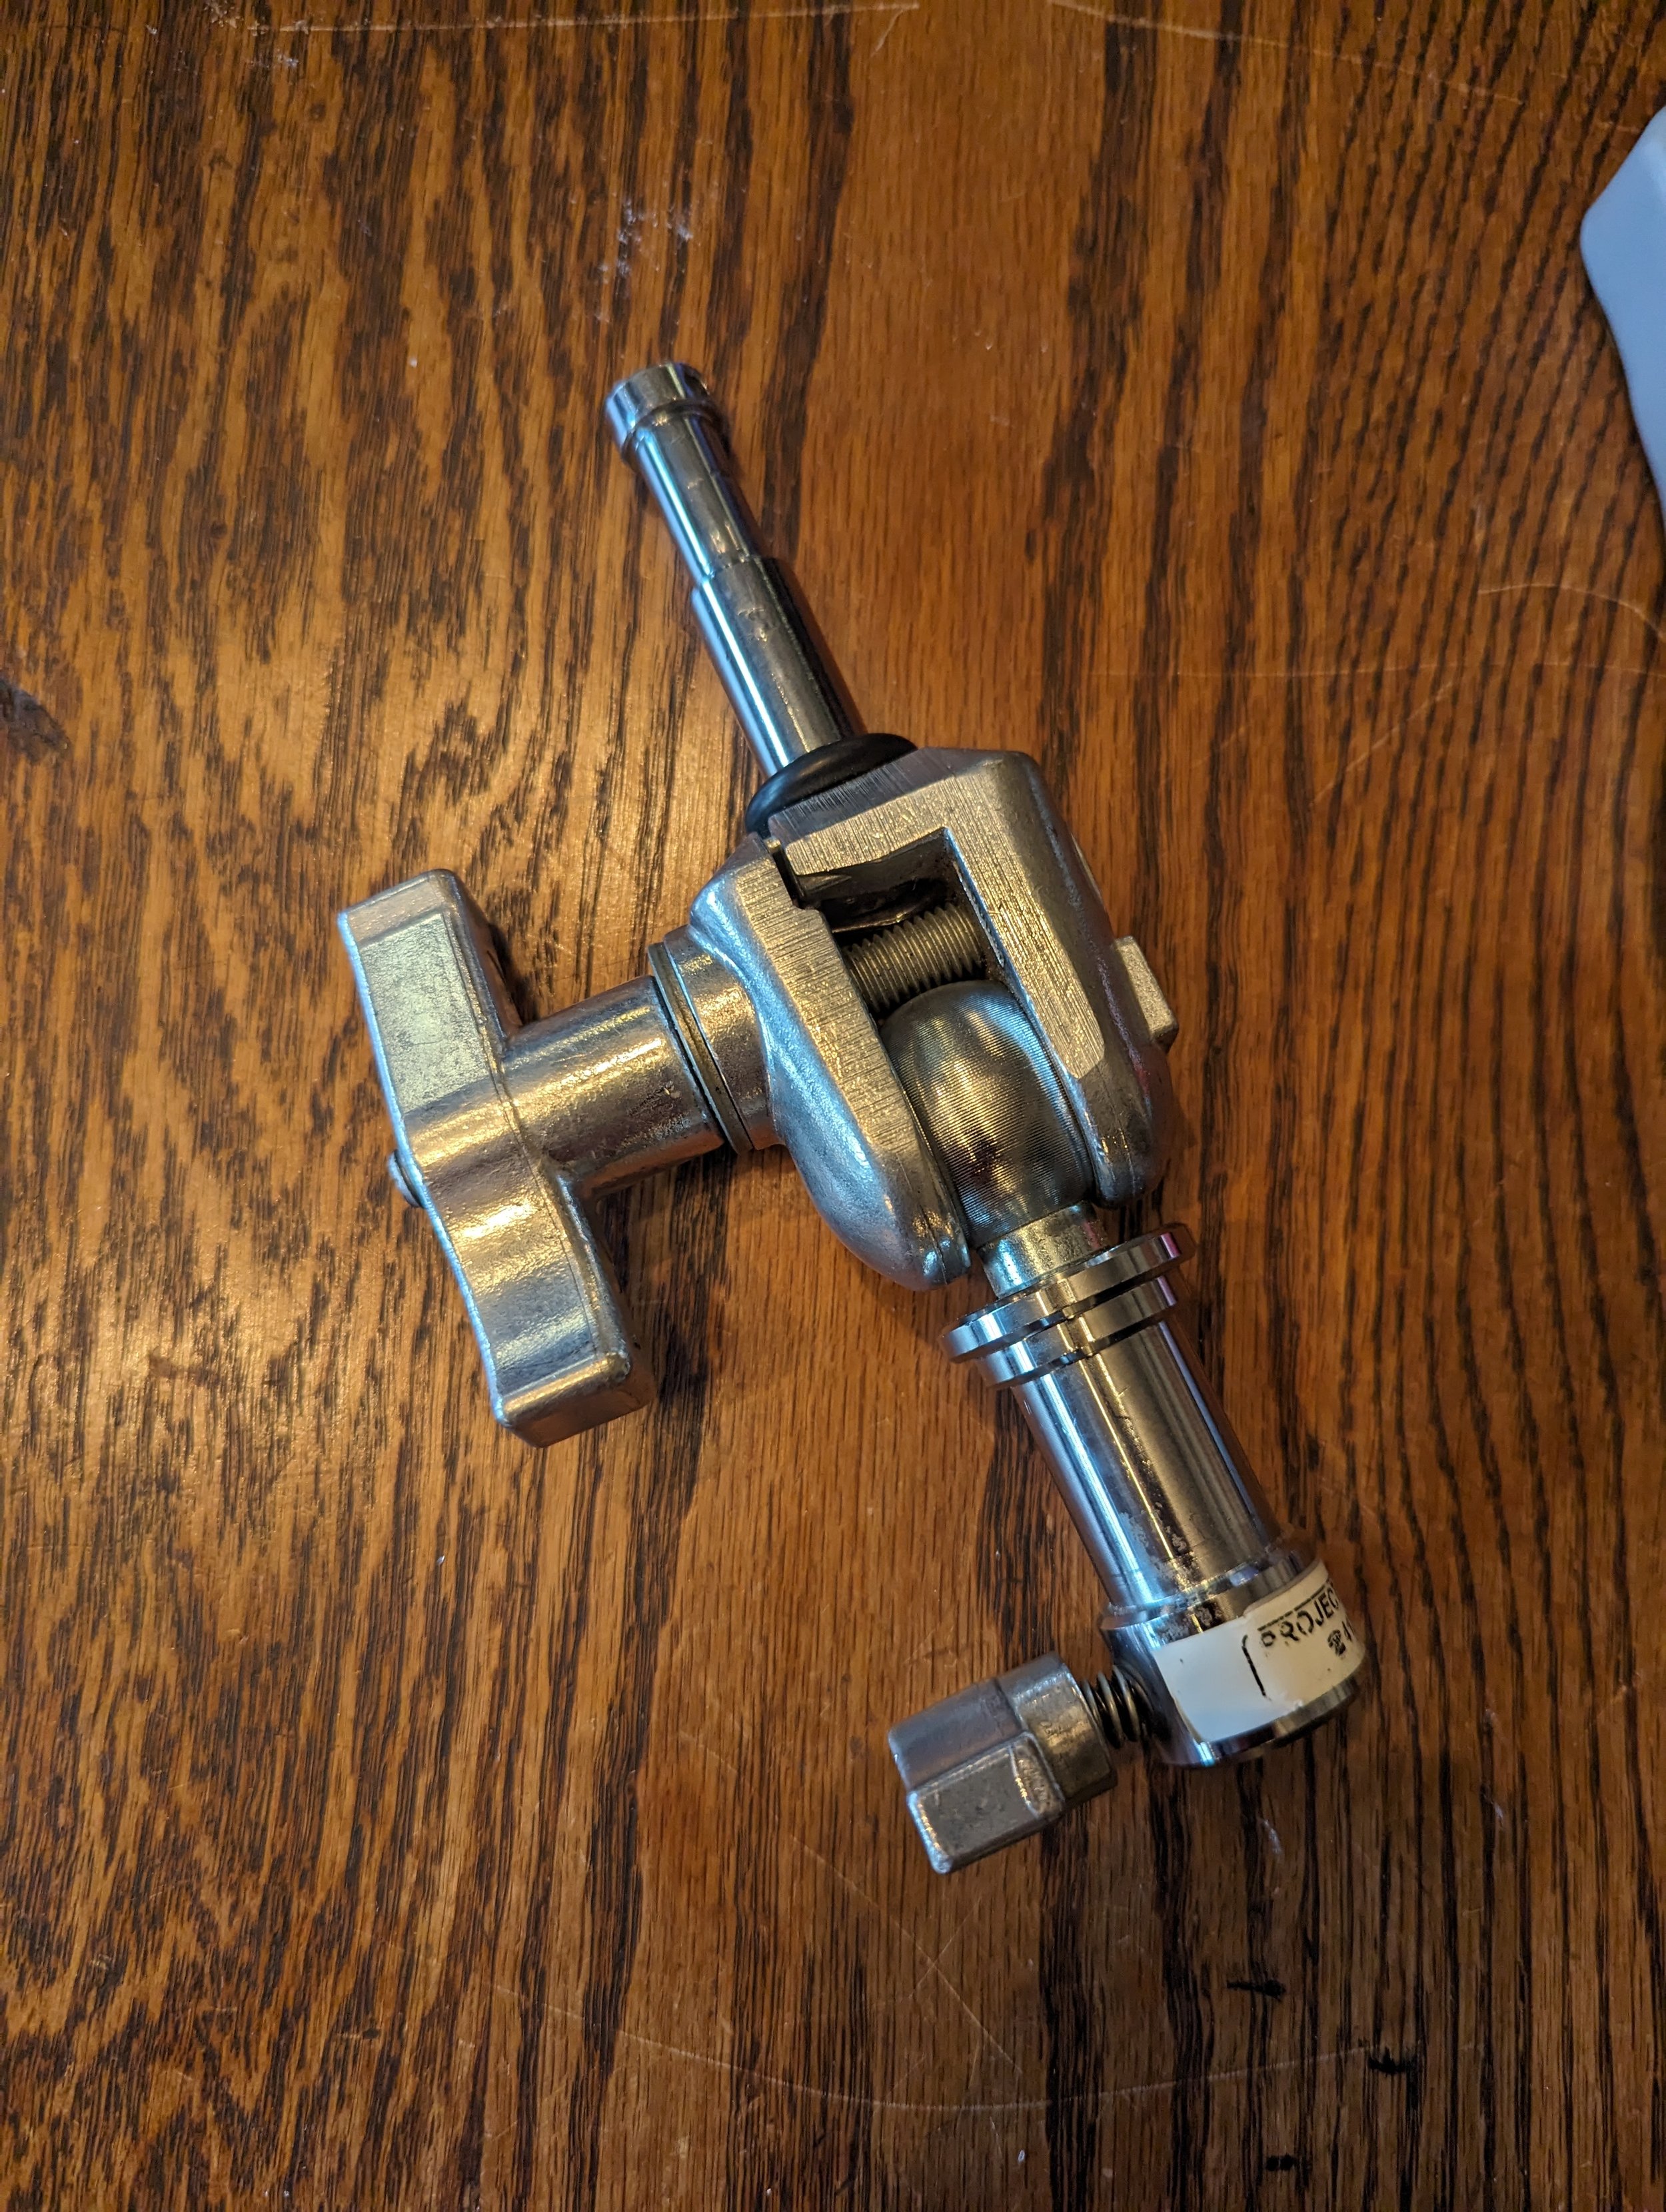
Avenger F810 Baby Plate with 5/8" Swivel Spigot + a Grip Head + 6” Baby Pin Wall Plate
In the film/video realm, GRIP hardware is the unsung hero of lighting and rigging, trusted on film sets, TV shows, and in theaters. This gear, designed to support hefty lighting rigs for extended periods, can be the perfect match for your projector mounting needs.

Lots of metal bits for any type of installation. It only gets strange when explaining to TSA!
Adaptable and Accessible: The ⅝" Baby Pin Connection

3” Baby Pin Wall plate attached with a custom made 3D printed mount for Optoma Projectors that works with Impact and Manfrotto plates.
At the core of this hardware is the ⅝" Baby Pin connector – a versatile link that works wonders for small to medium-sized projectors. If you're dealing with a large event projector, chances are it comes with its own secure cage or mounting structure for a safer installation.

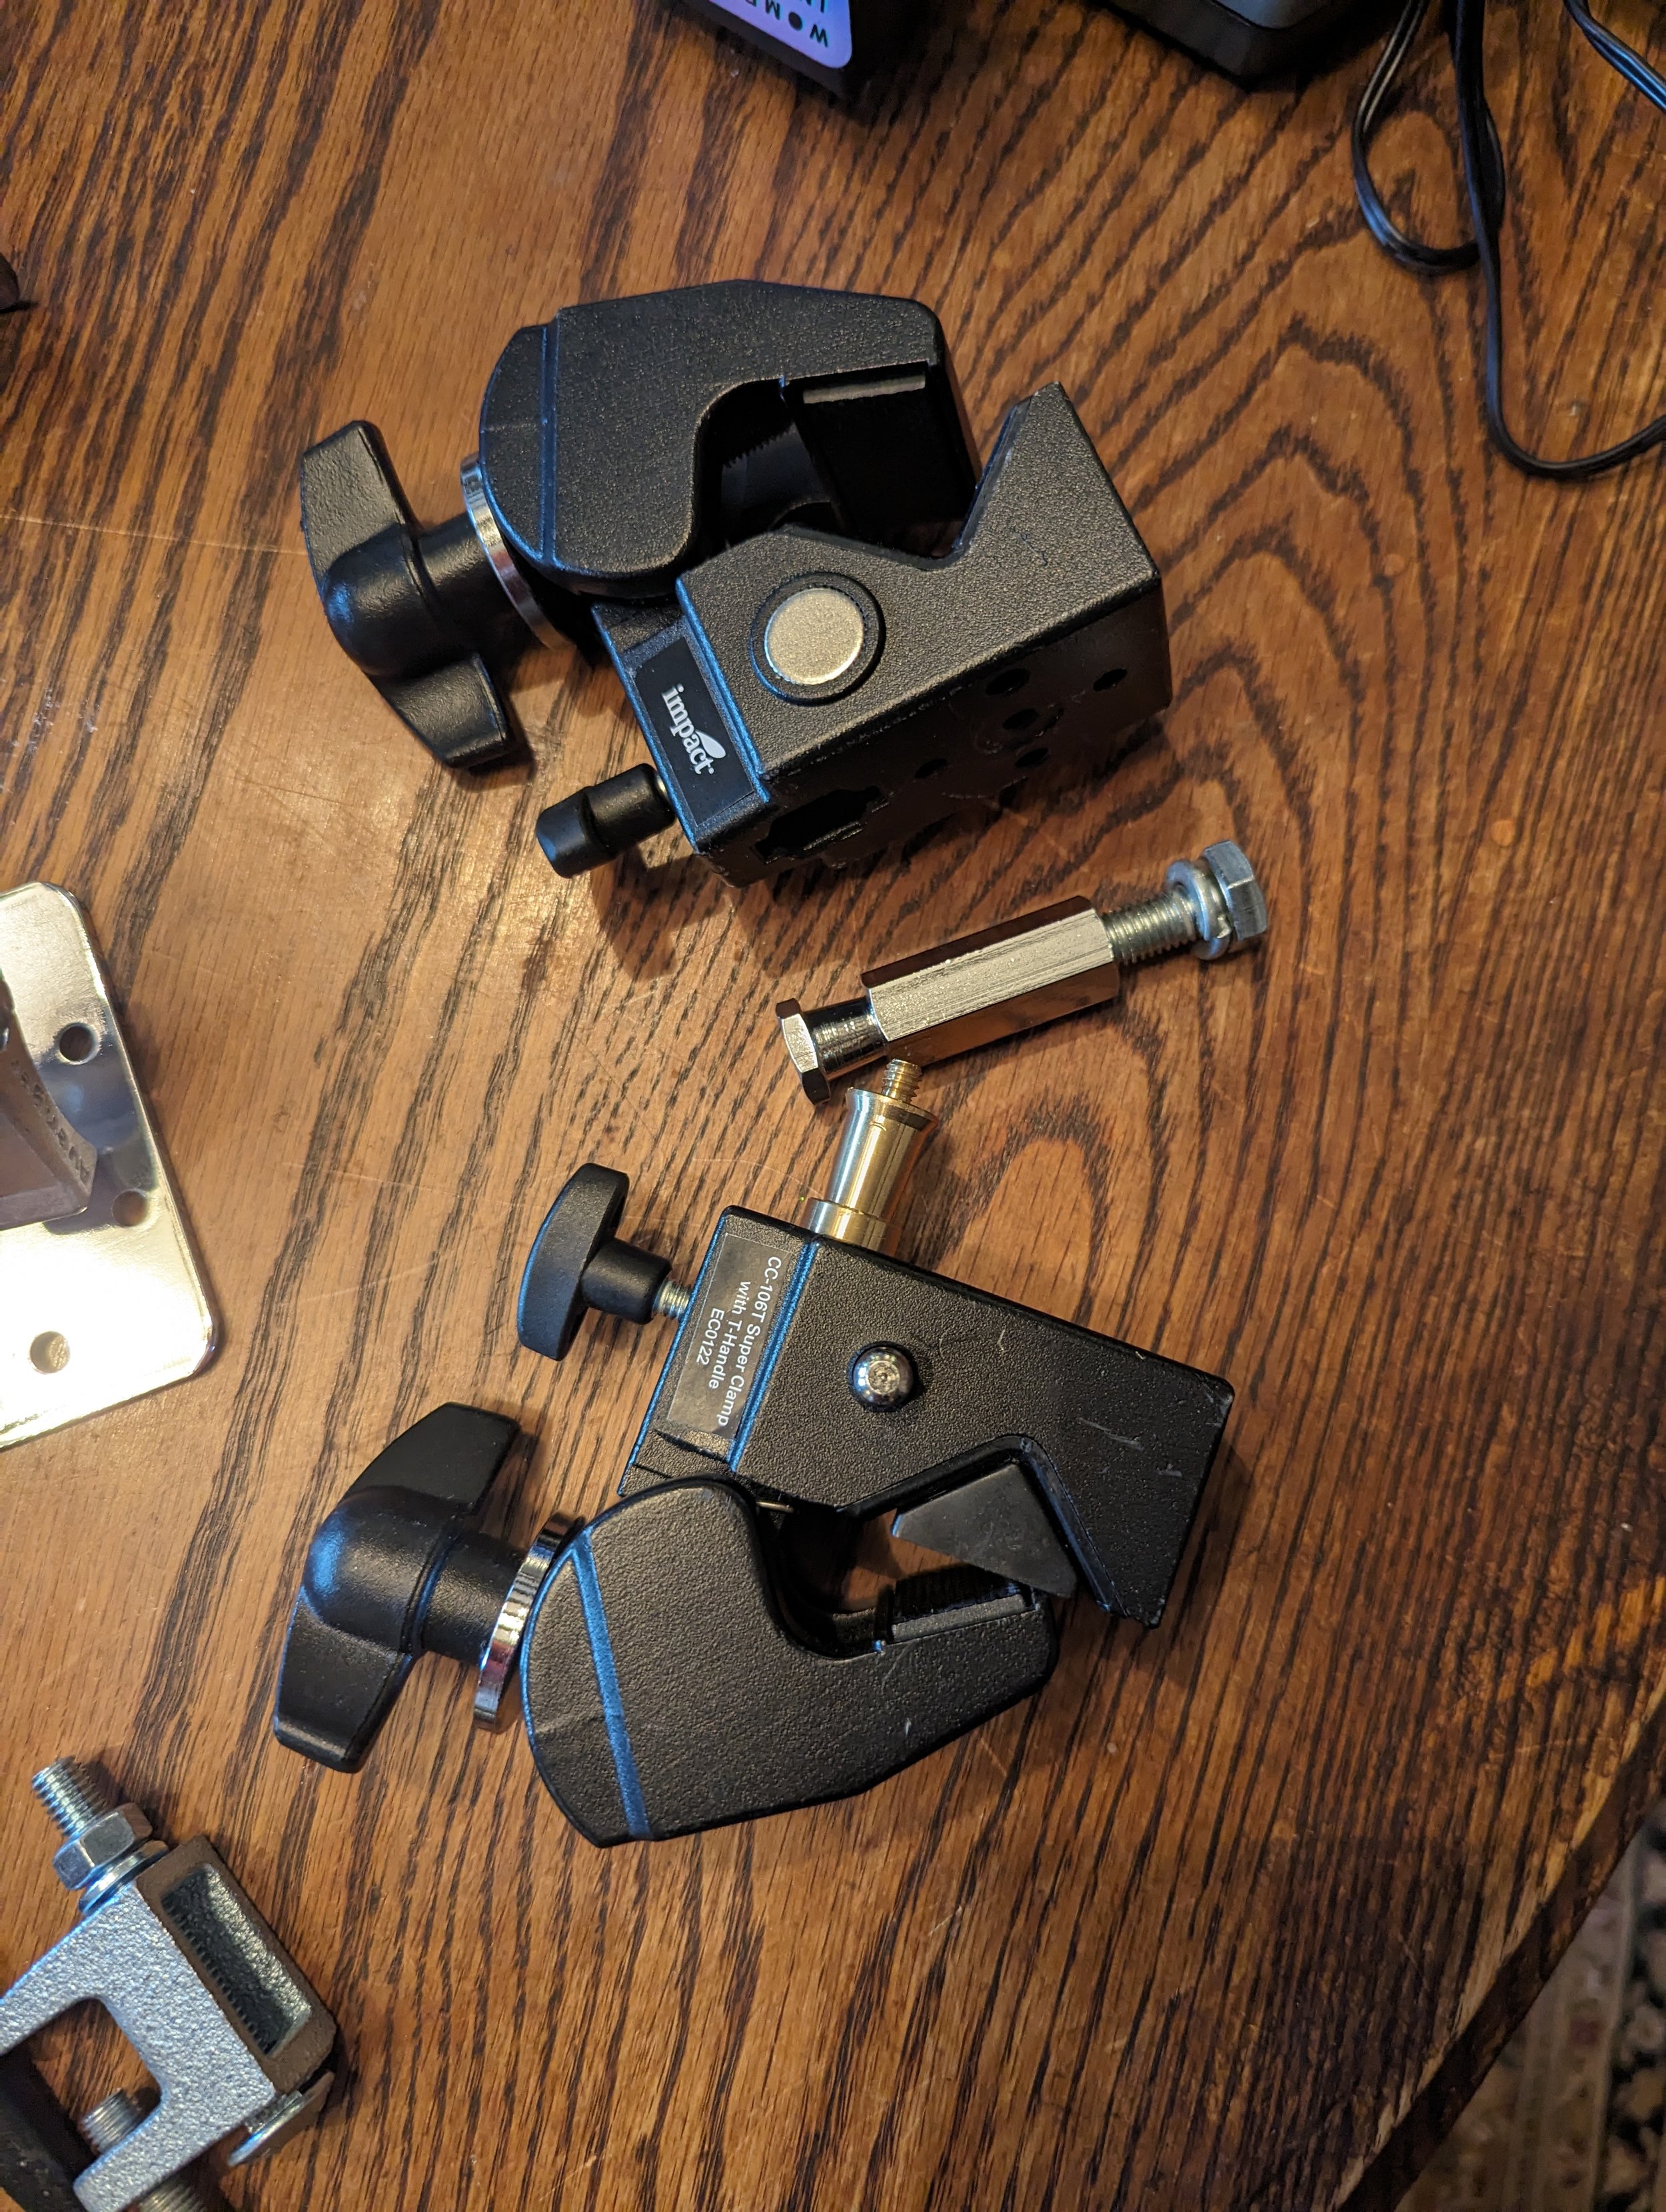
The black coupler is a “Double Female Adapter” made by Kupo. The rest is a mix of Manfrotto Avenger and Impact GRIP hardware.
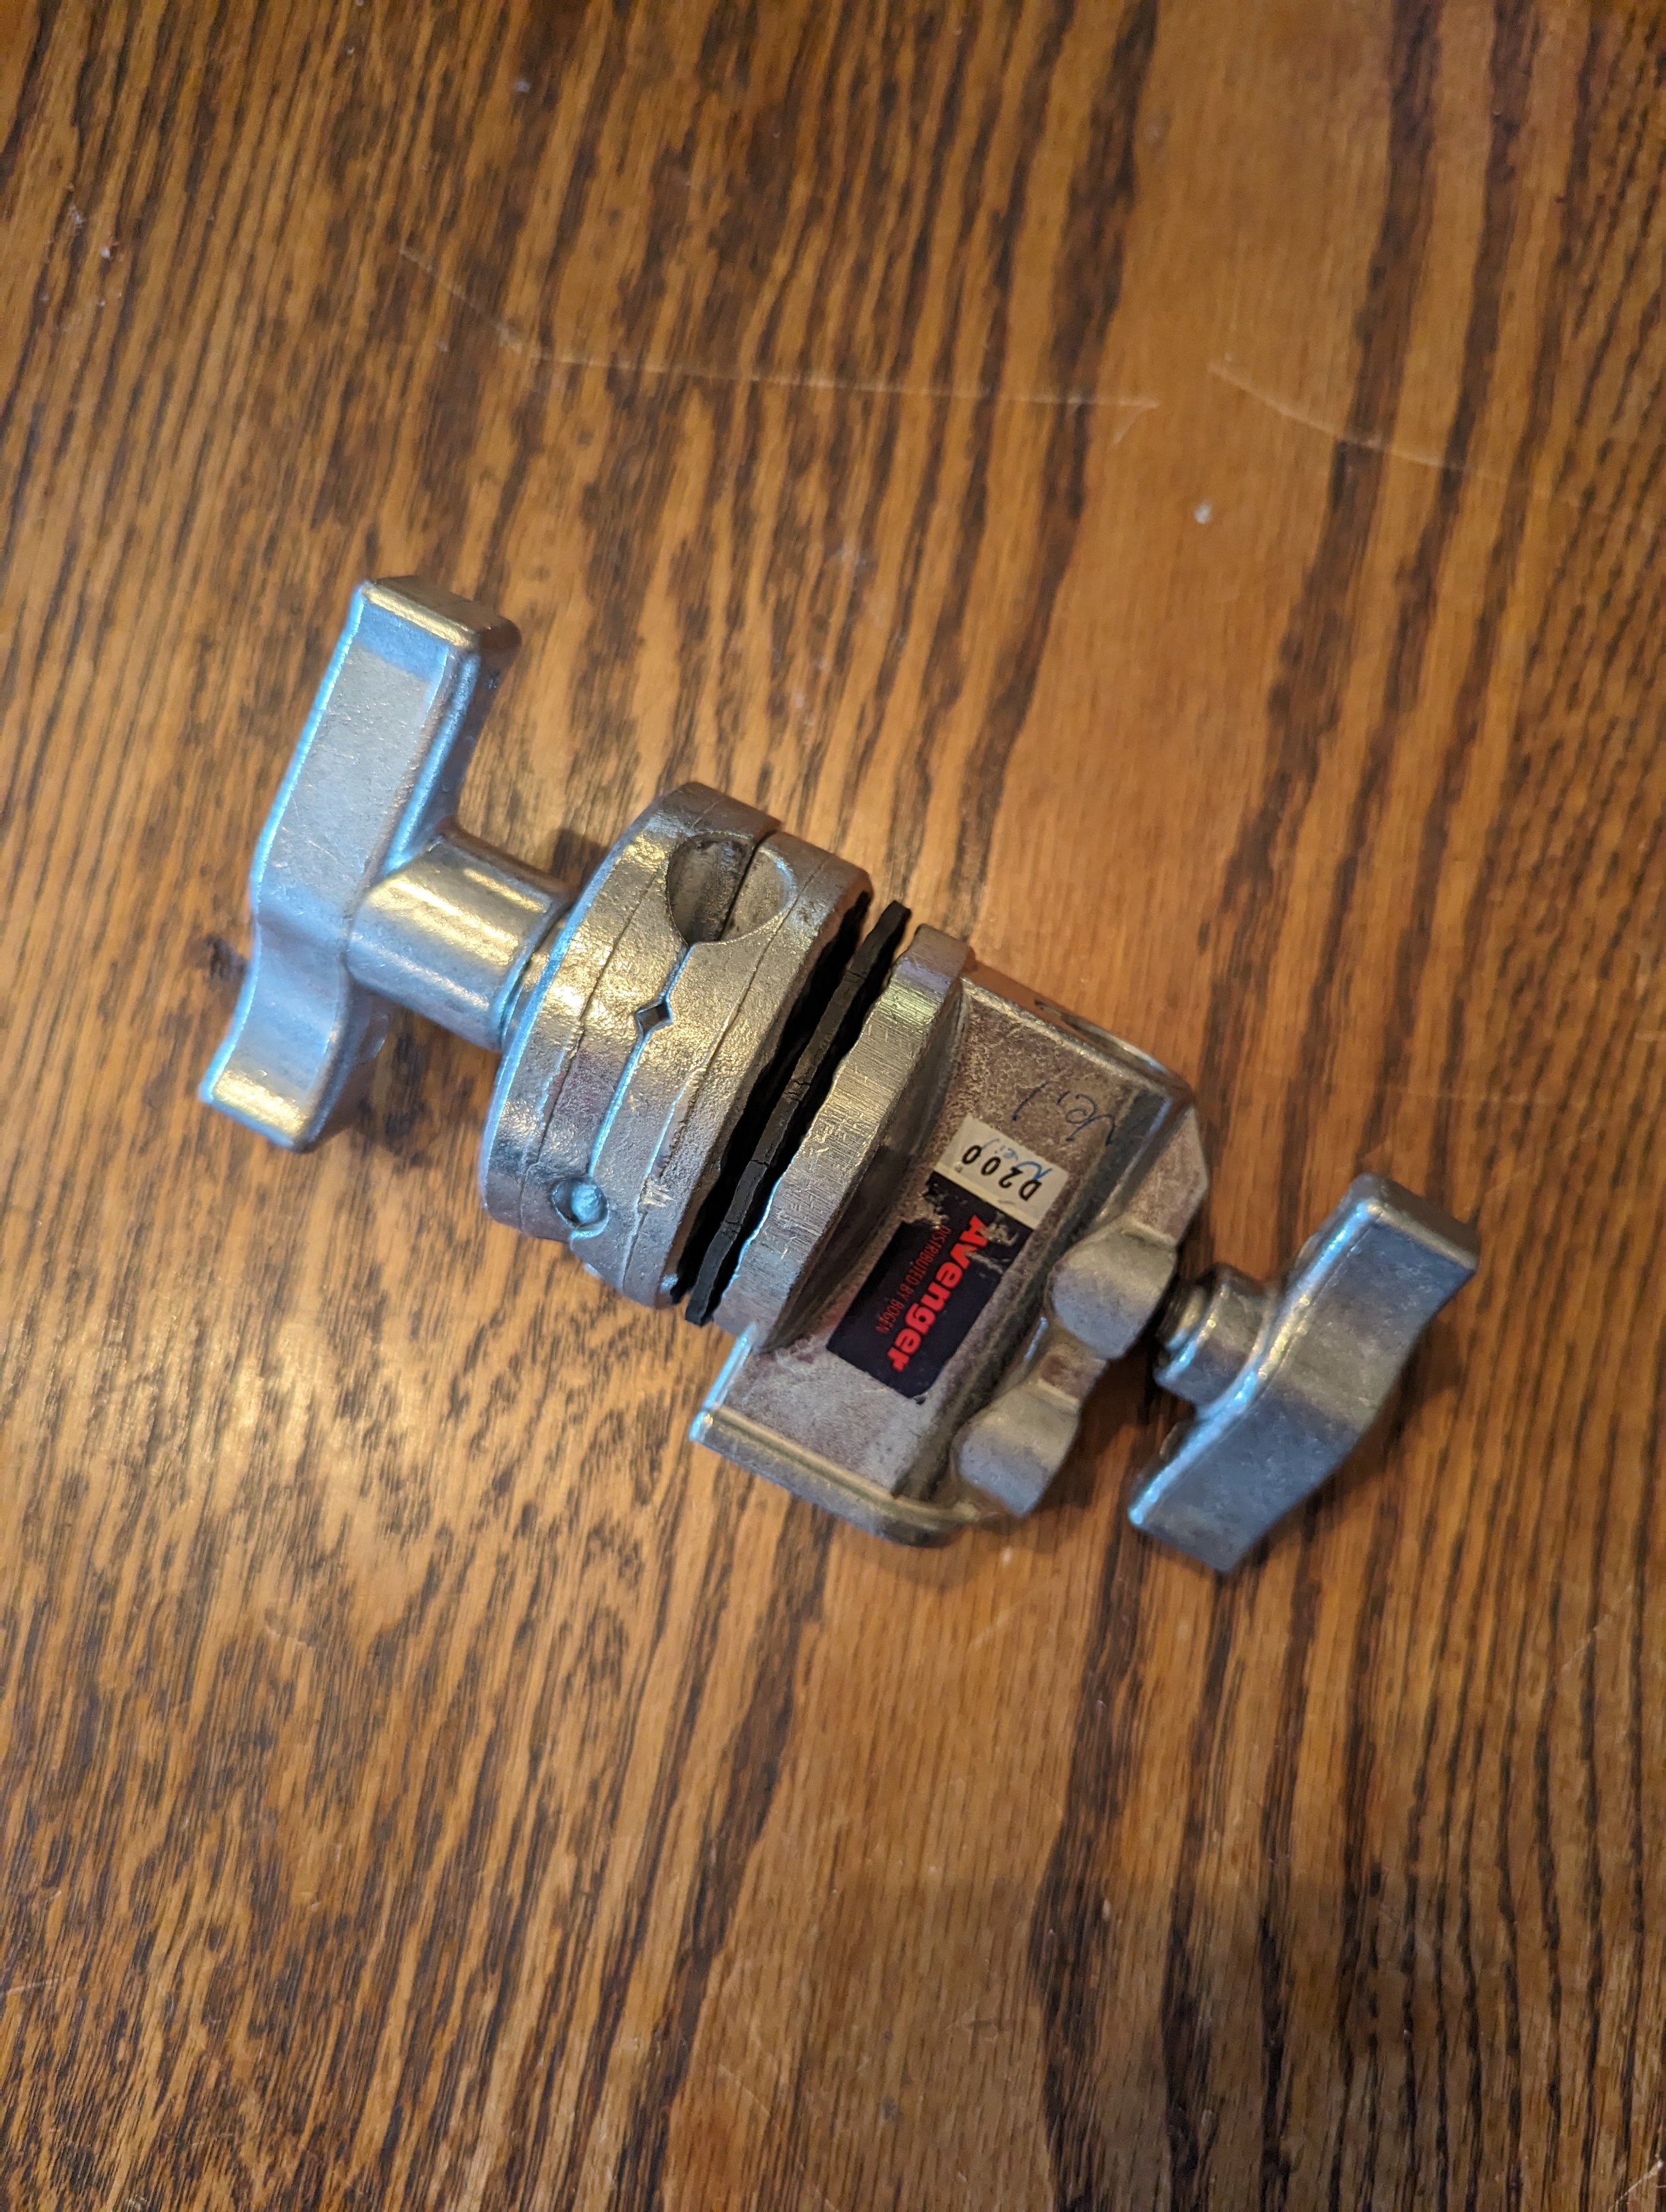
This type of connection opens the door to hundreds, if not thousands, of mounting possibilities. Trusted manufacturers include Impact Lighting (budget-friendly), Manfrotto Avenger Series, Matthews Lighting, and Kupo Lighting.

Left: Projector + wood mount with super clamp on a swivel head. Right: Projector with magic arm + wood mount and receiver plate.
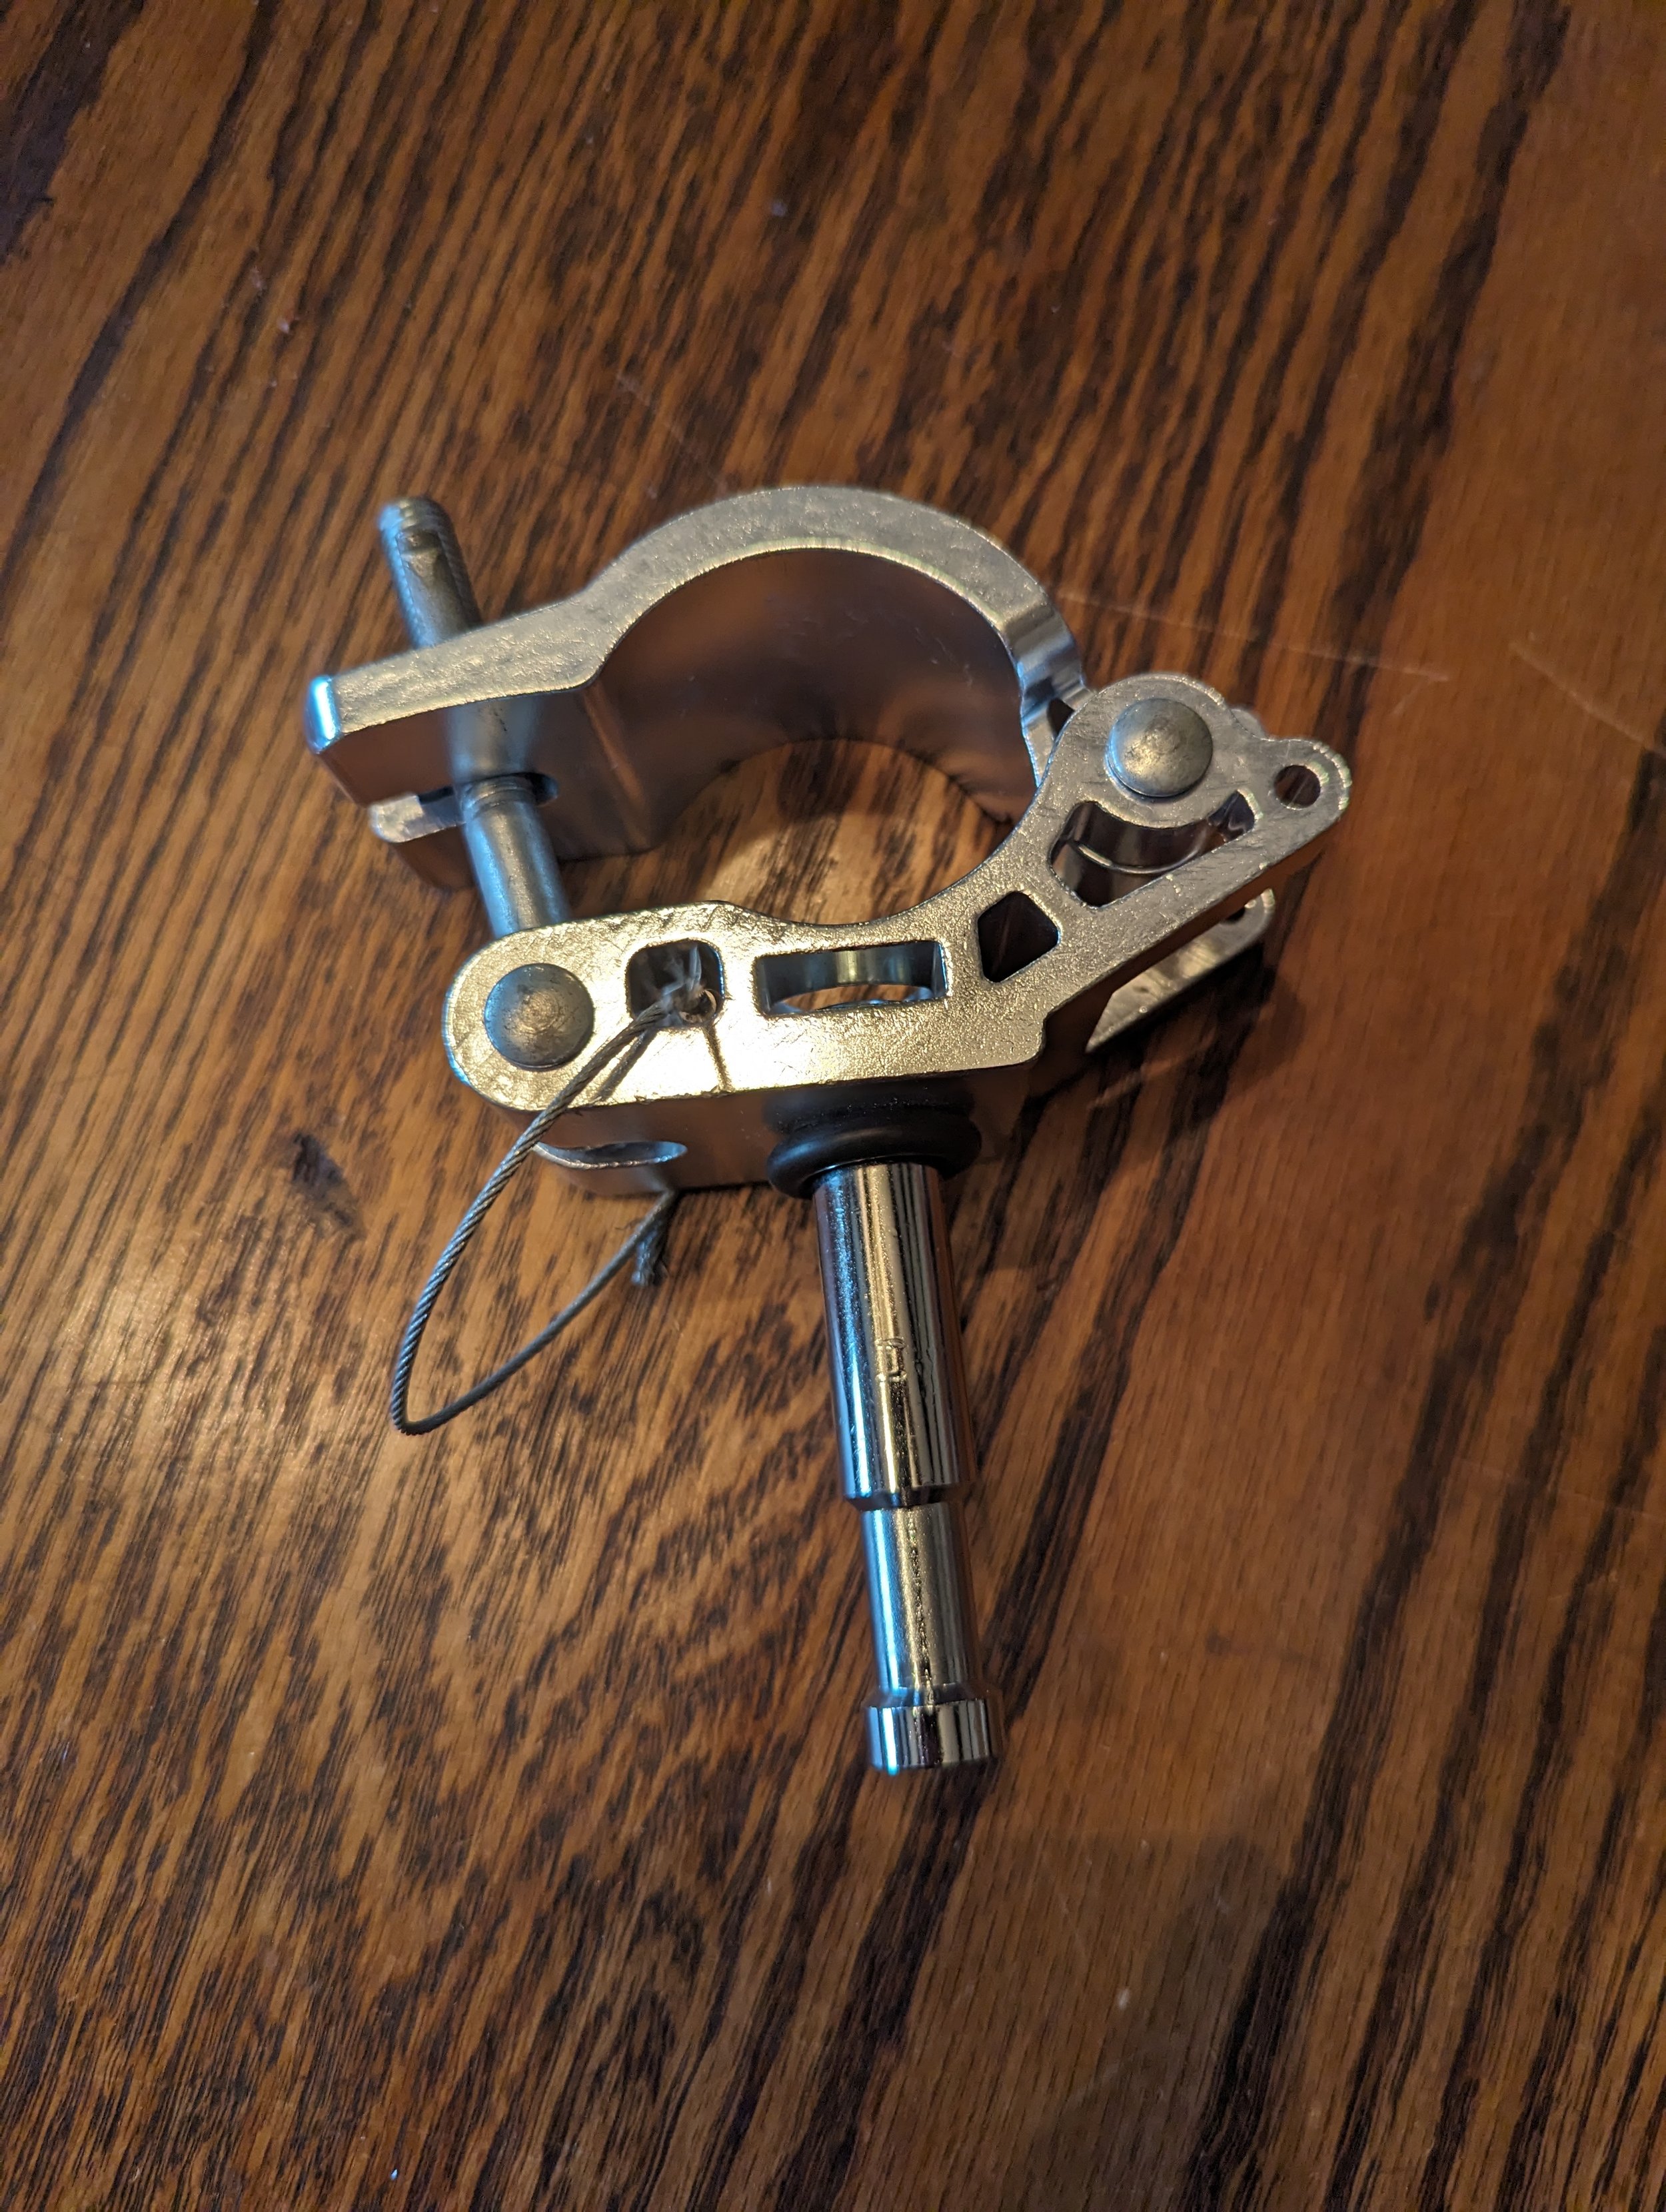
The Rigging Essentials: Cardellini Clamps, Jaw Vice Clamps, and More
The Cardellini Clamp, affectionately known as a Mathelini in theatrical circles (or alternatively as a Jaw Vice Clamp online), offers an impressive 6"+ range, making it an indispensable tool for securing projectors in diverse scenarios. When paired with an Impact Baby Pin Swivel Head Mount, complete with a sleek black Kupo connector, and anchored by a Manfrotto Avenger ⅝" baby pin receiver, this setup guarantees both stability and flexibility.
While different brands may come with varying price tags, their performance is generally comparable. However, it's worth noting that complications can arise when mixing brands, as they may have slightly different pin "lock" heights (the indentation at the top of the baby pin). Although it's possible to mix and match, optimal connectivity is often achieved when sticking to the same brand for all components in your hardware ensemble. (Link to 2” vice clamp)


This hardware is strong!
Seriously, this Manfrotto Super Clamp survived years outside and even made it through a hurricane! (video) (It was only holding a camera, but still).
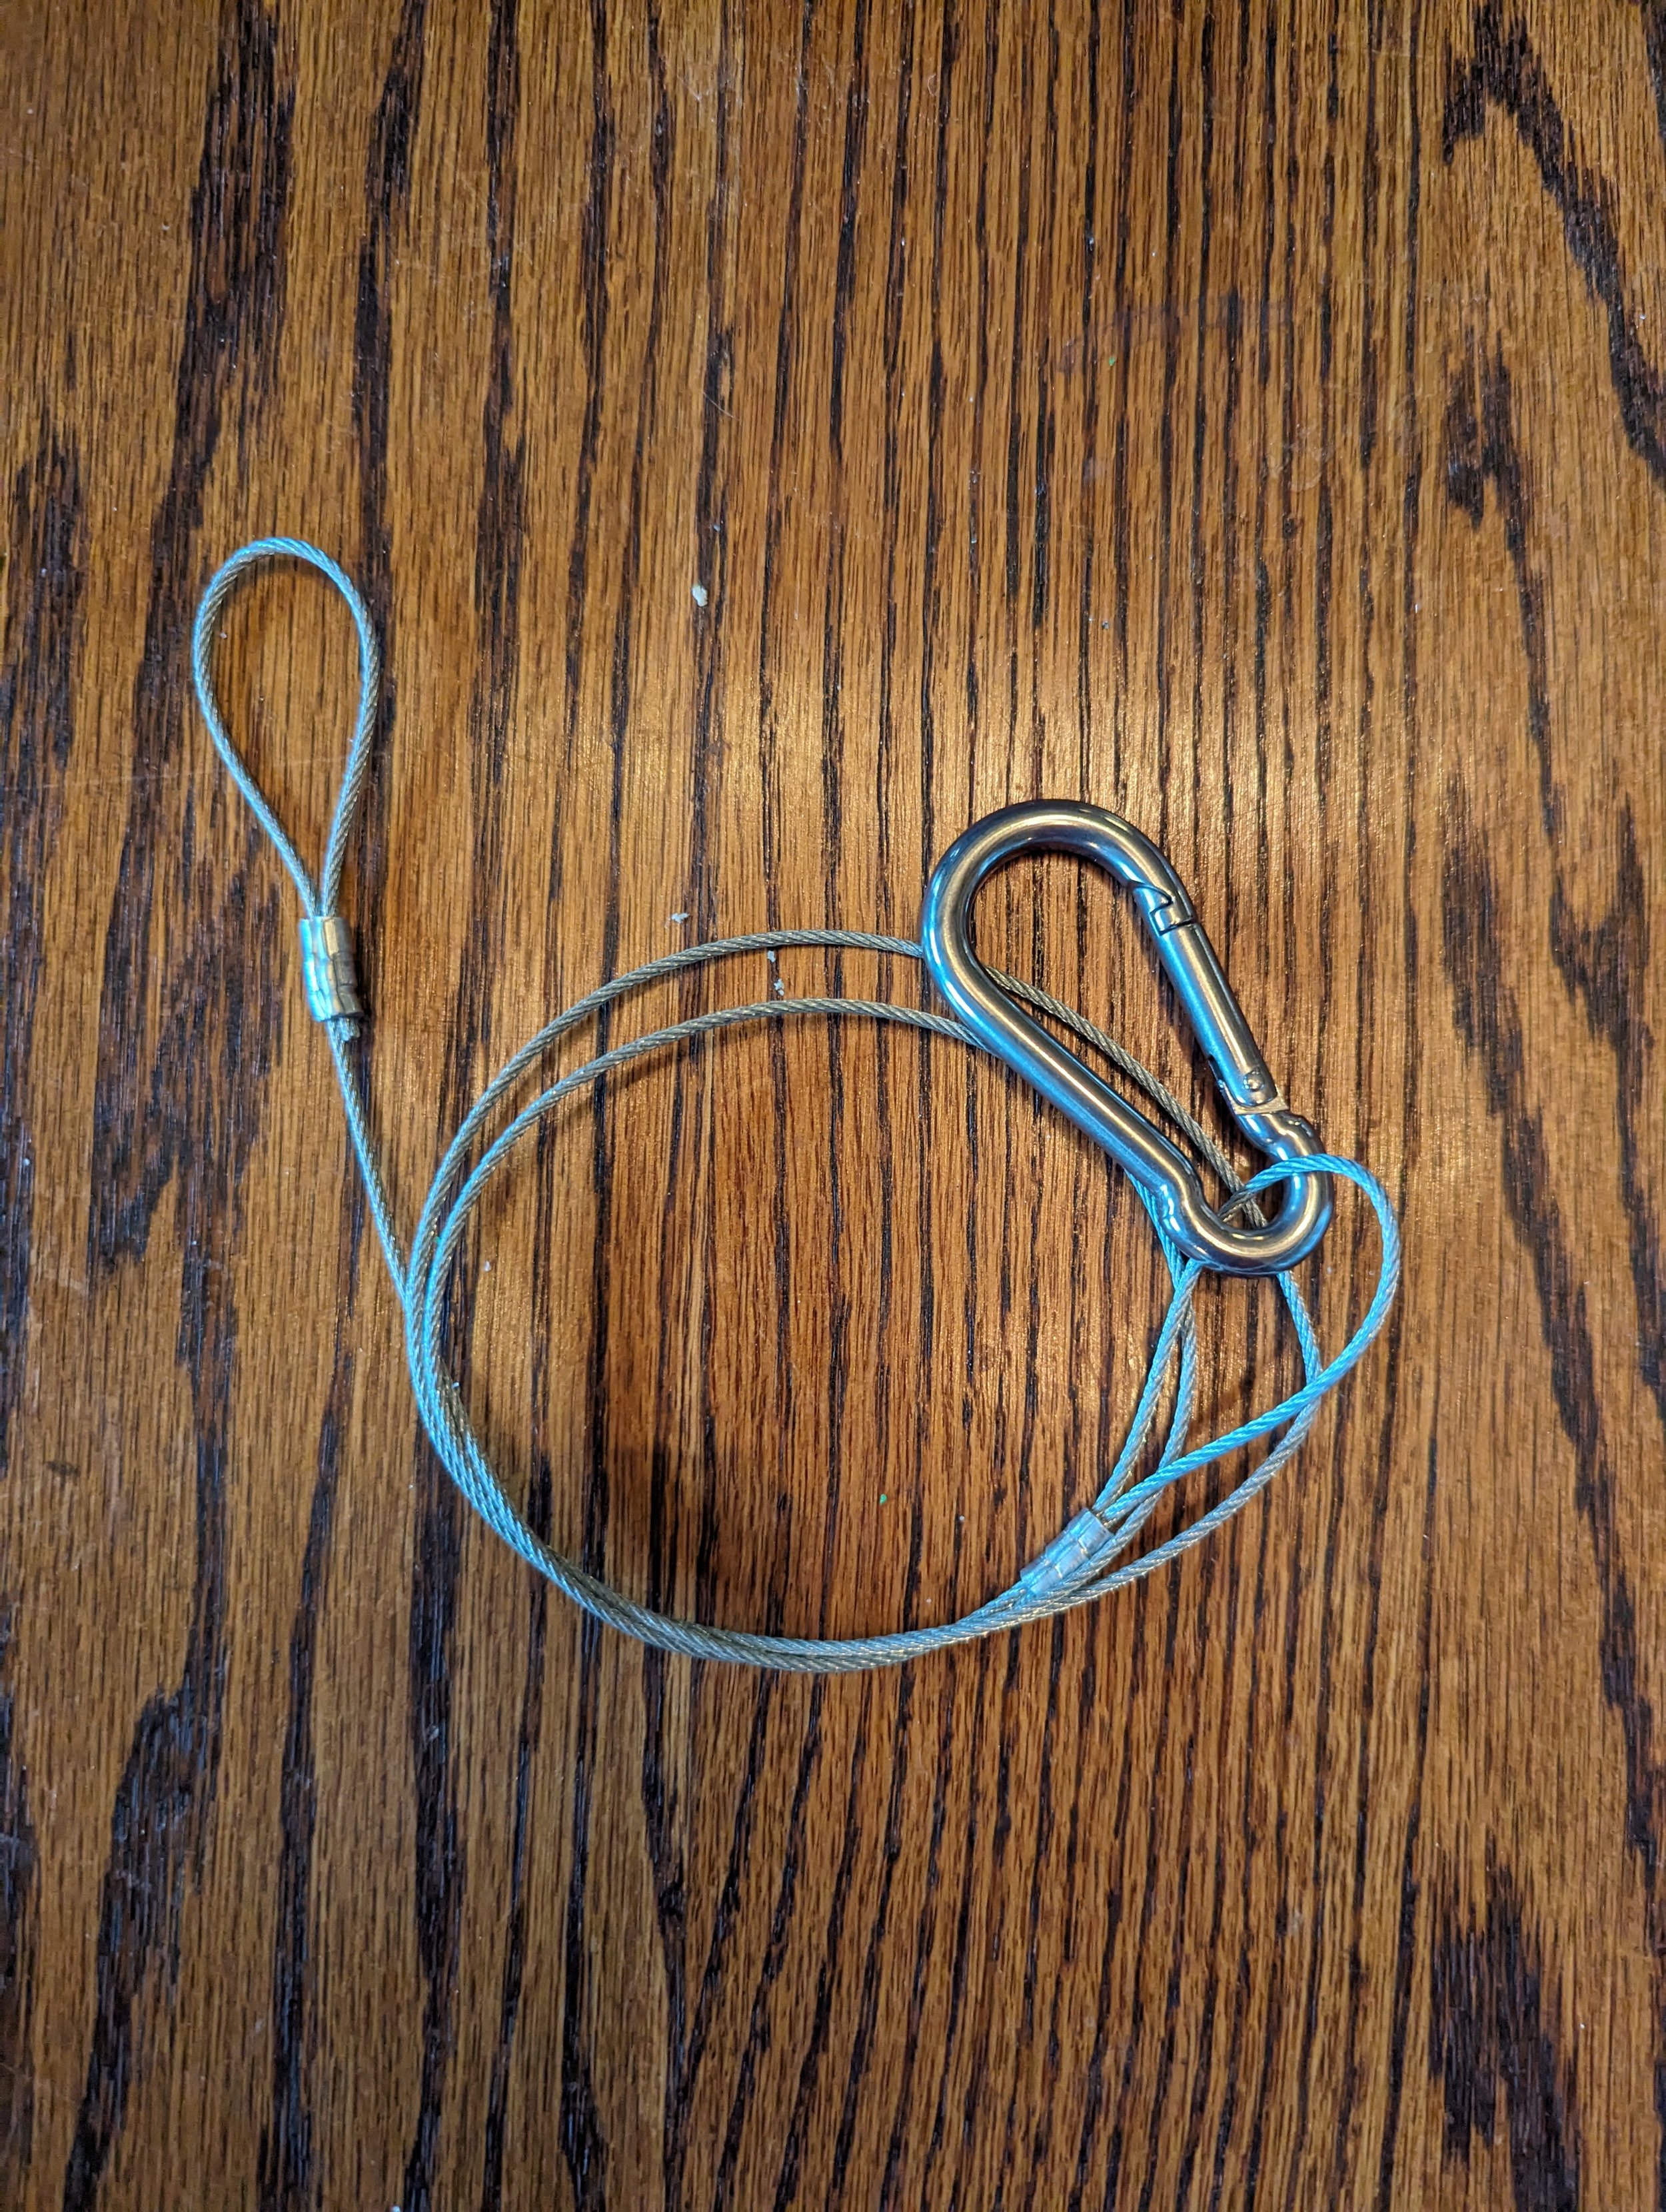
Once tightened in place, these components stand firm, even under the weight of heavy projectors. However, for added security, never forget the importance of a safety cable – a 1/16" aircraft cable that ensures your setup stays put, and it is relatively inexpensive to make your own safety cables after purchasing steel cable cutters and a swaging tool.

Expanding Your Toolkit: Accessories for Seamless Installations
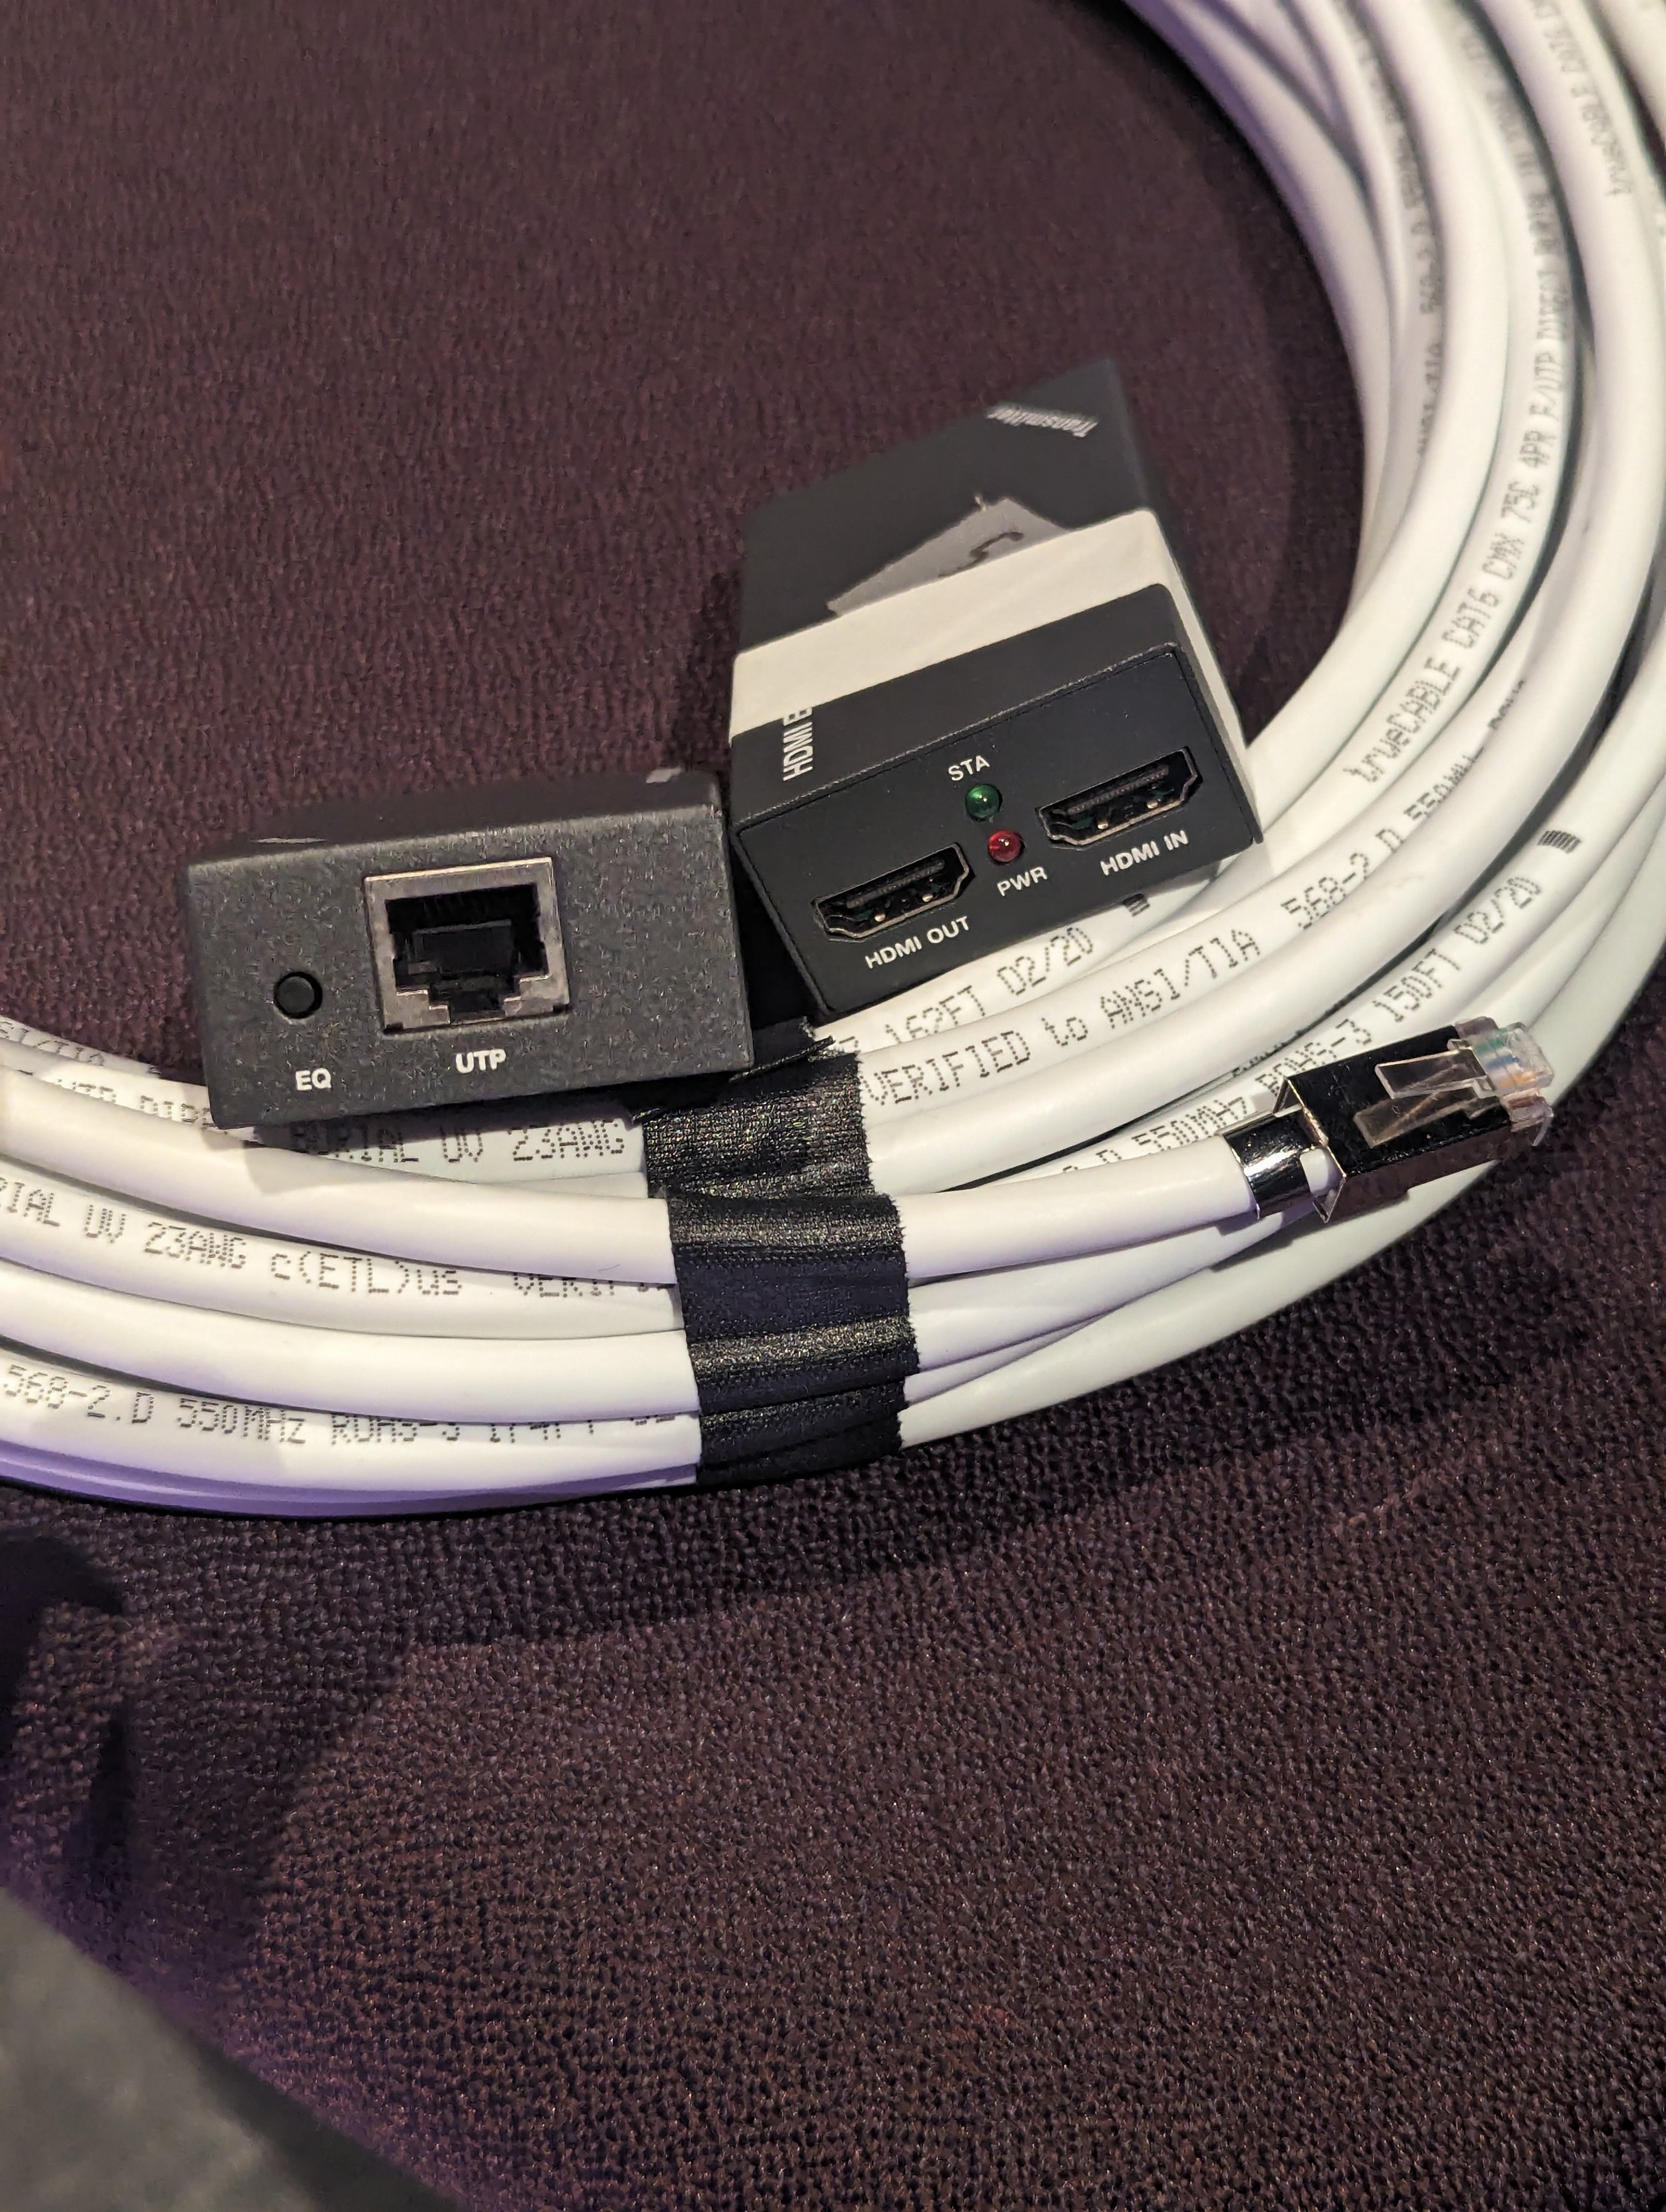
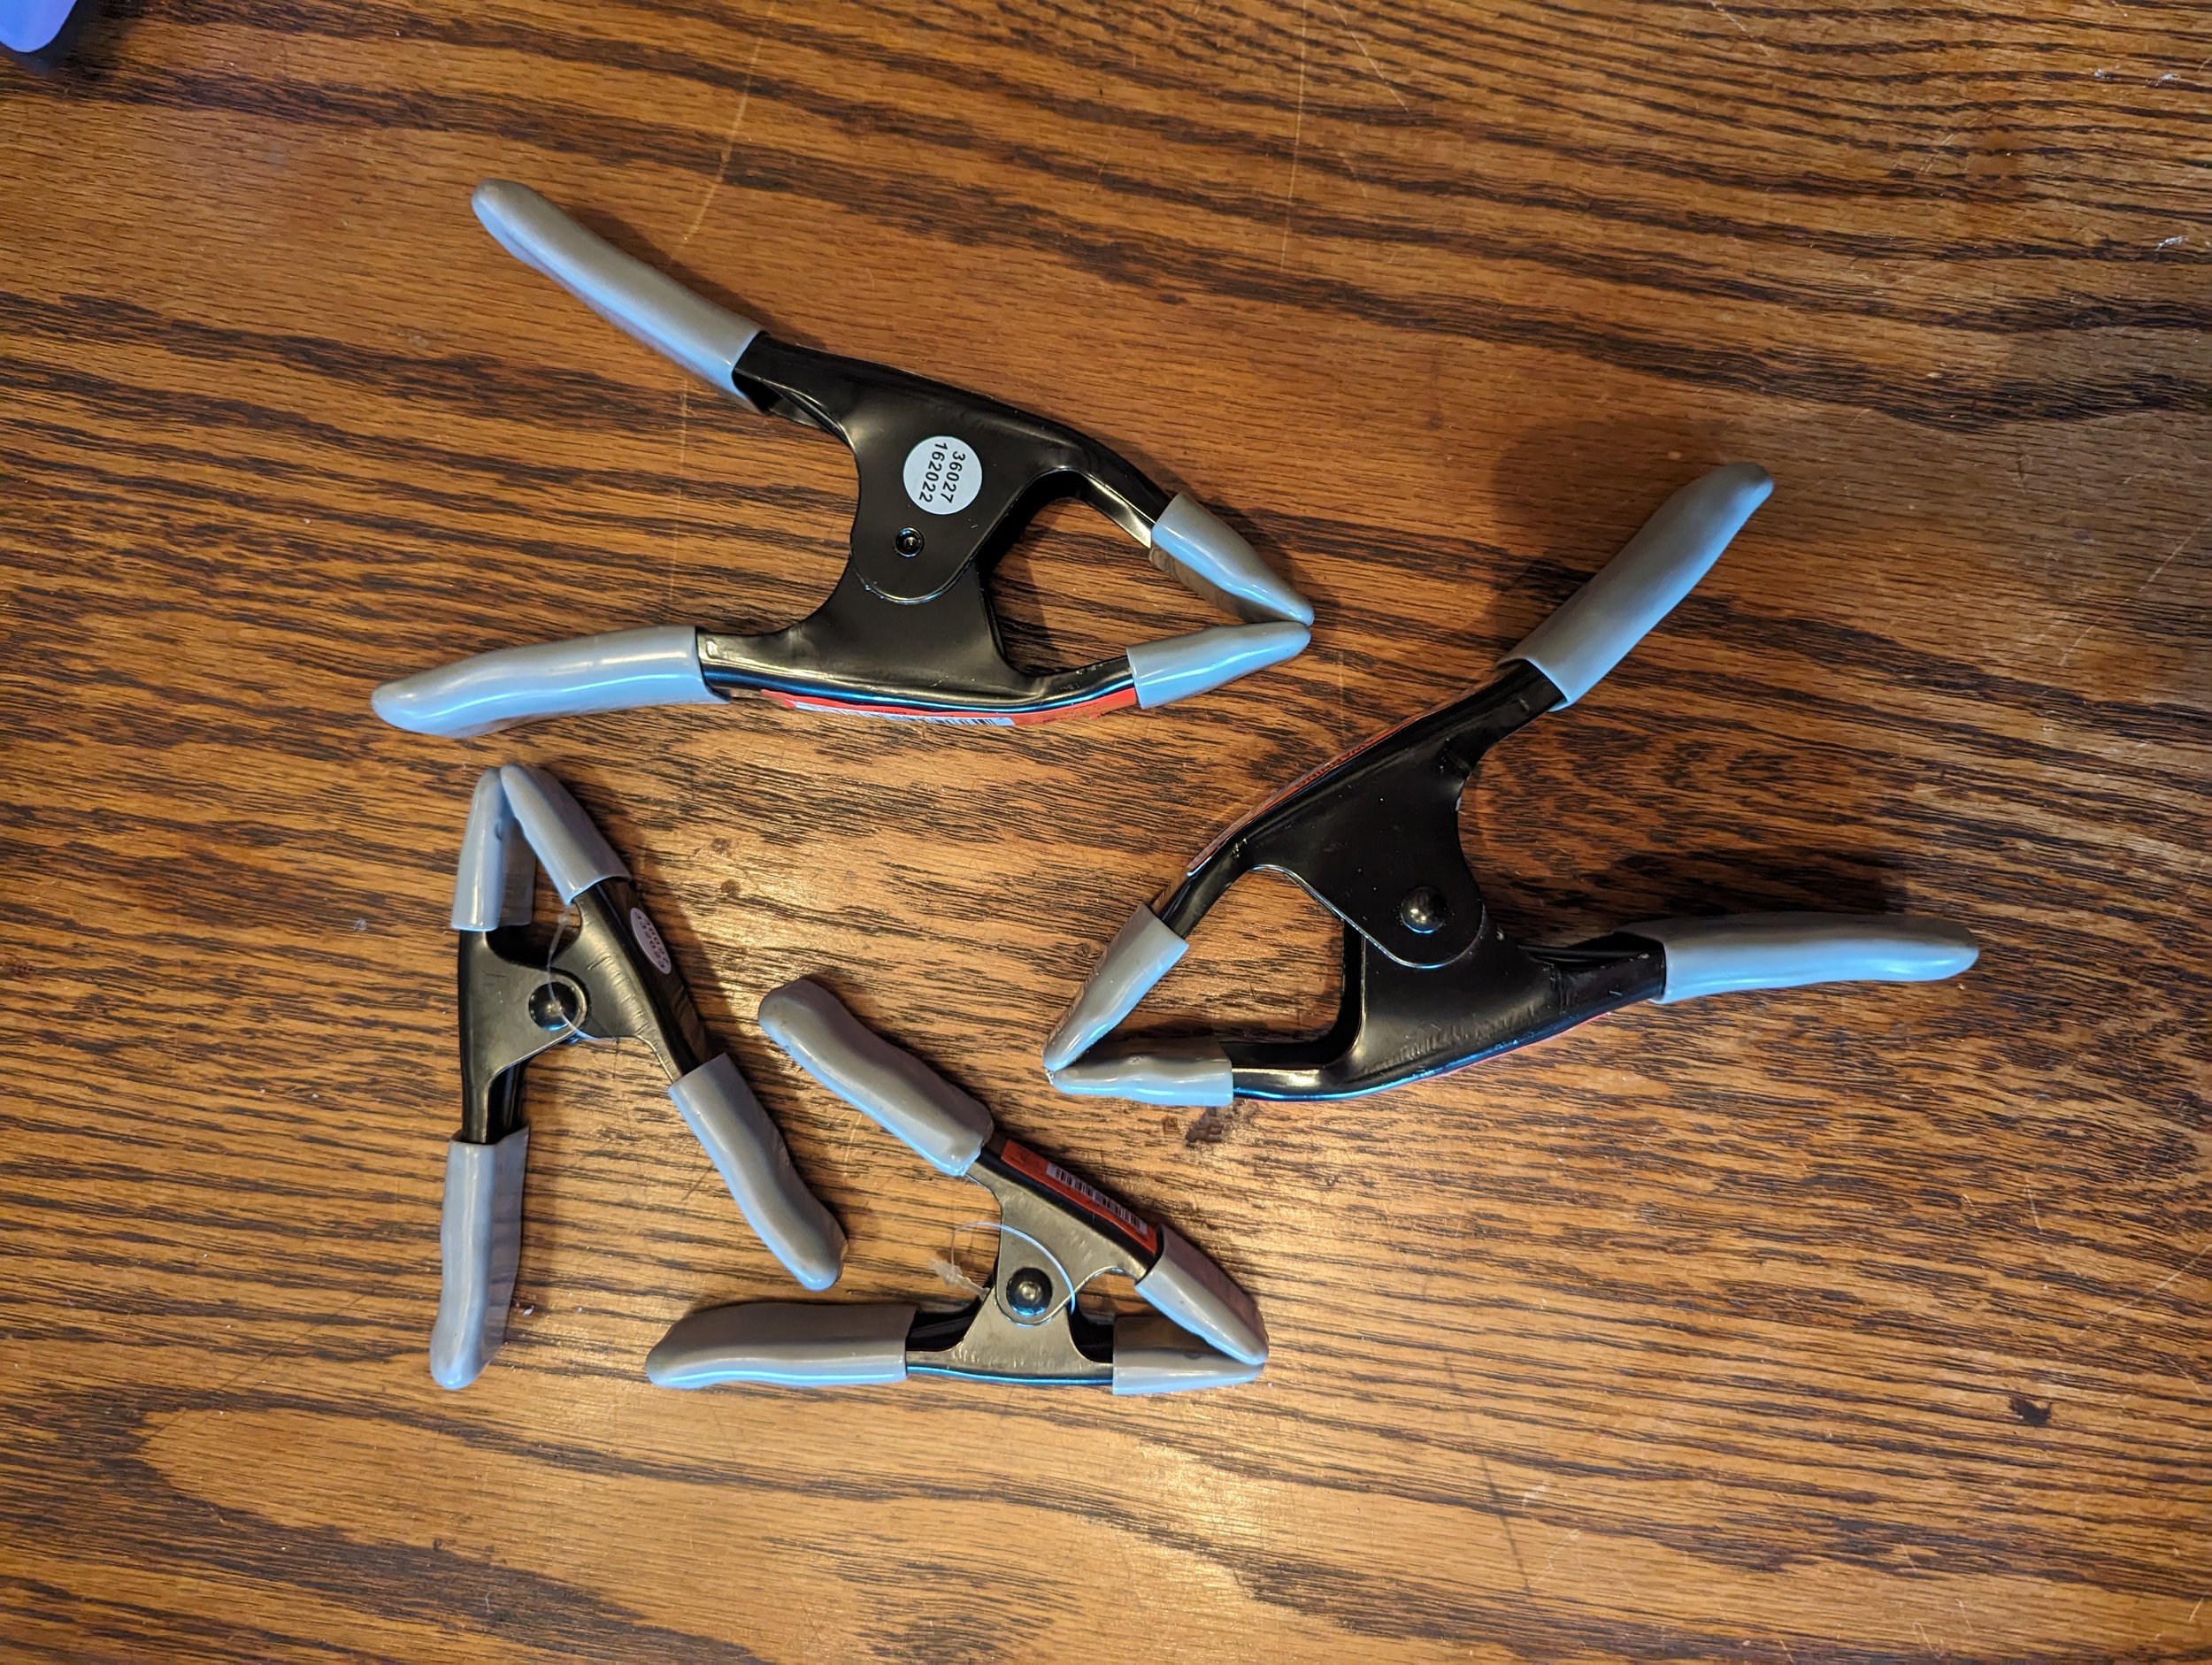
Beyond the essentials, assembling a well-rounded toolkit is paramount for a flawless installation. Consider expanding your arsenal with beam clamps, spring clamps, additional IEC cables, HDMI over Ethernet adapters, and HDMI cables under 50'. It's crucial to remain mindful of HDMI cable limitations – once you exceed 50 feet, exploring signal boosters or HDMI over Ethernet solutions becomes imperative.
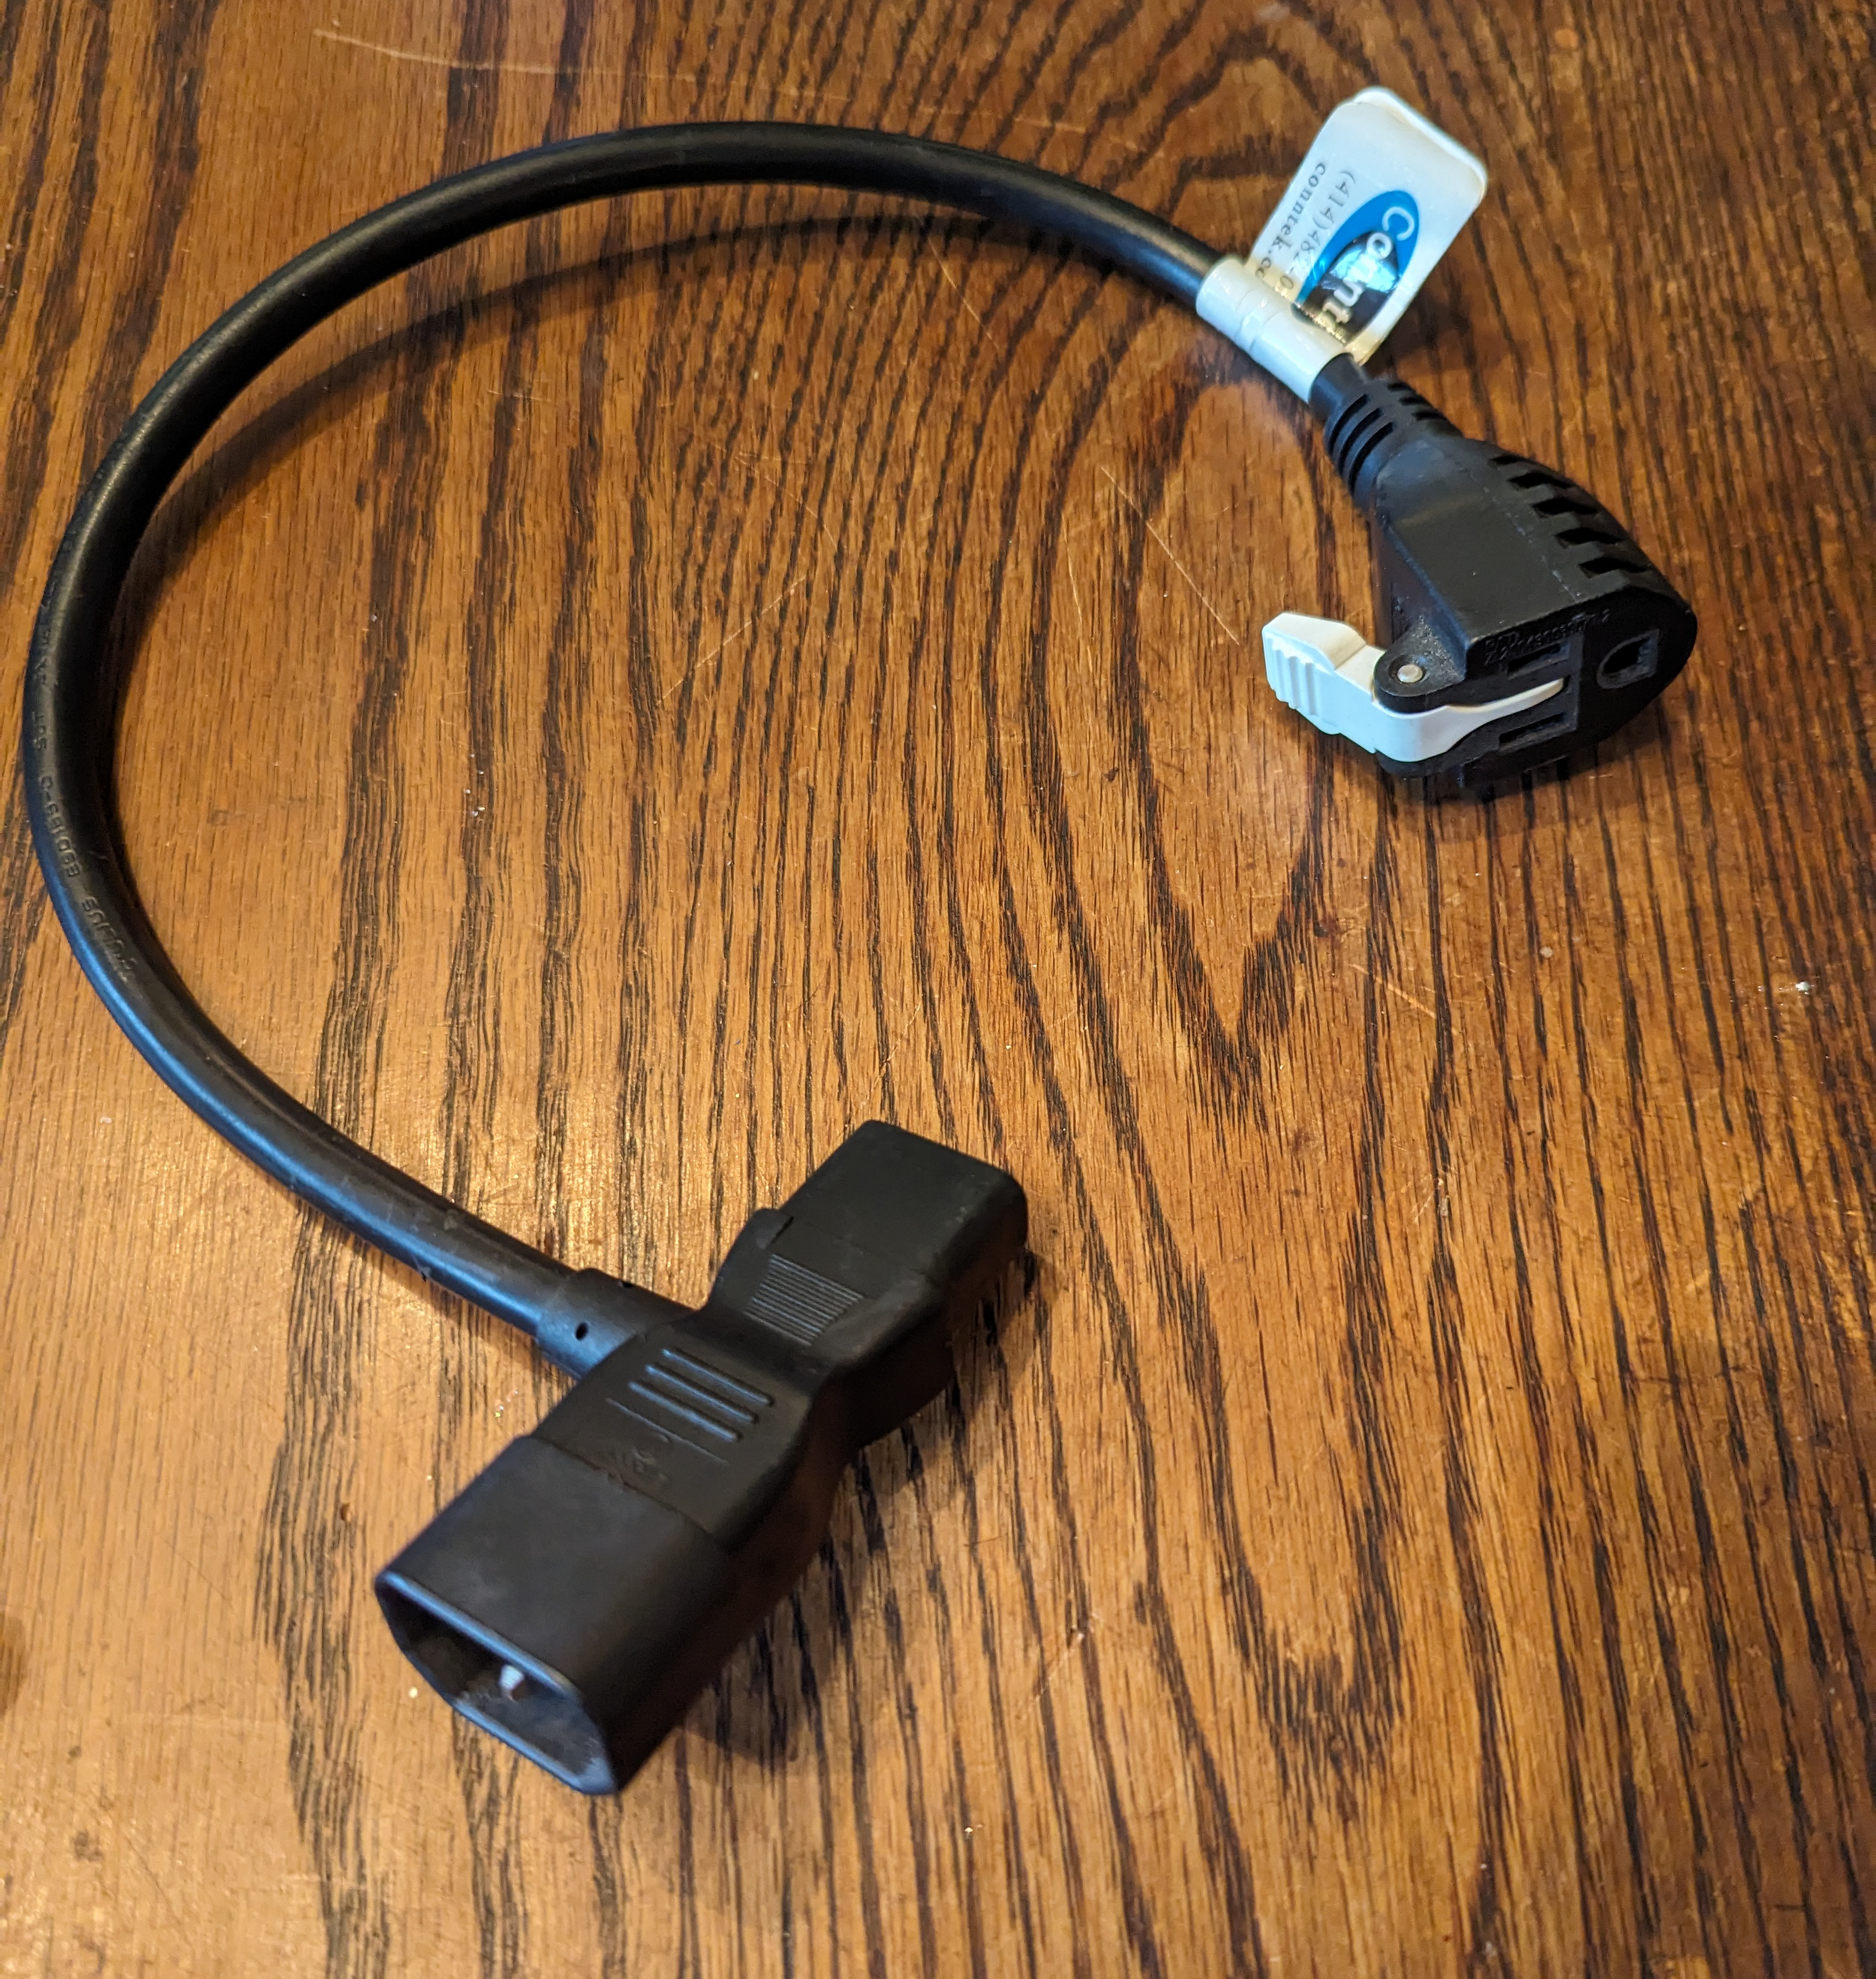
Here's a pro-tip: I highly recommend using an IEC cable tap for added convenience. This allows you to power a media player ( this one offers seemless loop with .mkv files, must used a hidden file cleaner like BlueHarvest to remove hidden “.trash” files from USB drive or SD card before looping a folder of files). , Raspberry Pi, or HDMI over RJ45 adapter with a single cord, streamlining your setup.
Speaking of HDMI over RJ45 adapters (not HDMI over Ethernet!), I found mine for less than $20 USD, featuring both HDMI input and output on the transmitter (TX). While it seems they're currently sold out, there's no need to break the bank; spending $50 or more on this type of adapter is unnecessary. Instead, consider investing in a quality shielded CAT6 cable or making one yourself. A shielded cable helps minimize noise, making it especially beneficial for longer runs, particularly when running cables alongside power cables. This cost-effective approach ensures optimal performance without compromising your budget. (Note: HDMI over Ethernet means you could send the signal over a network, switch, router, etc. HDMI over RJ45 or HDMI over Cat5e requires a “homerun” cable that runs direct from the transmitter (TX) to receiver (RX). The protocol that is used by the manufacturers may be different then others, so you can’t mix and match these RX and TX receivers with different brands.)

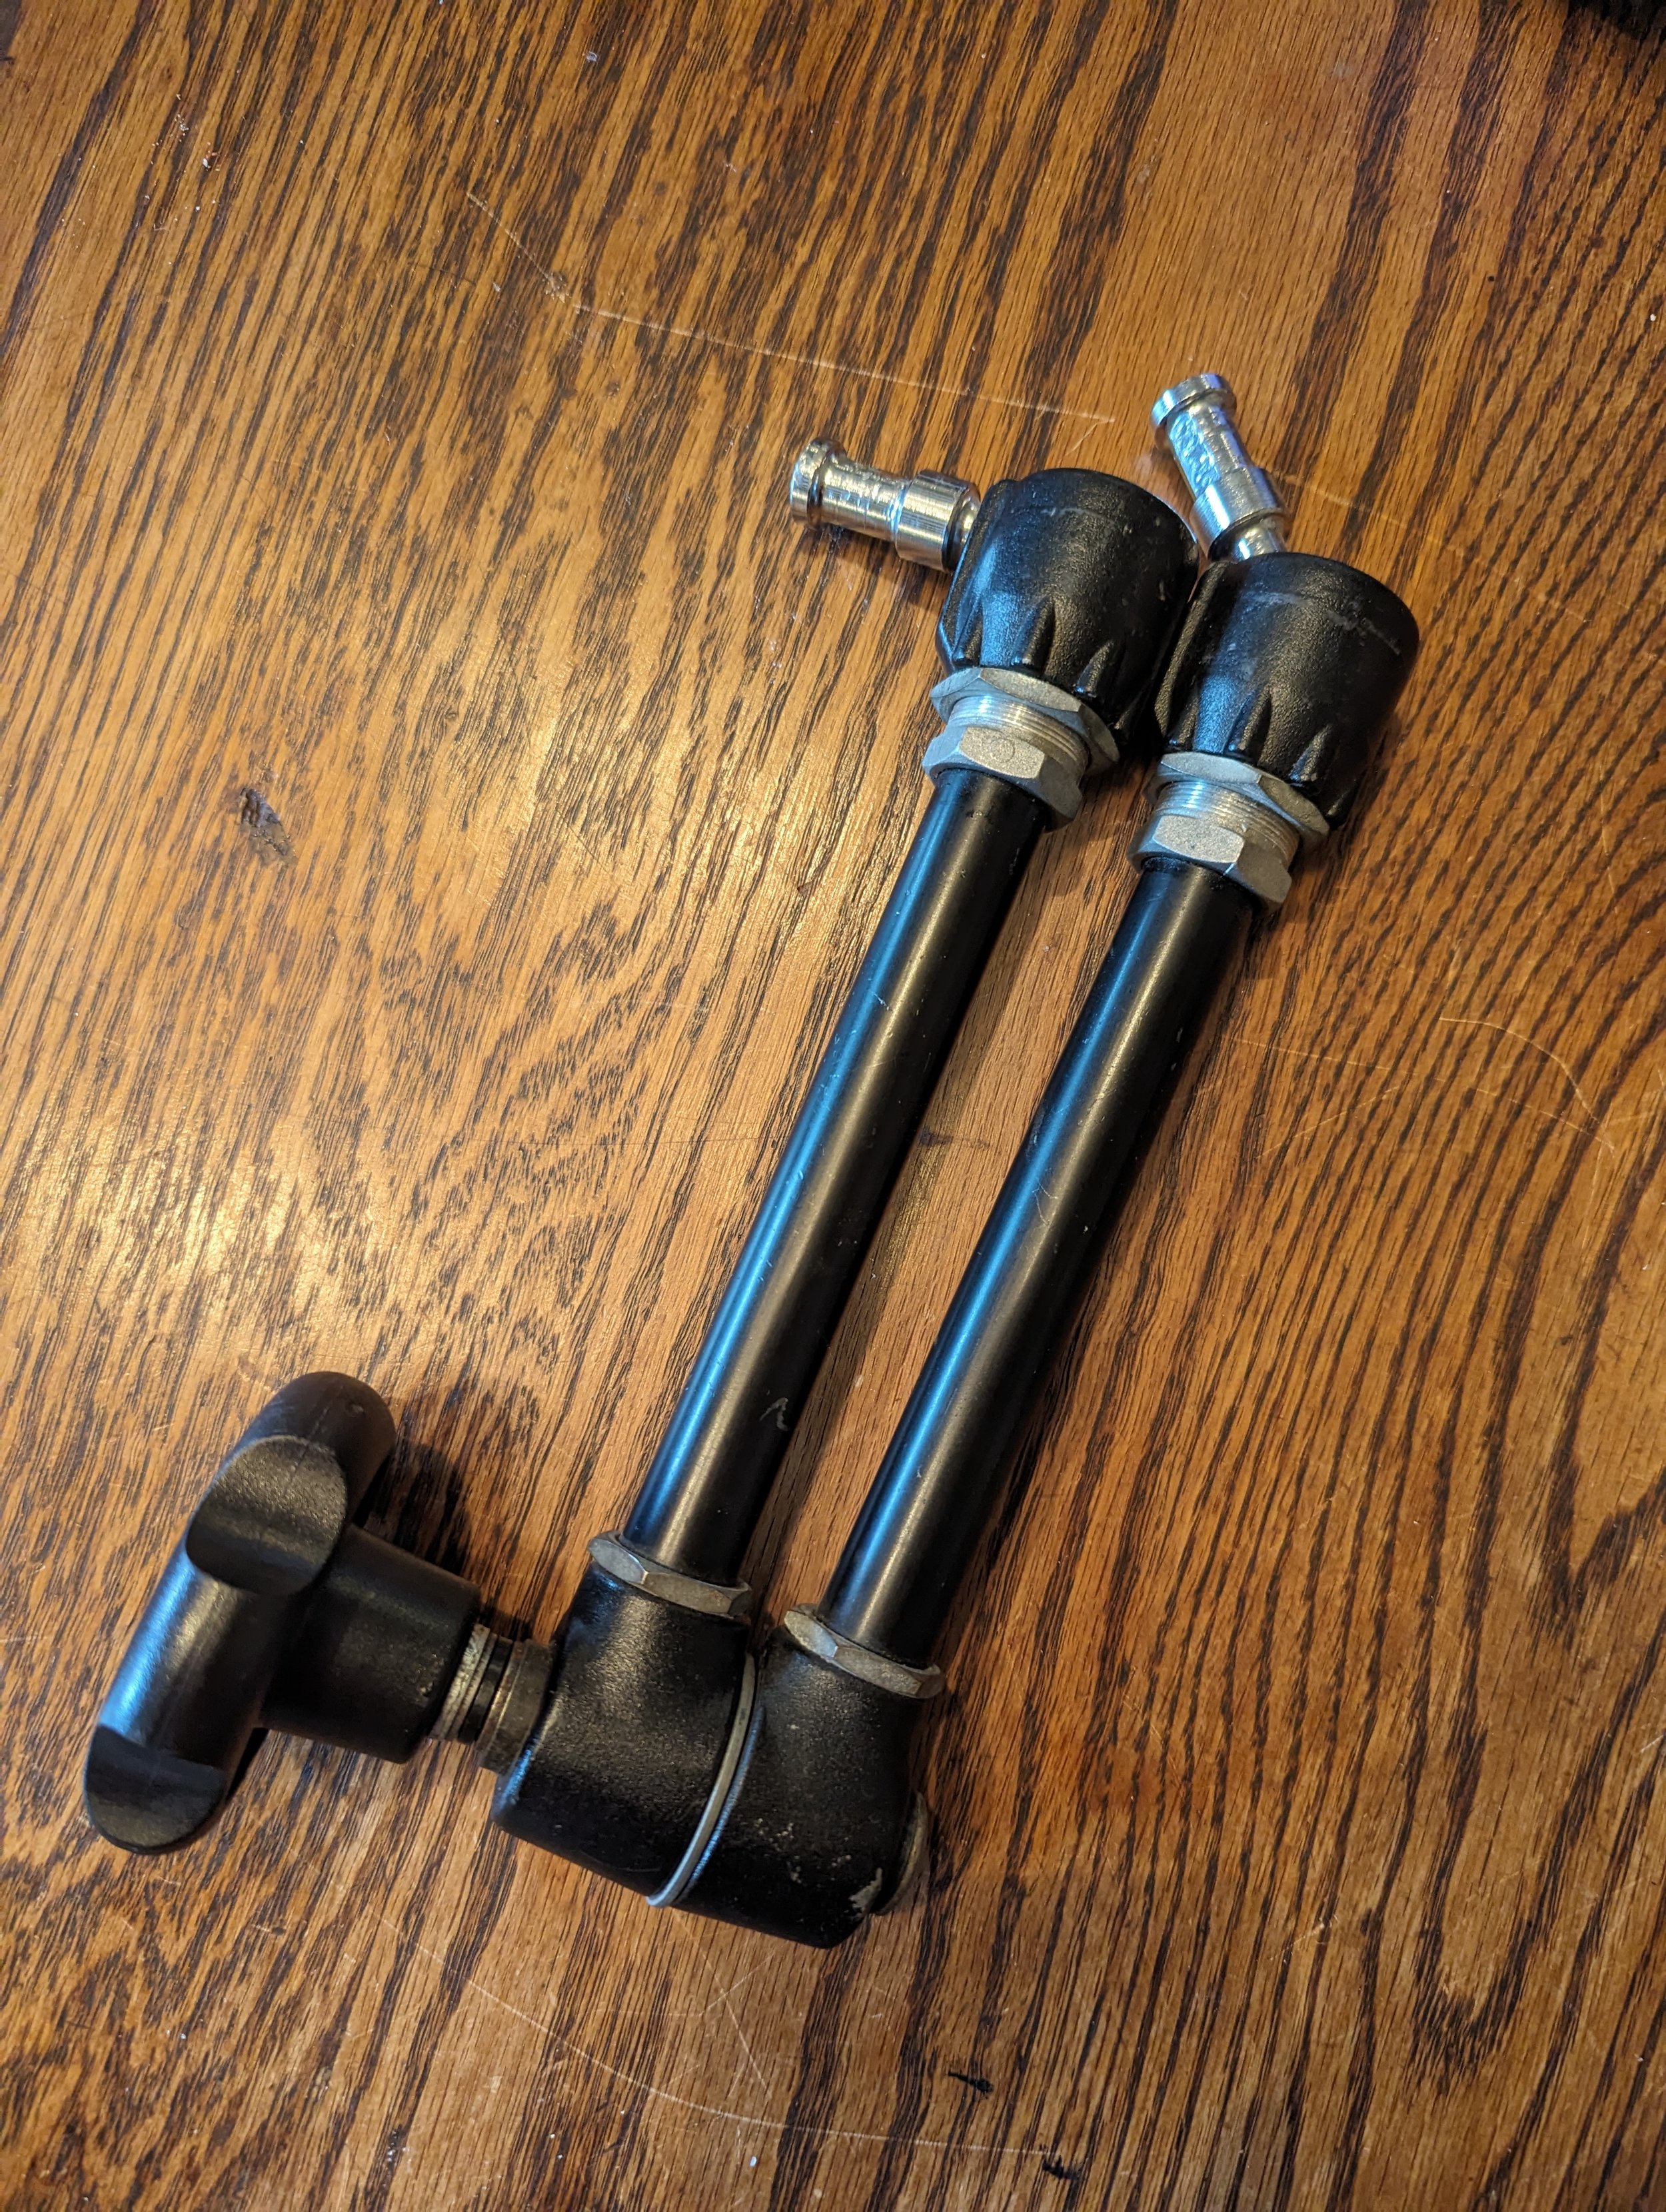
Beam Clamps, pipe clamp, super clamps, baby pin adapters, yoke mount, grip head, adjustable magic arms, and a swivel head mount baby pin plate enhance adaptability, offering creative solutions for various mounting scenarios.

Conclusion: Your Projector Rigging Journey
As you embark on your projector rigging journey, the right accessories make all the difference. This comprehensive guide ensures you're well-equipped for any installation, whether it's for escape rooms, VJing, projection mapping, or visual effects. Elevate your visual installations with the perfect blend of industry-proven hardware and cutting-edge solutions – because your projector deserves nothing less!
This article was written by ProjectileObjects. You can learn more about them at http://projectileobjects.com/ or follow them on Instagram @ProjectileObjects