
Normally when we write about a new controller, we offer up a template to get you started, but with the Special Waves Mine S controller series, we'll have to take a different approach.
For years now, users have chosen VDMX for it's modular workflow. Build out a project the way you'd like it, so when a modular MIDI controller comes along, we had to try it.
The Special Waves Mine S controller is the most budget friendly if you're out there looking for an inexpensive controller, but it does pack a range of features, quality buttons and faders, and is compact enough to fit inside any bag. Oh, and it's modular! (had to say it again).
Yes, you can build out your VDMX project, map the midi sliders, knobs, and buttons to your VDMX workspace, and then pop them out and move them around as desired without having to reconfigure the MIDI settings inside of VDMX. How cool!
Maybe you've built out a horizontal layout at your desk, but when you get to the show there's only enough space for your laptop and a vertical layout of your controller -- well, just move the buttons around!

Top down: Livid Ohm RGB slip, APC 40 MKII, Mine S, DJ2GO Touch.
The original Livid OHM 64 went for $699 (from from a mass produced APC40MKII at $299), and a Mine S will cost you anywhere from $399-? (There are 32 slots on the controller, a slider takes up 4, and a button or knob takes up one. The Mine S Pro Bundle sitting in front of me with an extra slider will set you back around $516+ ~$30 shipping (I wish I would have purchased an additional 2 Button Module ($14 more) to balance out this setup).
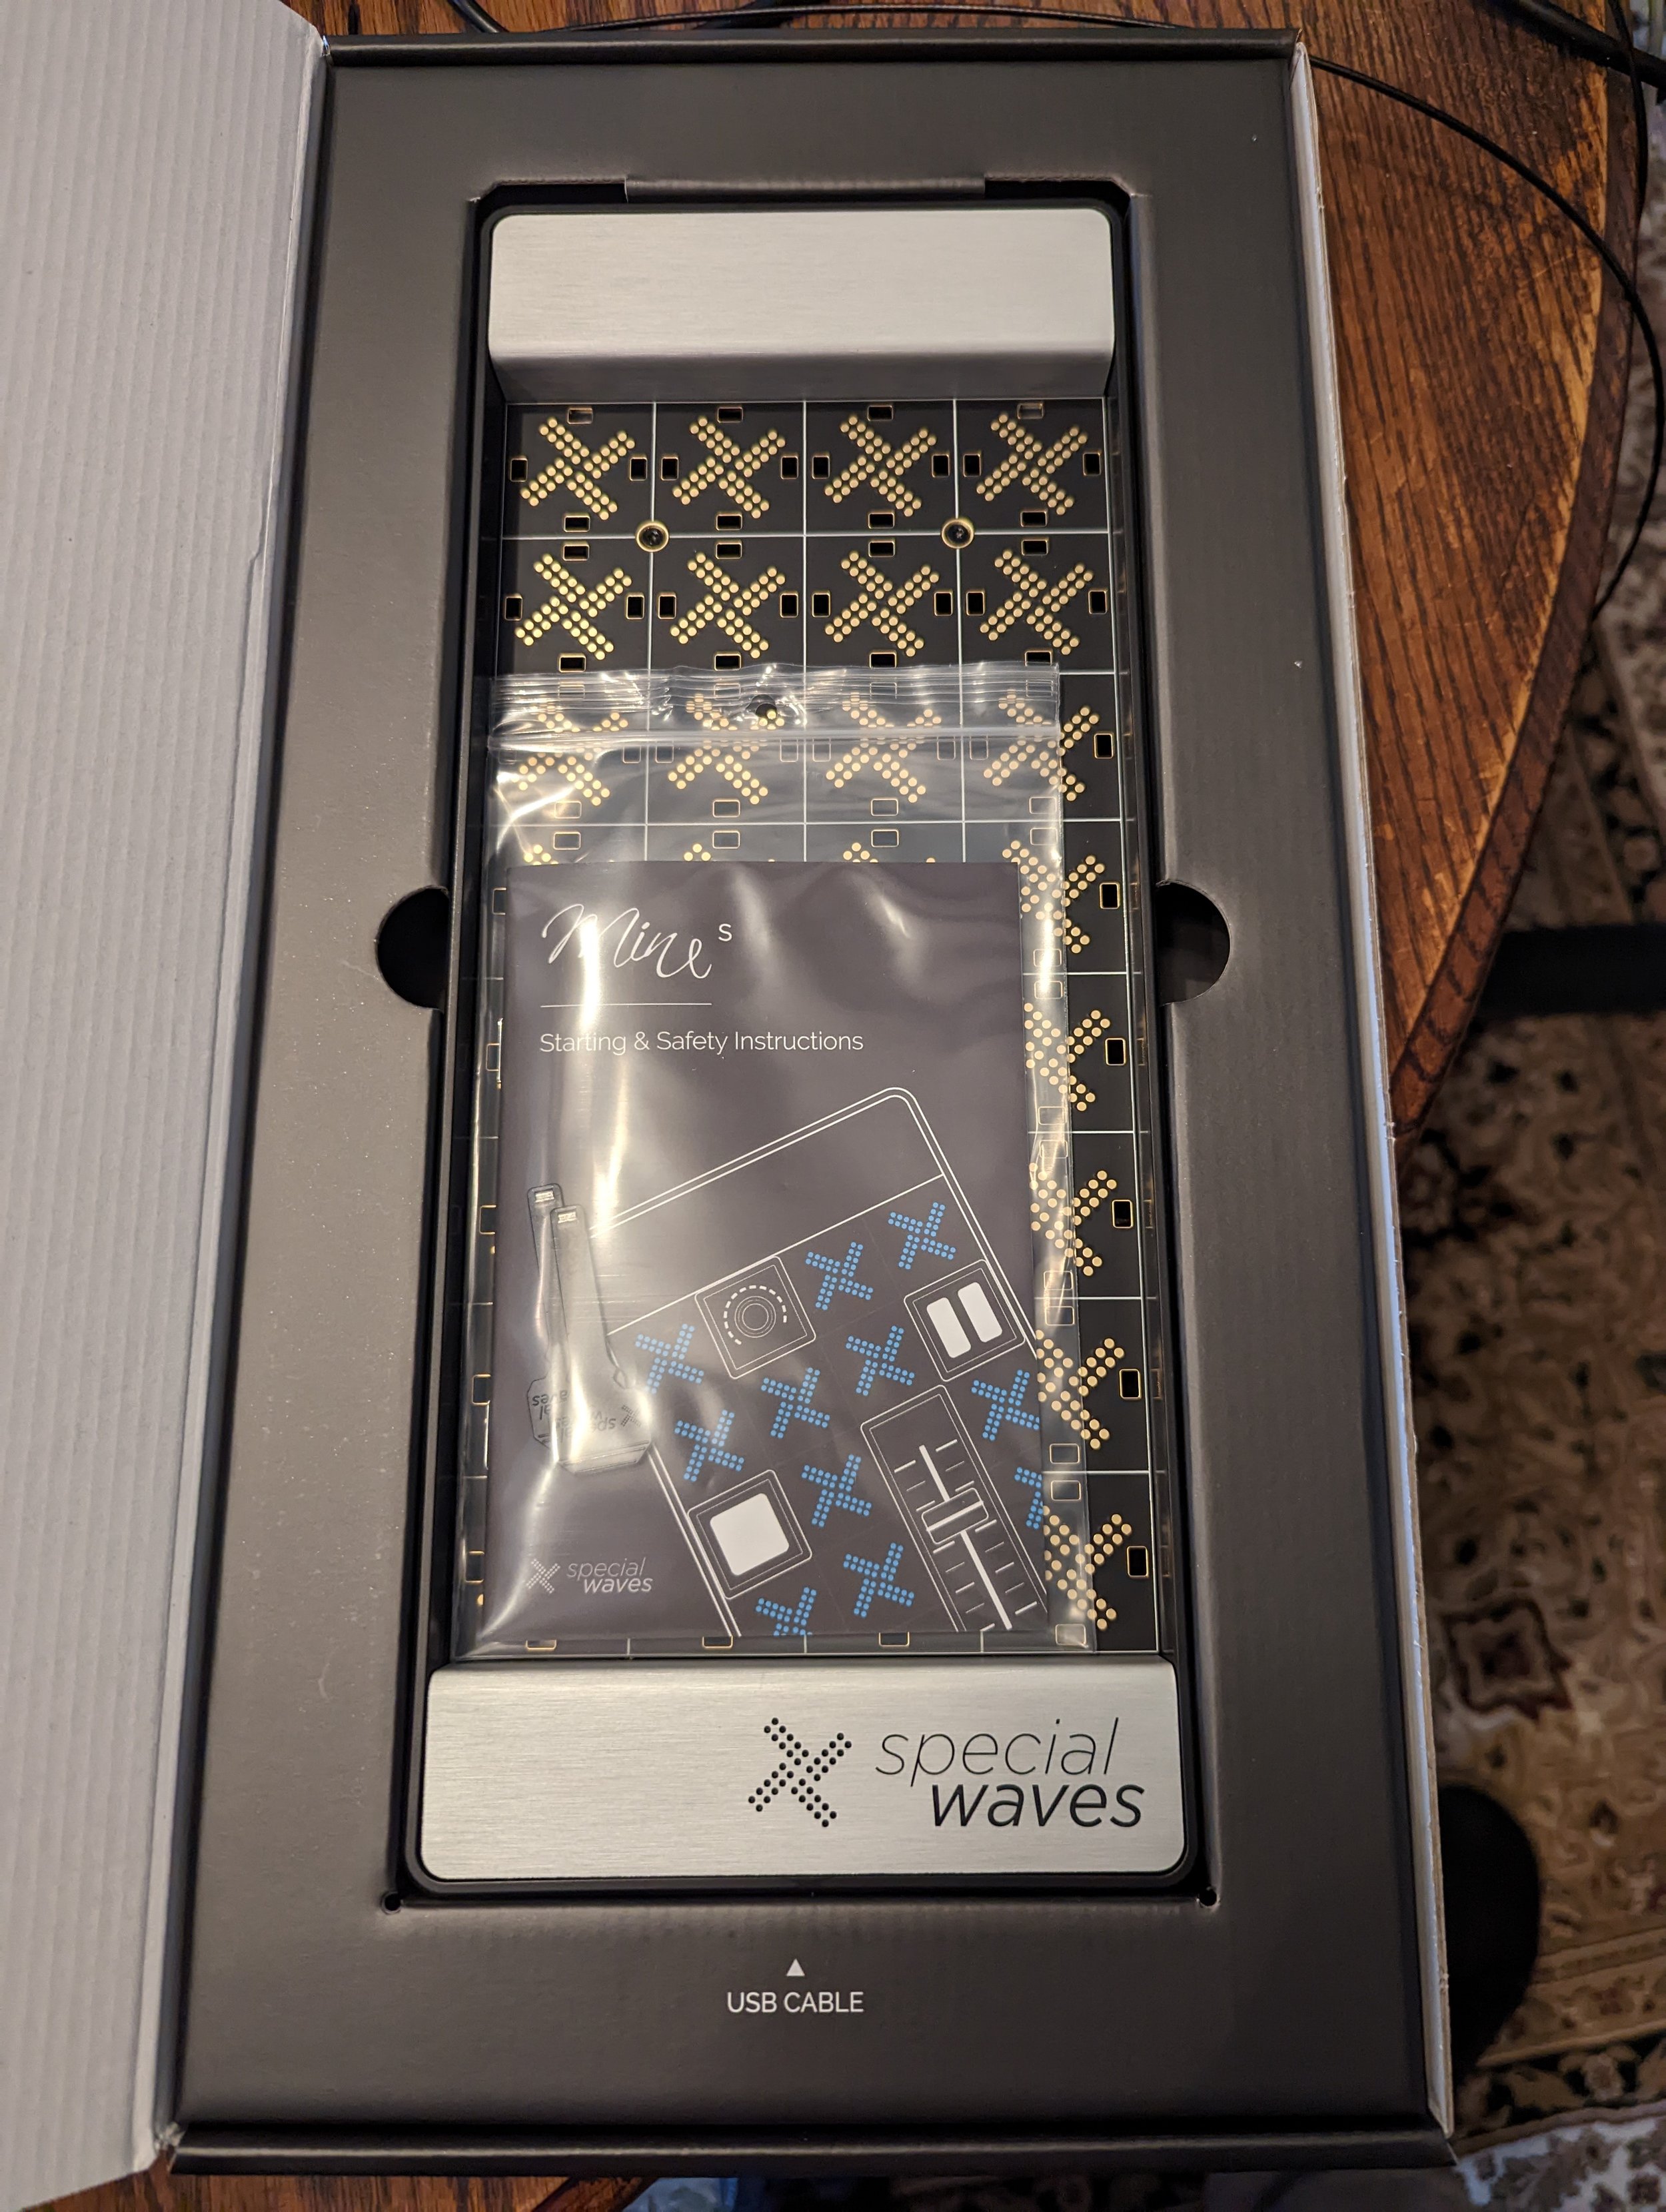
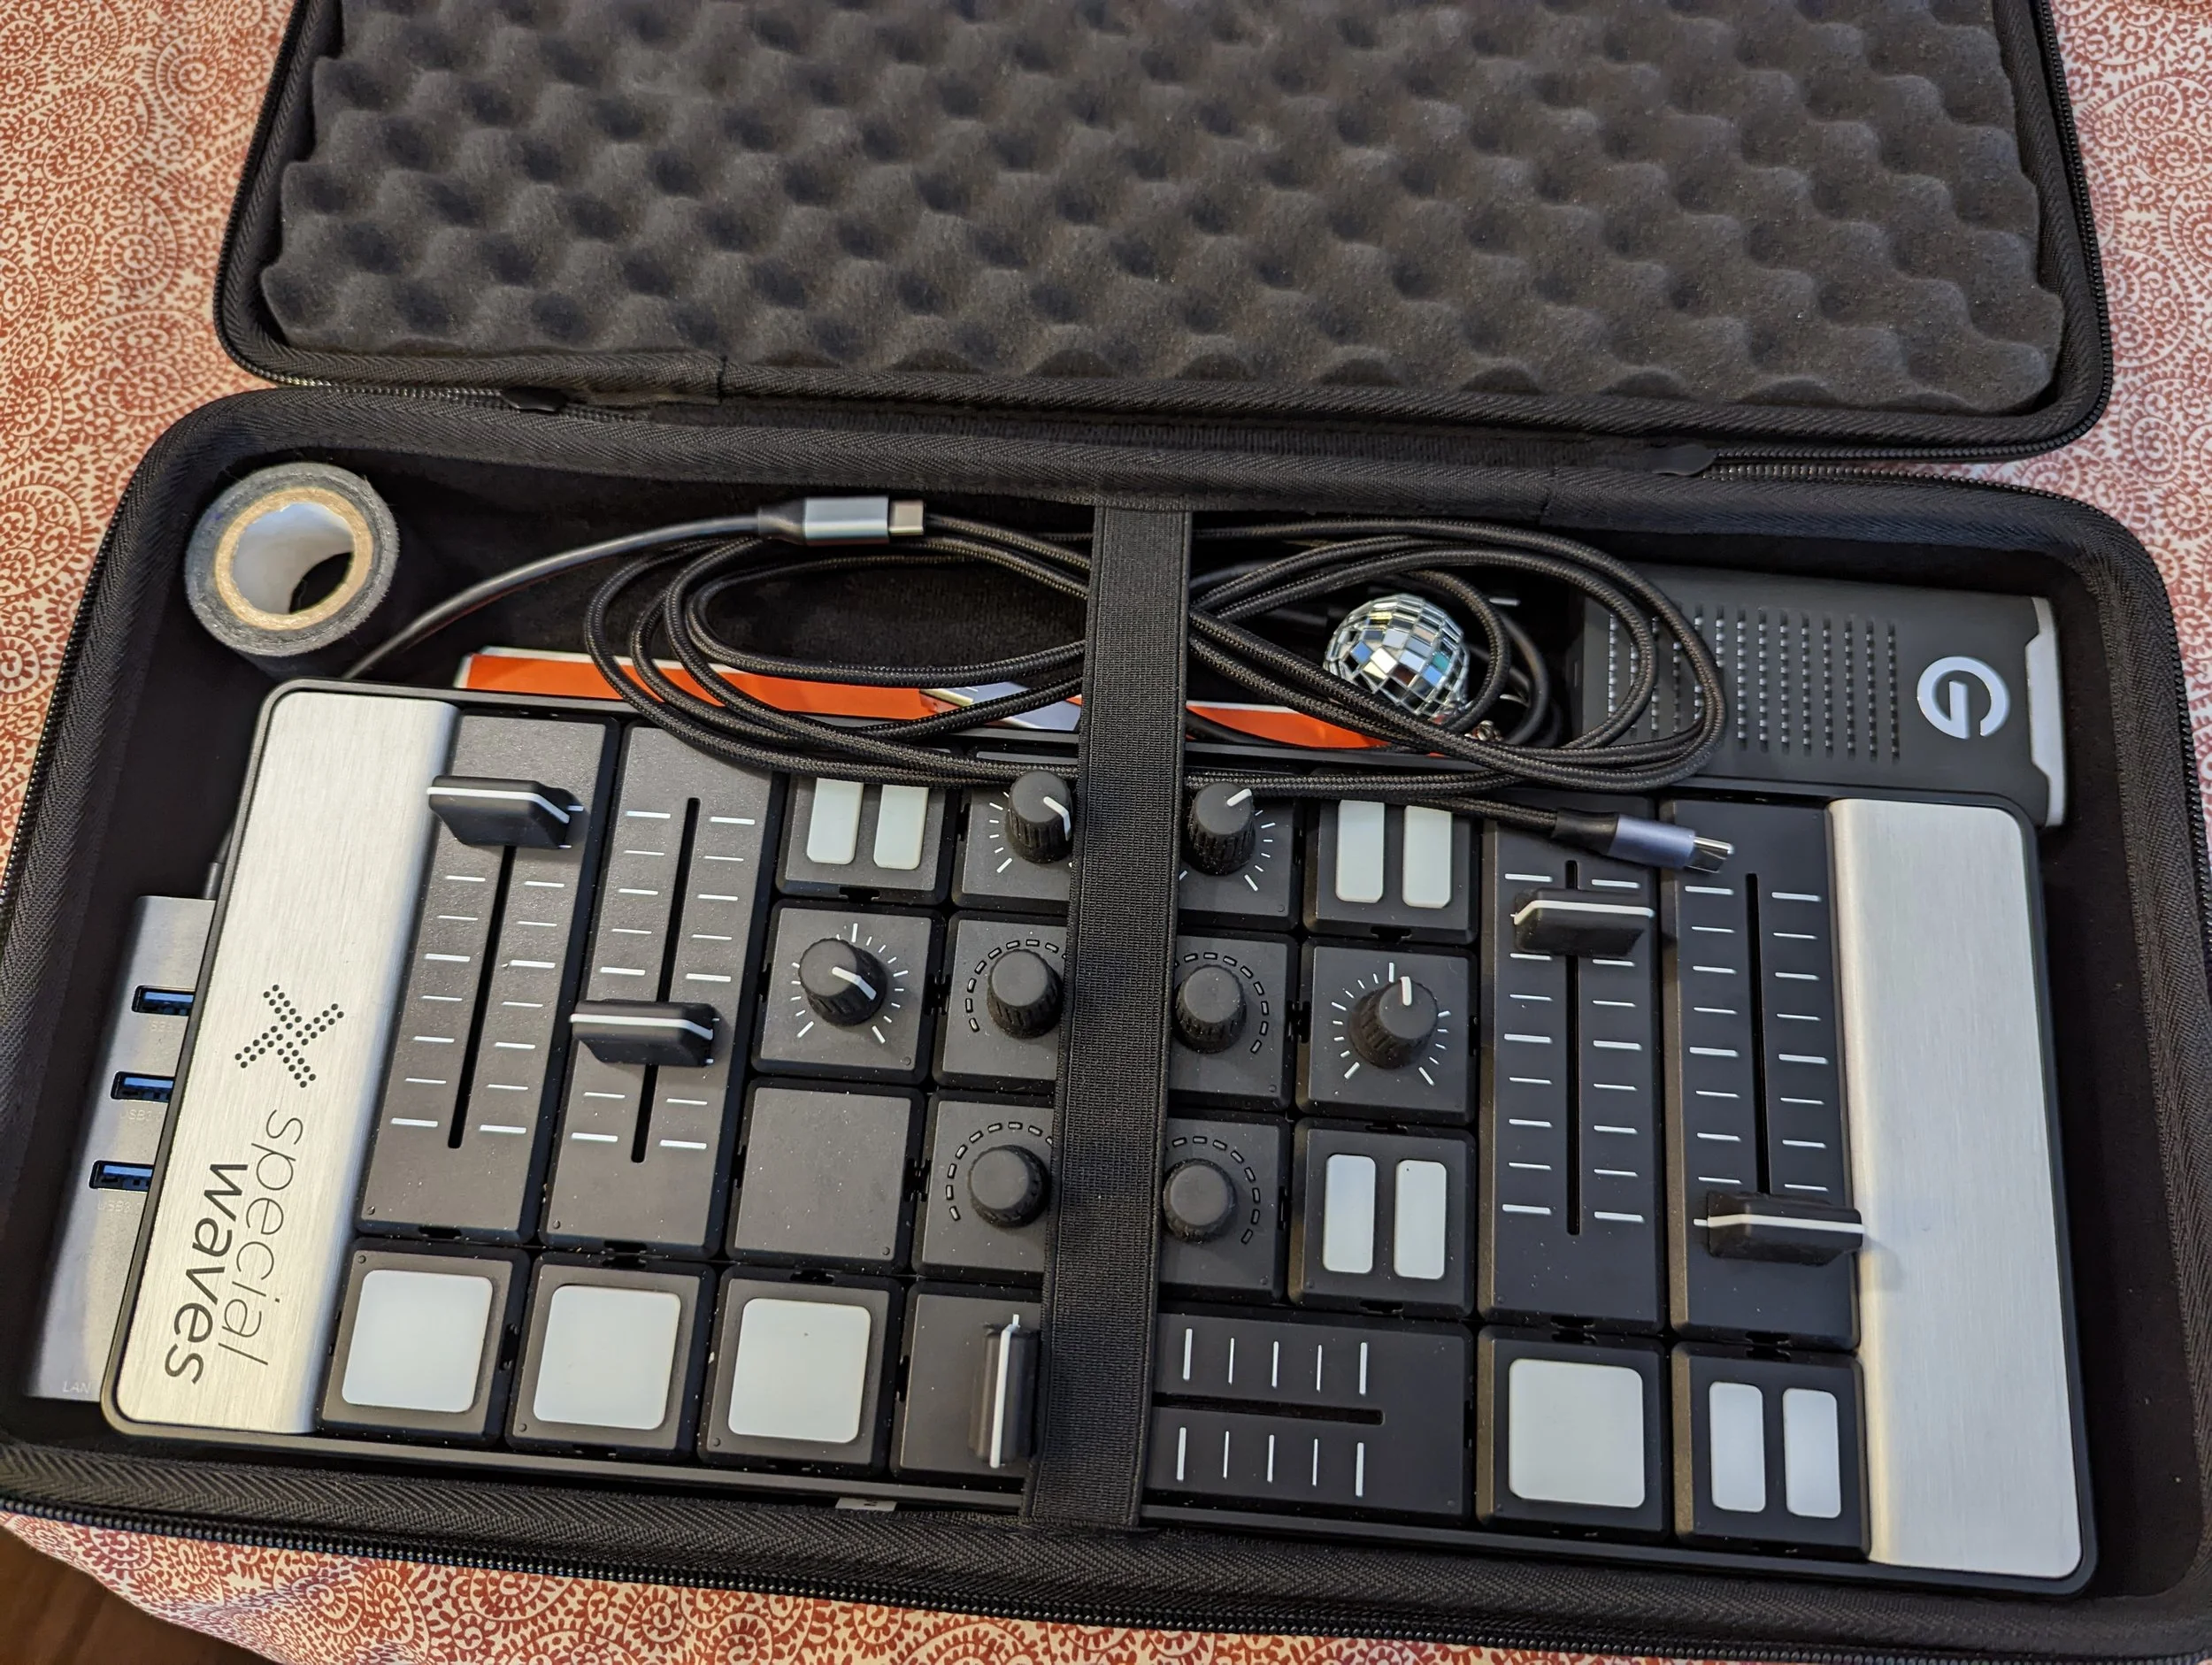
The build design, and packaging are exceptional, but one thing was missing. A case! Luckily, we found this padded case on Amazon for $21.99 USD. Designed for the Donner DMK 25 MIDI Keyboard, this fits the Mine S with some room to spare -- all while fitting in a backpack.
With all that being said, we wanted this tutorial to be informational. Since every setup with the Mine S is different, we can’t give you a preconfigured template with MIDI mappings, but we can show you how to make your own custom UI with the TouchOSC editor and import into VDMX
Tutorial

I’ve made a template for the Mine S controller the way I have it configured, running their default MIDI profile (in the Mine App). You can download that here and install in your VDMX template folder. The Mine supports MIDI or OSC, either can be used for this example.
To install templates in VDMX go to: ‘Your Drive’ > Users > ‘username’ > Library > Application Support > VDMX > templates
The VDMX custom control surface plugin has a great import feature that allows you to import a TouchOSC template. The trick is you have to use the TouchOSC MK1 editor to create a compatible file.
That editor can be downloaded from Hexler’s website here.
From here you can build out your Mine S controller layout using simple vertical and horizontal sliders and faders. Simply right click on the blank interface, select the button, slider, or fader you want, and piece your layout together. Don’t worry about the alignment right now. We’ll reconfigure that in VDMX after import.

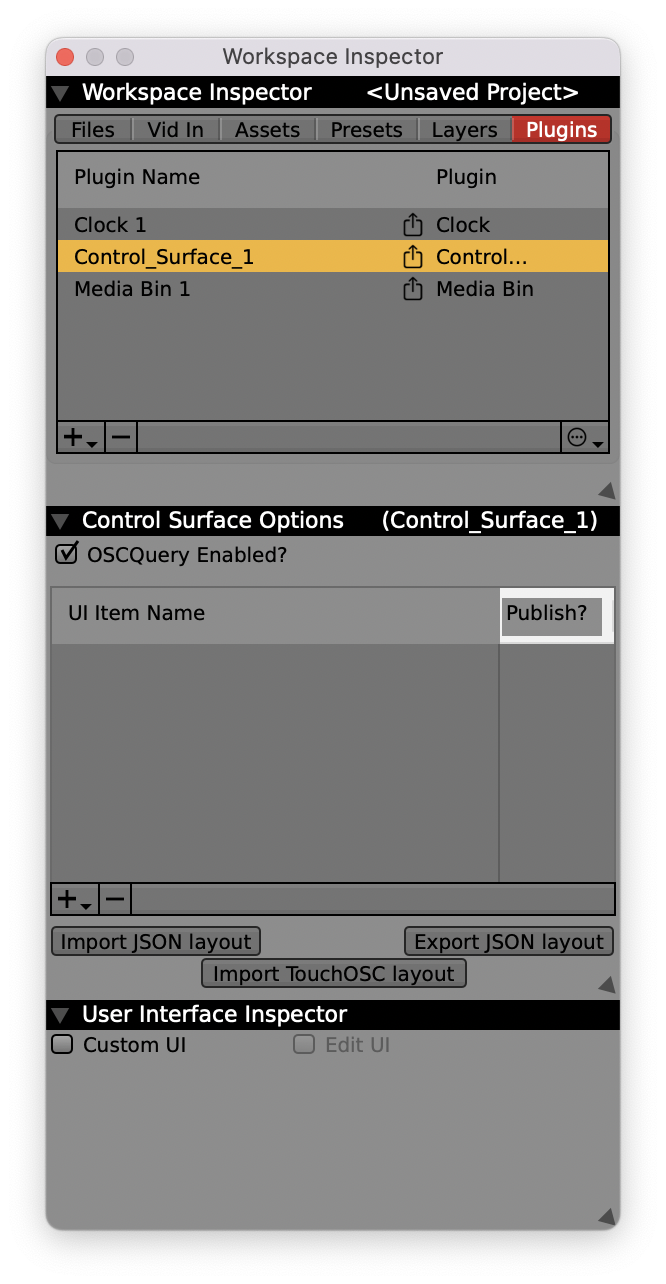
Add a new Control Surface using the + icon in the Workspace Inspector
Next, click Import TouchOSC Layout and select the TouchOSC template you saved.

Click IMPORT, the default settings are fine.

When I import my template, the layout has the wrong orientation.
No worries, we’ll fix that in a second.

Return to the Workspace Inspector, select the control surface, and at the bottom of the User Interface Inspector, select the Edit UI box.
Now you can see options to change the sizing and Rotate the UI. Click Rotate, to get the correct orientation for your controller layout.

That’s much better. From here, I can resize, adjust, the buttons, sliders, and layout. I made my UI more compact, but you don’t have to.


Before finishing up. I’ll click Minimize under the control surface User Interface Inspector.
This will cleanup my interface.
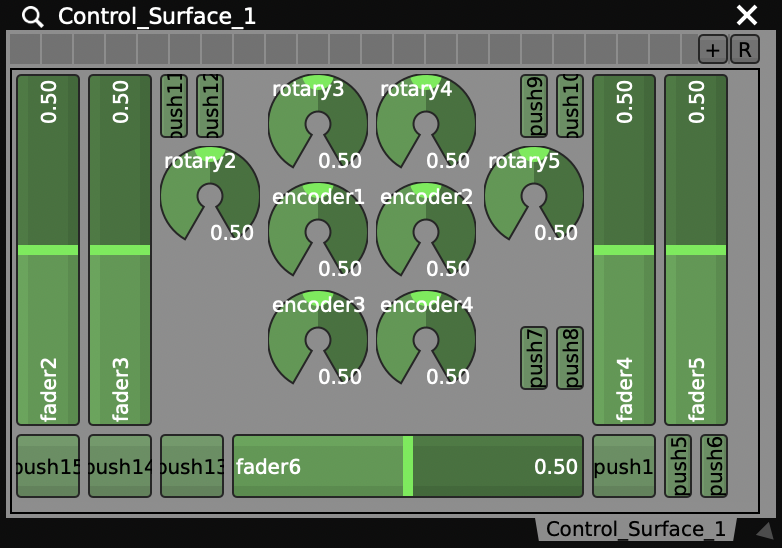
When finished make sure you uncheck the Edit UI checkbox to return the control surface back to a locked setup. The UI grid will disappear, and now you’re interface is ready for mapping.
Mapping a custom UI is completely optional. You could skip this step by mapping other aspects of VDMX directly, but from time to time, it’s helpful to map out control surfaces such as this, so you can have a visual representation of what settings your current controller is outputting.
Pros and Cons of the Mine S MIDI controller
Pros
Modular, but remembers midi settings. Buy more buttons, configure to your hearts desire.
Kensington Lockable
MIDI IN and MIDI OUT
Optional 5V DC power supply (for USB ports that can't handle the setup). I haven't had to use this.
Power on/off button.
Quality buttons, knobs, and sliders.
MIDI Notes, CC, or OSC -- all custom configurable.
Custom colors, and great range of dimmable LEDs
Cons
Only one type of medium resistance slider available, no low resistence option available for a cross-fader. (You'll have to develop stronger fingers)
No USB C port.
Not fully standalone (currently requires the Mine S software to be installed on your machine). Their website says they will release and update to fix this, but right now, you'll have to run another app.
MineApp application required for Mine S run.
If you do end up purchasing a Special Waves Mine S. We recommend buying a case, and a USB B to USB C cable to directly connect.