Sending particles from Processing to VDMX over Syphon
While VDMX offers many ways to extend its capabilities with code by Quartz Composer, Vuo and writing your own custom interactive GLSL shaders, there are times when you may need to use a video generator, image processor, or data controller that for whatever reason requires using a lower level programming toolkit for some aspect of your live performance or installation.
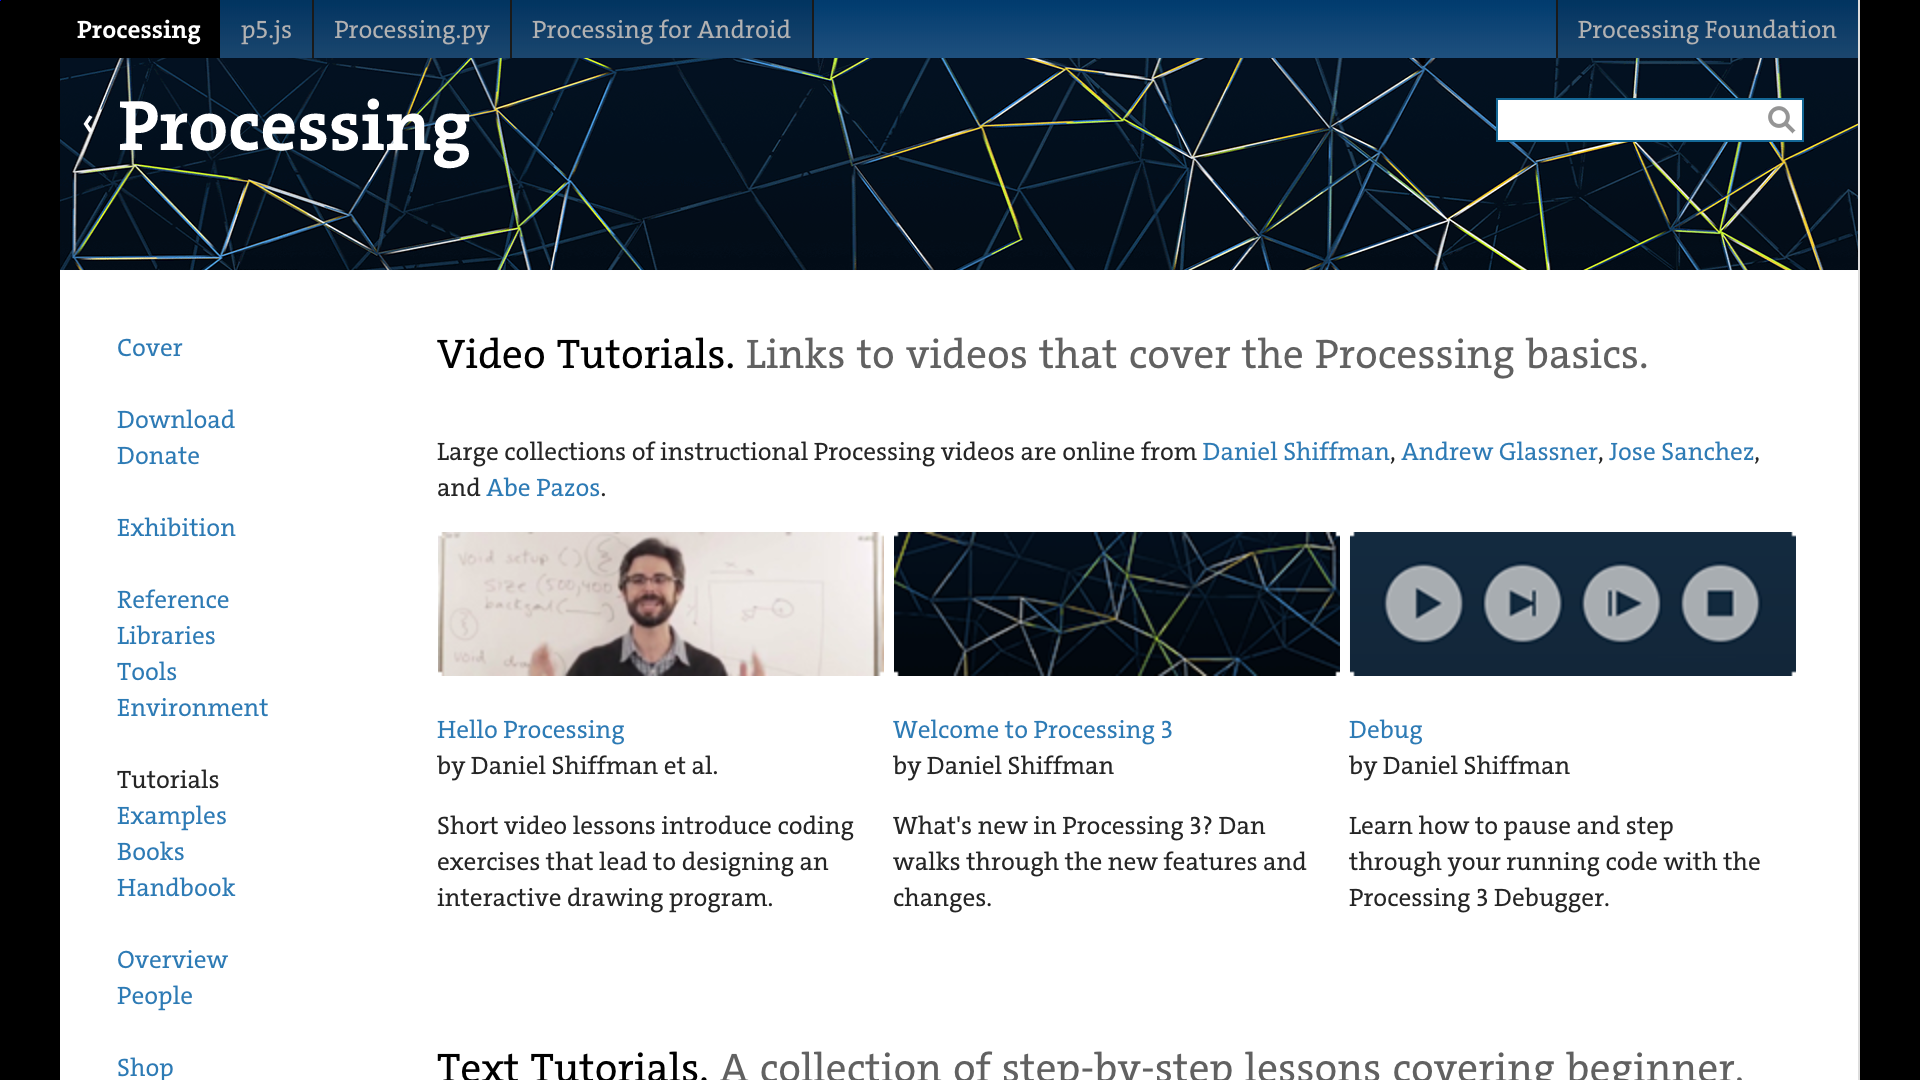
One of the most popular creative coding languages being used today is known as Processing, a free, open-source development environment with an extensive community of amazing artists and technologists around the world. You can look online to find hundreds of examples and they provide wonderful educational materials to help you get started with learning how to write code to make art.
Though Processing doesn't provide an SDK for other developers to use their “sketches” as documents that can be rendered in other host applications (like Quartz Composer or Vuo), it is possible to easily connect your creations to other video software such as VDMX by using the Syphon (for video) and OSC (for data, such as numbers, colors and strings) protocols.
Like with all toolsets, there are times when a task can be more quickly accomplished by writing some code and others where a graphical interface like VDMX is better suited. Thanks to Syphon and OSC, artists have the ability to use the best of both worlds when it comes to working with video and data.
Syphon and OSC makes it possible do things such as:
- Use Processing sketches as a Syphon sources for layers in VDMX.
- Use VDMX to mix together multiple Processing sketches.
- Use layers, render sub-groups or the main output of VDMX as image inputs for Processing sketches.
- Create a “Control Surface” of user interface items or a “Cue List” in VDMX that can remotely control parameters of a running Processing sketch.
- Sending OSC messages from a Processing sketch to VDMX and using them to adjust user interface items, such as playback and FX parameters.
- Send a layer in VDMX to Processing, modify it in some way and return the result to VDMX for further remixing, or vice versa.
Installing Processing with Syphon and OSC
Before beginning this tutorial, you'll want to first install Processing along with its Syphon and the oscP5 libraries.

1. Download Processing
2. Import Libraries...
3. Install Syphon and oscP5
Bonus shout outs to Ben Fry, Casey Reas, Andres Colubri who continue to pioneer Processing, Andreas Schlegel (oscP5) and the rest of the Processing Foundation for making such an amazing toolset and community.
Sending the Output of a Processing Sketch to VDMX With Syphon
In the next part of this tutorial we'll look at how to take an example Processing sketch to use as a layer source in VDMX. To accomplish this, a SyphonServer object can be added to an existing sketch that uses the Processing output window for drawing to screen.
// “Send Screen” Syphon Server example code
import codeanticode.syphon.*;

SyphonServer server;

void setup() {
  size(720,720, P3D);

  // Create syhpon server to send frames out.
  server = new SyphonServer(this, "Processing Syphon");
}

void draw() {
  background(0,0,0,0);
  lights();
  translate(width/2, height/2);
  rotateX(frameCount * 0.01);
  rotateY(frameCount * 0.01);
  box(150);
  server.sendScreen();
}
The “Send Screen” example Processing sketch, demonstrates the basic usage and the reference documentation for SyphonServer can provide more details.
Once the “Send Screen” sketch is running, it will show up in the list of available sources for each layer in VDMX and in the file browser for adding to media pages.
Using this code as a guide, we can open another example Processing sketch and begin to modify it to send its output to VDMX. The key details are the elements in the code related to Syphon:
- Importing the Syphon library.
- Declaring the SyphonServer variable.
- Creating the new SyphonServer in the setup() function.
- Calling the “server.sendScreen()” function from within the draw() loop.
This same process can be repeated with most sketches that create rendered output and multiple sketches can be used at the same time as long as they have different server names.
Tip: VDMX Can be configured as a Syphon mixer for combining multiple Processing sketches.
Sending Video From VDMX to Processing With Syphon
Next up we'll take a video stream from VDMX and receive it in Processing. This will be achieved by adding the SyphonClient object to an existing Processing sketch in place of where another image object was used.
import codeanticode.syphon.*;

PImage img;
SyphonClient client;

void setup() {
  size(1280, 720, P3D);
  // Create syhpon client to receive frames
  // from the first available running server:
  client = new SyphonClient(this);
}

void draw() {
  background(0);
  if (client.newFrame()) {
    // The first time getImage() is called with
    // a null argument, it will initialize the PImage
    // object with the correct size.
    img = client.getImage(img); // load the pixels array with the updated image info (slow)
    //img = client.getImage(img, false); // does not load the pixels array (faster)
  }
  if (img != null) {
    image(img, 0, 0, width, height);
  }
}
In this case, the first step will be to load some media onto a layer in VDMX and publish the output using the Syphon Output plugin. Next, the “Get Image” example sketch can be used to confirm that Syphon feed is being properly received by Processing via the SyphonClient object. Upon running “Get Image” the output from VDMX should appear in the Processing output window.
Using this code and the reference documentation as a guide, SyphonClient can easily be added to other existing Processing sketches. The key details are the elements in the code related to Syphon:
- Importing the Syphon library.
- Declaring the SyphonClient variable.
- Creating the new SyphonClient in the setup() function.
- Calling the “client.getImage()” function from within the draw() loop to get the latest image from Syphon.
If needed, an individual Processing sketch can use multiple SyphonClient objects and specify which Syphon servers that they would like to receive from.
Tip: Visit interactiveshaderformat.com to find lots of examples of GLSL shaders that can run natively in VDMX as real-time generators and FX, and sent over Syphon to Processing.
Using OSC to Send Data Between VDMX and Processing
Using OSC messages, data values produced in Processing can be sent to VDMX to remotely control any interface item, such as sliders, buttons, color pickers and pop-up menus. Likewise, any interface control in VDMX can send its current state over OSC to a Processing sketch running locally on the same computer or on another computer on the same network.
The “oscP5sendReceive” example sketch demonstrates how to both send and receive values in Processing. Within VDMX the UI Inspector is typically used for configuring the OSC receivers and senders for each individual interface item.
For this tutorial we will first use the Control Surface plugin to set up two way communication with “oscP5sendReceive” using the Comm Display plugin in VDMX and the console in Processing to show read-outs of values received by the respective applications. In the VDMX preferences under OSC you can configure the “input” to receive from as well as the “output” ip addresses / ports to send to. Setting an ip address of “127.0.0.1” will send data between applications on the same computer.
Using this code and the reference documentation as a guide, OscP5 can easily be added to other existing Processing sketches. The key details are the elements in the code related to Syphon:
- Importing the oscP5 and netP5 libraries.
- Declaring OscP5 and NetAddress variables.
- Creating the new OscP5 and NetAddress objects in the setup() function.
- Creating OscMessage objects and using the “oscP5.send()” function to send OSC values.
- Including an void oscEvent(OscMessage theOscMessage) { } handler function for dealing with incoming OSC messages.
The “oscP5parsing” example sketch is also useful for learning how to handle OSC messages that are received in Processing.
Tip: Echo mode in VDMX makes it easy to set up two way communication between local user interface controls and other software over OSC.
import oscP5.*;
import netP5.*;

OscP5 oscP5;
NetAddress myRemoteLocation;

void setup() {
  size(400,400);
  frameRate(25);
  /* start oscP5, listening for incoming messages at port 12000 */
  oscP5 = new OscP5(this,12000);

  /* myRemoteLocation is a NetAddress. a NetAddress takes 2 parameters,
   * an ip address and a port number.
   */
  myRemoteLocation = new NetAddress("127.0.0.1",1237);
}

void draw() {
  background(0);
}

void mousePressed() {
  /* in the following different ways of creating osc messages are shown by example */
  OscMessage myMessage = new OscMessage("/test");
  myMessage.add(1.0); /* add a float to the osc message */
  /* send the message */
  oscP5.send(myMessage, myRemoteLocation);
}

/* incoming osc message are forwarded to the oscEvent method. */
void oscEvent(OscMessage theOscMessage) {
  /* print the address pattern and the typetag of the received OscMessage */
  print("### received an osc message.");
  print(" addrpattern: "+theOscMessage.addrPattern());
  println(" typetag: "+theOscMessage.typetag());
}
Tips and Notes:
The “Examples...” section of Processing is a great place to find sample code and inspiration.
The Processing reference can be accessed from the Help menu and contains detailed information about each library.
The Processing website contains lots of tutorials and examples to help you get started.

Visit Project Recode to see examples of classic computer art recreated with Processing