Must haves, lifesavers, and everything in between. What’s in your VJ road kit? Chime in and comment below.
There’s never a one size fits all, but hopefully this article will introduce you to a few things to keep in your bag for your next VJ gig. This article comes as a contribution from ProjectileObjects. You can learn more about them at ProjectileObjects.com. This is their opinion and none of the links or tools in this article are sponsored. We’ll also try to keep some of these links up to date, but as technology changes, many of these devices will sell out, discontinue, or newer versions will arrive. Use this article as a guide when piecing together your own VJ road kit and if you have any suggestions, please comment below or share your thoughts in our forum: https://discourse.vidvox.net/
Thanks! and Enjoy!

Over the last decade, I’ve taken my VJ gigs on the road. From local shows, tours, and various installations, you never know what you’re going to walk into until you get there, and so I recommend you prepare for the worst and hope for the best.
I’ll dedicate a separate blog post to my “Projector Road Kit” and try to keep this one shorter. A few of the things I carry have been discontinued over the years, but a few google searches should land you on new (hopefully better) versions of what I carry with me.
Here are the categories:
Hardware
Software
Misc
I primarily use Macs and VDMX, but regardless of what software or hardware you run on, you are likely to find some useful new items for your toolkit.
Hardware:
1. Computer Protection! - A bumper case and a clear garbage bag.
Okay, so you’ll need your computer. And if it’s a laptop (MacBook Pro, PC, whatever) I definitely recommend some sort of case with protection. If you’re working on a crazy punk show with drinks flying all over, a silicone keyboard cover might save your life. That being said, always carry a clear garbage bag with you! Whether you have to wear it as a poncho, pop it over your suitcase when running through a storm, or cover your laptop, a clear plastic bag will allow you to see your laptop screen even if all hell breaks loose.
2. Bootable OSX Drive or Recovery drive.
If you can, I recommend picking up a few USB thumb drives with decent read/write speeds, and then loading bootable versions of Mac OSX onto them as recovery drives. The ones I carry with me are (10.12,10.13,10.14). If not for you, then for others. I was once in Boston and an hour before a show, the DJ’s computer crashed, and one of my bootable thumb drives saved the day. We fixed a few disk utility settings, and they were back up and running with their show computer. On another occasion, I needed to roll forward my OS version to interface with some recent software updates. I had a USB SSD that I could boot from without upgrading my MacBook Pro or partitioning my internal boot drive.
Hardware Tip: No new gear for a new show.
Take this with a gain of salt, but this pre-caution comes from my experience in film and video production. You need time to learn and troubleshoot your hardware. Sometimes adding gear might seem like a dream come true, but I’ve seen it turn into a living nightmare for other VJs and video professionals. Whether it’s learning a new midi controller, or breaking in a new hard drive with thorough testing. If you don’t have time to test it fully, don’t add it to your setup. A few examples of this: I’ve seen external SSDs overheat and fail (I’m not saying which brand, but they weren’t cheap). I had a Samson midi controller go to sleep on me during a performance, which had me scrambling through their awful user manual PDF on my phone trying to figure out how to “wake it up” without ruining the performance mid-way through. I’ve watched multiple VJs introduce a new HDMI dongle, HDMI mixer, or HDMI preview monitor to their setup days before a show only to watch them drop signal throughout their show and lose connection with the projector (which would then reconnect, but the screen would turn “No Signal” blue or black for a few seconds every couple of minutes). Test your gear and push it to the extreme! That and always have a backup.
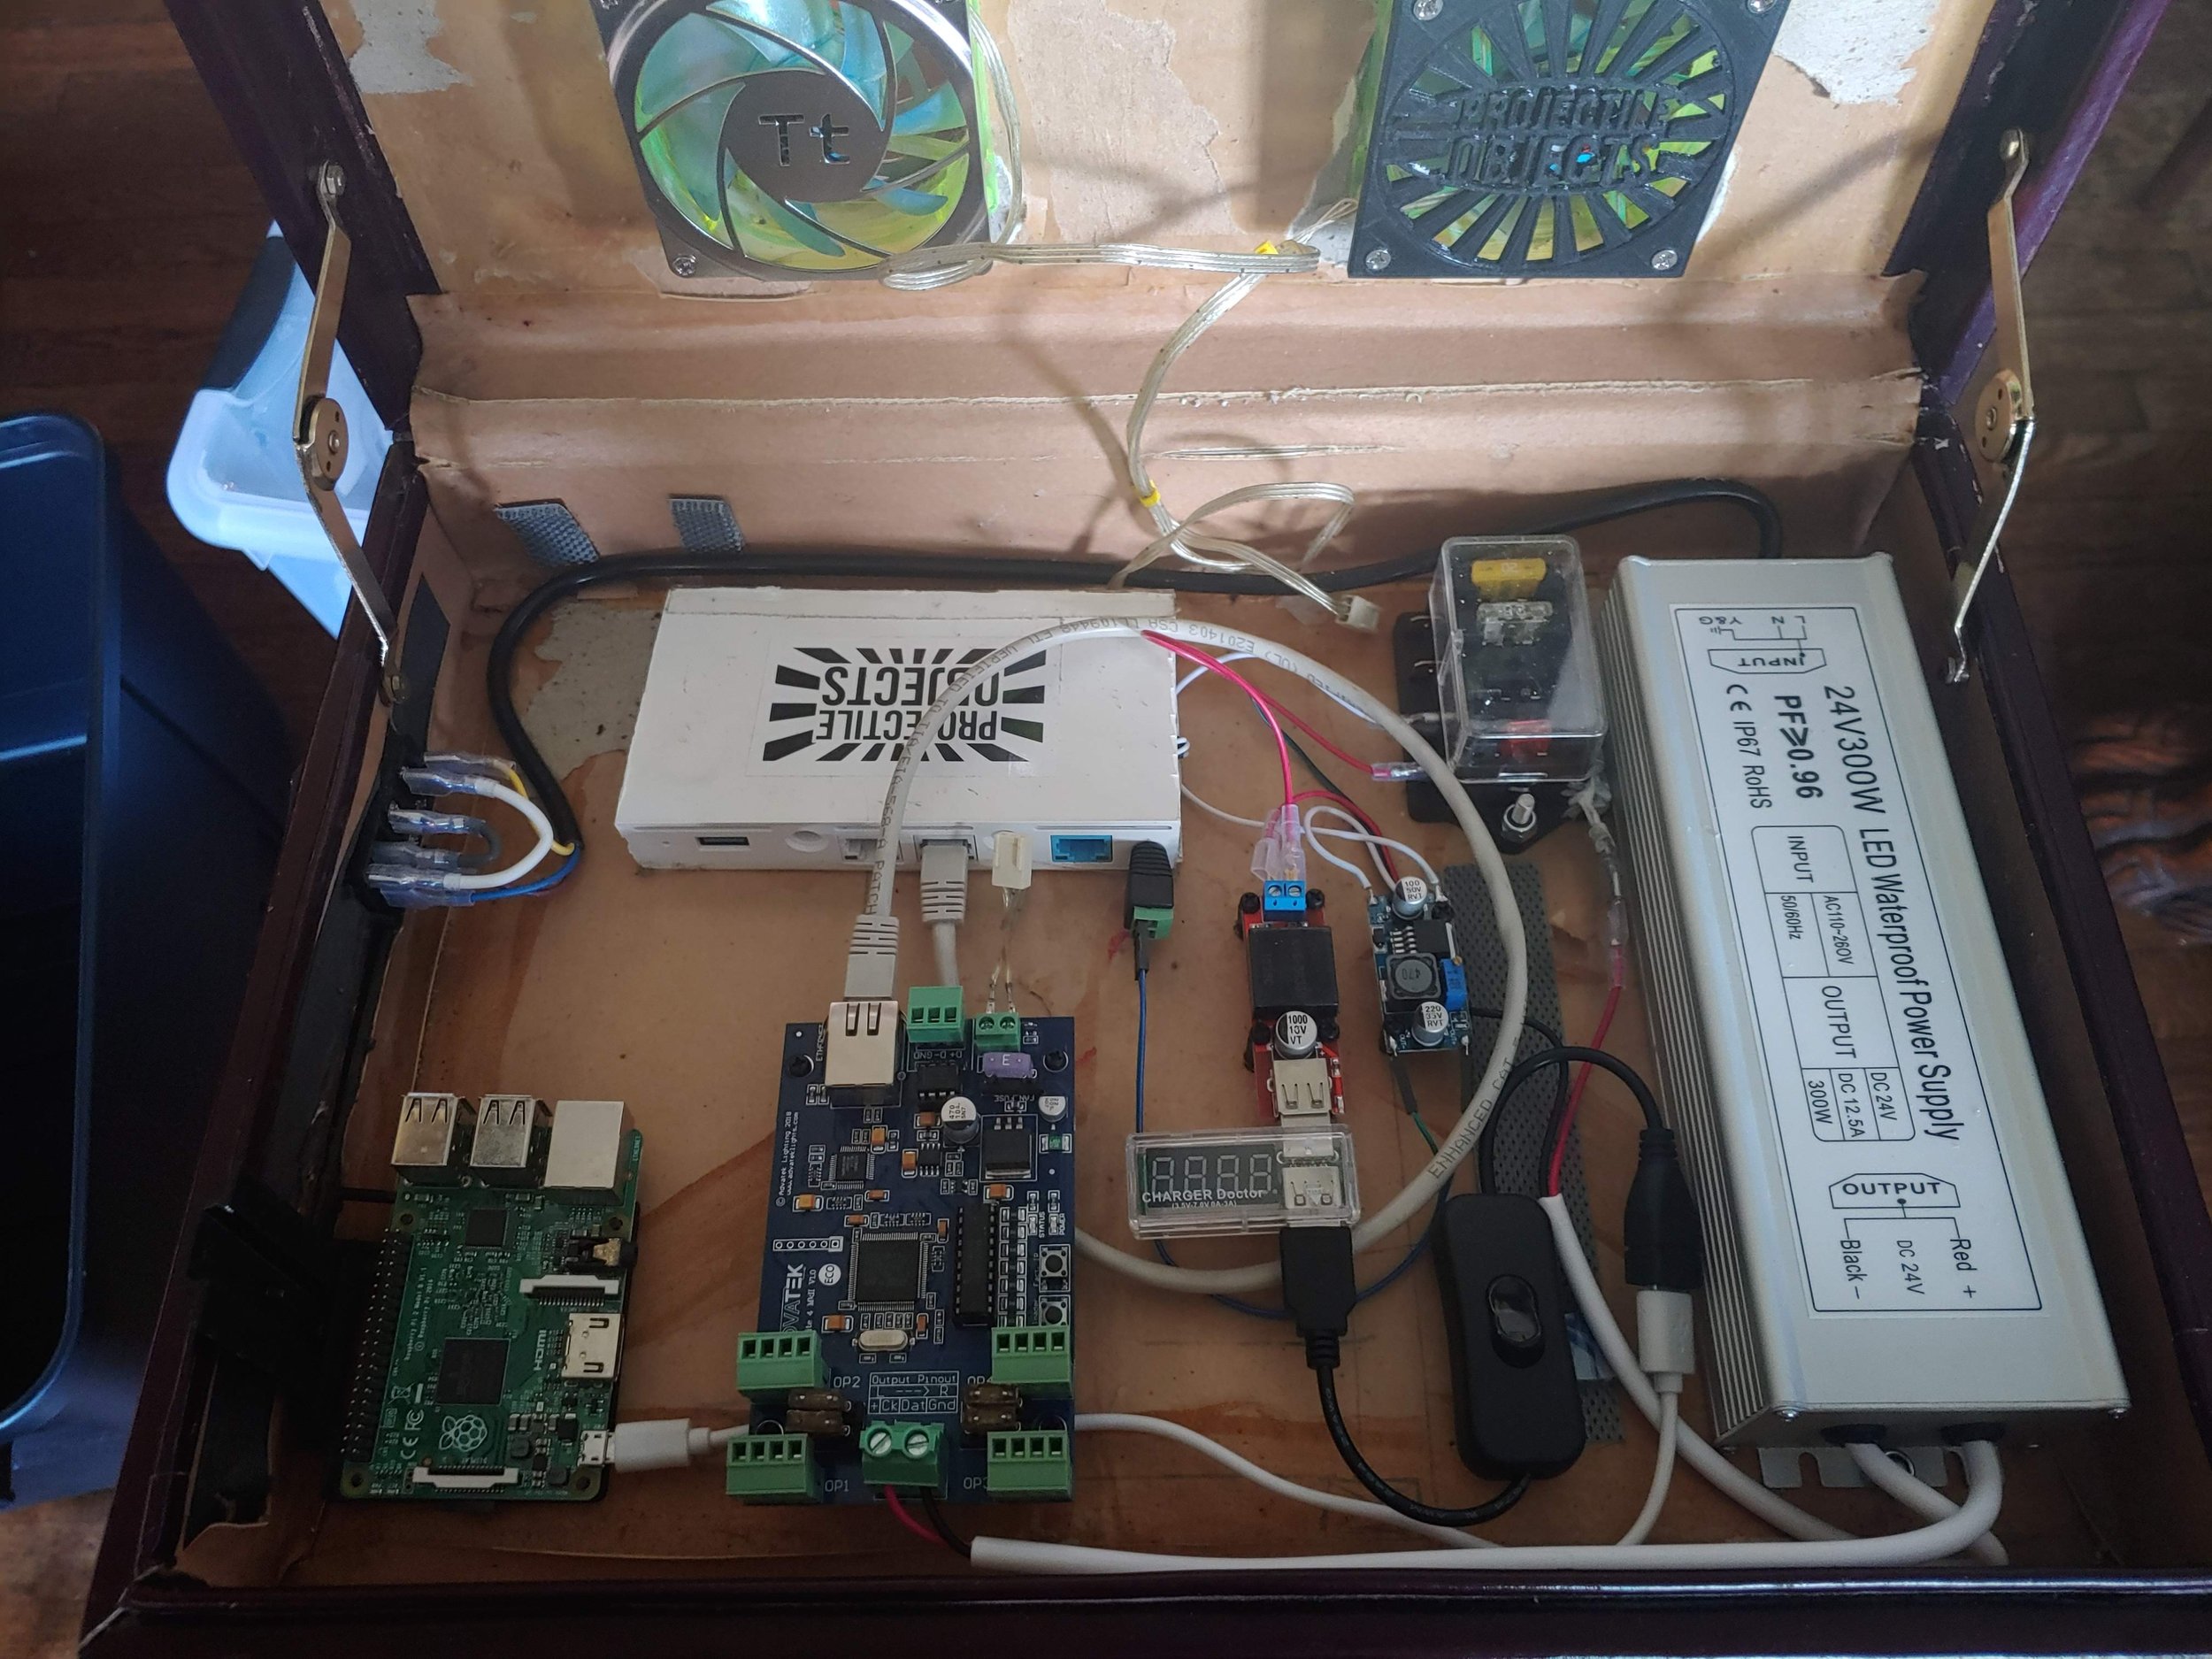
3. Backup Hardware! Media Players, Raspberry Pis, Recorders.

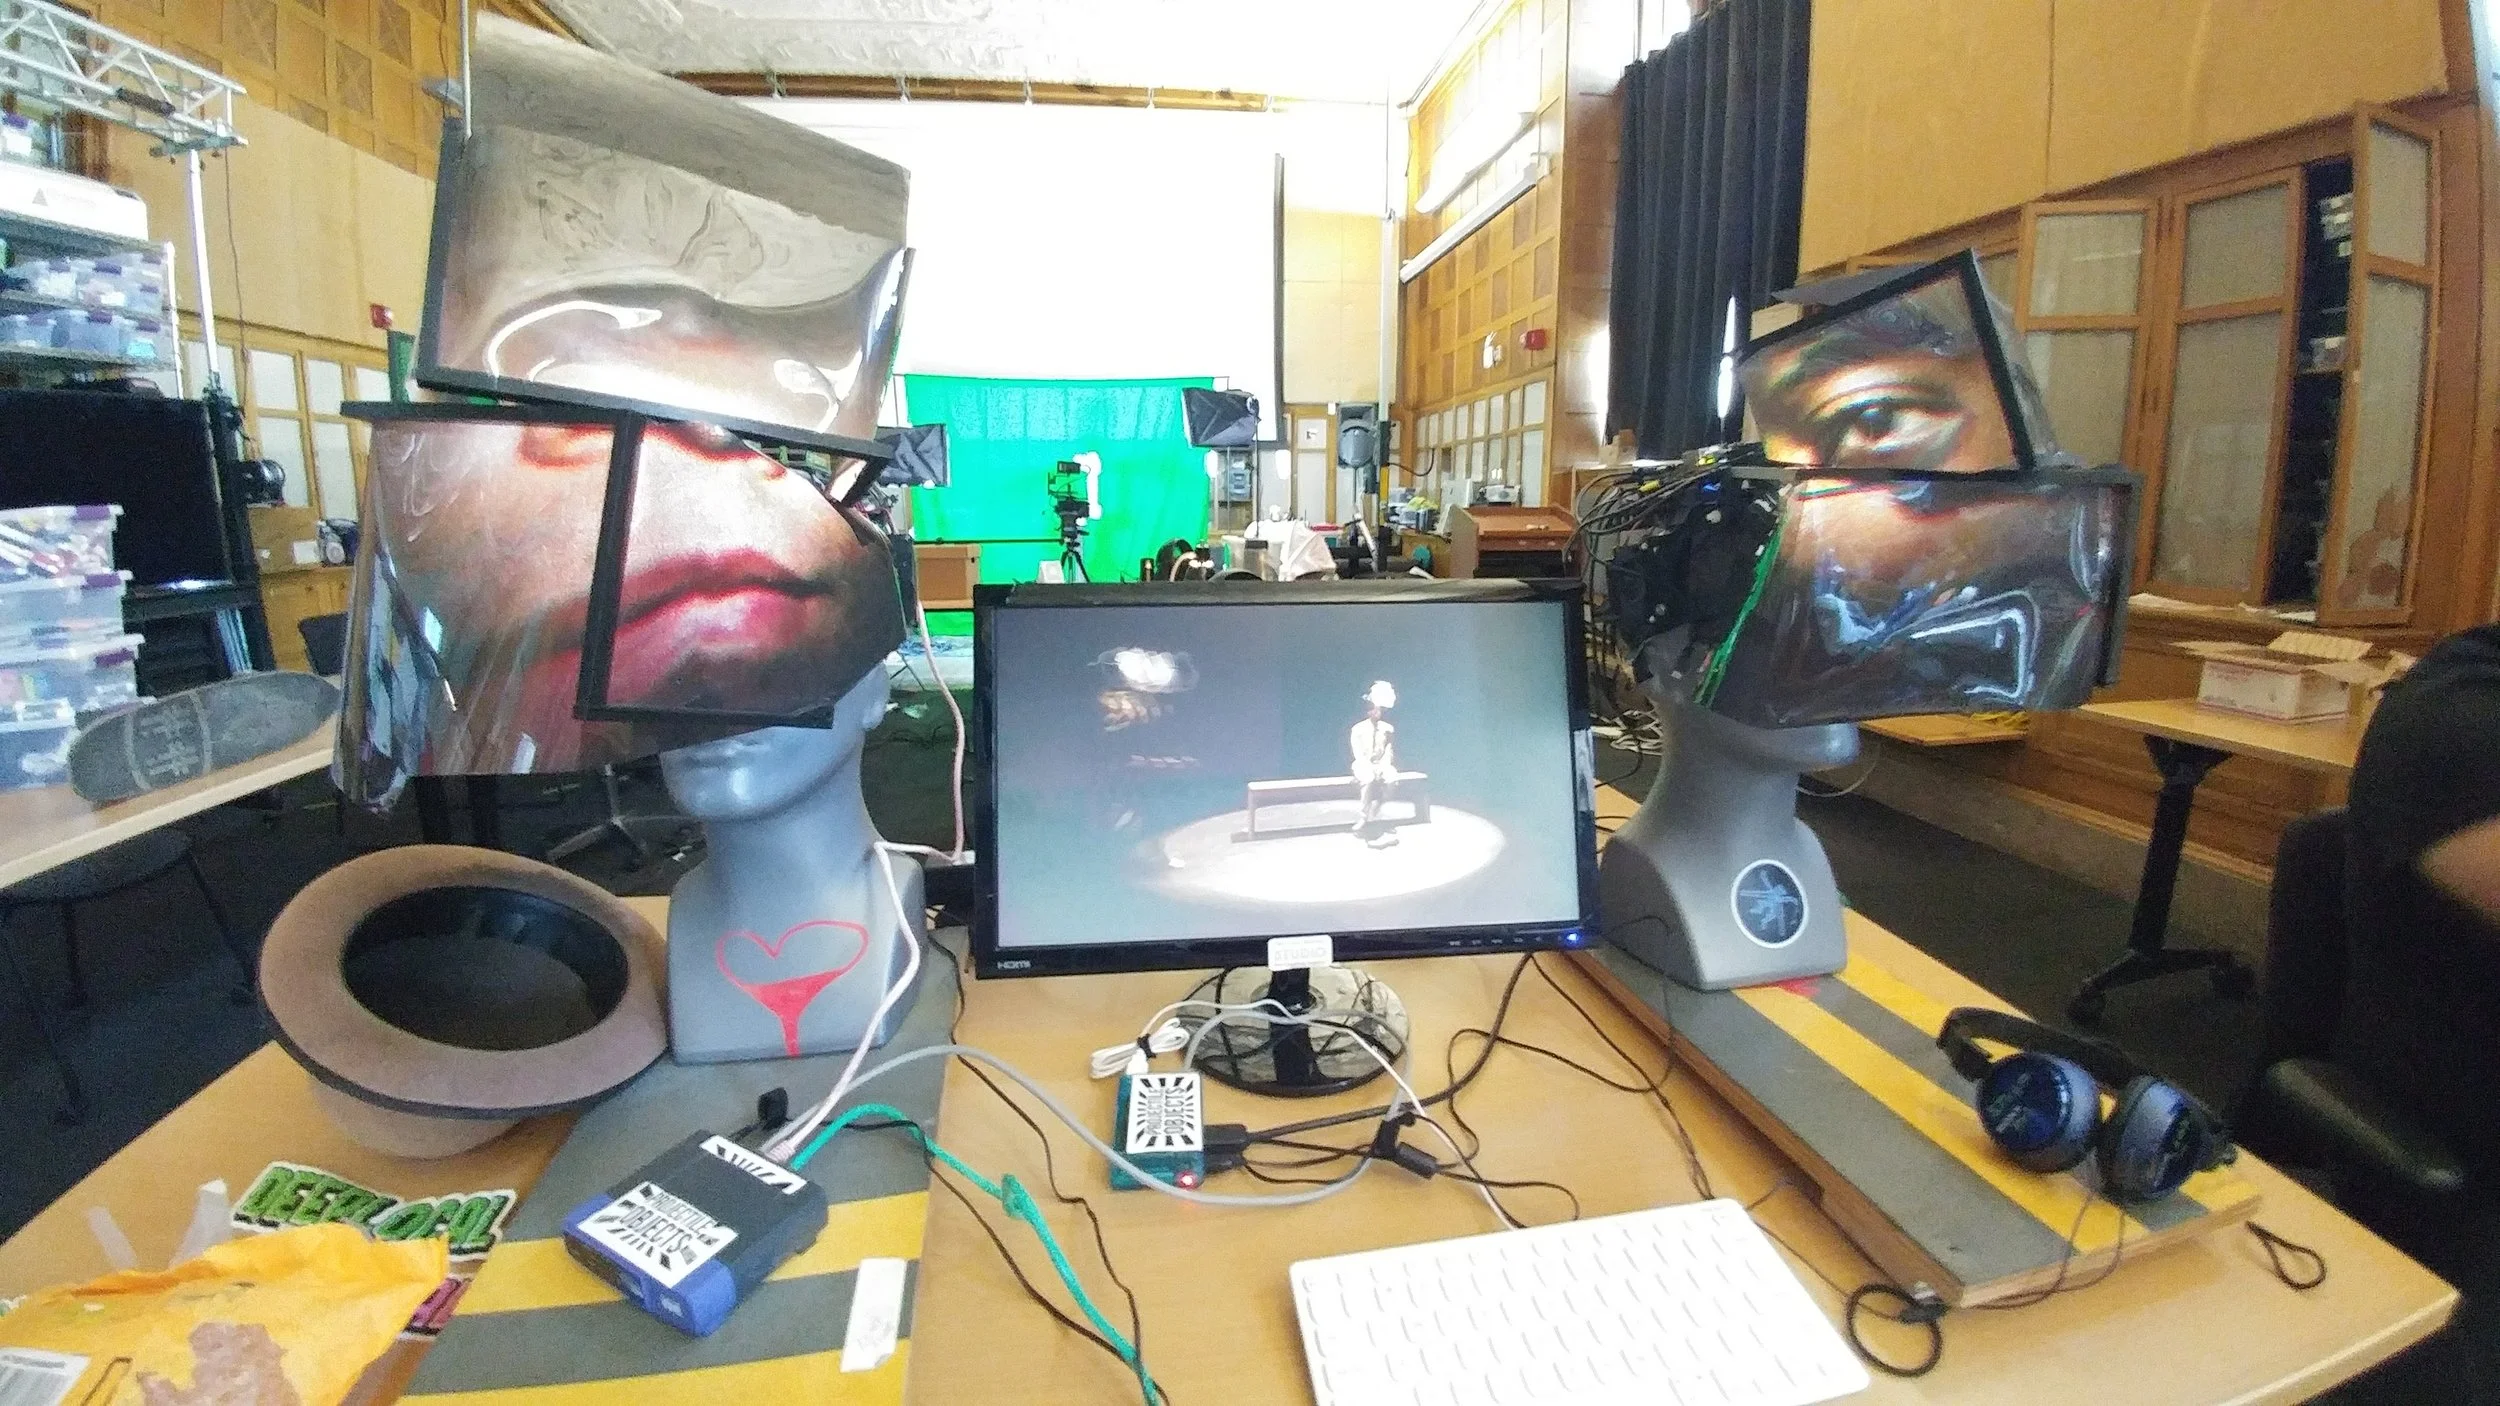
We can’t all afford (or want) to haul a backup laptop with us for every show, but you can carry my favorite backup VJ tool ever! — A Raspberry Pi (v2, or 3; sorry I don’t have any experience with the RPI 4’s). A Raspberry Pi, HDMI cable, and a USB power supply, plus a few different Micro SD cards and you have a swiss army knife for visuals. You can learn more about some of these tools from this article here: Projection Mapping with the Raspberry Pi. And if you connect a camera to the Pi, you can always use it as a network camera with a little configuration!
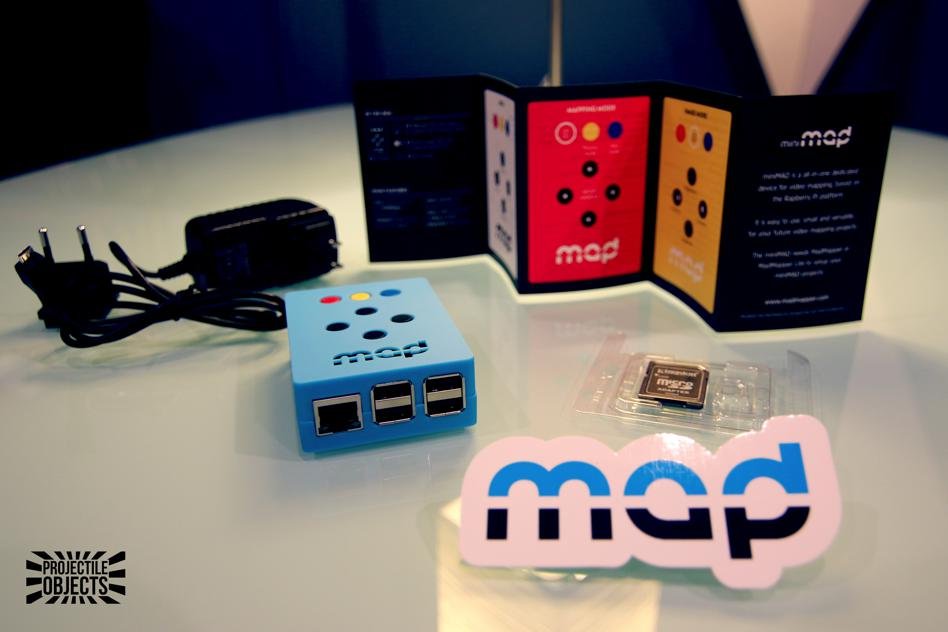
If you’re a Madmapper user, I recommend you look into the MiniMad. If you have a MiniMad, you can always swap out the Micro SD card for another one. The MiniMad uses an RPI 2 which does not have built in Wi-Fi like the 3 and 4, but you can hook it up to a wireless device to change that. Even if you’re just using the MiniMad as a looping 1080p video player, you can pre-load some clips onto your pi’s memory card, and make a quick HDMI swap out if your main machine takes a dive during a show — better to have something up on the screen(s) than nothing.
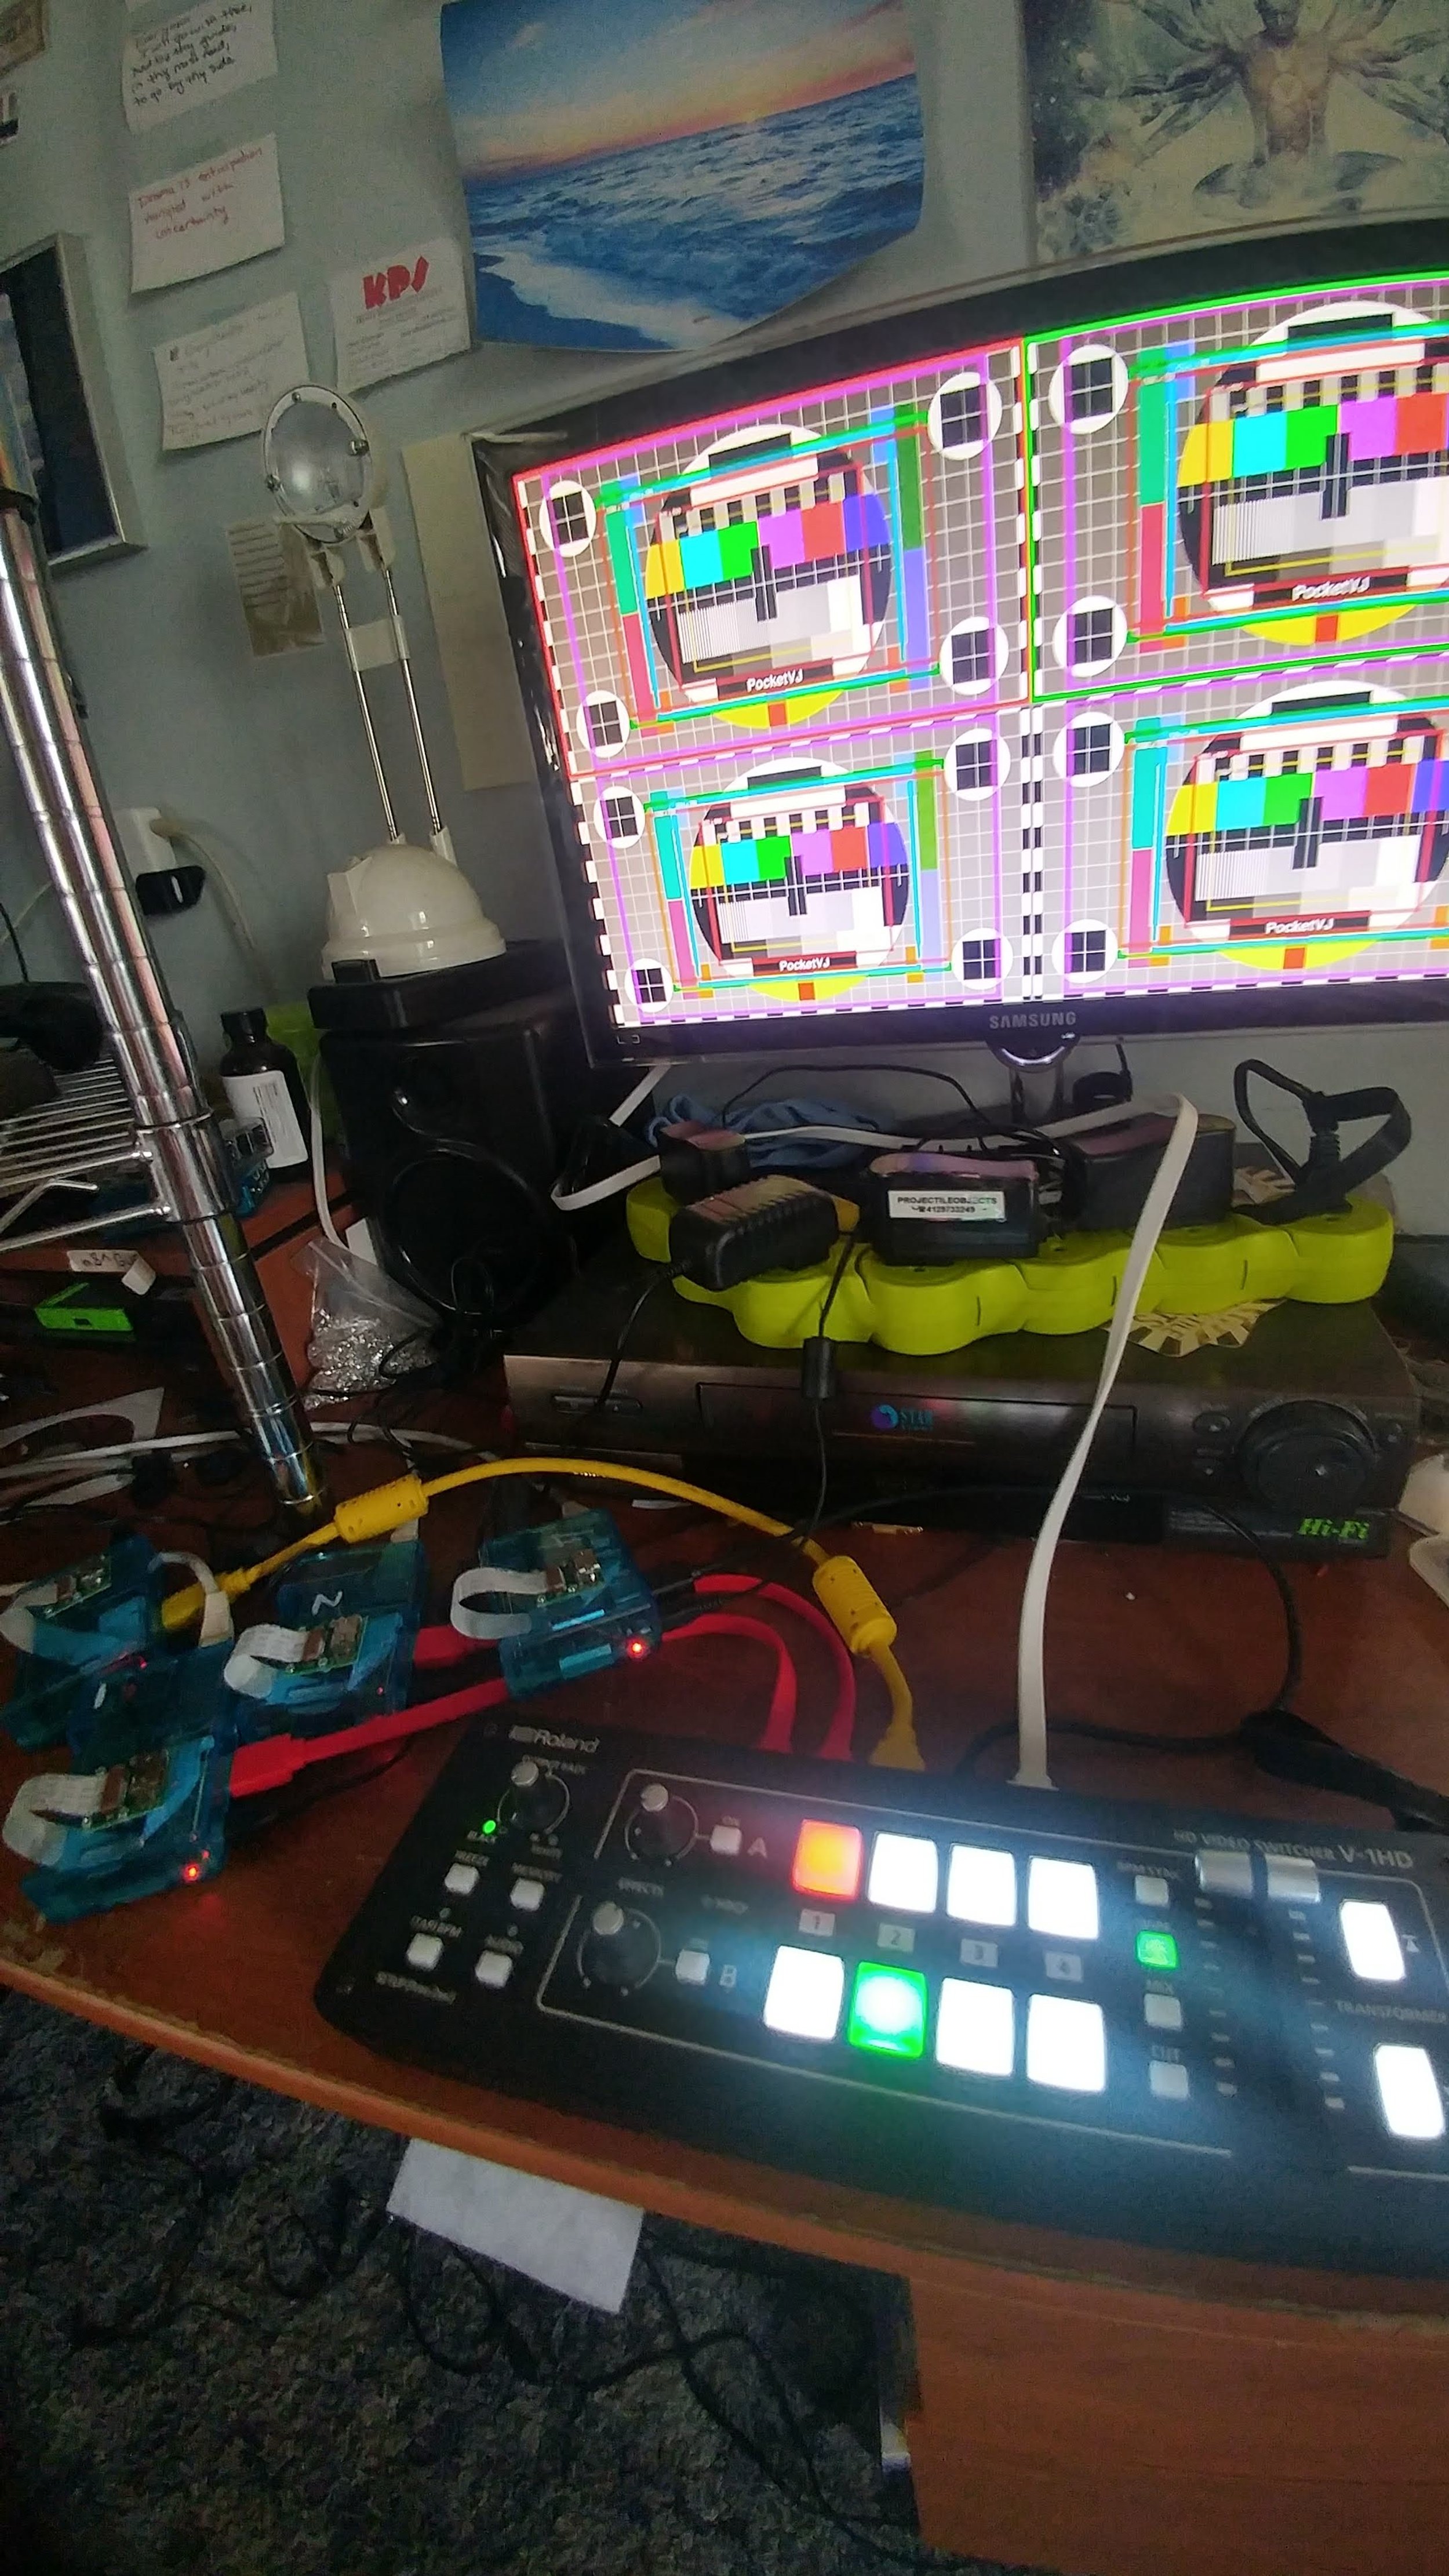
The PocketVJ is another RPI swiss army knife, you can run things on schedule, sync over Wi-Fi or network, projection map, control DMX and more.
I like to keep a micro SD card with a version of Raspbian / or other Linux, pre-loaded with some hardware diagnostic tools: GParted, DD disk rescue, Angry Ip, or other network diagnostic / Wi-Fi tools. (Maybe even a Kali Linux build if you need to “dive deeper” into the surrounding networks). From time to time, Mac’s disk utility craps out on restoring external hard drives and partitions. If you don’t know the difference between APFS, NTFS, HFS+, FAT32, ExFAT, etc. Just know that not all drives are formatted the same — and not all read and writeable by other operating systems without a little extra help. I’ll mention a few more Mac softwares to help with this, but sometimes it just takes a Linux device to see things for what they really are and fix them. You can also take a crack at some Homebrew tools or Terminal command lines to do what the Disk Utilities can’t, but the cost and space of an extra 16GB Micro SD is worth it.
HDMI Recorder / Player. You can buy a BlackMagic or Atomos monitor with built-in recording and playback capabilities (which are super cool, but also relatively expensive and record in large file sizes), but I recommend a less expensive standalone H.264 or H.265 recorder player. You can buy these for under $100 if you shop around. Cloner Alliance makes a model that is regularly available on Amazon. The reason I recommend these over the fancier options is that many of these will break HDCP. I’m not recommending you record copy-written content, but Mac’s have been known from time to time to get finicky with projectors and media servers with HDCP. Last thing you want to do is plug your setup into a house system and end up with a blank screen because HDCP isn’t working correctly. A recorder/player like this kills a few birds with one stone — It lets you record your mixes, and then play them back. A good habit when you first setup, is to play some music, record some visuals, and keep that on one of these devices in case you need to push play later.
Video player. I see the Micca Spec G2 media player everywhere when I travel. It’s affordable and will loop video content easily from a thumb drive or SD card. If you go this route, I recommend having BlueHarvest (or alternative). The Micca will see hidden files that your mac stores on the thumb drive. Hidden Cleaner or BlueHarvest clear these hidden files when you eject your drive. Doing this extra step will make sure the Micca Spec doesn’t stop playback when playing through a folder of media content. Likewise, if you use a PC or Linux Raspberry Pi to load your media, you won’t encounter this problem.
4. HDMI Splitter
Here’s another tool with multiple uses. Find one that you like and test it. Some powered HDMI splitters can act as an HDMI extender, allowing for longer HDMI runs. Obviously, you can split your HDMI signal and send out to two sources at the same time (Into another projector, capture device, or external preview monitor?) A third use is some HDMI splitters also break HDCP, which can get you around some issues I mentioned above. Oh, and they’re only about $20. Just test them and your HDMI cables to make sure you don’t have a defective unit with a weak signal.
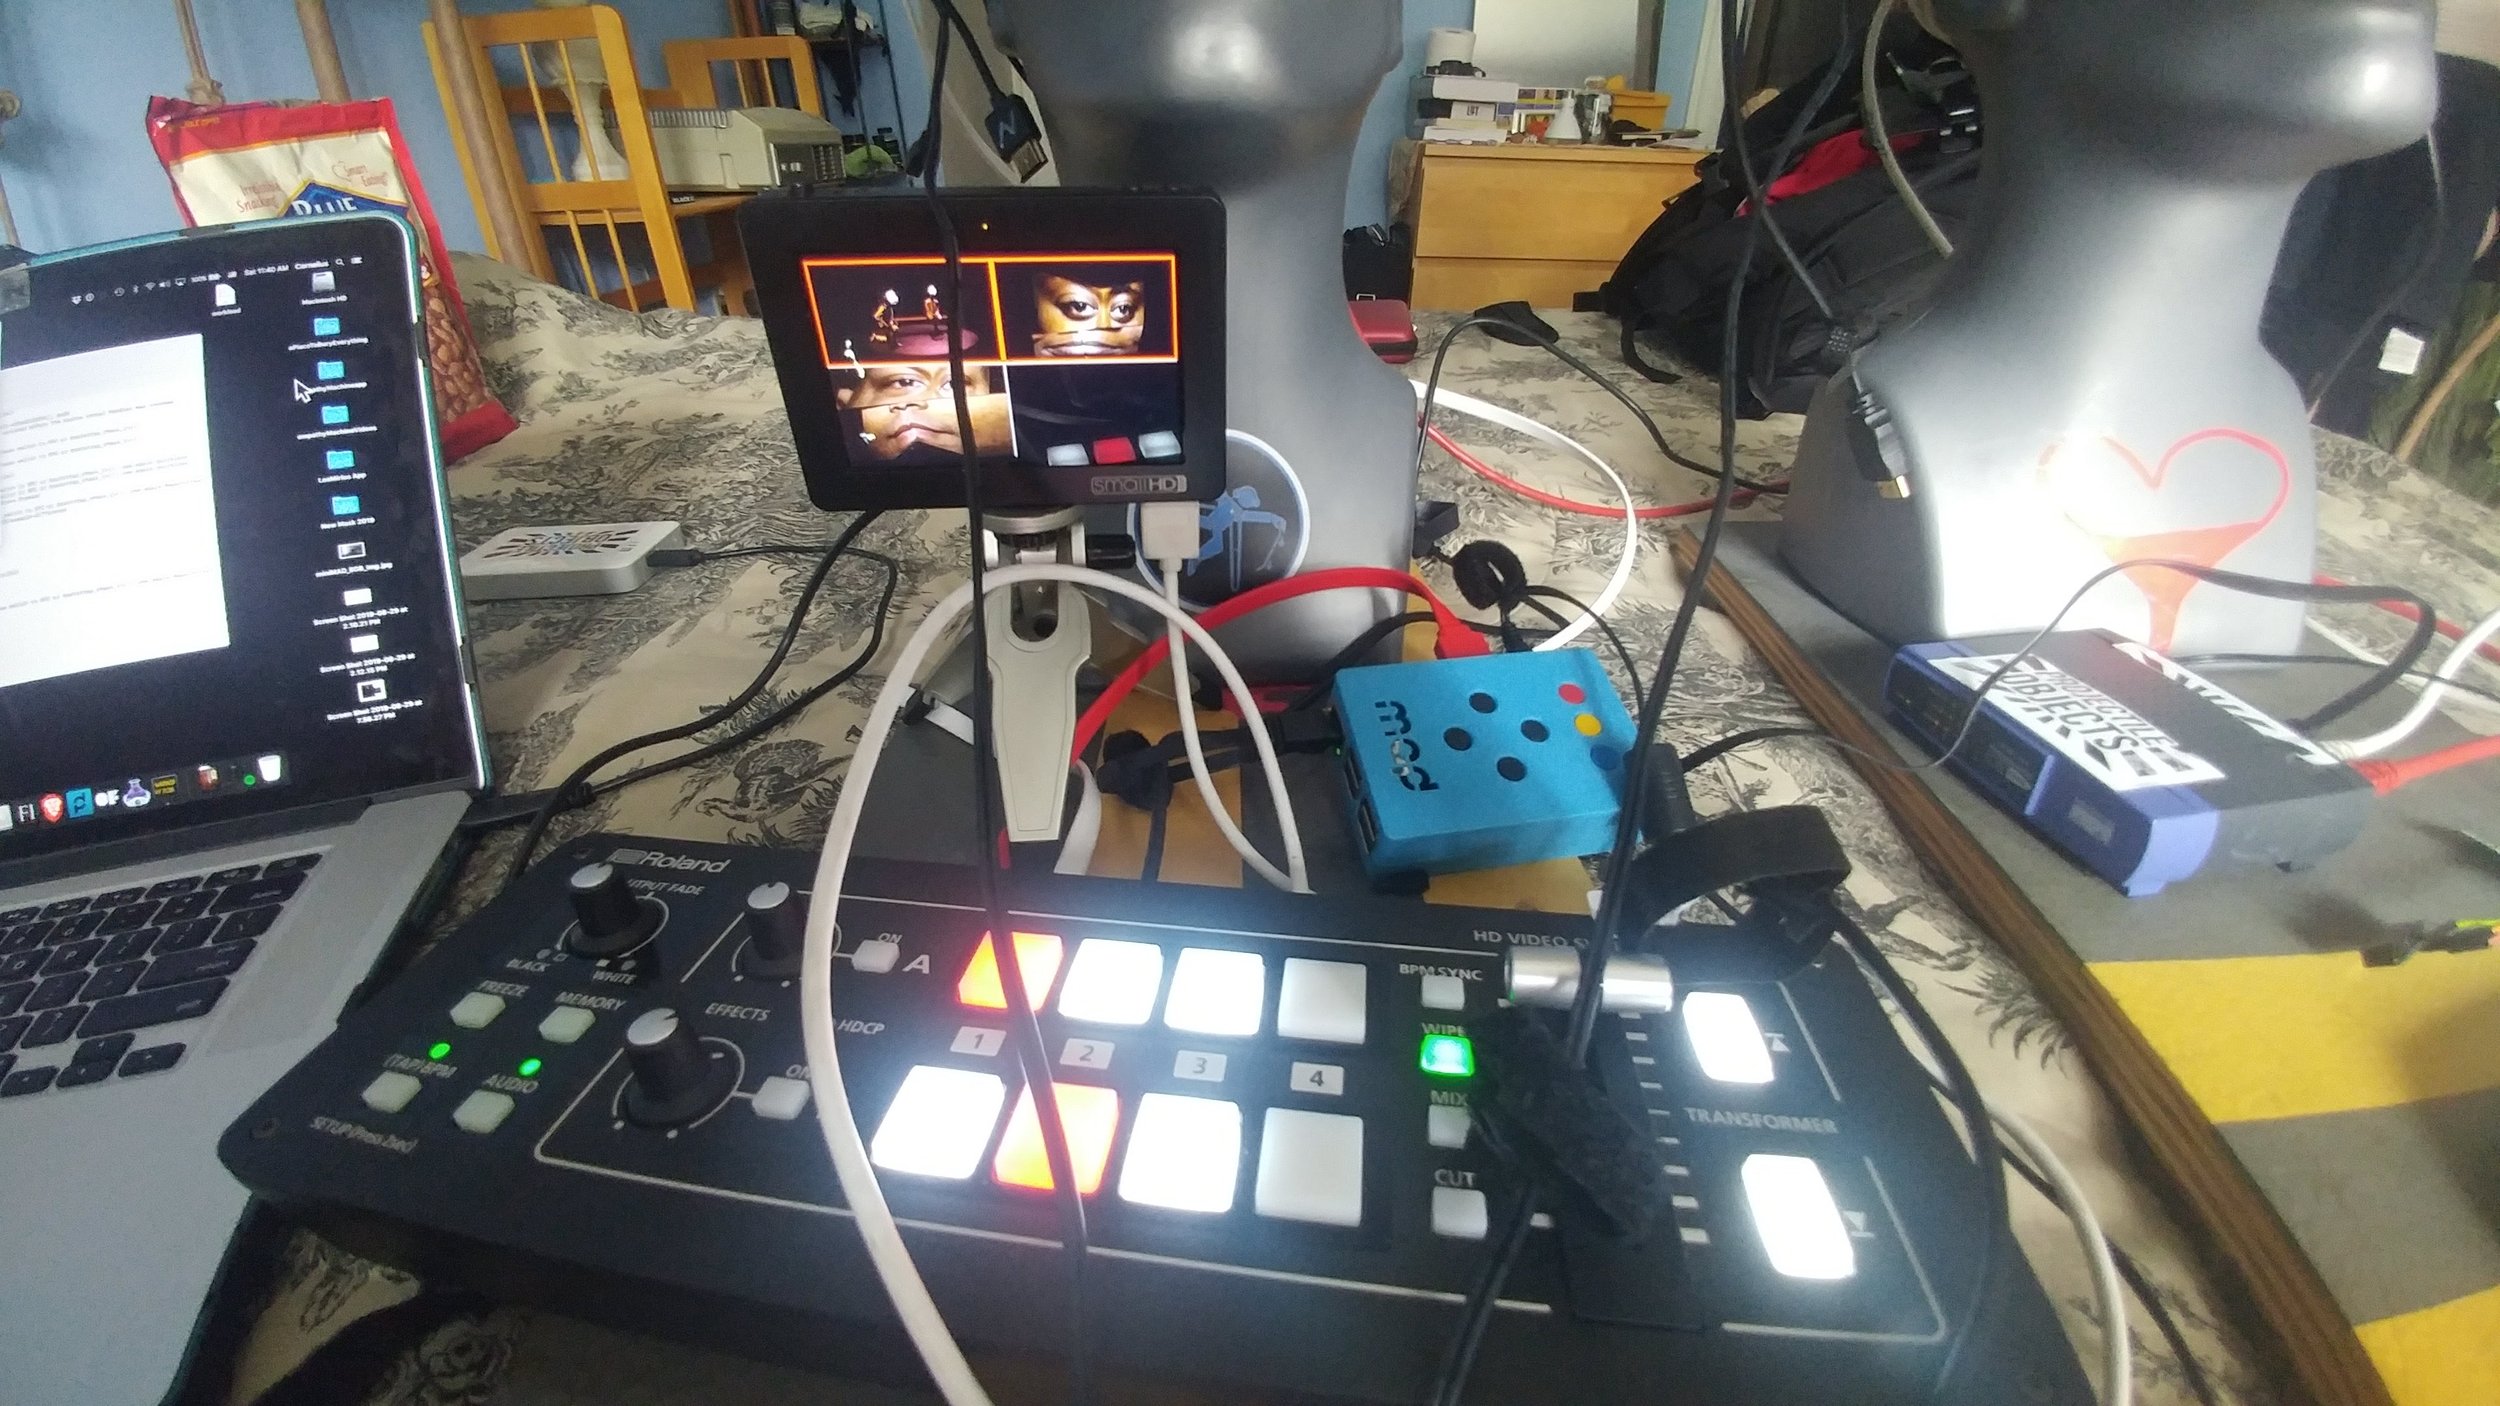
5. HDMI Mixers - (Optional)
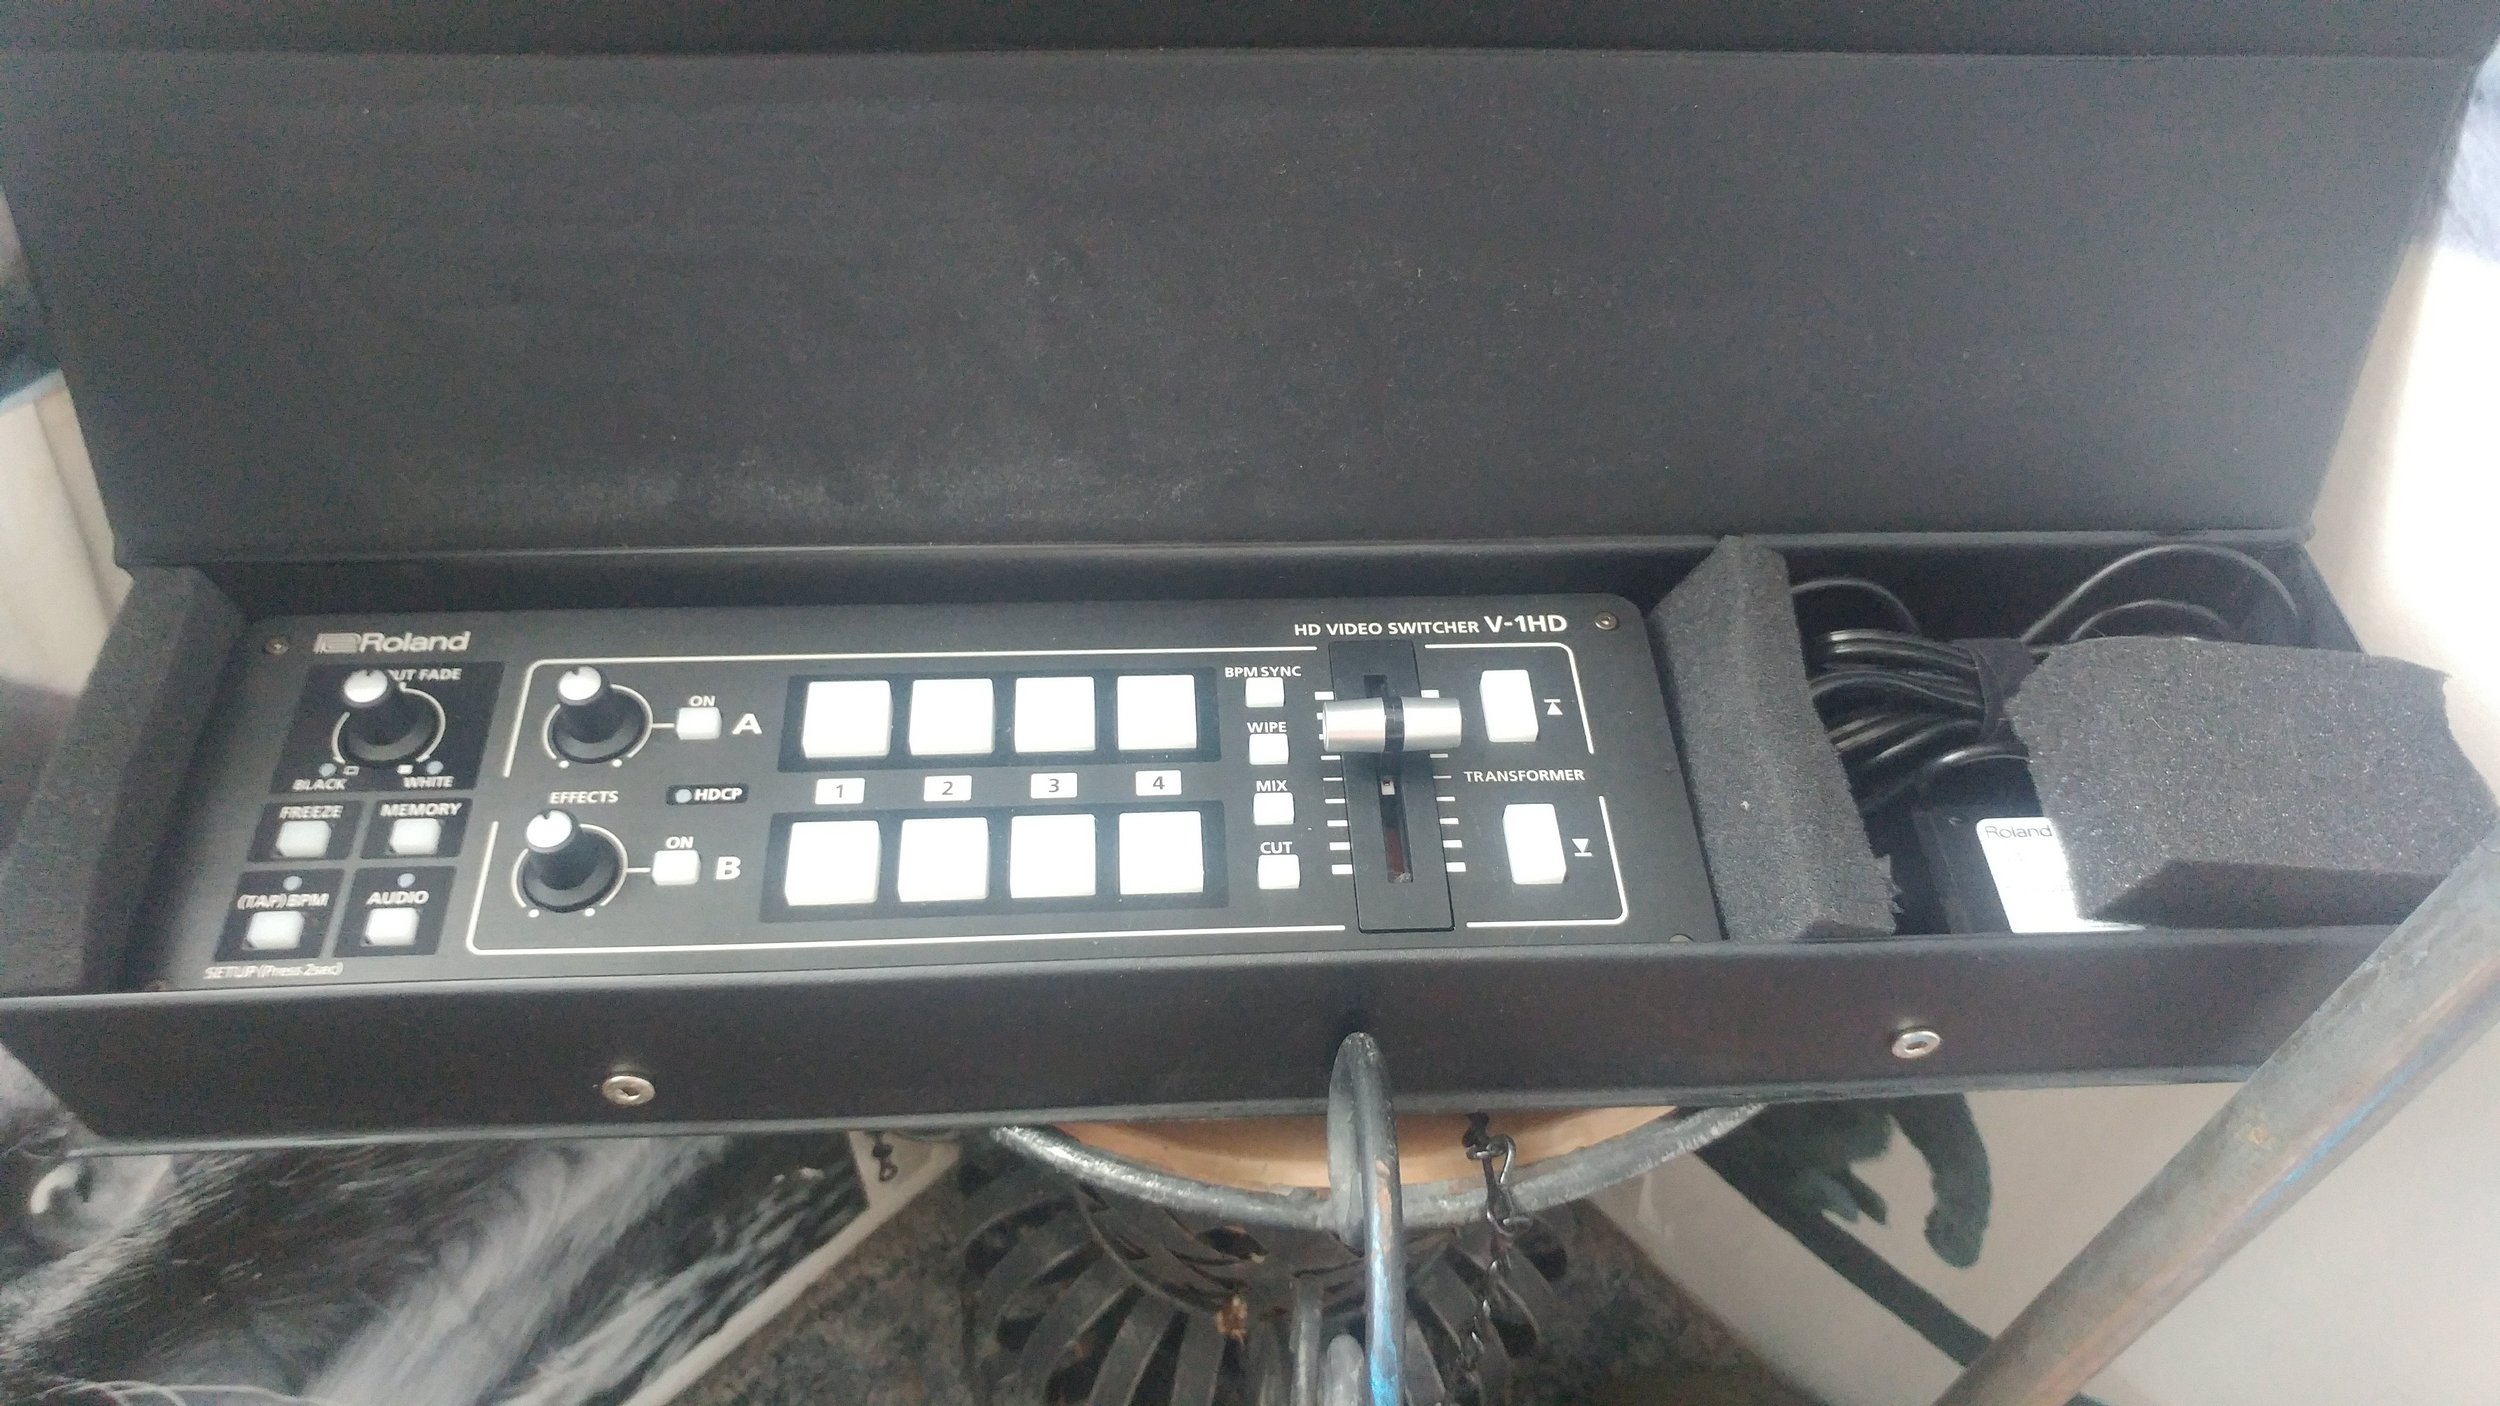
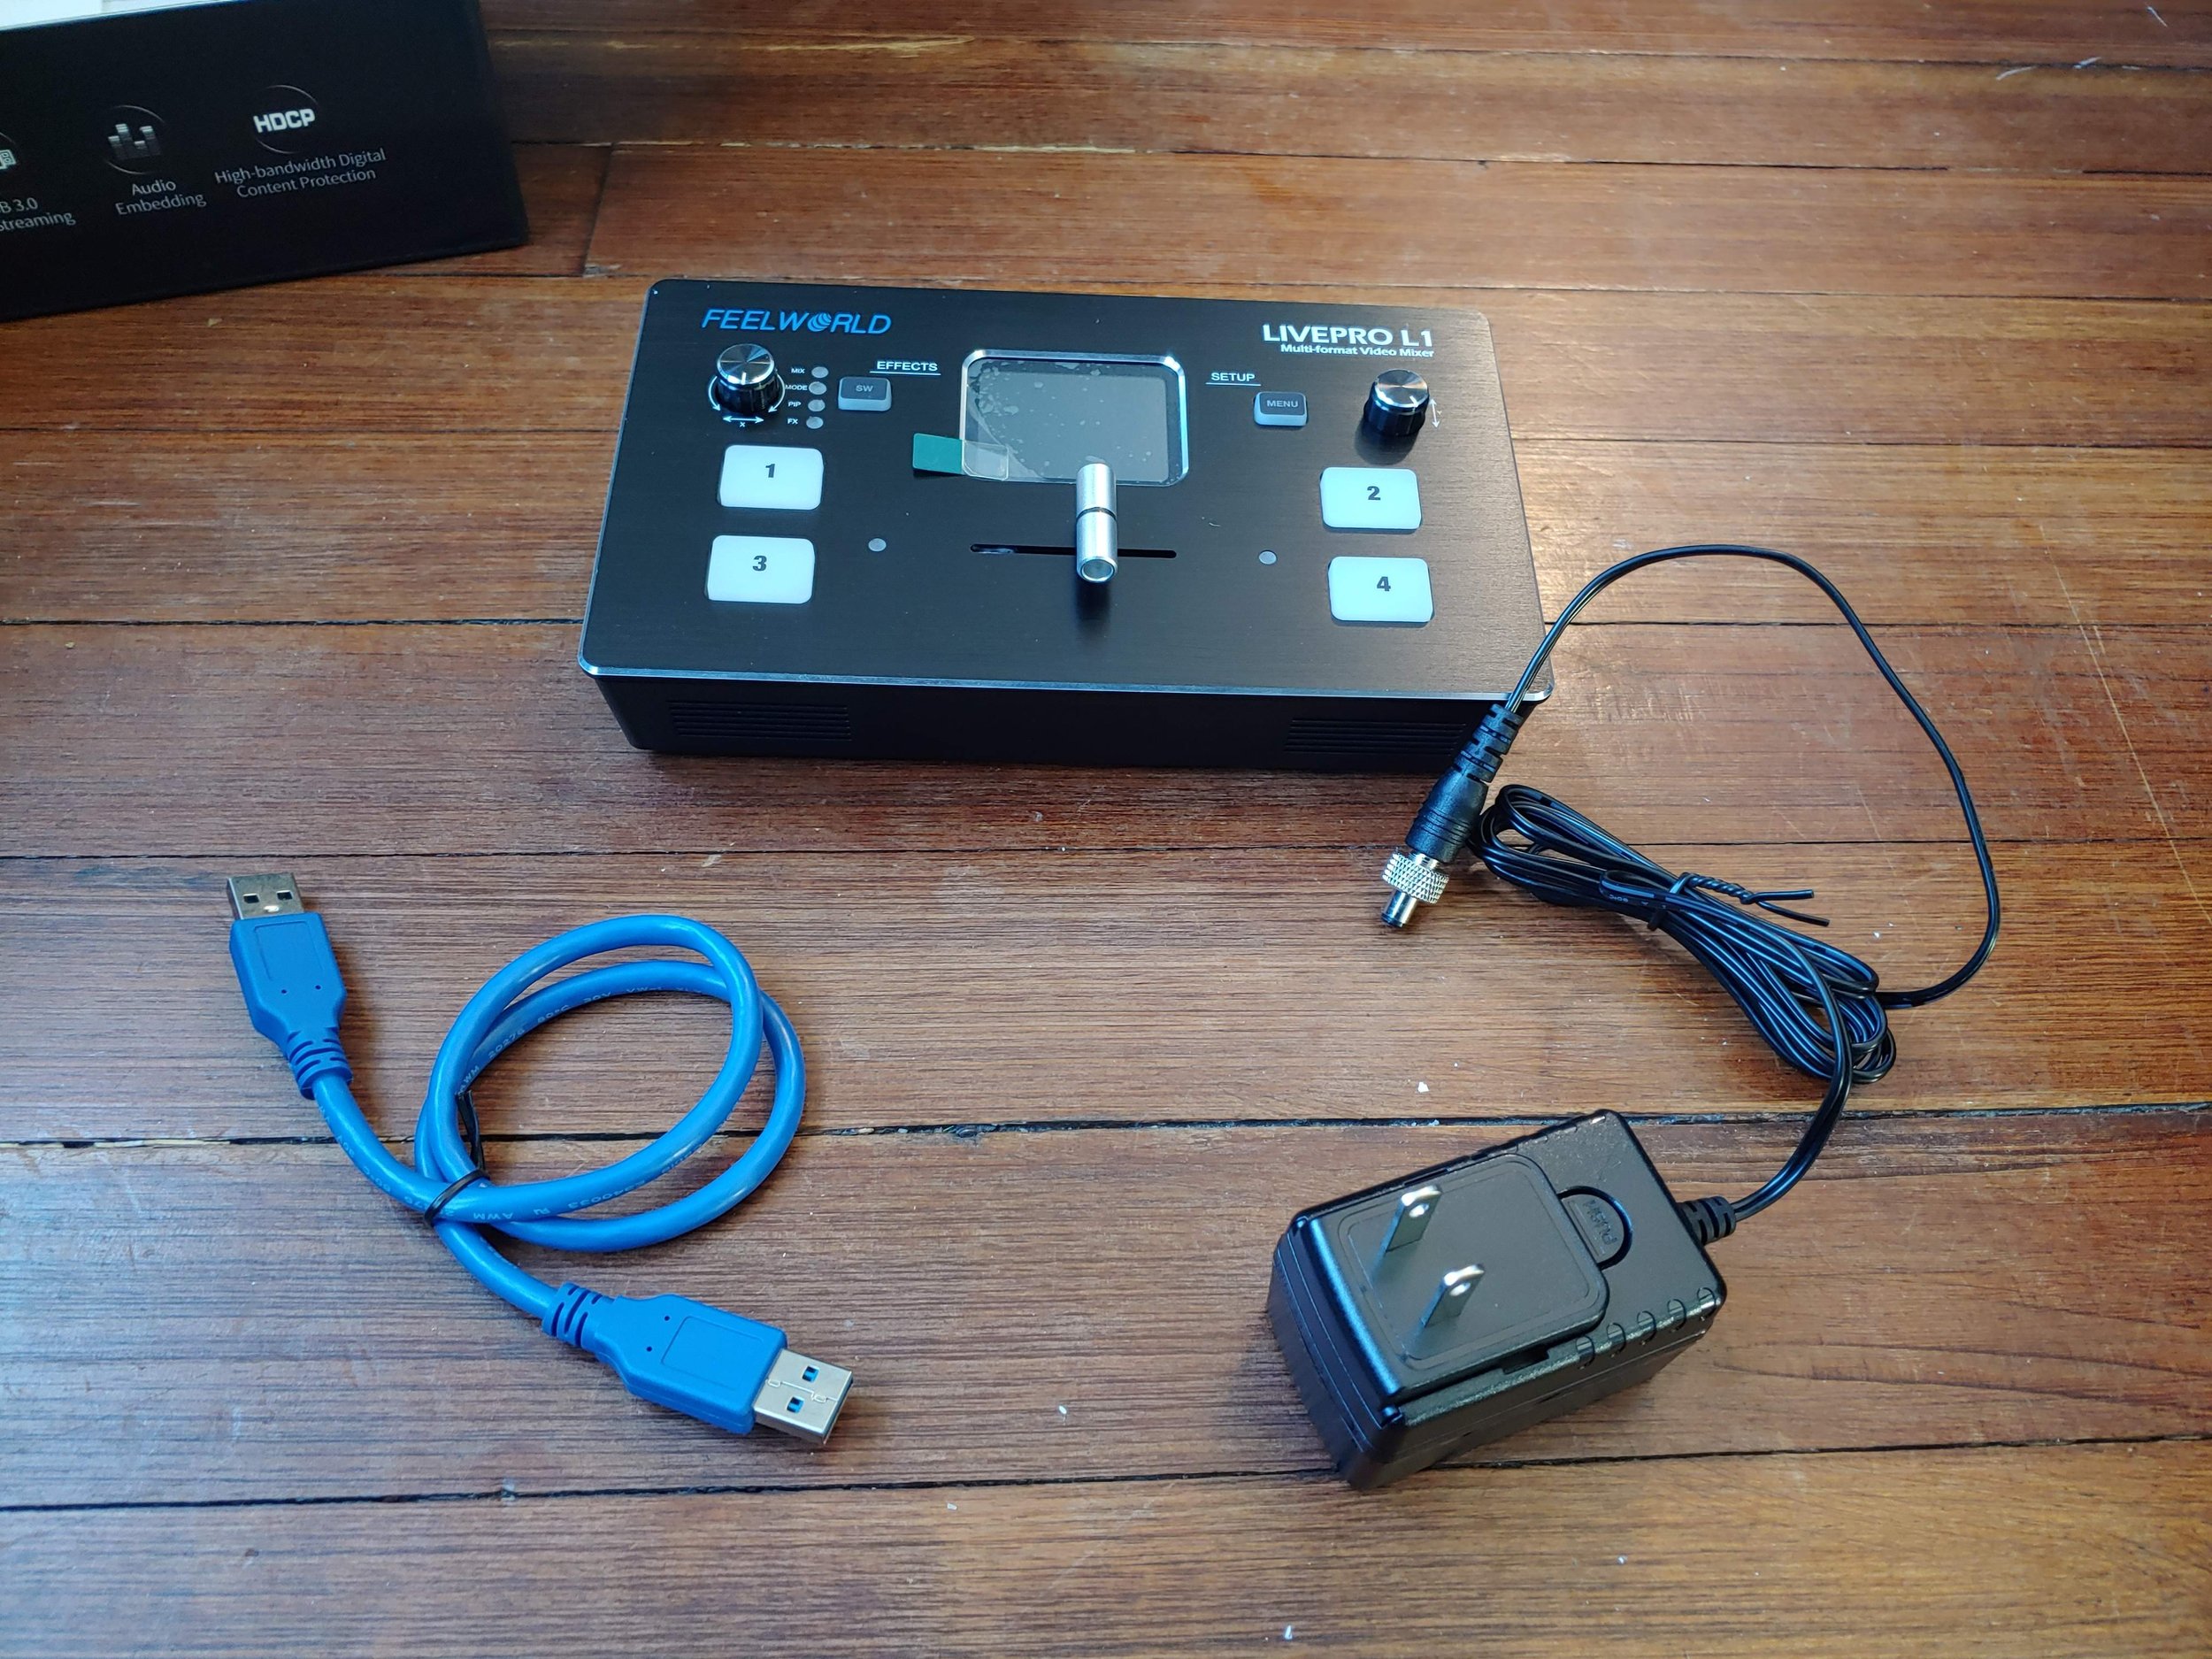
I have one, but I don’t always take it with me. What’s great is they have become very affordable over the last few years. The Blackmagic Design ATEM Mini is only $295, the Pro version has built in recording capabilities and the Roland Mixers are smooth and packed with great features (such as FX, various fades, blackouts, freezes). There’s even the super-budget Feelworld LIVEPRO L1, which I have mixed feelings about, but ultimately better than nothing. Plus, this allows for multi-machine collaborations, redundancies, and with the Roland with dual outputs, can also work as an HDMI splitter (FYI, The Roland and BlackMagic can still have issues with HDCP), but they offer professional solutions for a wide range of uses. (I’m praying for the HDMI mixer that lets you load and create custom FX for it!)
6. HDMI Cables
I’ve been talking about HDMI a lot in the last few, so I thought I would say, buy QUALITY HDMI cables. You don’t have to spend a fortune on Gold plating, but one simple test to see if an HDMI cable was manufactured properly is to take a conductivity check multi-meter to the outside shielding of the HDMI cable and see if they are connected end to end — this is the ground connection for the HDMI cable and many times in cheaper cables is not wired correctly. Ferrite cores on each end are great for interference, but do yourself a favor and get some good cables. The cheap ones can fail or in some severe cases actually fry HDMI ports on various devices. (In my kit I carry 2x 50’ HDMI cables, 4x 6’ cables, 3x 2’ cables)
7. HDMI to SDI, SDI to HDMI, VGA to SDI, etc. (optional)
This is optional, but can pay off big for longer video runs, or many times a lot of large venue projectors are wired up with SDI. They should have their own HDMI to SDI converter, but it’s good to have one of your own and test it! One thing to look out for is some broadcast HDMI to SDI converters work only in broadcast resolution and frame rate standards. (Like 1280x720 or 1920x1080) and some projectors support different aspect ratios and resolutions (Like 1280x800 or 1920x1200). This usually comes into play when setting up a projector for projection mapping, but it’s something to be aware of. You might have to lose some resolution height from the image coming out of the projector by forcing a 1920x1080 (1080p) out of your laptop, but knowing this might save some time troubleshooting your setup and configuration. (Bi-direction converters are cool! BMD has the Micro Bi-Directional converter for $65)
8. External Monitors / Screens
This has changed a lot over the years. You can buy a portable 15” screen that’s battery powered and as thick as a tablet for about $200, but they are usually mini-HDMI and do not have HDMI thru options. I prefer screens that have an HDMI loop out, so you can monitor the feed that you’re sending out of your device and into the projector. I carry an older SmallHD 4” screen for this very reason. It’s also great for troubleshooting image connections. Once again, a lot of these “on camera” monitors work within the limitations of broadcast resolutions and frame rates, but some of the newer ones have built in HDMI to SDI conversions, record functions, and various levels and adjustments. The larger BlackMagic Video assist is packed with features, but will also set you back $1,000. Pick the screen that works for you, and if you can’t get one with loop thru HDMI, well that’s when the HDMI splitter comes in handy again!
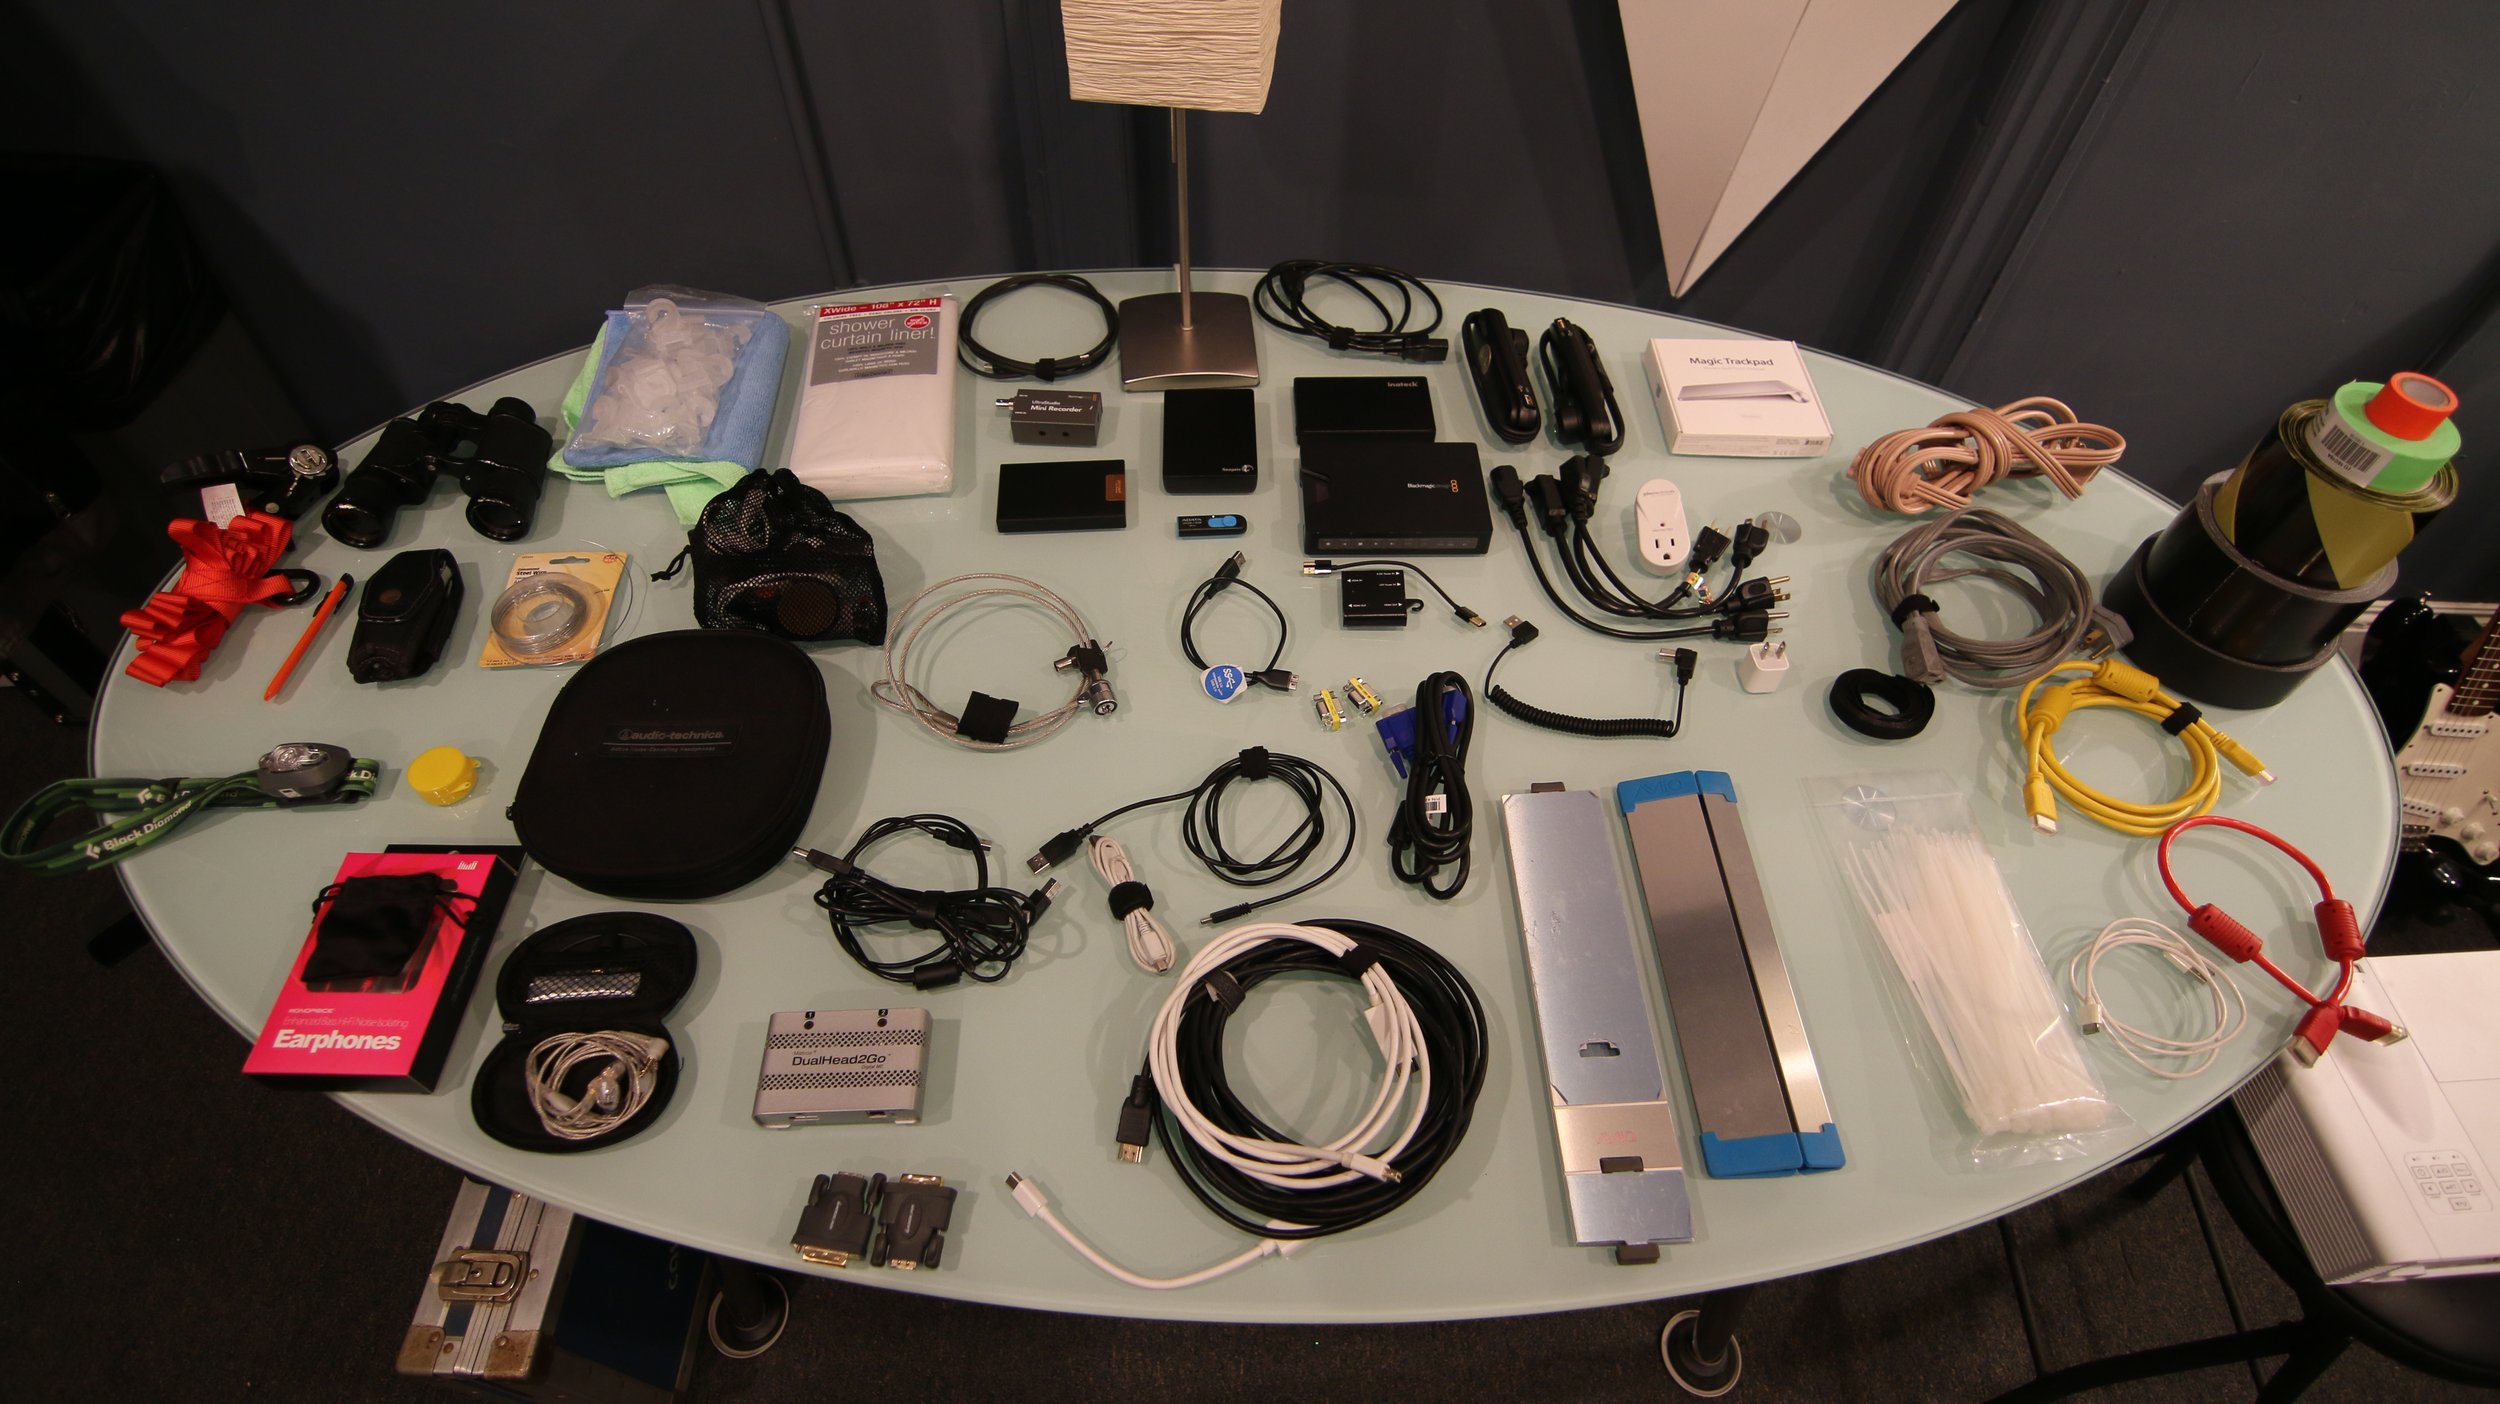
9. Dongles, Converters, Adapters! (USB-C, HDMI, VGA, USB)
This was the first section I wrote when creating this document. It came out to an entire page about dongles. I really don’t want to bore you to death, but let’s face it. Dongles are a mess when it comes to performance and quality. Once again, buy what you need and test! If you’ve found a thunderbolt or USB-C hub that you love that has everything and is inexpensive, great! Test it and if you really love it, then buy two to have as a backup. Last thing you need is your one-of-a-kind hub failing you when you need it most. As for HDMI dongles specifically, buy ACTIVE adapters if you can. Barco (the projector people) has a great article about active vs passive HDMI conversion. Basically, if it doesn’t say Active, it’s probably not. Not that you will need it for everything, but look at the Barco link so you have a better understanding of passive vs. active adapters.
Outside of what your hub has, bring a converter for as many analog or digital video connections that you think you might come in contact with. (They can be small. I have a small pouch dedicated to carrying these when I travel). Here’s a few: HDMI (mini, micro, adjustable angle, short HDMI extension, passive extender (for smaller cable runs). DVI to HDMI, HDMI to DVI (buy good quality versions of these $7 a piece). VGA: M-to-M extension, F-to-F extension, M-to-F extension, Thunderbolt or USB-C to VGA, VGA to DVI-I.
VGA is odd, but still in use. I own a VGA to SDI converter and an HDMI to VGA converter, but I’ve used them twice in my life. A thunderbolt to VGA adapter plus a decent VGA cable can usually carry a decent signal about 75’ before it needs help. I don’t normally buy HDMI cables over 50’, for that I’ll used SDI (or even ethernet and NDI for longer distances), beyond that there is fiber, but that goes into a whole other ballpark and if you’re at a venue using fibre, they’ll most likely have a rack mount converter / scaler for you to plug directly into. I’ve had success with Active HDMI adapters and a high end 100’ HDMI cables (with signal boosters inside), but they cost enough to make the benefits from converting HDMI to SDI more appealing.
USB’s “oh baby!” Once again, try to carry every kind, and I’d recommend carrying two or three of each kind. A to B cable, 2.0, 3.0, USB-C, etc. And if you’re an iOS user, don’t forget the USB to Lightning cable. I like to keep a few 2 or 3 amp USB wall taps hanging around to make use of these cables. I have some HDMI splitters that use Micro USB cables, others that use Mini. A few HDMI capture devices that use a 3.0 A to A cable (which is just weird and kind of annoying). The 2.0 A-B cable is common for a lot of Midi controllers (and home printers :). I’ve seen some cheap multi-converters that break, and some more expensive ones that also break. Just buy a few of every type, test them, and keep them in an easy to sort through zipper pouch.
Powered USB 3.0 hub, always good to have more ports than you need.
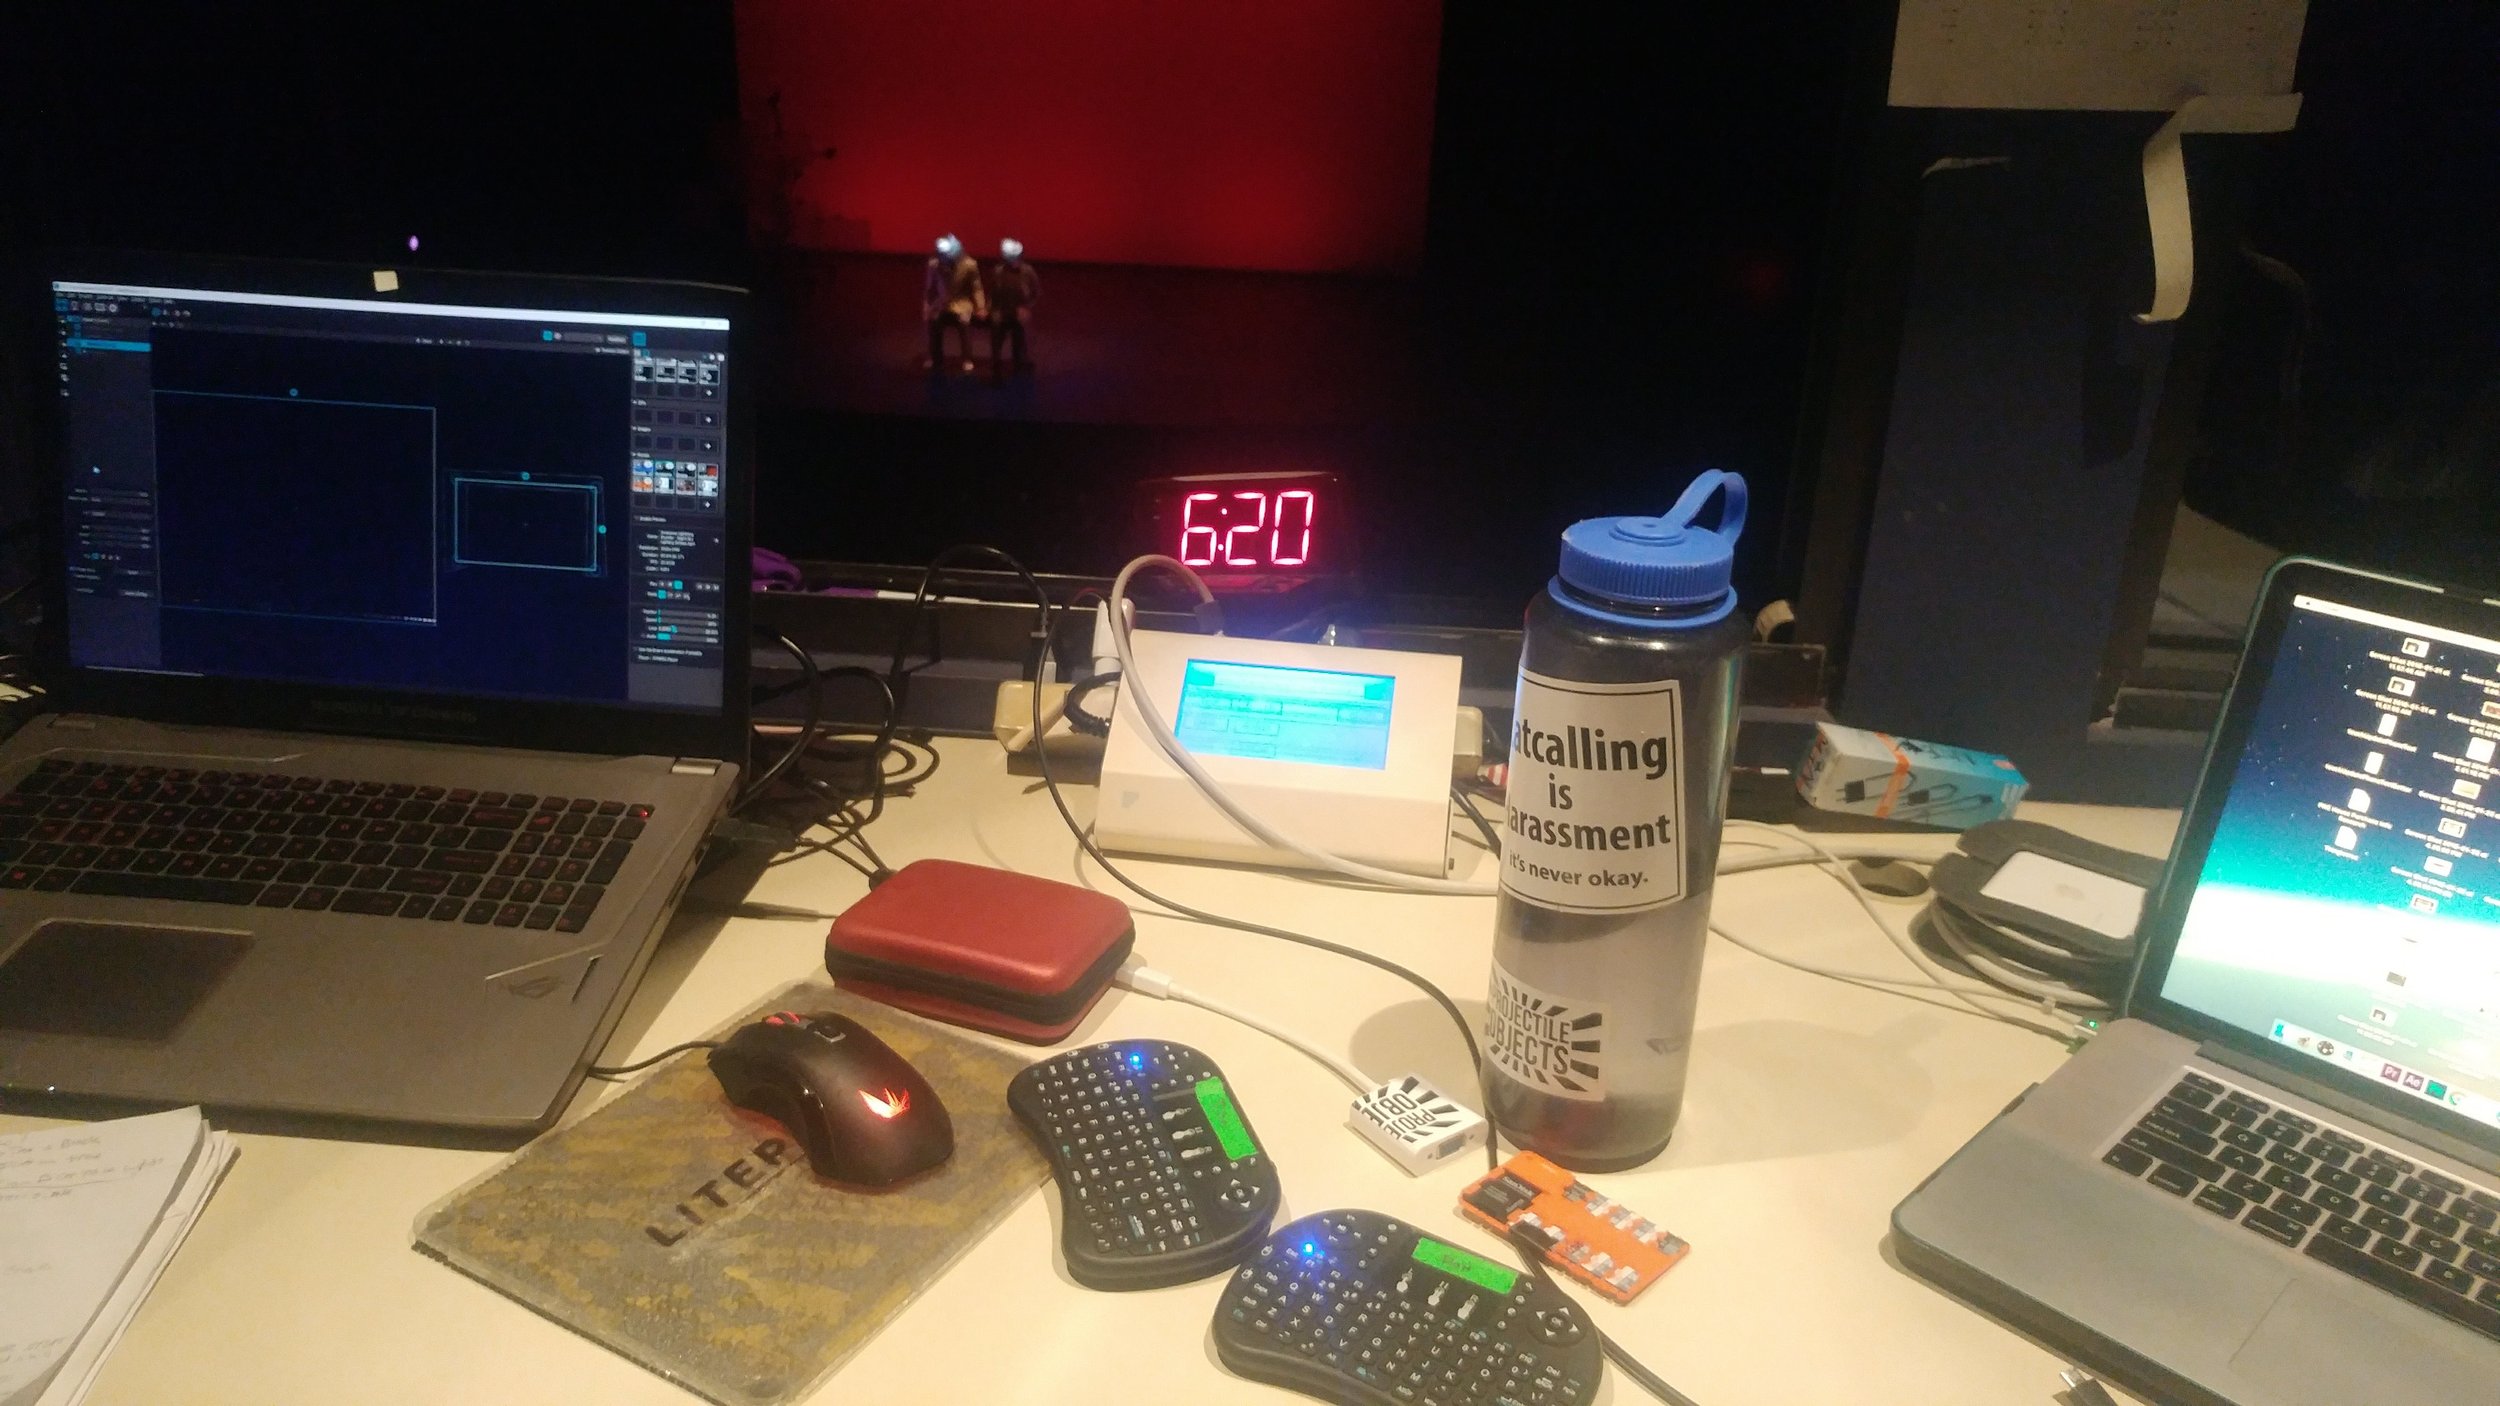
10. A mini wireless USB keyboard!
Yes! Despite the obvious benefits of using it as a remote “projection mapping” controller, or changing things up while you’re out on the dance floor, a mini wireless keyboard has saved my butt! In the middle of a show with my ancient 2012 MacBook Pro (which was new at the time), my keyboard stopped working entirely. It would later fix itself after a restart and never happen again, but it happened once, and during a show (of course it would!). Randomly, I had one of these keyboards in my bag, plugged it in, and used it for the rest of the show. Plus, you can also use it with your raspberry pi setup. I recommend the kind that us RF (works much longer range) and take AA or AAA batteries. You can put reusable batteries inside, but built-in rechargeable batteries can leave you stranded if they die.

11. A headlamp (with red LED)
Now we’re getting somewhere. You need this. We work in dark environments, we climb around and install things in crazy places. Having a light on your head (not just a phone light in your hands) is a lifesaver. I recommend one with a red light (to save your night vision and not blind others). Also, with AAA batteries or AA.
12. Batteries
I use rechargeable batteries in just about everything unless it is audio related. I also keep enough AA, AAA, 9V batteries to go inside everything I might need. They usually end up helping someone else who forgot their batteries, but always good to have.
13. Cellphone and external charger / power bank
Another one that seems obvious, but even if you don’t have a phone provider, an Android or iOS phone can be a valuable tool. How about using it as a Wi-Fi Camera? Projection Mapper for Android lets you turn it into a little projection mapping tool. There’s also TouchOSC. If you have a good one, you can use the photos and videos to document you and all of your awesomeness.
USB Power bank is not just for your phone, but can also power a raspberry pi, an HDMI splitter, HDMI to SDI converter, other 5V media player, etc. They can come in handy and there’s even a few that will power your Mac Laptop!
14. External mouse or Touchpad
Similar to the keyboard, these can help. I take a silent-click mouse with me so when I’m on a plane or train, I’m not annoying people with all the clicking.
15. In Ear Monitors or headphones.
I prefer the Shure 215 SE in ear monitors with the memory foam caps. These double as ear plugs in a pinch, sound great when you want to listen to your music, are compact, and if you’re doing any sort of mixing, you can keep one in your ear and disconnect the other one and save it in the carrying pouch they give you. I picked this trick up from a DJ friend who ditched the over the ear headphones that sometimes have to sit awkwardly on your head when mixing. While you might “just be a VJ” I’ve had to manually sync visuals for artists’ performances and variably adjust the rate and speed of visual playback all because the DJ who hit their audio cue didn’t realize that they had their auto-tempo set faster than the original track. And if you’re mixing in music videos, this will happen all the time (for many in-depth reasons such as videos at 48kHz and MP3s at 44.1kHz) or if the DJ wants to up the BPMs to match the next thing in their cue.
Bluetooth headphones or ear buds are fun too, but don’t always count on them working loud enough when you're in a large club (or a bass trap!)

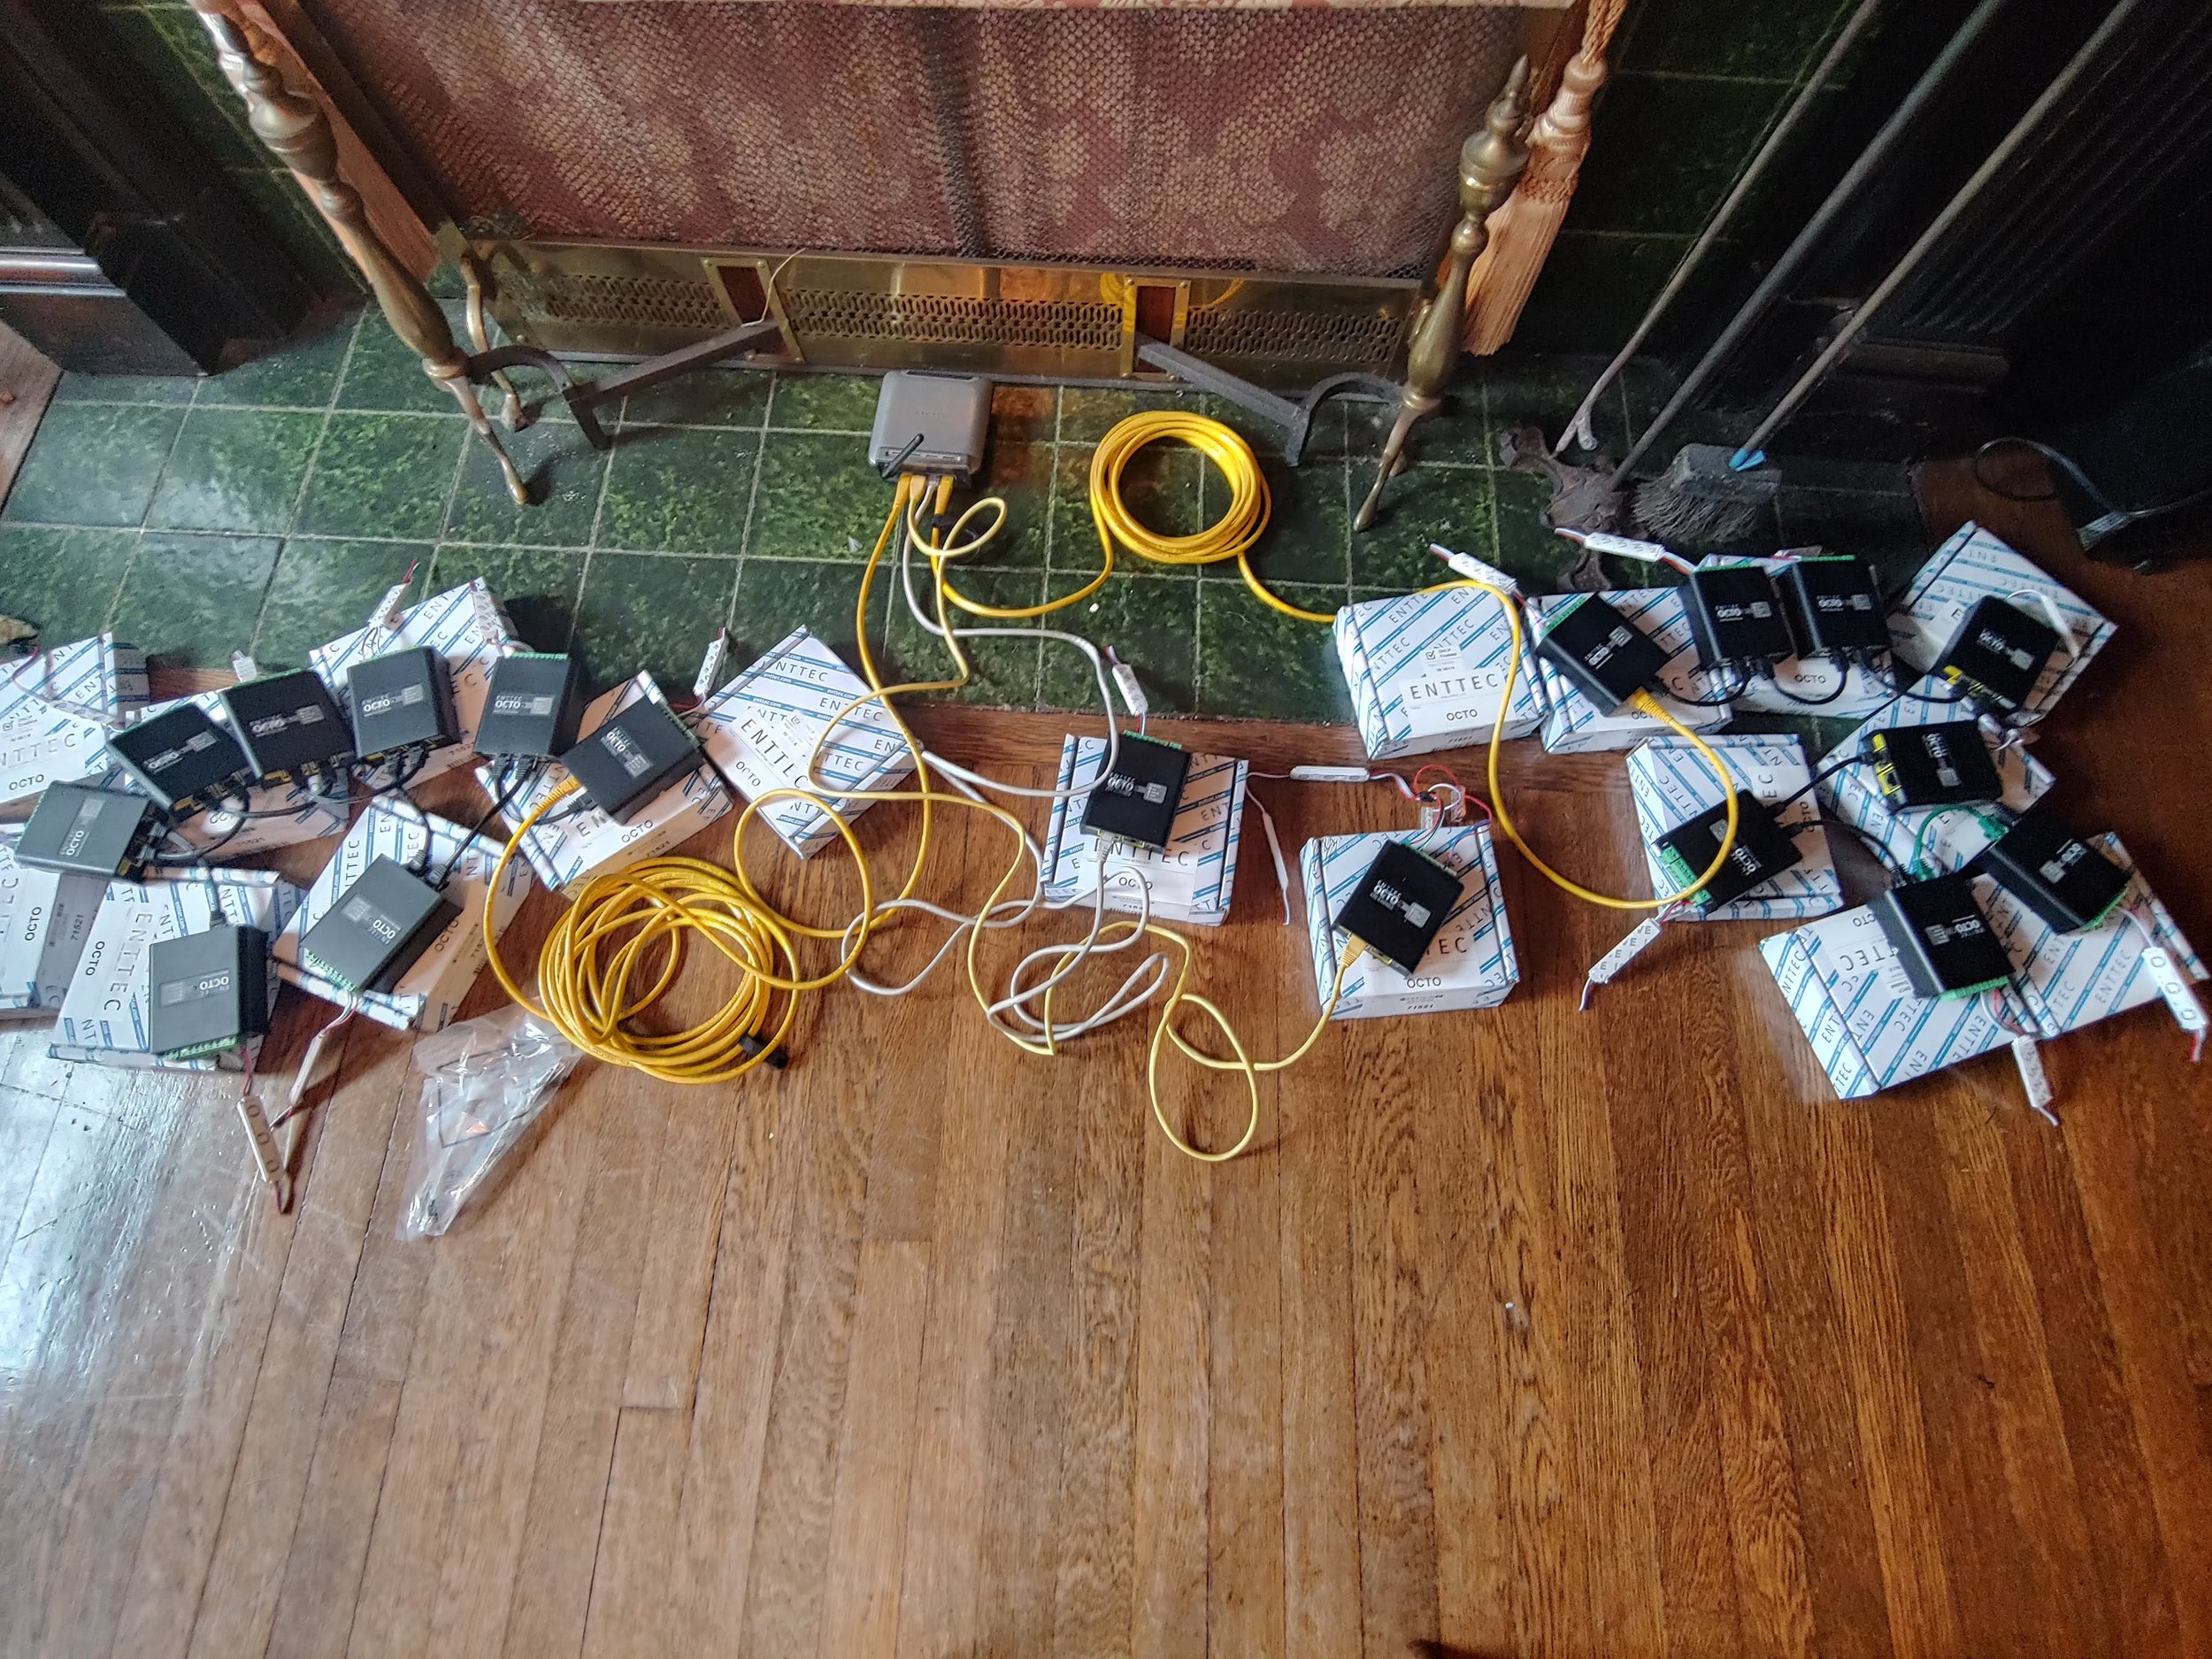
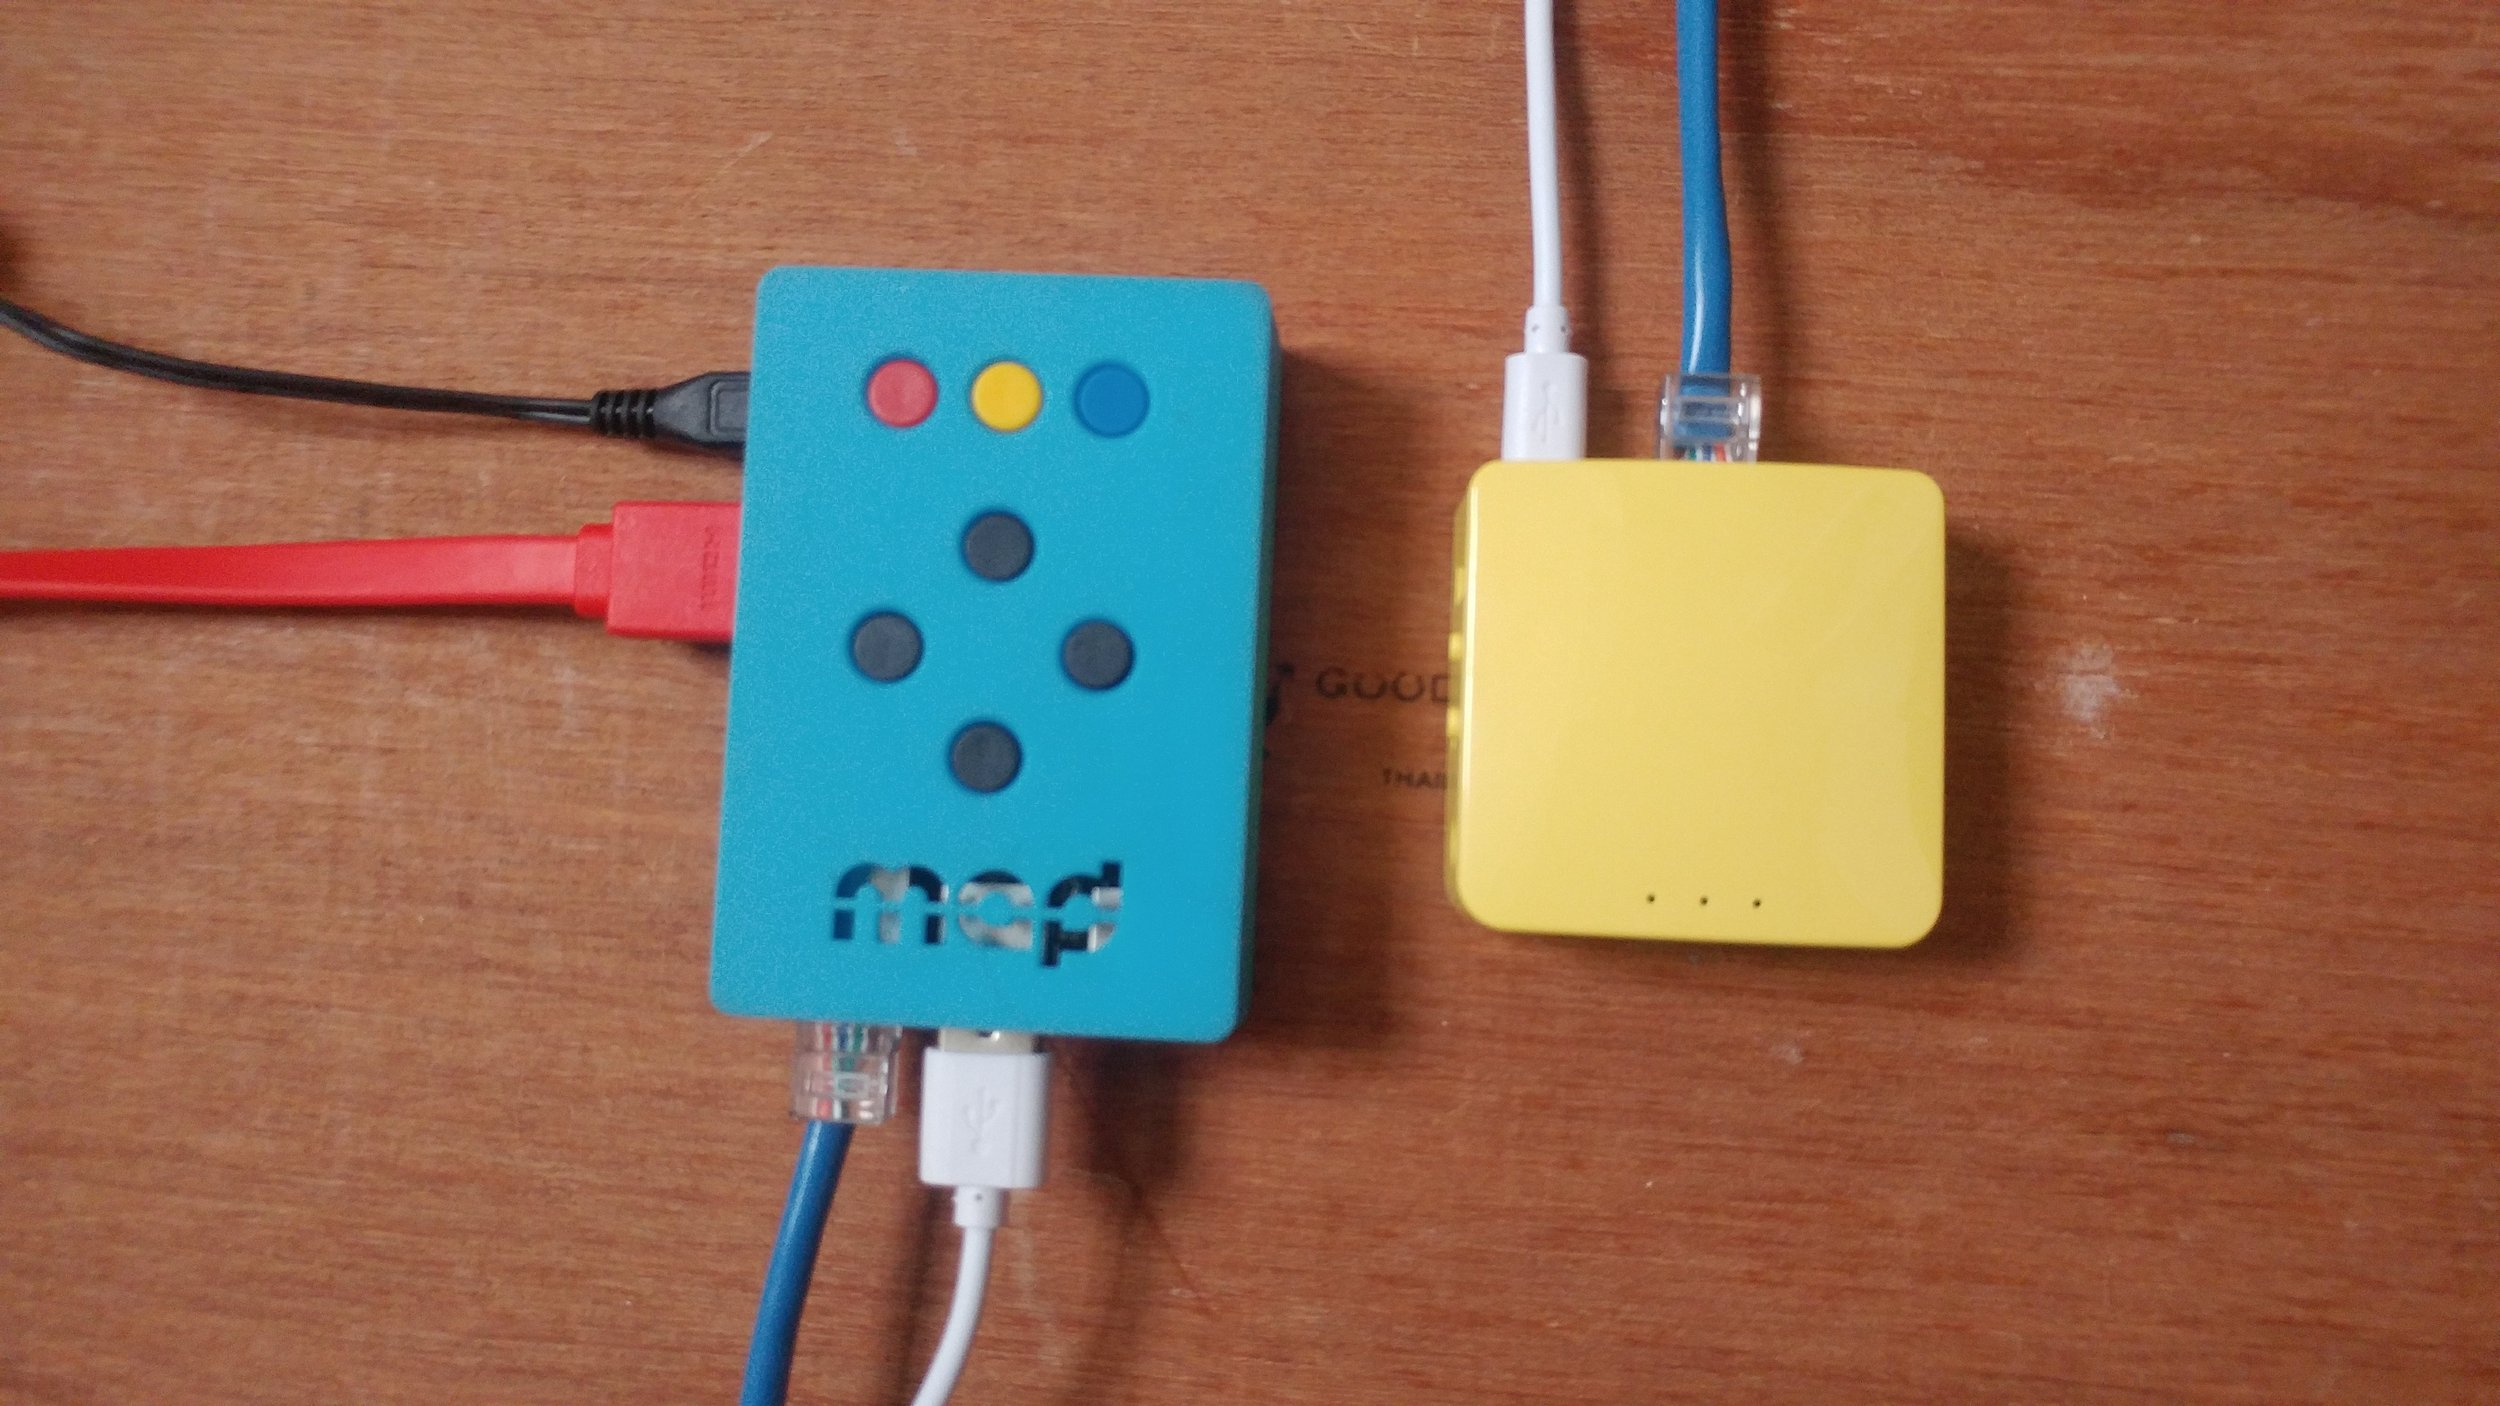
16. Gigabit Travel Router / Ethernet cables
NDI is a great tool for sharing video over network. Between machines, or over long runs. A 2 or 3 port Gigabit travel router can replace an HDMI mixer sometimes. It’s also great for file sharing, Midi and Timecode sync / cues. Ableton link, etc. Make sure you bring some ethernet cables! You can also setup a Raspberry Pi to work as a little network device in a pinch. A plug in play travel router is a great tool to have.
17. Hard drives and SSDs
Your optimized media (whether that’s DXV for Resolume, HAP or MP4s) should be on a fast drive separate from your internal operating system. SSDs have come down in costs over the years, and VJing with MP4s has become better (encode your MP4s with every frame as a keyframe to ease the load on your computer). External hard drives have also come a long way, 4TB for $100, not bad! Just make sure you check the read / write speeds of your drive with something like the BlackMagic Disk Speed test. I feel comfortable with drives in the 200 Mb/s+ read and write speeds for almost any project. That being said, if you’re just mixing two channels of video, even 100 Mb/s read and write was fine. Back in the day, we were lucky if we could pull in 80 Mb/s over Firewire 800 or even USB 2.0 speeds. Just consider yourselves lucky that USB 3.0 is the base standard now. Oh, and test your drives. It’s hard to say which drive is the best / most reliable. I’ve had every brand / manufacturer’s drive fail on me at one point or another. For that I keep backups and travel with redundancies. Hey if all else fails, you can run a music visualizer application :) (see more in the software section).
18. Make a checklist and don’t forget your power supply!
It happens. A checklist helps.

19. USB UVC Capture device.
There are a few write-ups on these, but anything that lets you pull HDMI into your computer with low latency is a great tool to have. You can even use it with the raspberry pi and skip an external screen.

20. Dr. HDMI or EDID troubleshooting device.
I’ve only used this twice, but in both cases we needed it. When your computer connects to a projector or media player, they connect, and the EDID communicates what resolutions and information the projector will accept. Well! sometimes this craps out (I mean literally, I have an old ViewSonic projector that stopped sharing EDID all together). Since the Mac likes to “auto-connect” there are a few cases where HDMI to SDI converters and odd or defective projectors will screw up the EDID and continuously keep disconnecting. This is where I’ve used a Dr. HDMI to force a specific EDID out. My mac connects to the Dr. HDMI and sends a signal, and the Dr. HDMI sends out a standard signal that you pre-set over HDMI. It can take a bit of fiddling to get it right, but it has saved my butt the two times I needed it!
21. Blank thumb drives.
At some point someones going to want to give you files. Give them a thumb drive and don’t always expect to get it back. Having a couple of cheap 32GB thumb drives in your bag will come in handy.
22. Multi-card reader.
Some Thunderbolt or USB-C hubs have these built in, but if they don’t carry one. Someone might give you a Micro SD card from their camera or phone at some point.
23. Laptop stand / Midi Controller Stand
This is a preference, but can also be a wrist saver. I recommend something that’s collapsible and adjustable. I’d avoid using a soft stand like the MOFT (I was a Kickstarter backer and it failed me in less than a year). My favorite is the AVIIQ aluminum laptop stand, but they no longer make it, so find one that fits your preference. Stands are also great for your Midi controller!
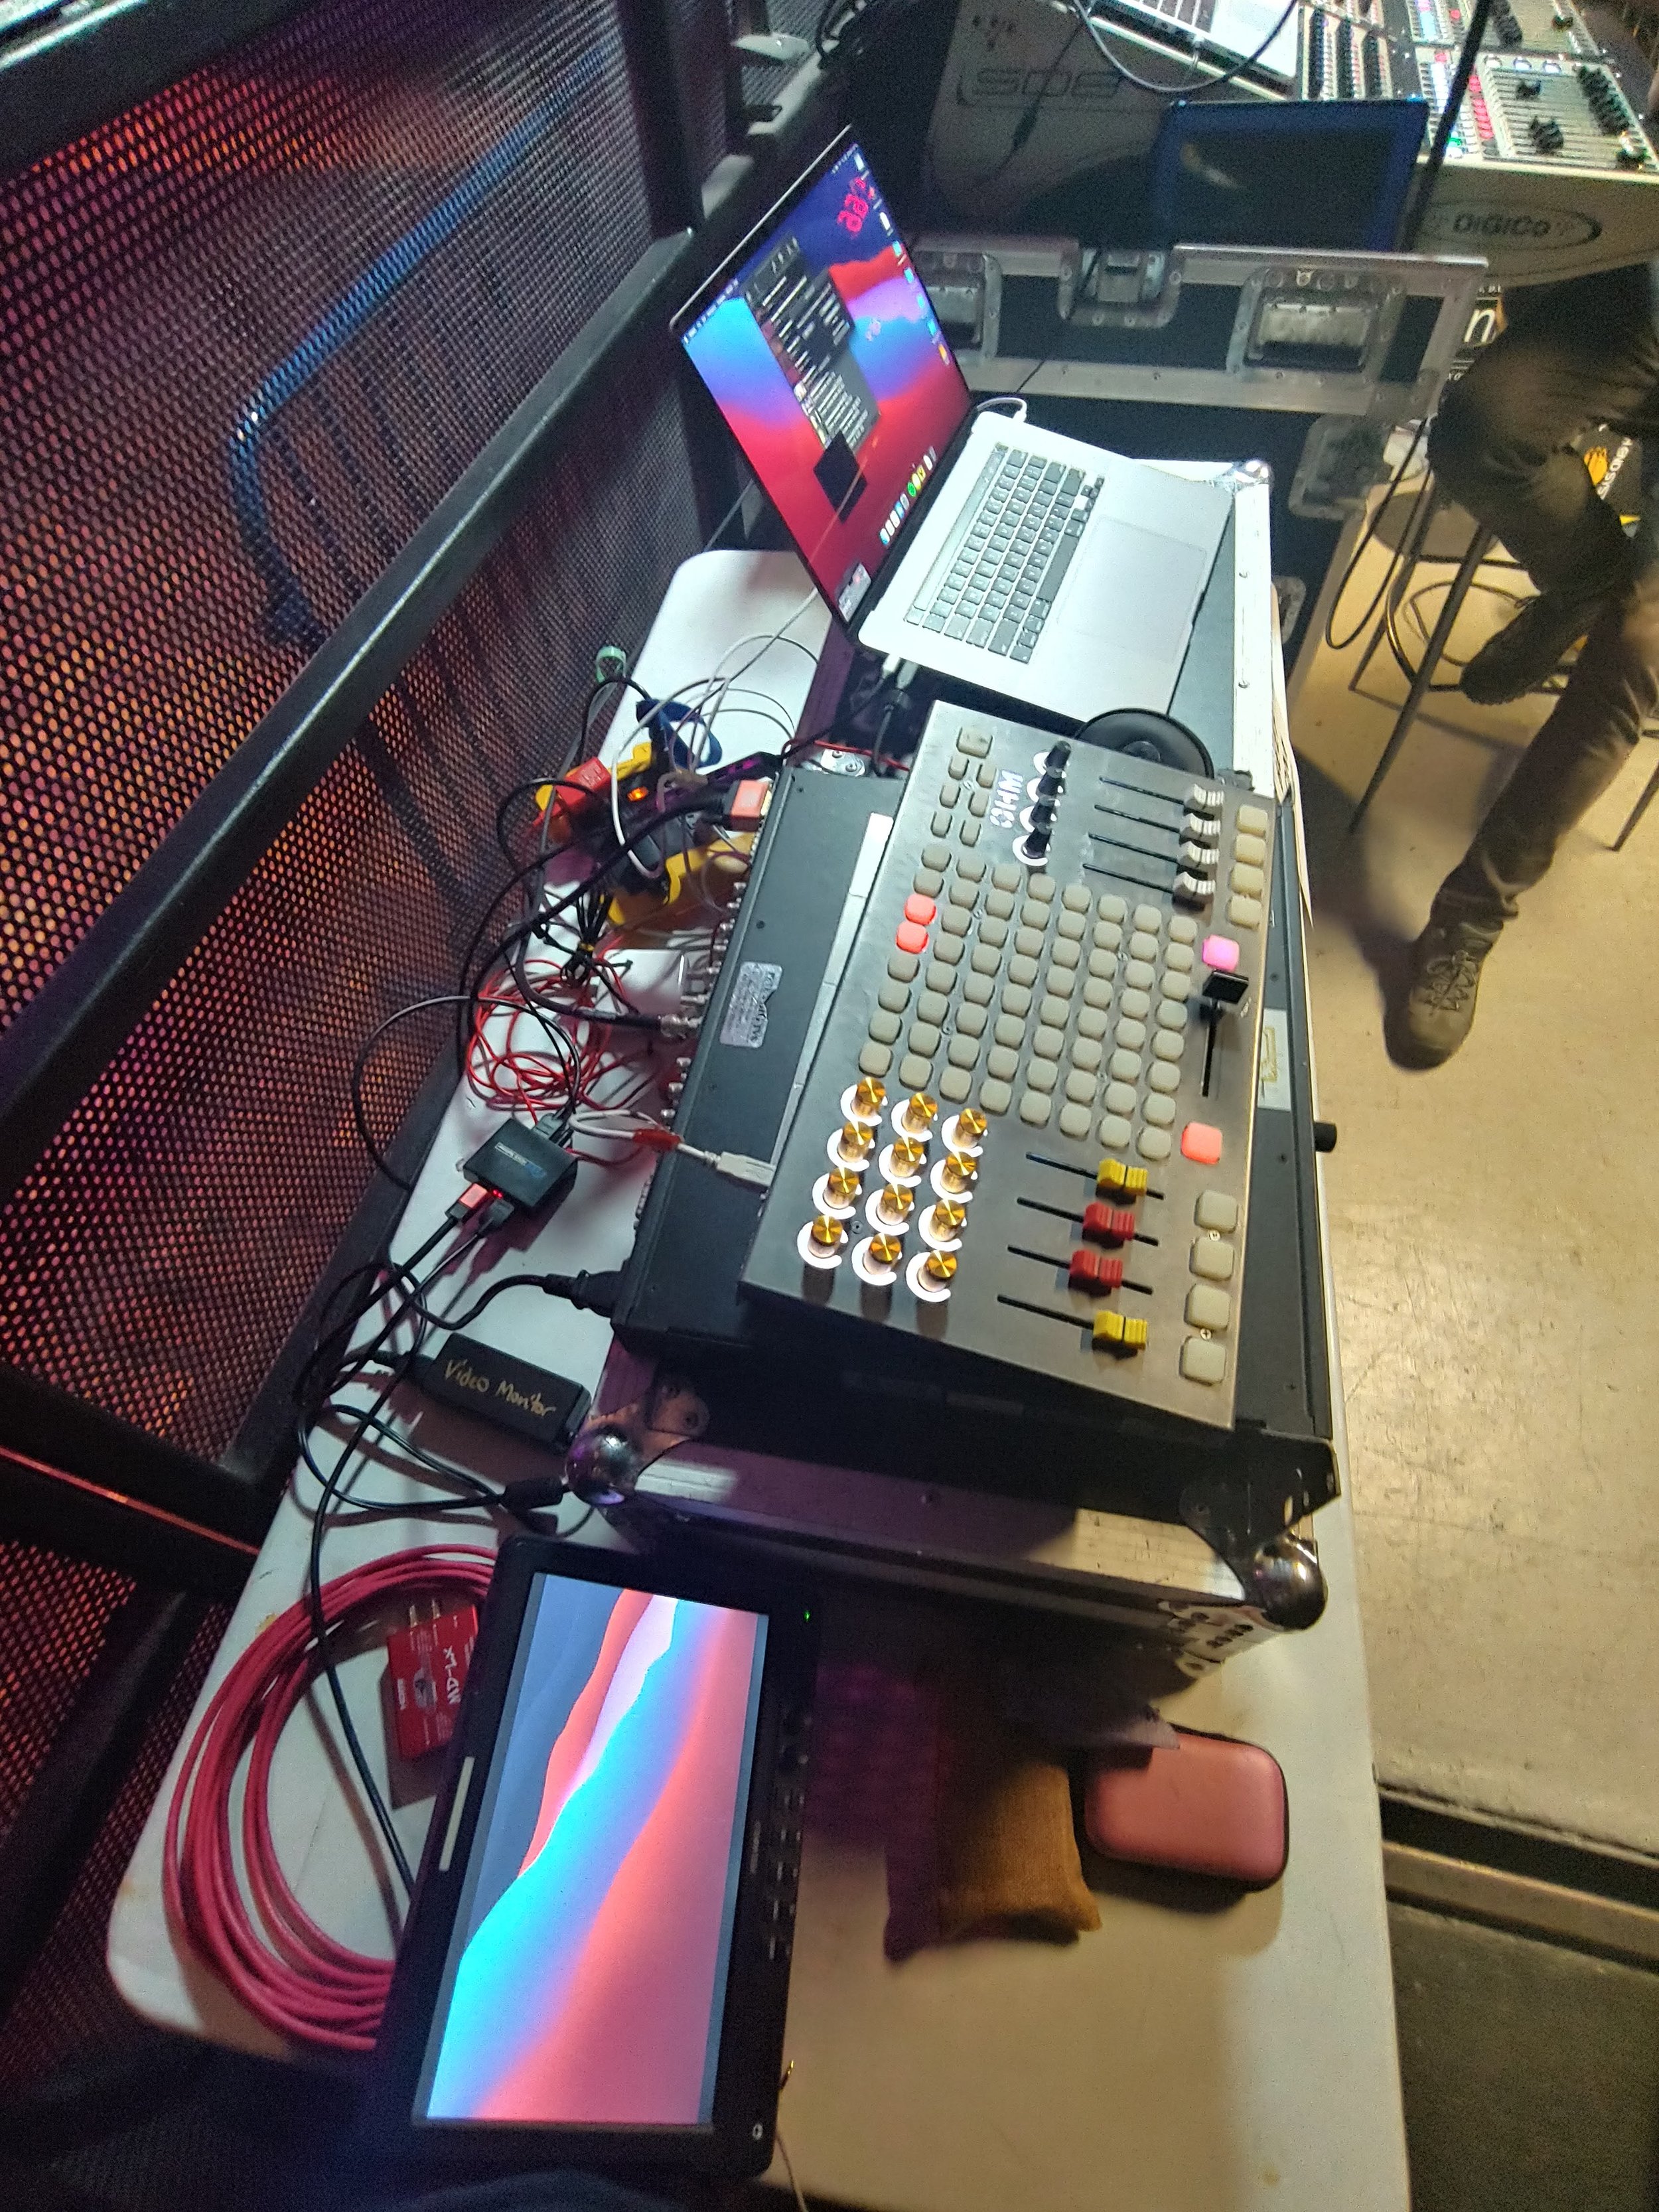
24. MIDI CONTROLLER!
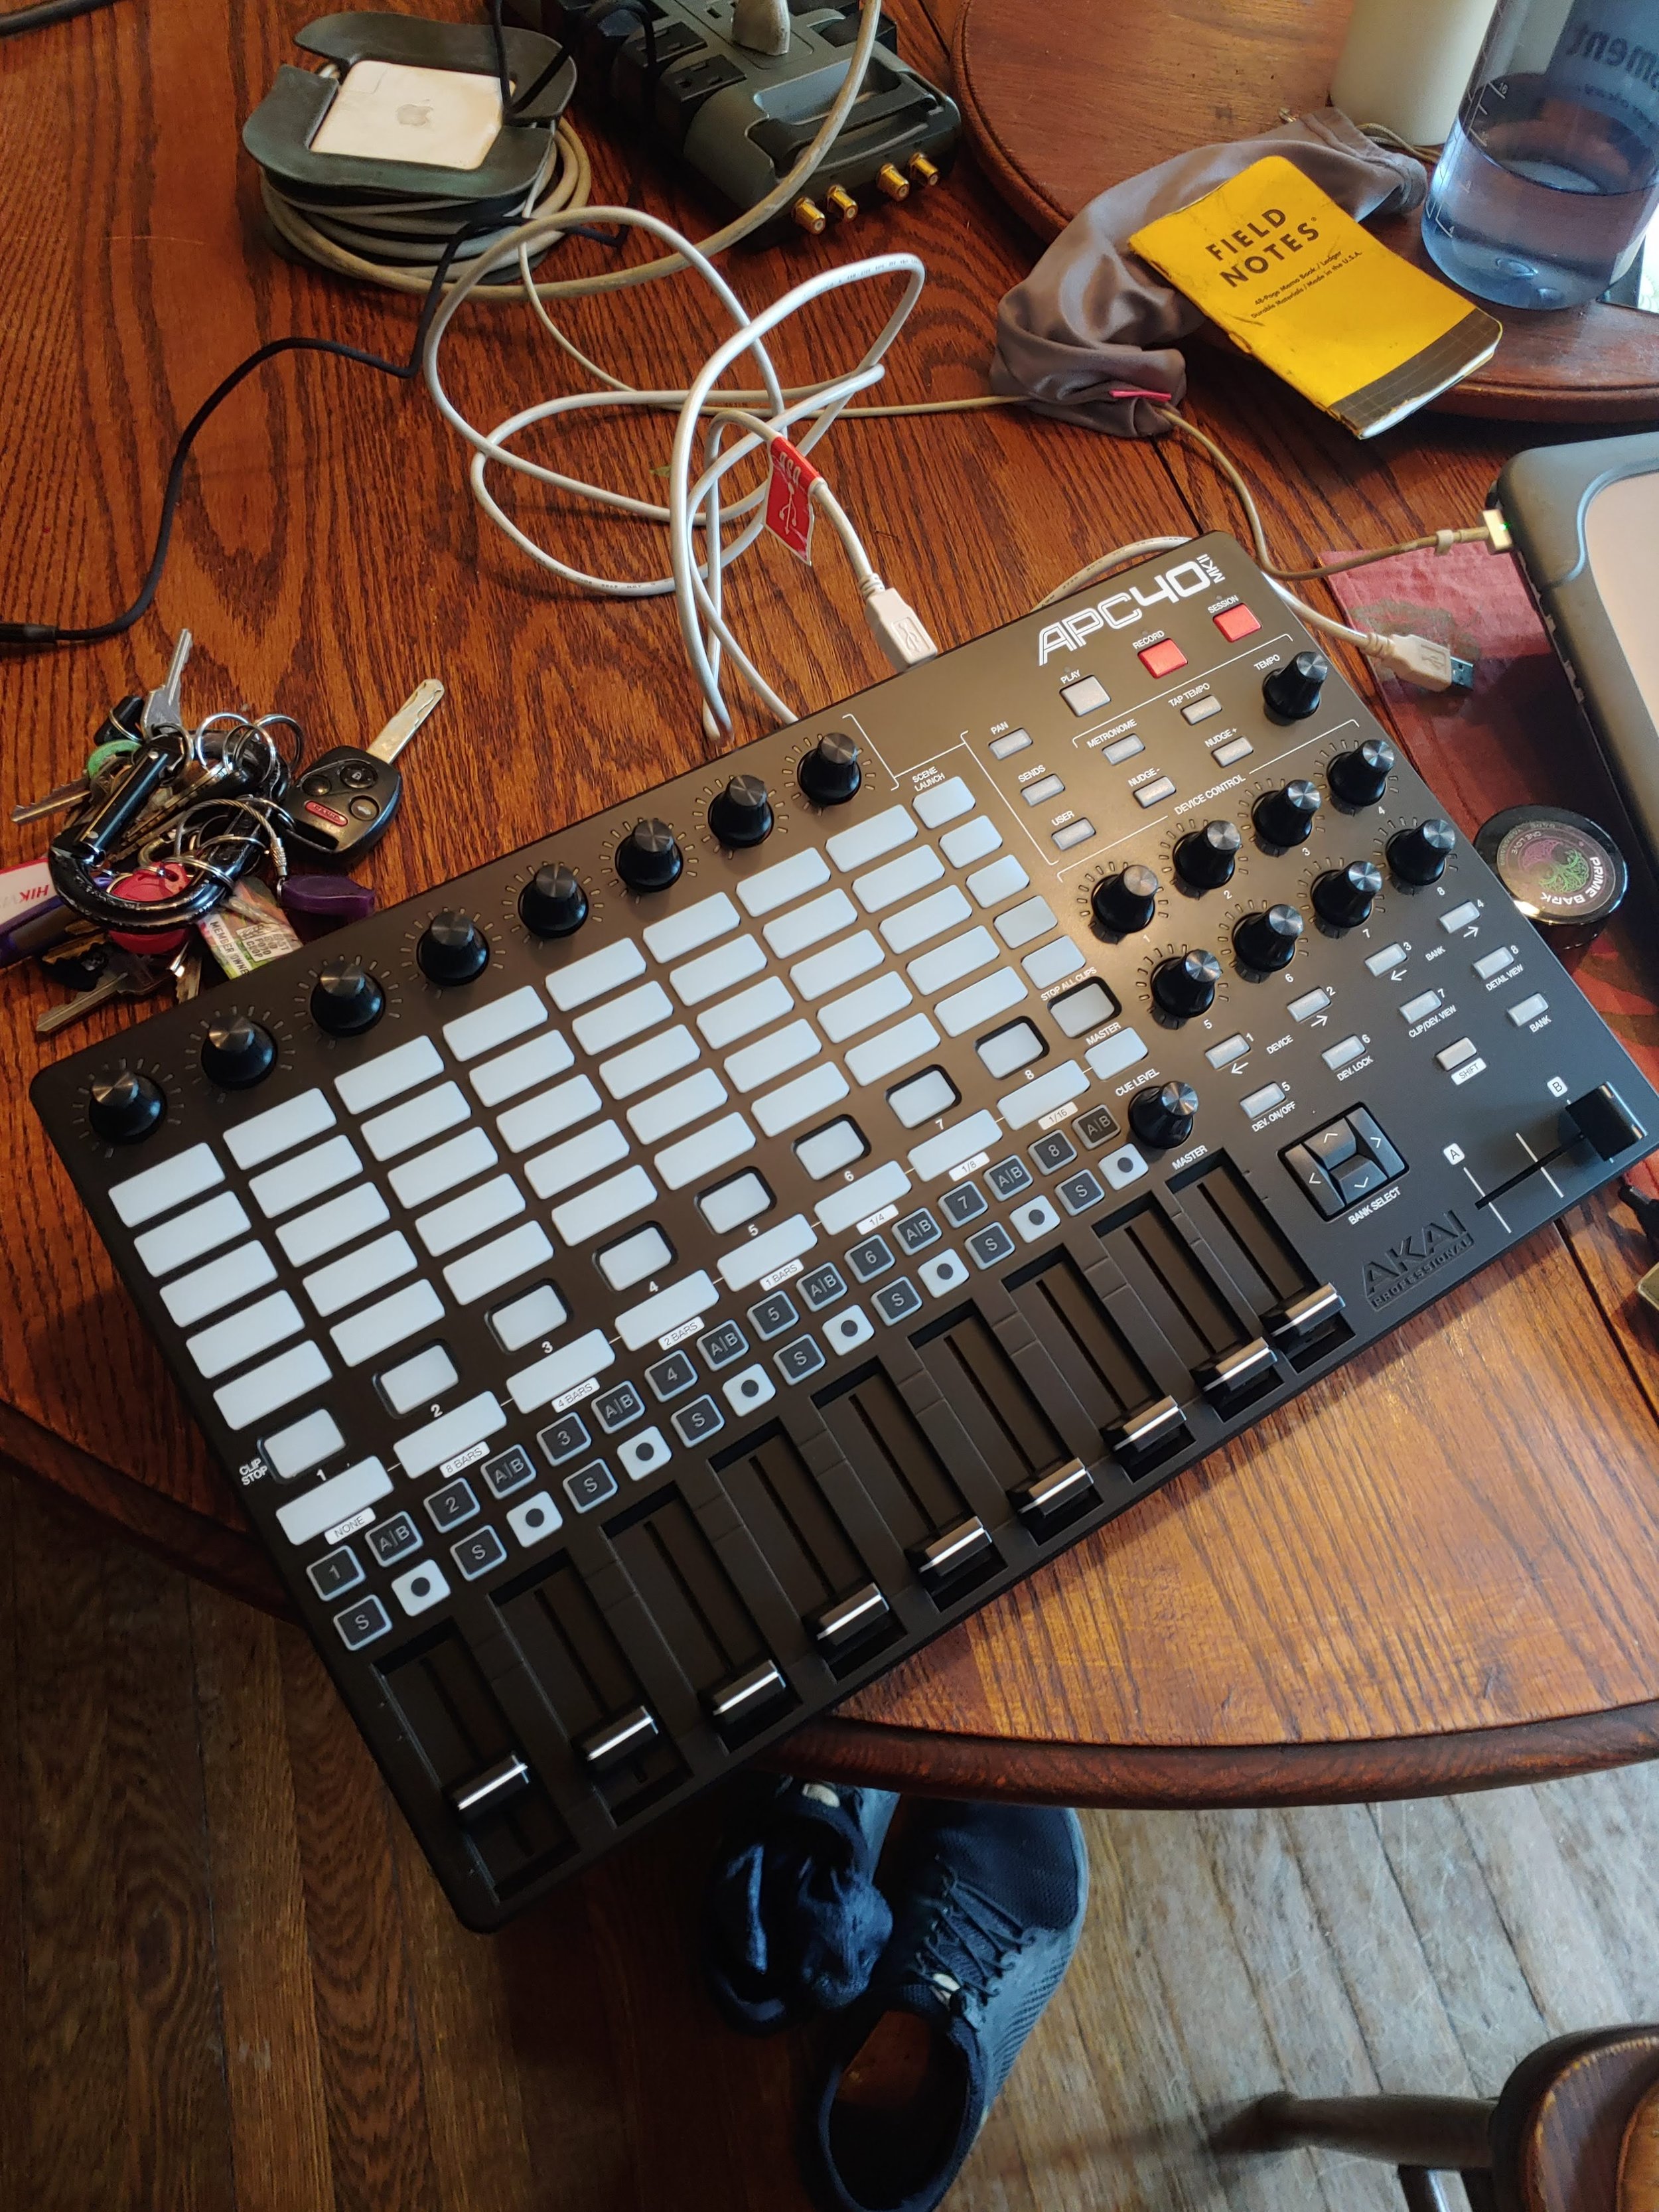
Can’t forget one of the most valuable VJ tools there is — your controller. Once again, there’s a lot of preference that goes into this. I’m a long time Livid Ohm owner and user, but since they’ve been discontinued, I go back and forth between repairing one of the two that I have or breaking out into something smaller like the Korg Nano Kontrol, Electrix Tweaker (also discontinued), and newly entered the world of the Akai APC40 MK II which is another fantastic controller (and now has a VDMX template for it!).
25. Travel Surge Protector / Power Strip / Extension cord.
Something to give you more plugs when you need them, and maybe an extension cord to reach those ports when they’re further away!?


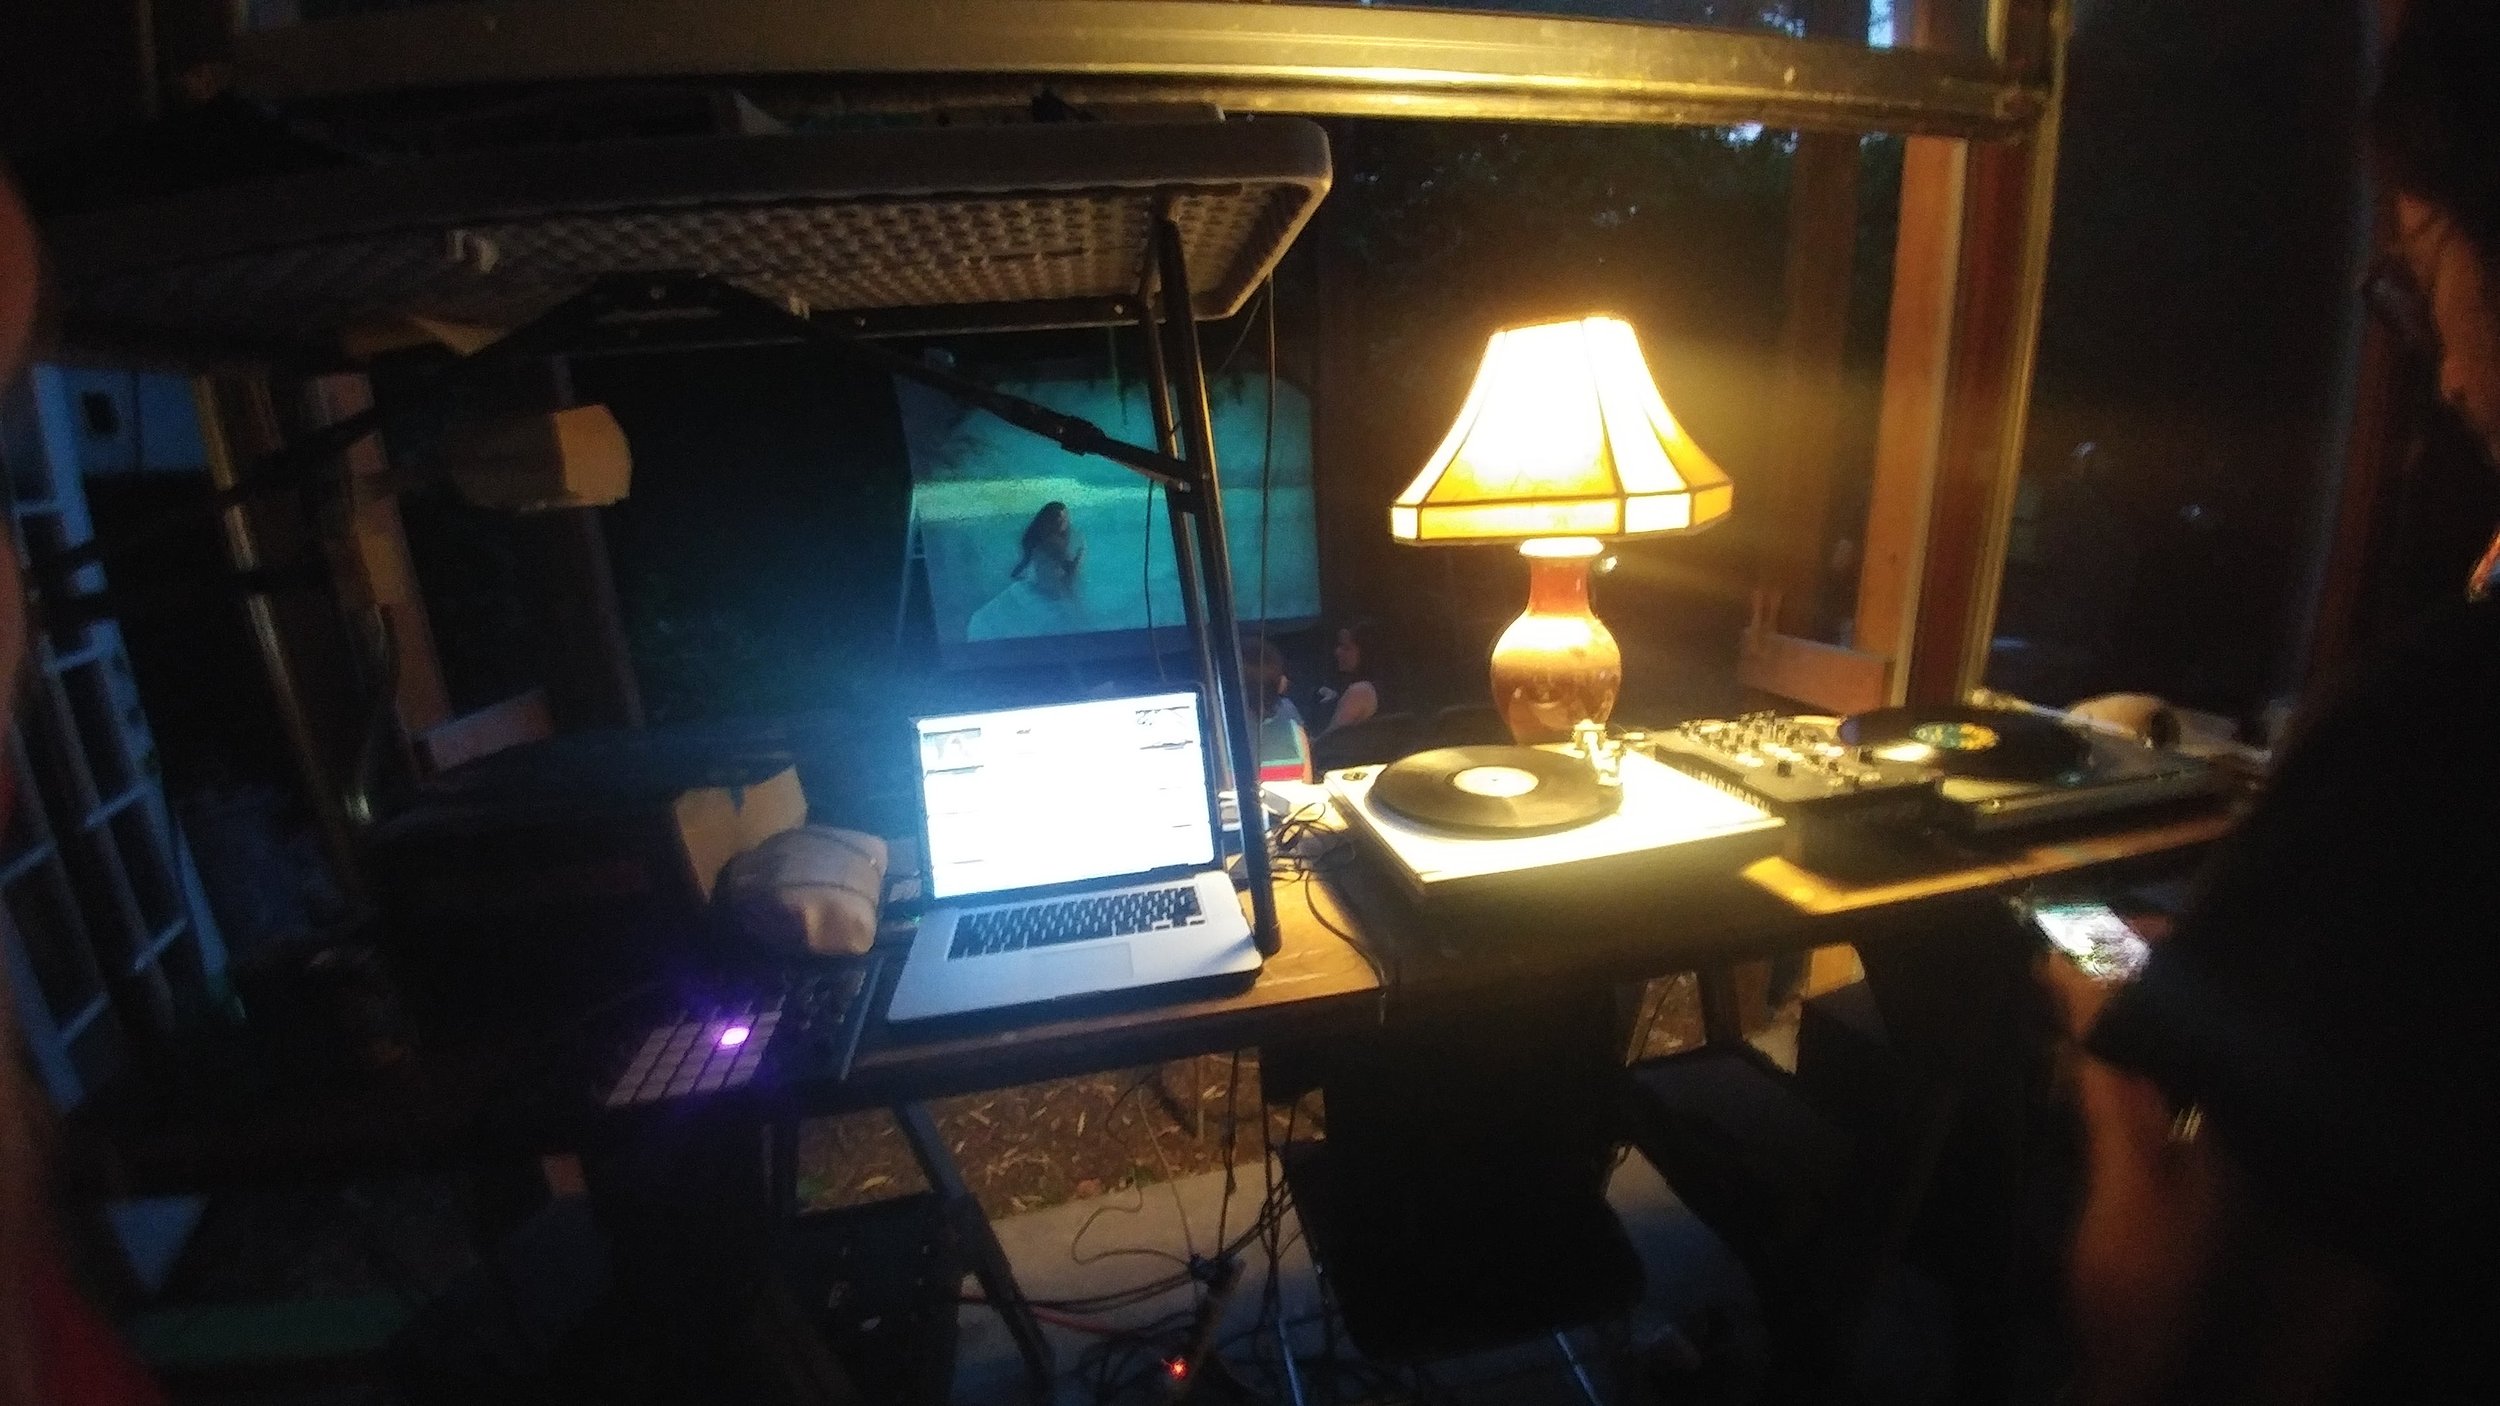
9:30 Club D.C.
Software:
Please note that many of these tools will change over time. Some may be incompatible with apple silicone macs.
1. VDMX (or Alternative)
Yes, obviously you should have some sort of VJ software installed on your computer, but I’d also recommend you install these other freebees from VIDVOX.
2. SwitchResX or Alternative
Sometimes you’ll plug your mac into a Projector, HDMI converter, or setup that only accepts specific resolutions and frame rates, and sometimes the user-friendly Apple Display preferences get it wrong. It’s good to have an app installed that will give you more advanced display output features.
You may have something else that you prefer, but it’s good to have a network scanner when you’re trying to pull or send data over a network. This JAVA based app is free and works great.
4. OSCulator
If you need it, it’s there. I don’t do as much OSC re-routing these days, but OSCulator has come in handy in the past, especially if you use a WiiMote for your VJ setup.
5. AVF Batch Encoder / ff.works / Adobe Media Encoder / FFMpeg, or other encoder
Your visuals should be in an optimized codec for best performance. Adobe Media Encoder works great, but if you’re not an Adobe user and need something a little more comprehensive than AVF Batch Encoder (which is free from VIDVOX and also works), then maybe look into FF Works which has a easy-to-use GUI for FFMpeg. If you’re using MP4’s encode with every frame as a key-frame!
6. NTFS for Mac / ExFat for Mac
Macs are great, but what happens if someone hands you an NTFS formatted drive that they want you to write to?
For downloading videos in a pinch! (Just encode them before VJing).
8. Audio HiJack or Black Hole
Audio re-routing applications can be useful.
9. OBS Studio
The live streaming standard, also great for previewing USB capture cards and web cameras.
10. BlackMagic Disk Speed Test
Speed isn’t everything, but if your drive is dragging you down, check the speed of it.
11. CamTwist
A fun freebee with some additional features.
12. DeltaWalker
My favorite file / folder comparison. Helps with verifying video files and managing drive backups.
13. NeoFinder (CDWinder is the PC version)
Make and offline catalog of all your drives and easily search to find what and where you are looking for.
14. Disk Inventory X
See what’s taking up too much space and move it. Remember, keep your SSDs as free as possible to reduce slowing down their performance.
15. DiskMaker X (6,7,8,9)
This is for making bootable Mac OSX thumb drives.
16. EtreCheck
This is a mac hardware / software diagnostic tool that does a great job identifying hardware or software issues on your mac.
17. KodeLife
Live coding VJ? This one has syphon out for sharing with other applications.
18. TouchOSC
Another Hexler app (similar to KodeLife), this is great for making your own OSC interfaces (Mac/PC, Android, iOS). You can also import an older TouchOSC layout directly into VDMX to make some custom UIs with the Control Surface plugin.
19. Lumen
Lumen is a fun video synth you share with VDMX or run the app standalone.
20. MadMapper or VPT
If you’re looking for more advanced projection mapping configurations, MadMapper is the best you can get (imho). Resolume Arena is great if you’re a Resolume user, but if you prefer VDMX or Modul8, then MadMapper is great. (If you’re also curious, VPT is free, HeavyM, QLab, Mapio, and Millumin all have projection mapping features).
21. Shazam for Mac
Every show I hear a song I’ve never heard before. It helps to identify what that is and remember it for next time.
22. Veźer
I like Veźer for visual or timeline based OSC commands. You can do a lot with VDMXs built-in data looper or LFO, but sometimes you just want to create in a longer timeline with layers. Once again, something to look into.
23. VLCSyphon
This free app has helped get visuals from some odd codecs into VDMX.
Software Tip: If it’s not broke, don’t fix it an hour before your show.
This tip sounds obvious, but it happens all the time. A new app or OS update is released with a ton of features hours, days, or even a week before your big show. DON’T UPDATE. Unless this update promises to fix something that is already broken for you, I highly recommend you avoid new things unless you have ample time to test and troubleshoot your setup. Over the years, this lens of paranoia has saved me a countless number of times. Especially with operating system updates. Every company is going to tell you what they fixed, not what they broke — that will be up to you to find out and hopefully you have enough time to do so.

Misc:
1. Organized pouches.
I recommend clear rip stop pouches and a label maker so you’re not searching all over the place.

2. Leatherman / Multi-tool
3. Zip ties, Velcro straps, Elastic Hair ties (better cable management).
4. Gaffers Tape
5. Pen, Sharpie, Notebook, a few blank labels.
6. COVID, extra masks, hand sanitizer.
7. Screen wipes
8. WATER (Stay hydrated)
9. Sunglasses (for the morning! Or if the Lighting Designer puts a bunch of blinders on the stage!)
10. Don’t forget the clear garbage bag! (also mentioned in the Hardware section: #1)
11. Rope or ratchet straps. (Things to tie things down or together, maybe you can VJ through a hurricane?)
12. Little screw drivers (electrical, pry tools, hex keys, etc.).