Looking for an example usage showing off LUT FX in VDMX? Check out our tutorial on adding a retro Halloween style to your visuals!
One of the common types of image filters that are found in the workflow for photo and video editing are LUTs, also know as "Look Up Table" based FX. LUT FX are used to change the color palette of an image to create a different stylized look or feel, or in some cases to mimic the look of different print film types.
A few example images demonstrate the power of applying different LUTS to the same original video frame:
Original
Adventure
Dystopia
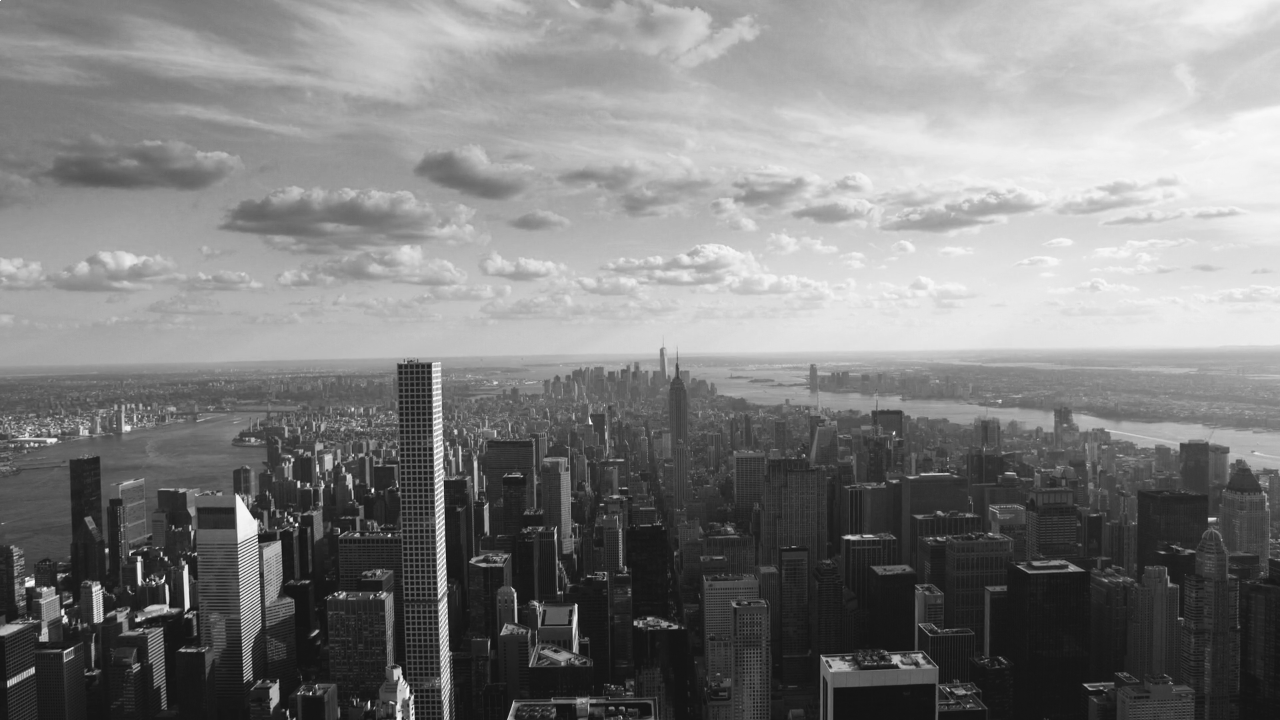
Ilford HP5
Another cool thing about LUTS is that you can create your own easily without having any programming knowledge. Using software like Adobe Photoshop you can load in an image, adjust its color curves and then export the color shifts to the ".cube" LUT format to use in VDMX. You can also search online to find lots of free LUTS created by other people.
When used in VDMX, LUTS can be applied any media layer in real-time, whether it is a live camera or prerecorded footage, just like how other FX are added.
In the LUT category of FX, there are three different options:
- LUT: Pick a single LUT to apply to the incoming video frame.
- LUT Mixer: Pick two LUT styles to apply and crossfade between.
- LUT Mask Mixer: Pick two LUTS and use a masking image to provide per-pixel mix levels between them.
In this video tutorial we'll be looking at how to use each of these different FX and how to add your own ".cube" LUT files.
When you've mastered this, try using a Movie Recorder plugin to capture the results as video files / still images, or check out other ways to use image masks in VDMX.
Notes and Tips:
Access the LUTS Assets folder for VDMX from the Help menu.
Add LUT FX to any layer.
Crossfade between two styles with the LUT Mixer FX.
Create complex mixes with the LUT Mask Mixer FX.