For this guest tutorial we are joined by Sarah GHP for a deep dive behind the scenes look at her setup connecting a variety of different video worlds using window capture, Syphon, and digital to analog conversion. You can also read more about her creative process, how she got into feedback loops, and more in the Interview with Sarah GHP! post on our blog.
Watch through the video here:
And follow along below for additional notes and photos of the rig and how everything fits together!
How and why to connect your VJ app output to an analog synth
In my practice — whether performing visuals live or creating footage for an edited video — I pull together a number of variously processed layers, which I want to overlay and manipulate improvisationally.
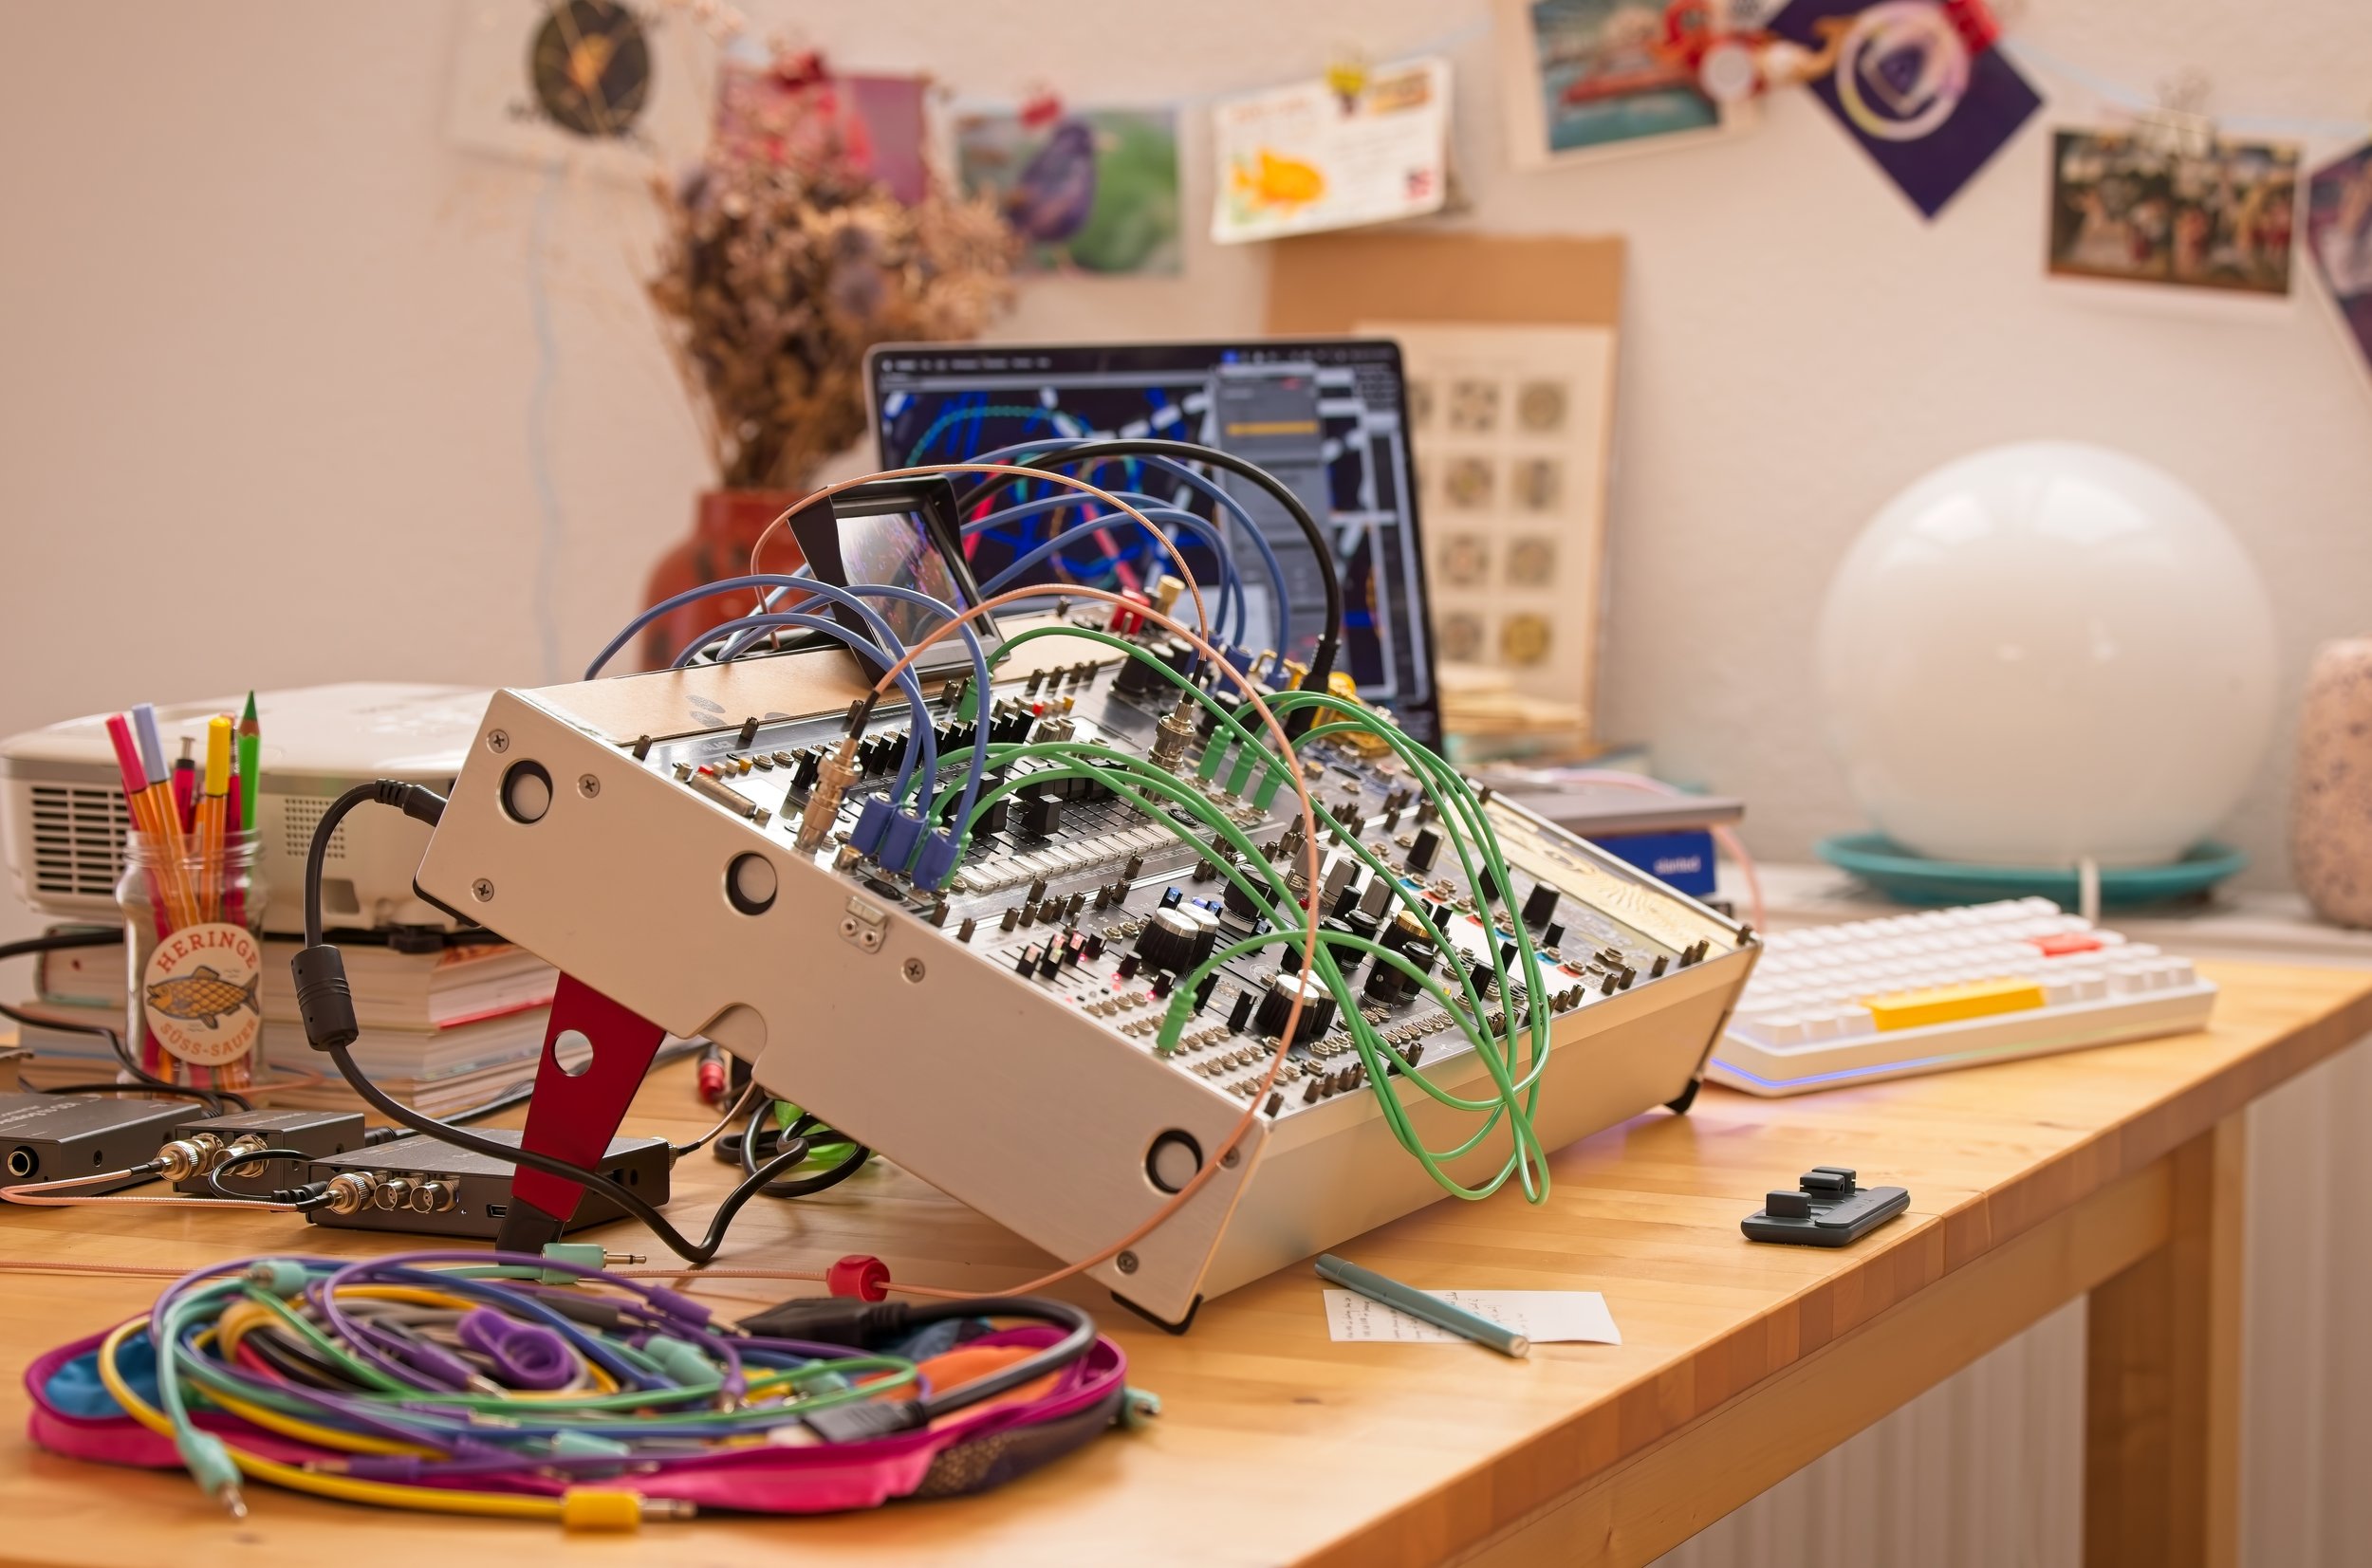
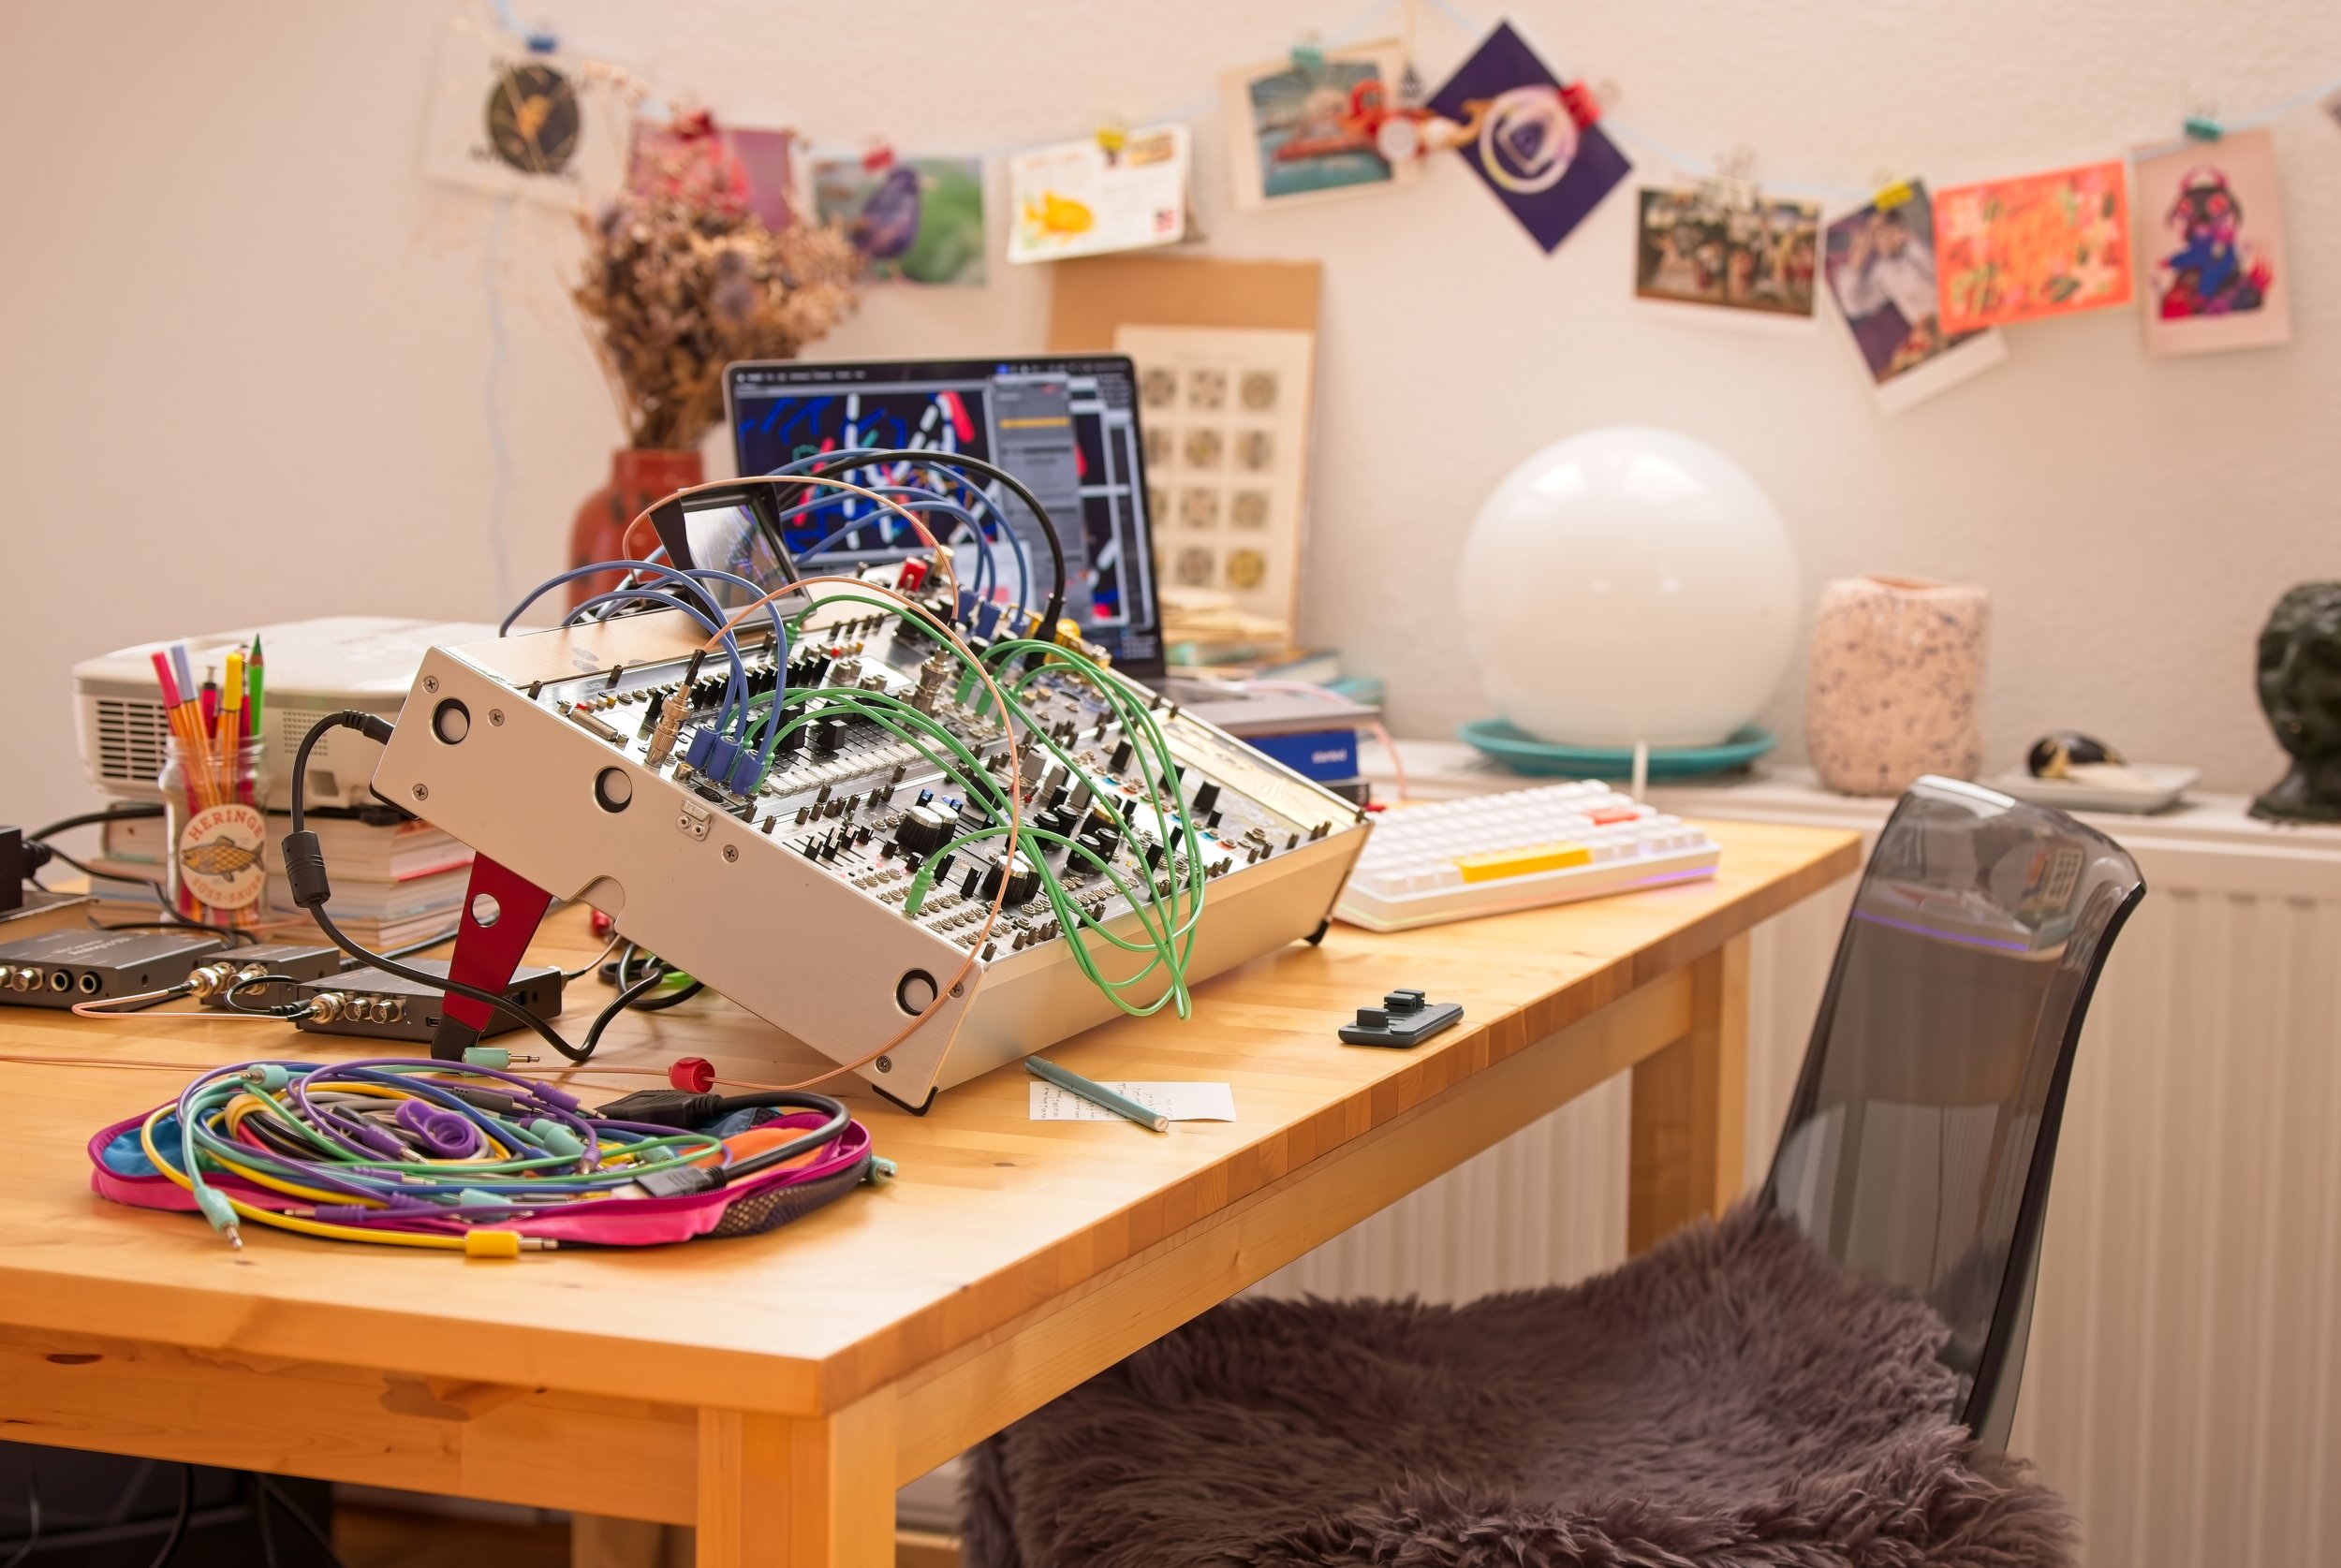
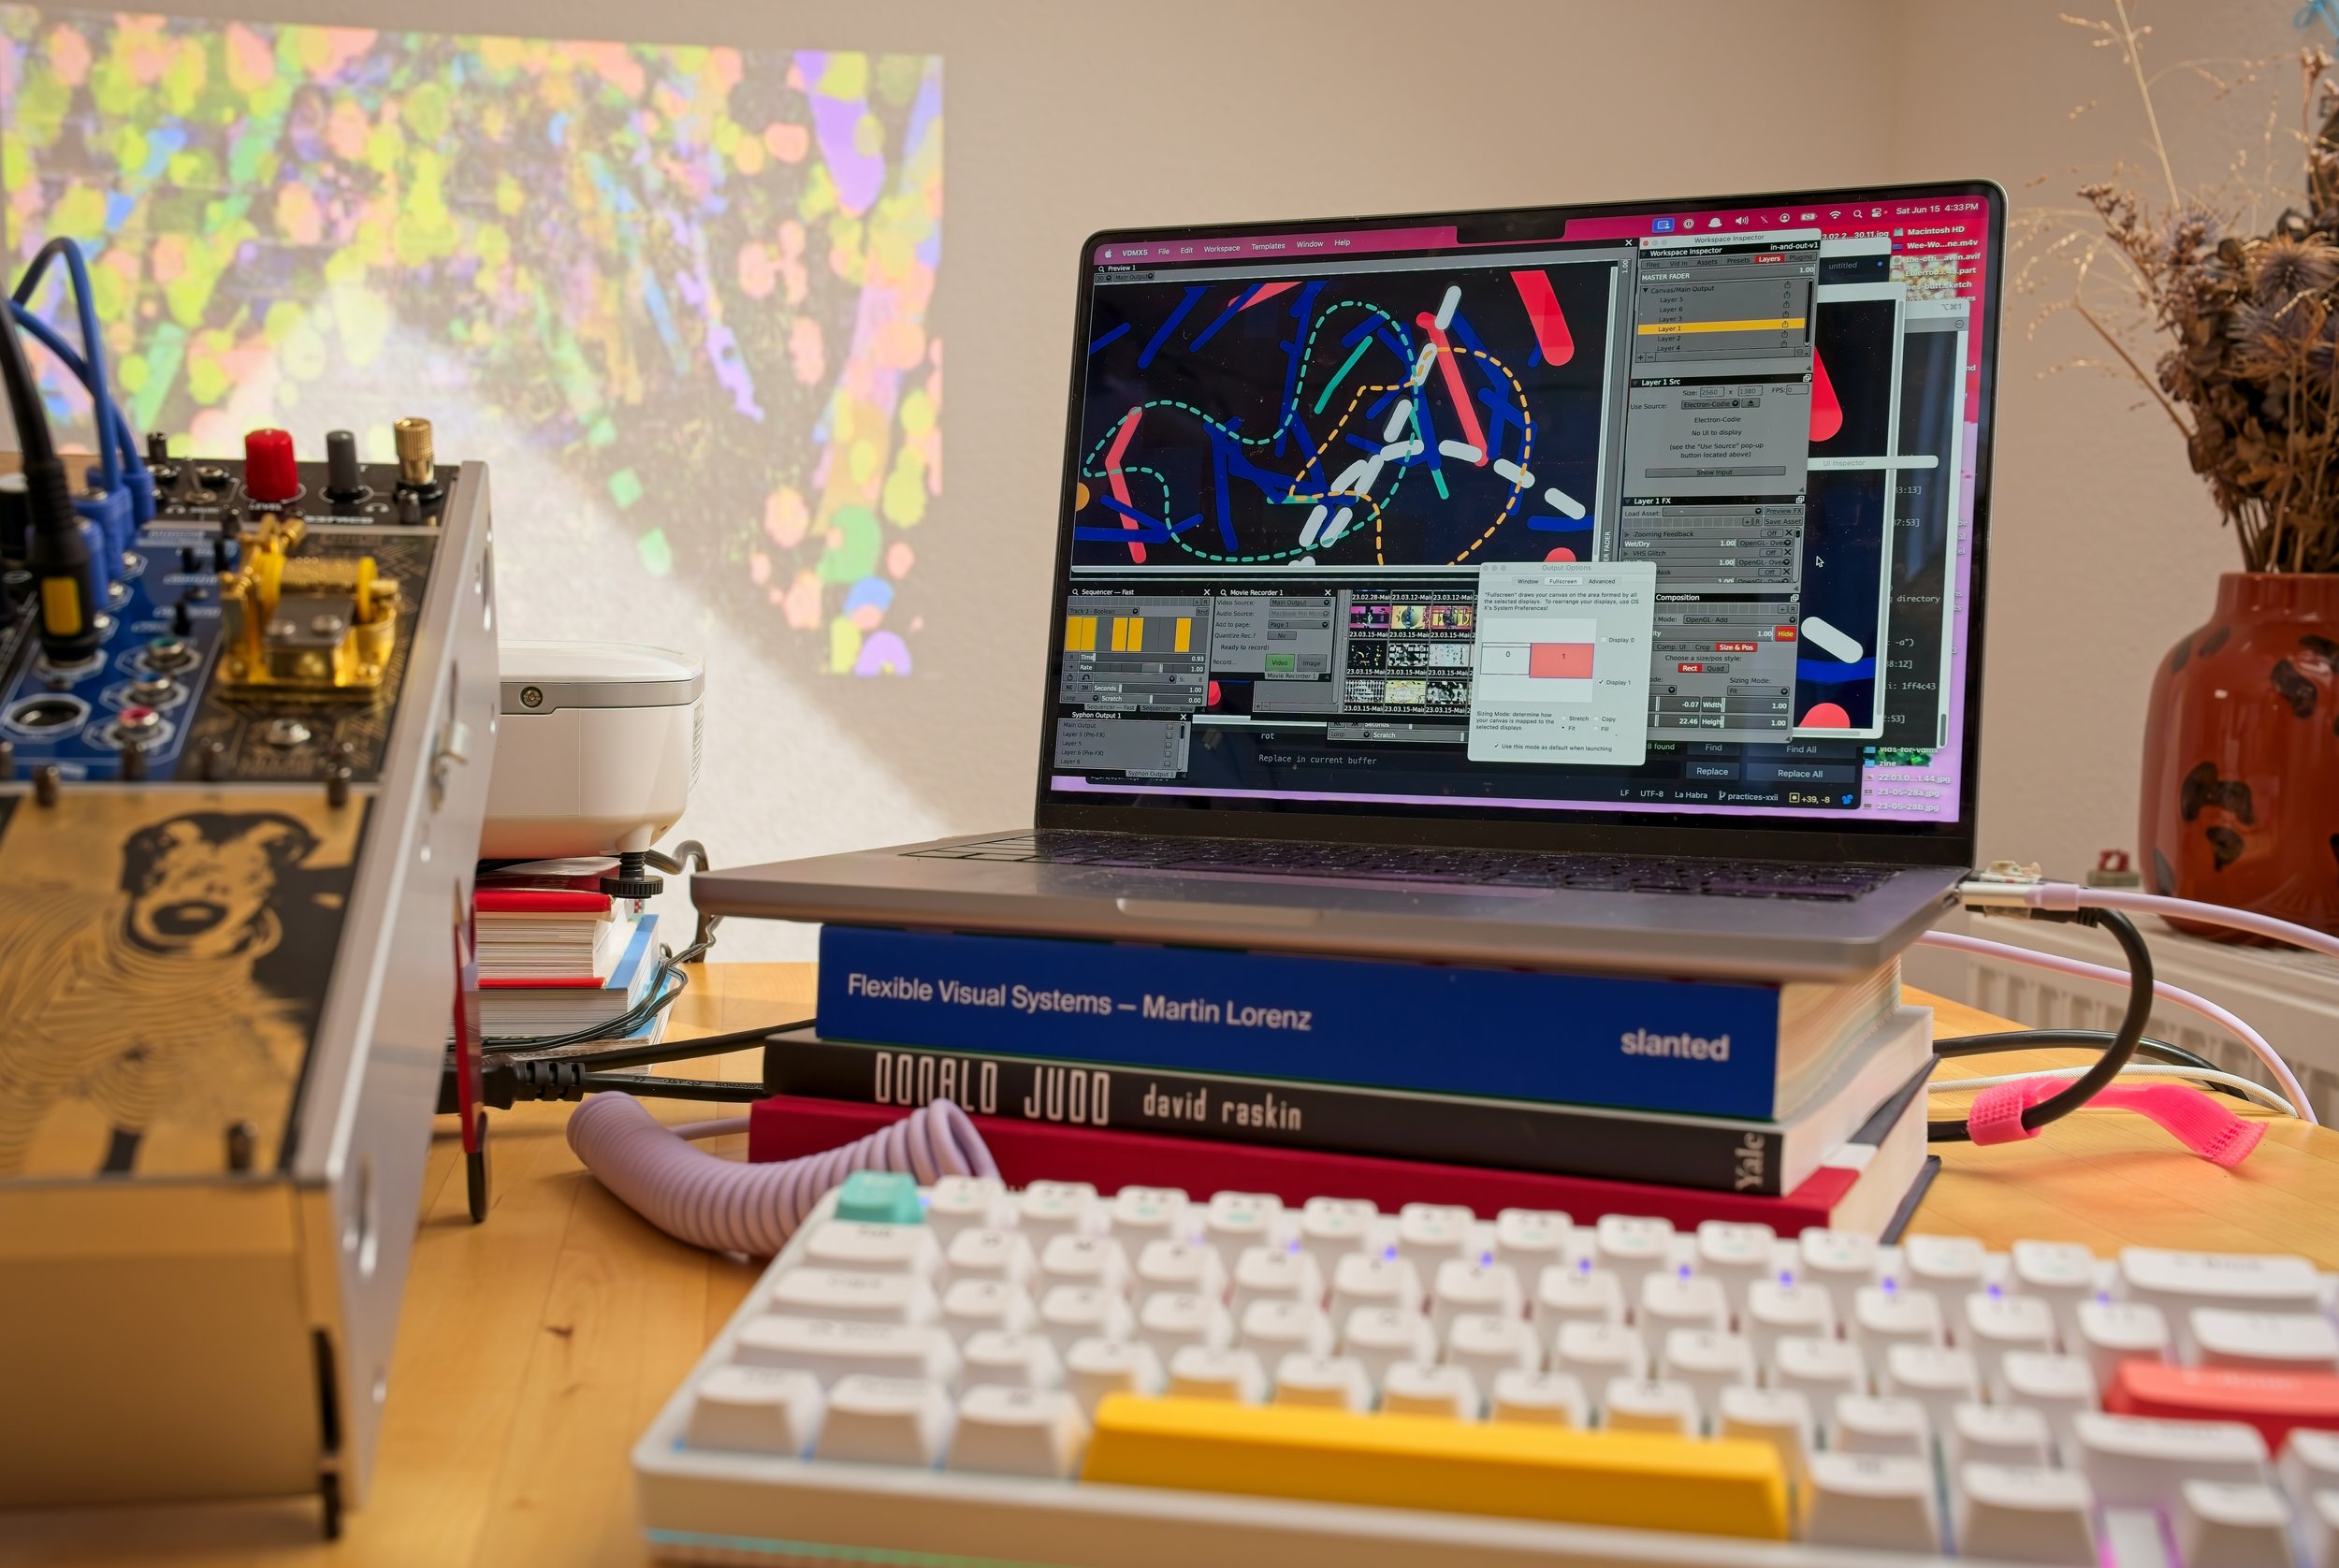
Some things computers are great for, like making complex graphics or applying effects that are more accessible digitally, in terms of both device footprint and complexity. For other aspects — tactile improvisation, working with signals from modular musicians, video timbre — an analog synth is the better choice.
My performance chain aims to make both accessible at the same time in one system.
Within this setup, VDMX plays a keystone role: adding effects, routing signals throughout the system, making previously recorded footage available for remixing, and even recording footage. It can also help fill space for modules that one has not yet been able to buy, which is the focus of another tutorial on this this site..
Here I walk through how my setup works as inspiration for one of your own.
List of gear
Computer & Software
I use an Apple M1 Macbook or sometimes an M2 Macbook. I livecode SVGs using La Habra, a Clojurescript + Electron framework I wrote, and sometimes use Signal Culture's applications, especially Framebuffer and Interstream. And of course, VDMX.
Video Signal Transformation
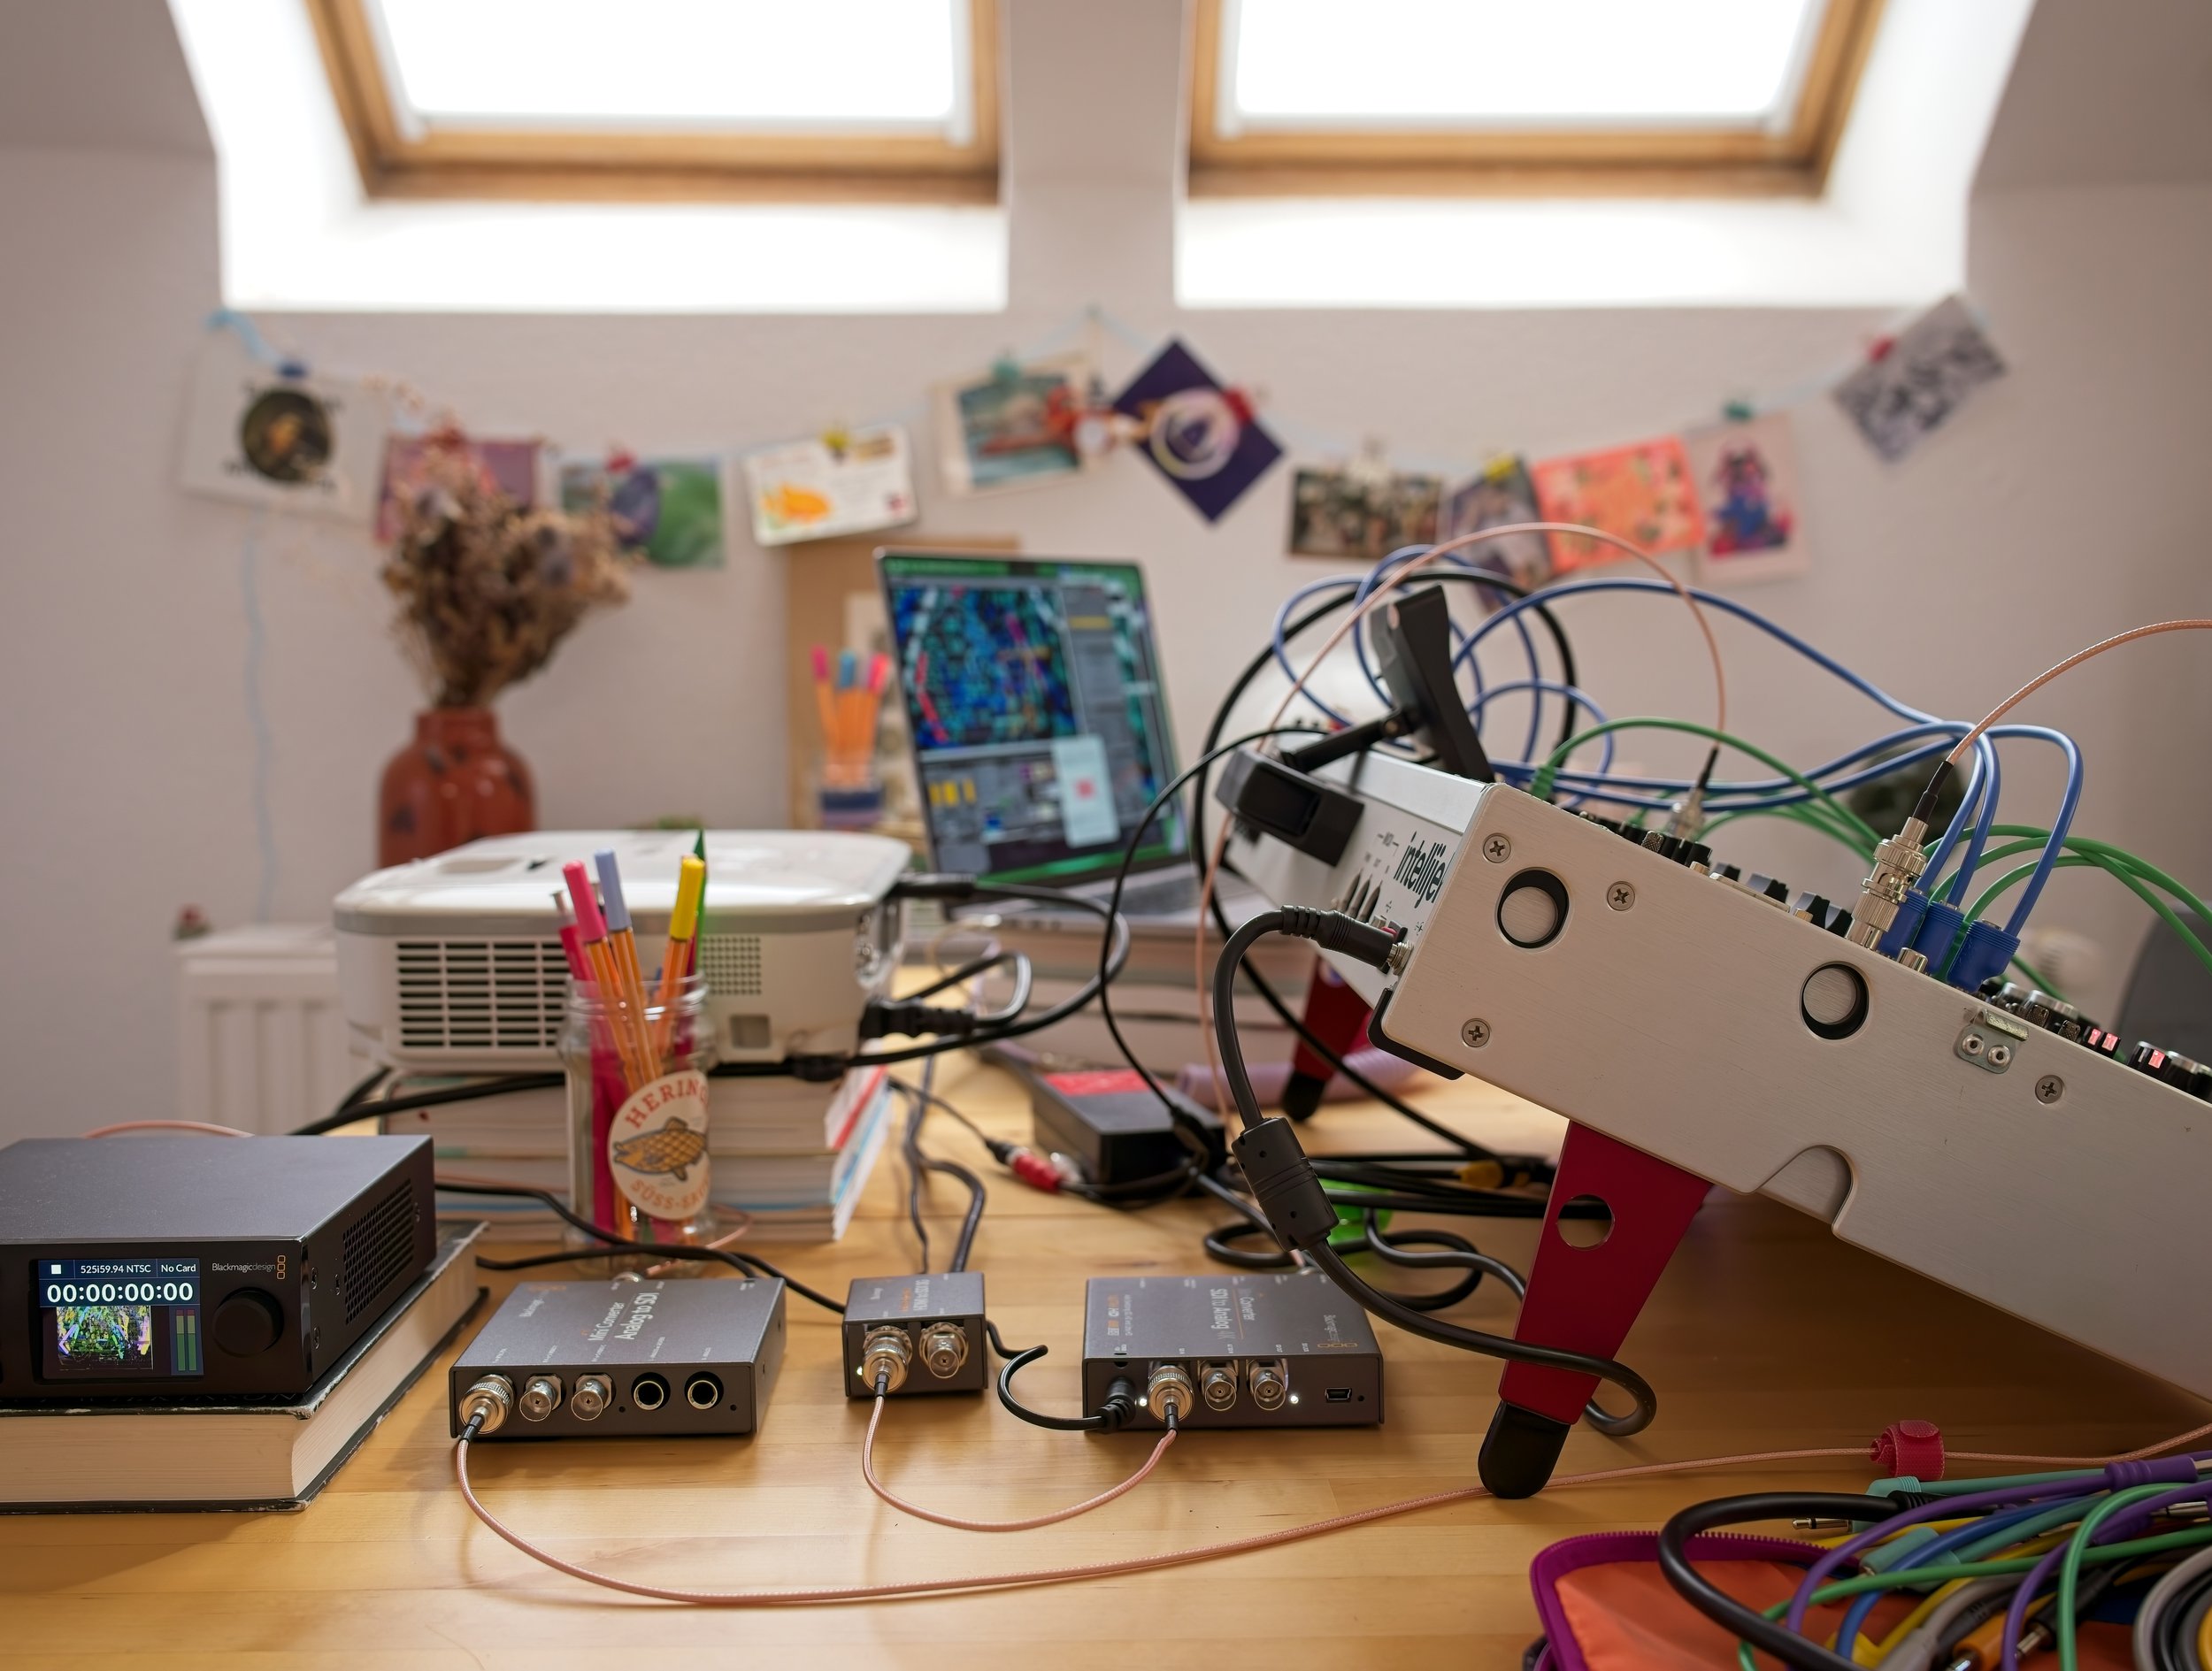
To transform the video signal from the HDMI that exits the laptop into an analog format accepted by the Eurorack setup, I use two BlackMagic boxes: HDMI to SDI and SDI to Analog, which can output composite (everything over one wire) or component (Y, Pb, Pr). Sometimes here and there I see a converter that will do HDMI to composite directly, but having two converters can be useful for flexibility. The biggest downside is that the two are powered separately, so I end up needing a six-plug strip.
It is also possible to skip all of these and point an analog camera at a monitor to get the video format you want, but in that case, you need a separate monitor.
Eurorack
This is my case on Modular Grid. The top row is the video row and the most important. In this example, I am focused on using the LZX TBC2 and LZX Memory Palace, plus the Batumi II as an LFO.
The LZX TBC2 can work as a mixer and a gradient generator, but in this setup it is mostly converting analog video signal to the 1V RGB standard used by LZX. It can be replaced with a Syntonie Entree. Likewise, the video manipulation modules can be replaced with any you specifically like to use.
Output, Monitoring & Recording
Finally, there is the output, monitor and the recorder. The monitor is a cheap back-up monitor for a car. (For example only.) Usually the power supply needs to be sourced separately and I recommend the Blackmagic versions, especially if you travel, because they are robust and come with interchangeable plugs.
When performing without recording, the main output can be sent through any inexpensive Composite to HDMI converter. The one I use was a gift that I think came from Amazon. Some venues used to accept composite or S-Video directly, but these days more and more projectors only take HDMI or are only wired for HDMI, even if technically the projector accepts other signals.
When recording, I format the signal back into SDI through a Blackmagic Analog to SDI converter and then send it to a Blackmagic HyperDeck Studio HD Mini. This records on one of two SD cards and can send out HDMI to a projector.
Getting the hardware set up
The purpose of the hardware setup is to convert video signals from one format to another. (More detail about how this works and various setups can be found in an earlier post I made.)
Don’t forget the cables!
The general flow here is computer > HDMI to SDI > SDI to Analog > TBC2 > Memory Palace > various outputs.
Setting up the software
Software flowchart
Those are the wires outside the computer. Inside the computer, there is a set of more implicit wires, all pulled together by VDMX.
My visuals begin with La Habra, which I live code in Clojurescript in Atom. (Even though it is dead as a project, Atom hasn't broken yet, and I wrote a number of custom code-expansion macros for La Habra, so I still use it.)
These are displayed as an Electron app.
The Electron app is the input to Layer 1 in VDMX.
In the most minimal setup, I add the Movie Recorder to capture the improvisation and I use the Fullscreen setup and Preview windows to monitor and control the output to the synth. I have the Movie Recorder set to save files to the media bin so that if I do not want to record the entire performance, I can also use the Movie Recorder to save elements from earlier in the set to be layered into the set later.
One perk of this setup, of course, is that I can apply VDMX effects to the visuals before they go into the synth or even in more minimal setups, directly into the projector.
Sometimes it is fun to use more extreme, overall effects like the VHS Glitch, Dilate, Displace, or Toon, to give a kind of texture that pure live-coded visuals cannot really provide. I used to struggle a bit with how adding these kinds of changes with just a few button clicks sat within live code as a practice, since it values creating live. But then I remembered that live code musicians use synth sounds and samples all the time, so I stopped worrying!
Beyond making things more fun with big effects, I use VDMX to coordinate input and output among Signal Culture applications, along with more practical effects that augment the capabilities of either the analog synth or another app.
So, for example, here Layer 1 takes in the raw La Habra visuals from Electron, pipes this out of Syphon into the Signal Culture Framebuffer, and then brings in the transformed visuals on Layer 3.
I also usually have the same La Habra visuals in Layer 5, so that if I apply effects to Layer 1 to pass into the effects change, Layer 5 can work as a bypass for clean live coded work should I want it. This same effect can be achieved with an external mixer, but using VDMX means one less box to carry. It also gives access to so many blend modes, including wipes, which are not available in cheaper mixers.
Use the UI Inspector to assign keyboard or MIDI shortcuts to the Hide / Show button for each layer.
I pair the number keys with layer Show/Hide buttons to make it easy to toggle the view when I am playing.
In this setup, I am more likely to use effects that combine well with systems that work on luma keying, like the Motion Mask, or use VDMX to add in more planar motion with the Side Scroller and Flip. Very noisy effects, such as the VHS Glitch, are also quite enjoyable when passed into other applications because they usually cause things to misbehave in interesting ways, but even a simple delay combined with layers and weird blend modes can augment a base animation.
At this point, astute readers may wonder, why make feedback using a VDMX feedback effect, a Signal culture app, multiple VDMX layers plus a delay, AND an analog synth like the Memory Palace? The answer is simple: each kind of feedback looks, different, feels different, and reacts differently. By layering and contrasting feedback types, I feel like we are able to see the grains of various machines in relationship to one another, and for me that is endlessly interesting. (Sometimes I bring in short films from other synths that cannot be part of the live setup as well, and that is usually what goes in Layers 2 and 4.)
Layers 2 & 4 in VDMX
Where and how effects are applied of course also affects how they can be tweaked. When I define effects in VDMX that benefit from a changing signal, especially the Side Scroller and Flip, I use the inbuilt LFO setup. I have one slow and one fast one usually and define a few custom waveforms to use in addition to sine and cosine waves.
Final setup in VDMX
The choice between computer-generated signal and analog signal is mostly decided by where the effect I am modulating lives. When it comes to effects that are available both on the synth and in the computer, the biggest difference is waveforms from the synthesizer they are easier to modulate with other signals, but harder to make precise than computer-based signals.
Setting up the synth
Now that we have set up the software to layer live computer based images and all the converter boxes to get that video into the Eurorack, the last step is setting up that case.
Synth flowchart
Mostly I work with the LZX Memory Palace, which is a frame store and effects module. It can do quite a lot: It has two primary modes, one based around feedback and one based around writing to a paint buffer, and can work with an external signal, internal masks, or a combination of the both. In this case, I am working with external signal in feedback mode.
To get signal into the Memory Palace, it needs to be converted from the composite signal coming out of the Blackmagic SDI to Analog box into 1V RGB signals. For this, I use the LZX TBC2. It also works as a mixer and a gradient generator, but here I use it to convert signals. On the back, it distributes sync to the Memory Palace.
Memory Palace + Batumi
And this is where the last bit of the performance magic happens. The Memory Palace offers color adjustment functions, spatial adjustment functions, and the feedback control functions, including thresholds for which brightnesses are keyed out and what is represented in the feedback, as well the number of frames repeated in the feedback and key softness. To dynamically change these values, LZX provides inbuilt functions; so for instance the button at the bottom of the Y-axis shift button triggers a Y scroll, and then the slider controls the speed of the scroll. However, the shape of the wave is unchangeable.
That is where the CV inputs above come in. Here I have waves from the Batumi patched into the X position, and I can use the attenuator knobs above to let the signal through.
Once everything is humming away, the Memory Palace output needs to go into a monitor and whatever the main output is. In theory, the two composite outputs on the front of the Memory Palace can be used, but one is loose, so I use one and then use the RGB 1V outputs into the the Syntonie VU007B (A splitter cable would also work or a mult, but I already had the VU007B.)
One output goes into the monitor, a cheap back up camera monitor. The other goes into the projector directly or into a Blackmagic Analog to SDI box and then into the Hyperdeck for recording, before being passed via HDMI to the projector.
While I use one big feedback module, LZX and Syntonie, as well as some smaller producers, make video modules that are smaller and do fewer things alone. These tend to be signal generators and signal combinators and, following the software to synth section of this tutorial, you can use any of them.
What It All Looks Like Together
Now that we've connected everything up, let's see it what it looks like performed live!
Enjoyed this guest tutorial from Sarah GHP? Next up you can check out the Interview with Sarah GHP! post on our blog to see even more of her work!


